Query a Database Examples
Anypoint Connector for Database (Database Connector) Select operation selects data from a database. The following examples help you configure the operation in Studio by setting Input Parameters, Fetch size, Max rows, Query timeout fields, and also how to configure dynamic queries.
Configure the Select Operation in Studio
To add and configure the Select operation in Studio, follow these steps:
-
In the Mule Palette view, search for
databaseand select the Select operation. -
Drag the Select operation onto the Studio canvas.
-
In the General tab of the operation configuration screen, click the plus sign (+) next to the Connector configuration field to access the global element configuration fields.
-
Specify the database connection information and click OK.
-
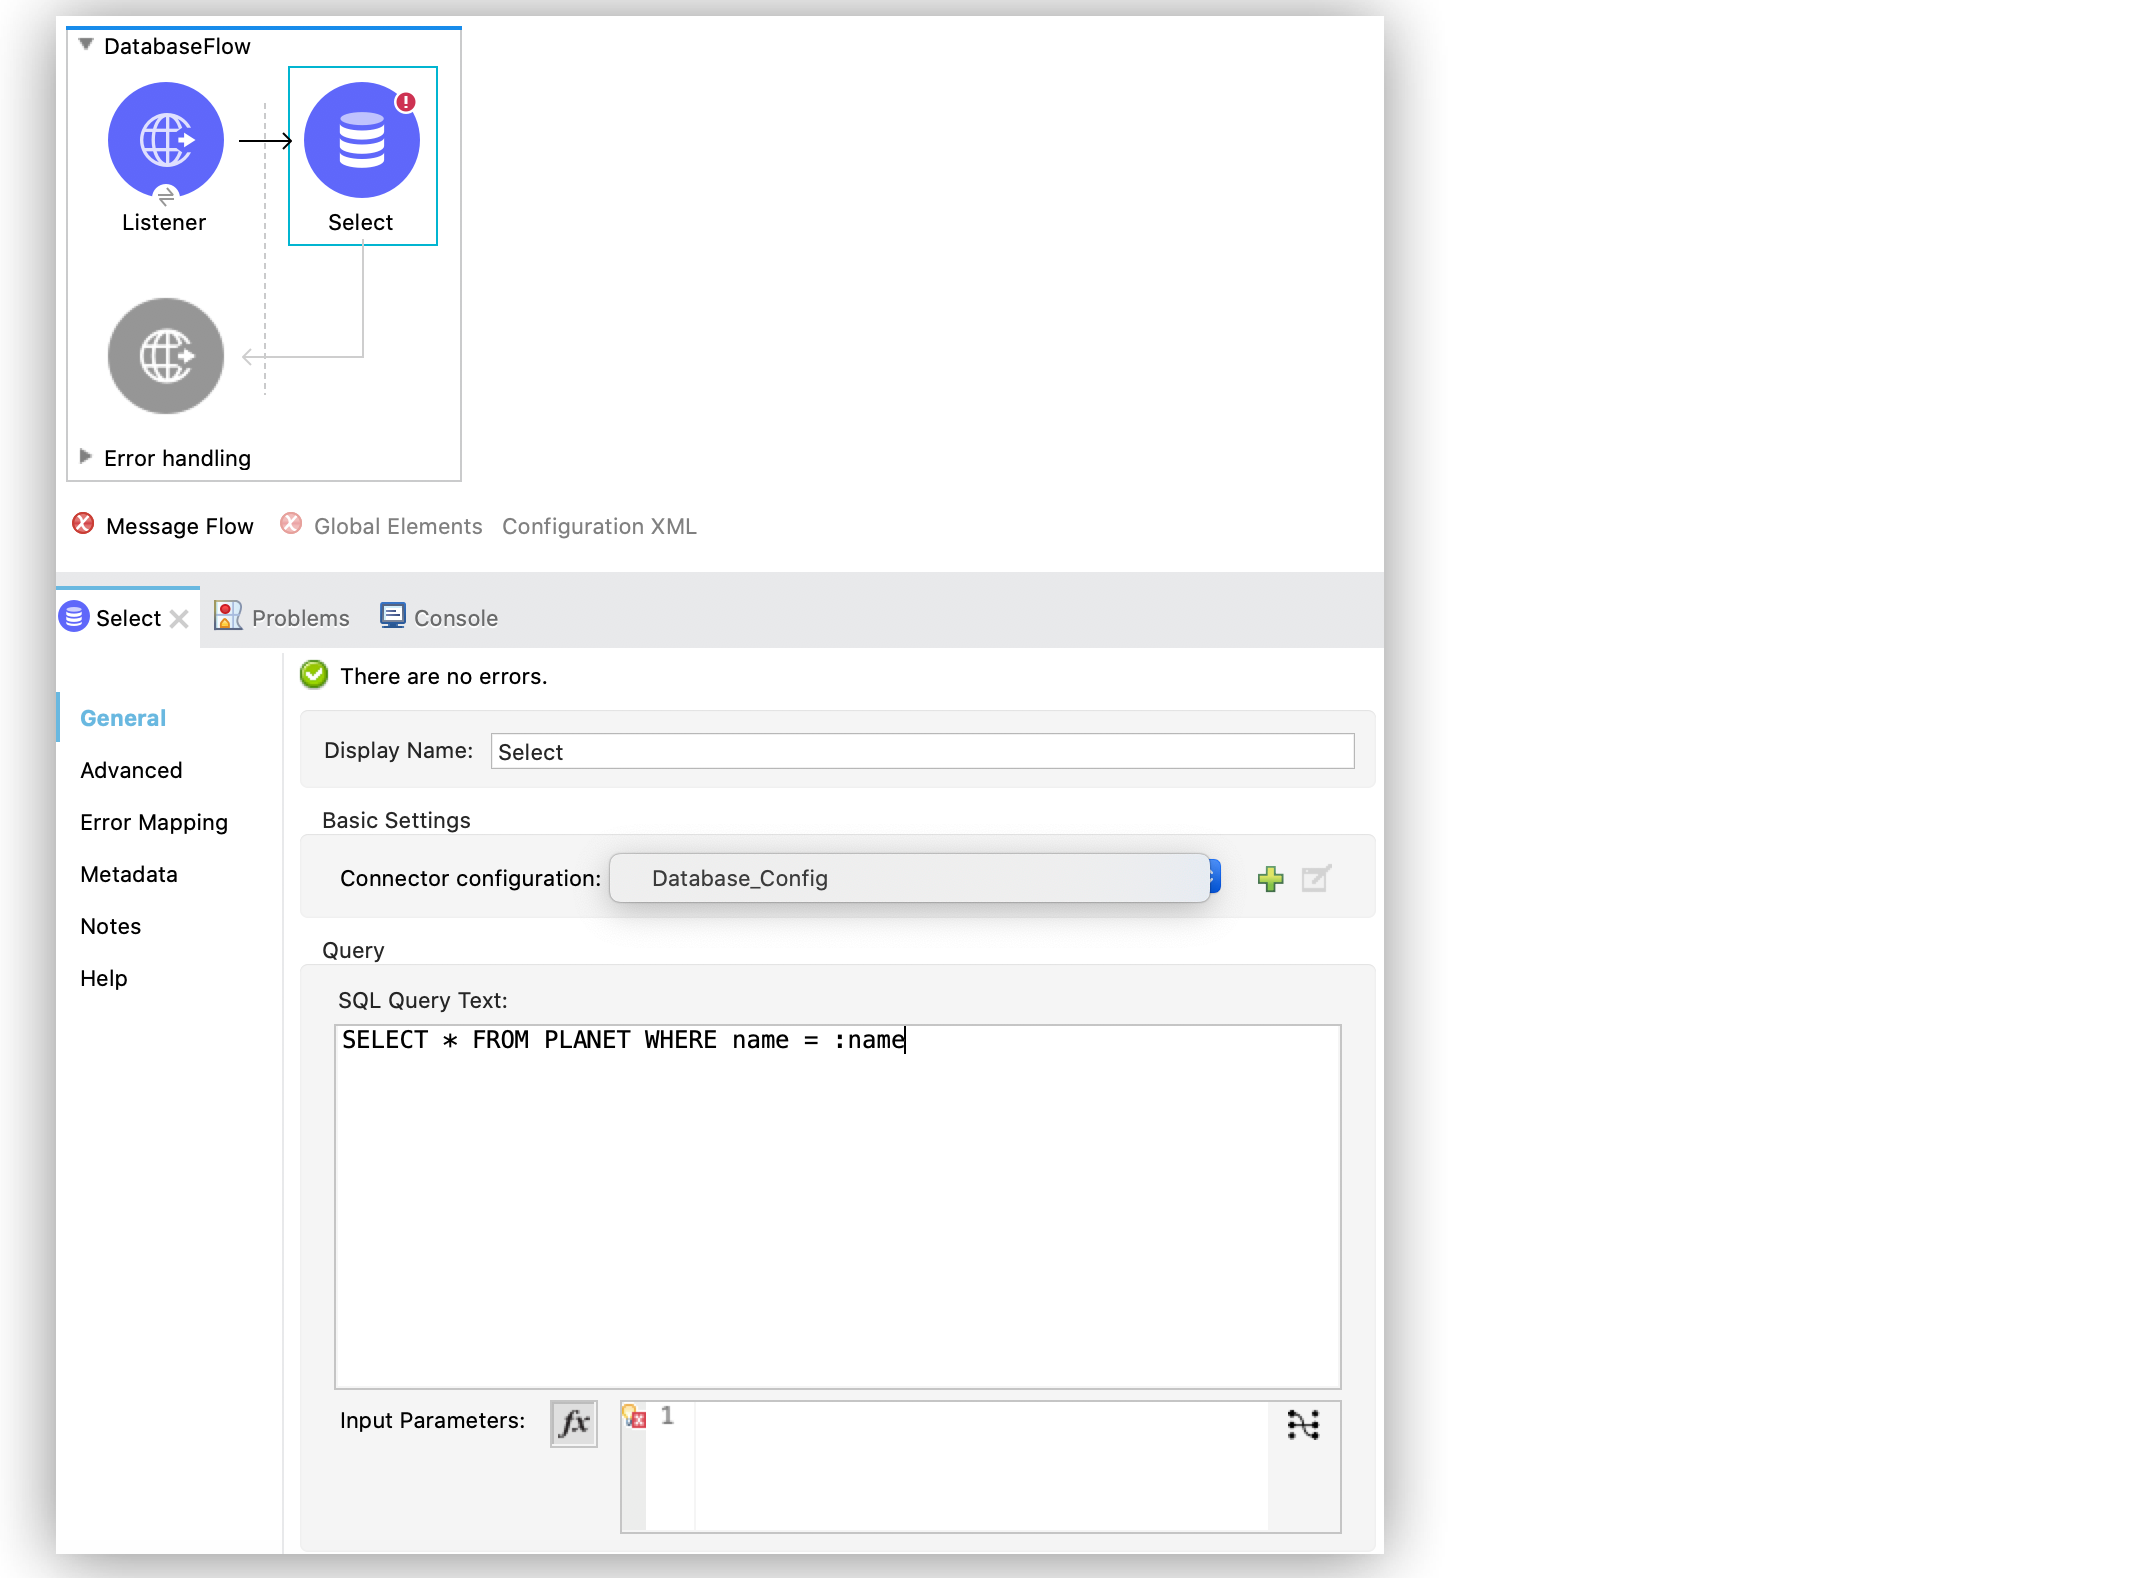
Set the SQL Query Text field to the SQL query to execute, for example,
SELECT * FROM PLANET WHERE name = :name.
The following screenshot shows the configuration in Studio:

In the XML editor, the <db:select> configuration looks like this:
<db:select config-ref="dbConfig">
  <db:sql>SELECT * FROM PLANET WHERE name = :name</db:sql>
</db:select>
Configure the Input Parameters Field in the Select Operation
To protect database queries, configure the Input parameters field in the Select operation by adding variable values to the SQL statement you execute in the database. The primary goal of the Select operation is to supply a SQL query and use DataWeave for the parameters.
The parameters you provide are a map in which keys are the name of an input parameter to be set on the JDBC prepared statement. Reference each parameter in the SQL text using a colon prefix, for example where id = :myParamName. The map’s values contain the actual assignation for each parameter.
Use input parameters to configure the WHERE clause in a SQL SELECT statement to make the query immune to SQL injection attacks and to enable optimizations that are not possible otherwise, improving the application performance.
For security reasons, do not directly write <db:sql>SELECT * FROM PLANET WHERE name = #[payload] </db:sql>.
DataSense is available for the operation’s input and output parameters. Database Connector analyzes the query and automatically calculates the structure of the query’s output by analyzing the projection section of the SQL statement. At the same time, by comparing the conditions in the WHERE clause to the table structure, it generates DataSense input to help you build the DataWeave script that generates the input parameters.
In the following example, you supply input parameters as key-value pairs:
-
In your Studio flow, select the Select operation.
-
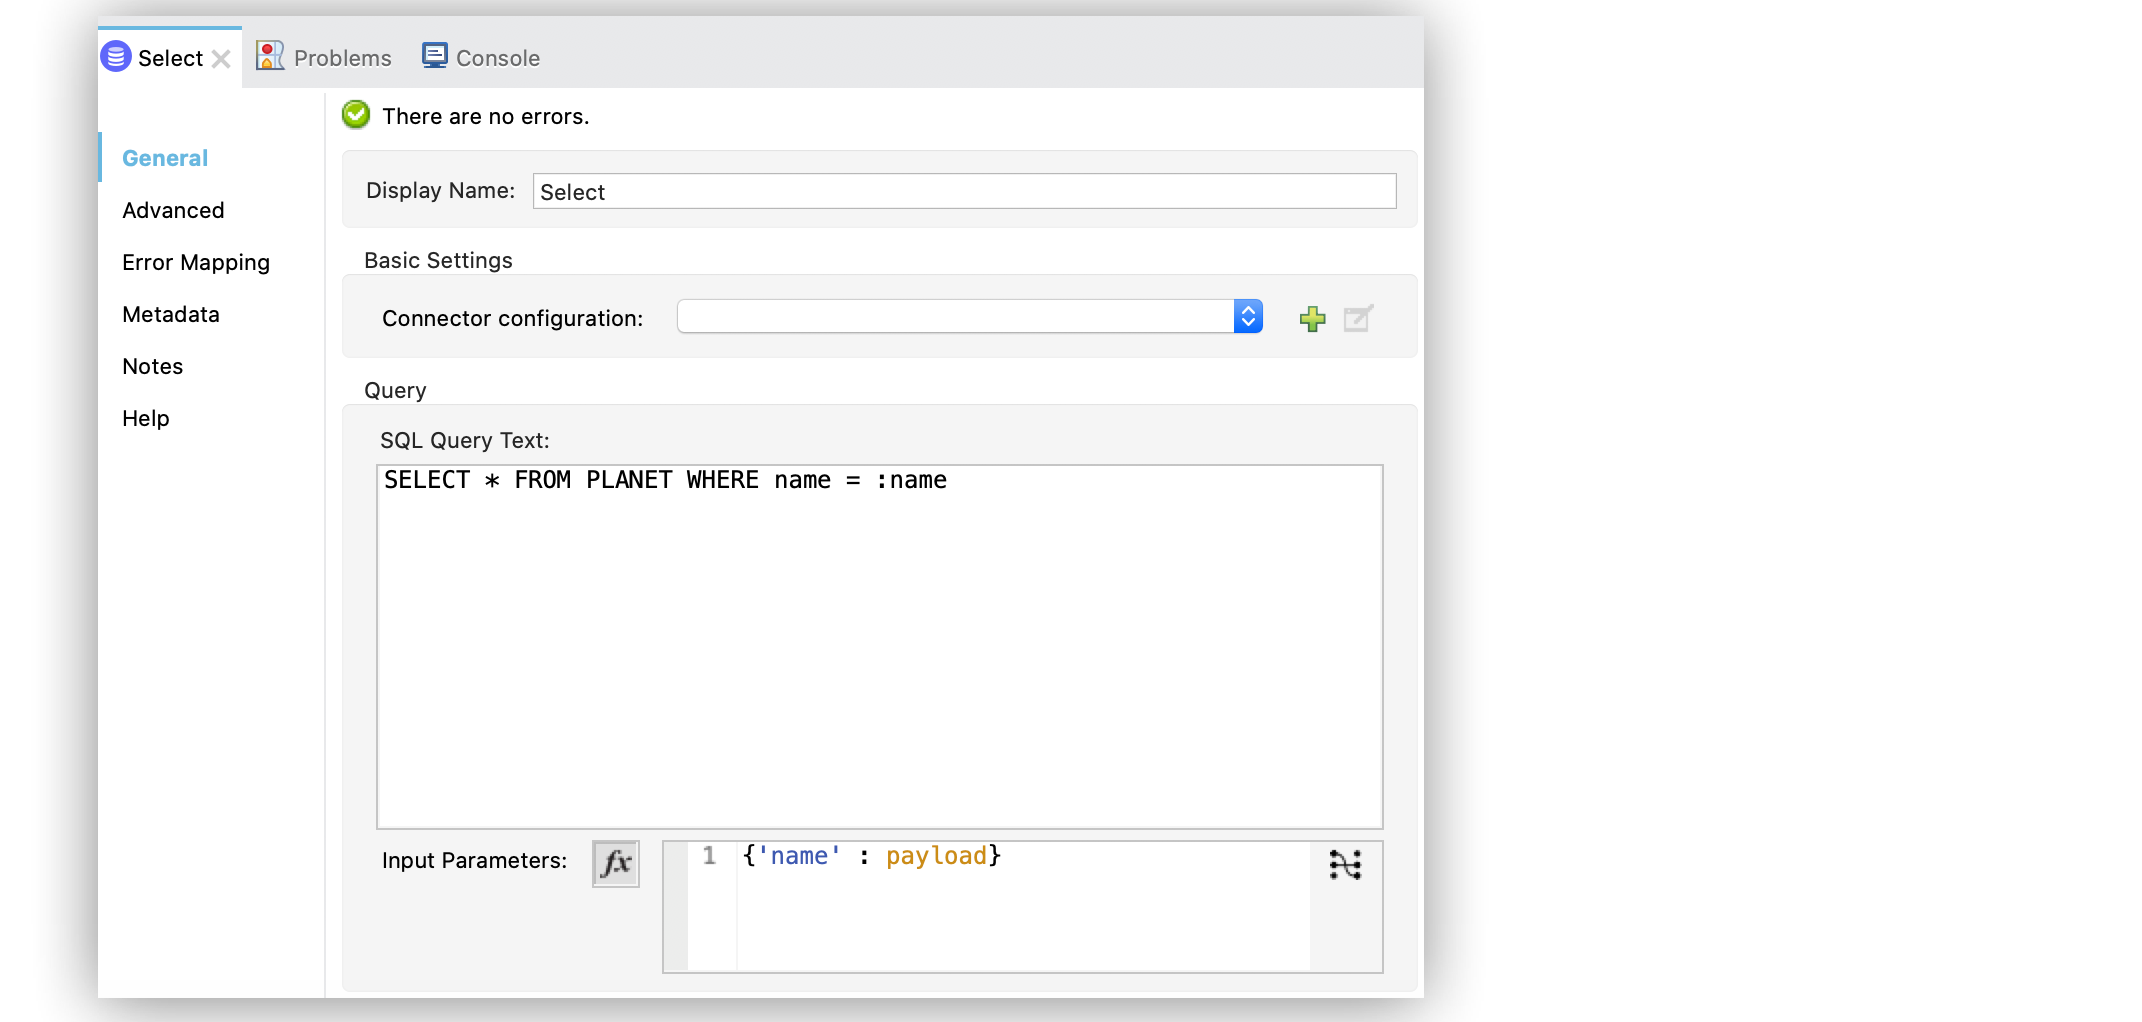
In the operation configuration screen, set the SQL Query Text field to
SELECT * FROM PLANET WHERE name = :name. -
Set the Input Parameters field to
{'name' : payload}.
The keys use the colon character (:) to reference a parameter value by name.
The following screenshot shows the configuration in Studio:
In the XML editor, the <db:input-parameters> configuration looks like this:
<flow name="DatabaseFlow">
  <db:select config-ref="dbConfig">
    <db:sql>SELECT * FROM PLANET WHERE name = :name</db:sql>
    <db:input-parameters>
      #[{'name' : payload}]
    </db:input-parameters>
  </db:select>
</flow>|
Database Connector 1.4.0 accepts escaping colons in SQL Queries. If use the colon character (
|
|
Database Connector 1.8.0 and later accepts SQL Casting PostgreSQL and Snowflake syntaxes through the double colon (::) expression without escaping each colon and without affecting the behavior of escaped colons, for example:
|
Configure Dynamic Queries in the Select Operation
When you need to parameterize not only the WHERE clause but also parts of the query itself (for example, queries that compare tables that depend on a condition, or complex queries for which the project table columns need to vary), you can configure dynamic queries.
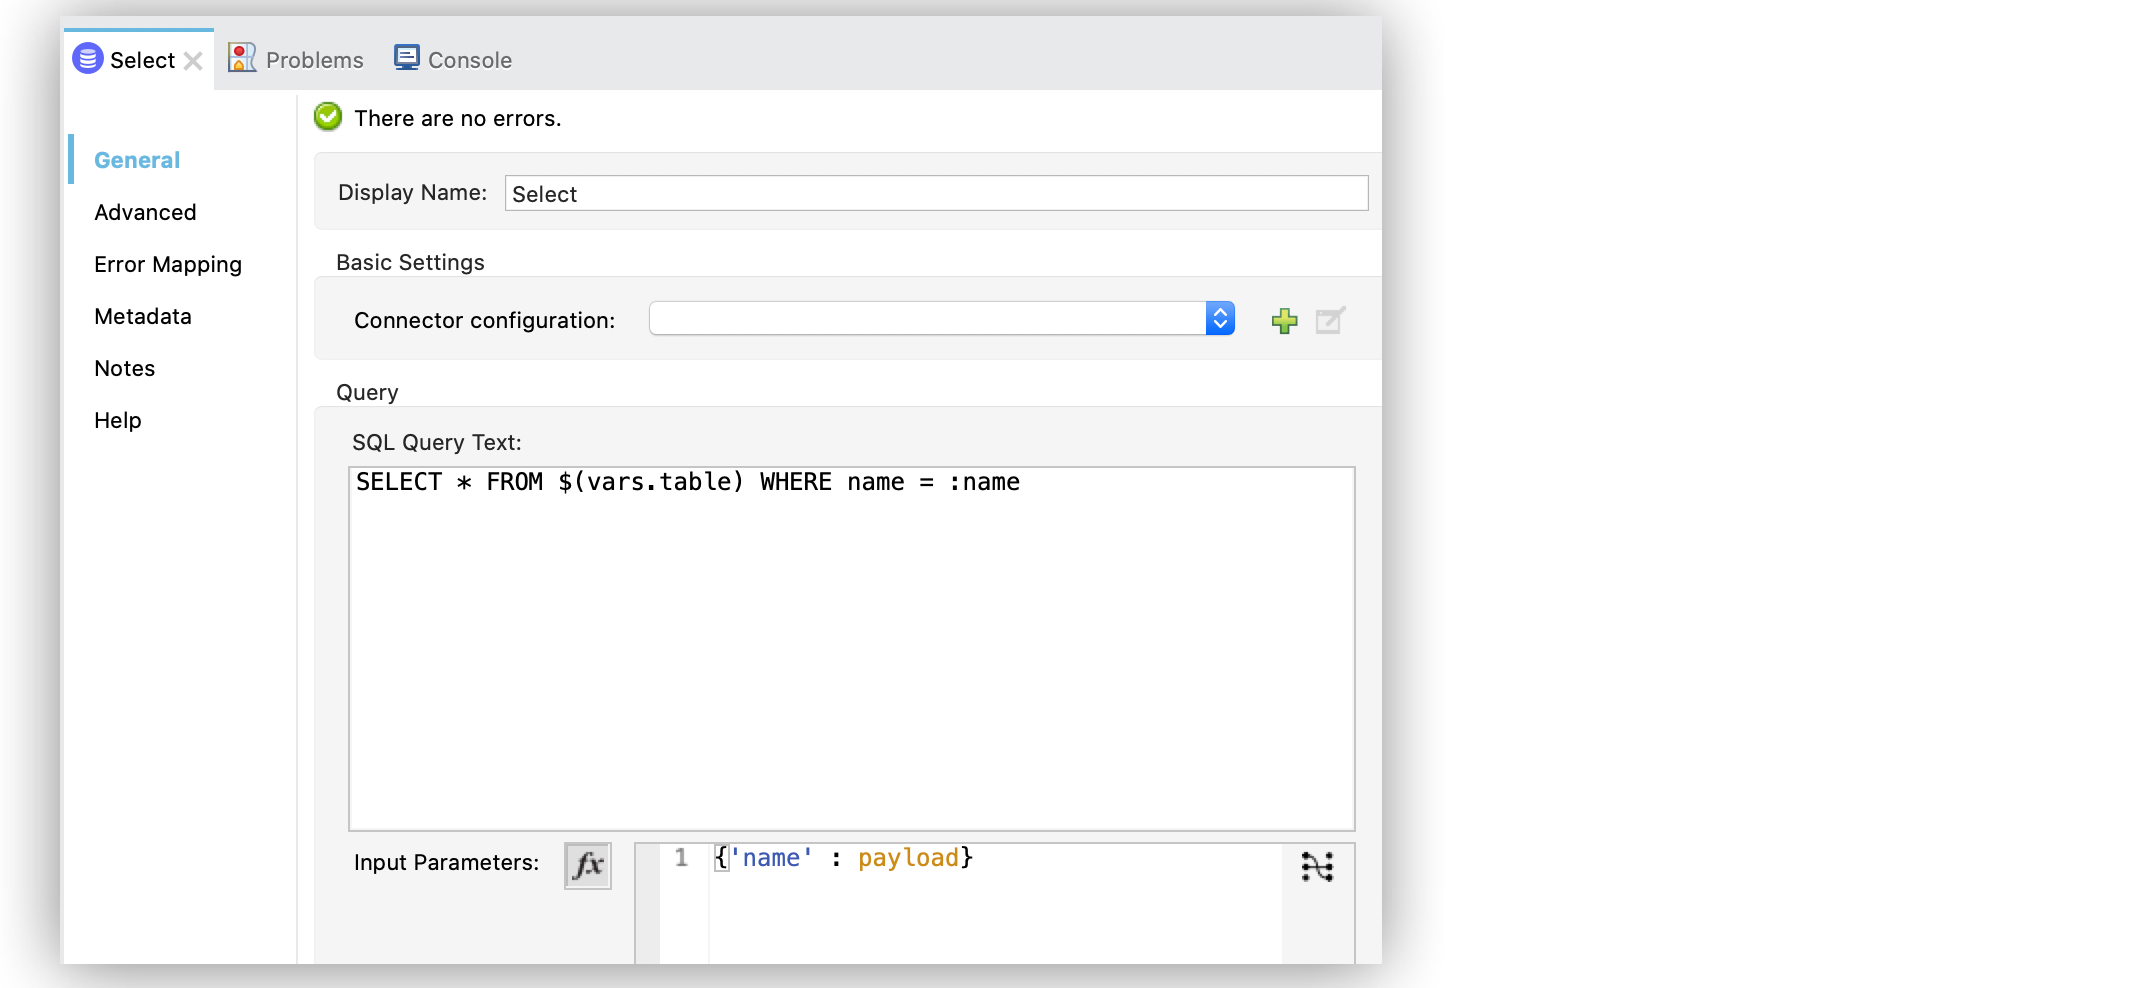
In the following example, you configure a dynamic query by using a full expression with a string in which the table depends on a variable $(vars.table). Although some of the query text is dynamic ("SELECT * FROM $(vars.table)), the WHERE clause still defines the WHERE condition using input parameters: in this case, WHERE name = :name.
-
In your Studio flow, select the Select operation.
-
In the operation configuration screen, set the SQL Query Text field to
SELECT * FROM $(vars.table) WHERE name = :name. -
Set the Input Parameters field to
{'name' : payload}.
The following screenshot shows the configuration in Studio:
In the XML editor, the <db:sql> configuration looks like this:
<set-variable variableName="table" value="PLANET"/>
<db:select config-ref="dbConfig">
    <db:sql>#["SELECT * FROM $(vars.table) WHERE name = :name"]</db:sql>
    <db:input-parameters>
        #[{'name' : payload}]
    </db:input-parameters>
</db:select>
You can apply input parameters only to parameters in a WHERE clause. To modify any other part of the query, use the DataWeave interpolation operator.
Because the expression values may not be available at design time, using dynamic queries might throw DataWeave evaluation errors or affect the output metadata (DataSense) of the Select operation. To default to a value (and avoid the aforementioned inconvenience) the default modifier may be used as follows:
<set-variable variableName="table" value="PLANET"/>
<db:select config-ref="dbConfig">
    <db:sql>#["SELECT * FROM $(vars.table default ASTEROIDS) WHERE name = :name"]</db:sql>
    <db:input-parameters>
        #[{'name' : payload}]
    </db:input-parameters>
</db:select>
Stream Large Results
Use streaming with queries that return many records, such as in integration use cases. In Mule 4, streaming is transparent and always enabled.
For example, if you submit a query that returns 10K rows by attempting to fetch all those rows at once results in both performance degradation, due to the big pull from the network, and the risk of running out of memory, because all the information must be loaded into RAM.
With streaming, Database Connector fetches and processes only part of the query at one time, reducing the load on the network and memory. This means that the connector does not fetch the 10K rows at once; instead, it fetches a smaller chunk, and once that chunk is consumed, it fetches the rest.
You can also use repeatable streams mechanism, which enables DataWeave and other components to process the same stream many times, even in parallel.
Configure the Fetch Size and Max Rows Fields in the Select Operation
Although Mule runtime engine (Mule) enables Database Connector to manage streaming, it’s not always a good idea to move large chunks of data from the database to Mule. Even with streaming, a simple SQL query can return many rows, each one containing a lot of information. To limit the results, configure the Fetch size and Max rows fields.
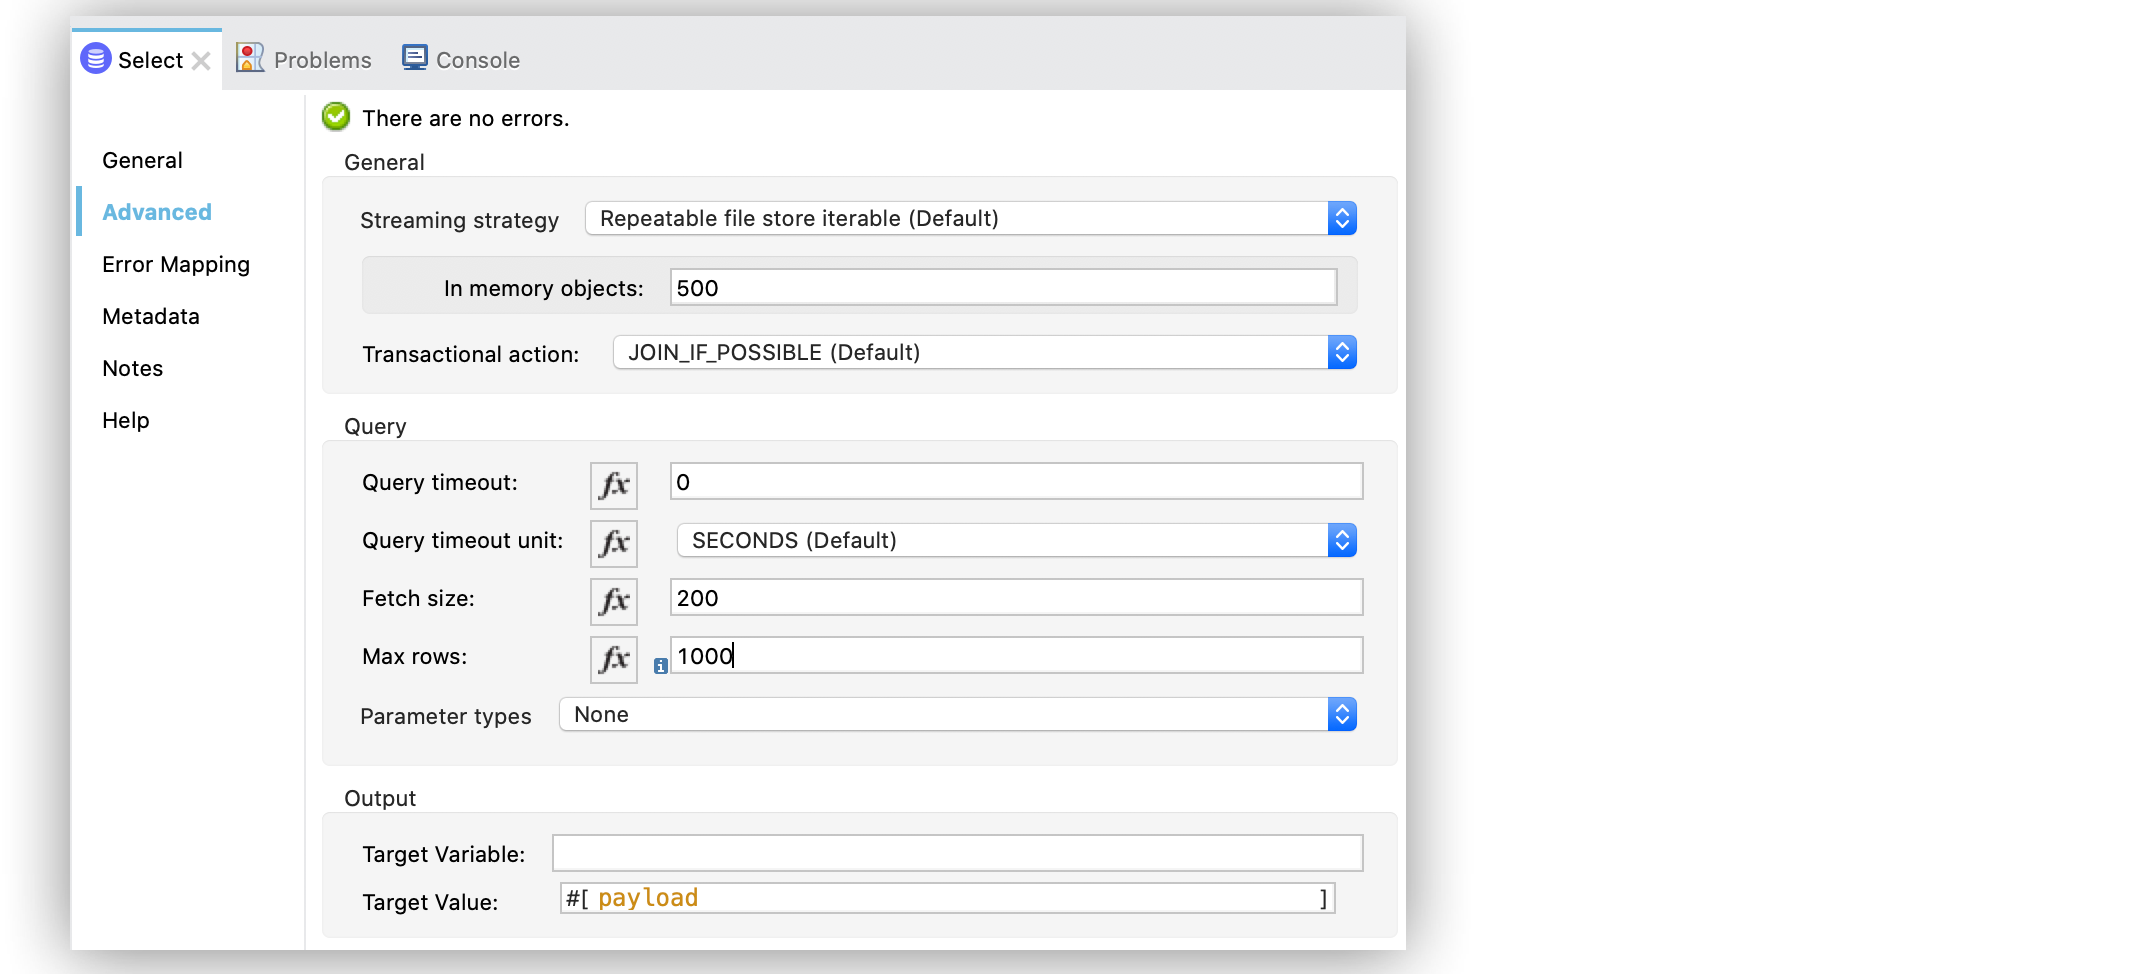
In the following example, you configure these fields for the Select operation. The syntax instructs Database Connector to fetch no more than 1000 rows (Max rows value) and no more than 200 rows simultaneously (Fetch size value), significantly reducing network and memory load. The Fetch size value is enforced differently by different JDBC driver providers and often defaults to 10.
The combination limits the total amount of information that is retrieved (Max rows value) and guarantees that the data is returned from the database over the network in smaller chunks (Fetch size value):
-
In your Studio flow, select the Select operation.
-
In the operation configuration screen, set the SQL Query Text field to
select * from some_table. -
Click the Advanced tab, set the Fetch size field to
200, and set the Max rows field to1000.
The following screenshot shows the configuration in Studio:
In the XML editor, the fetchSize and maxRows configuration looks like this:
<db:select fetchSize="200" maxRows="1000" config-ref="dbConfig">
  <db:sql>select * from some_table</db:sql>
</db:select>
Configure the Query Timeout Fields in the Select Operation
The following factors often cause delays in query execution:
-
An inefficient query, such as one having improper indexing that iterates over many rows
-
A busy RDBMS or network
-
A lock contention
To avoid timeouts when executing queries, configure the Query timeout and Query time unit fields. All Database Connector operations support setting a timeout.
The following example shows how to set a timeout:
-
In your Studio flow, select the Select operation.
-
In the operation configuration screen, set the SQL Query Text field to
select * from some_table. -
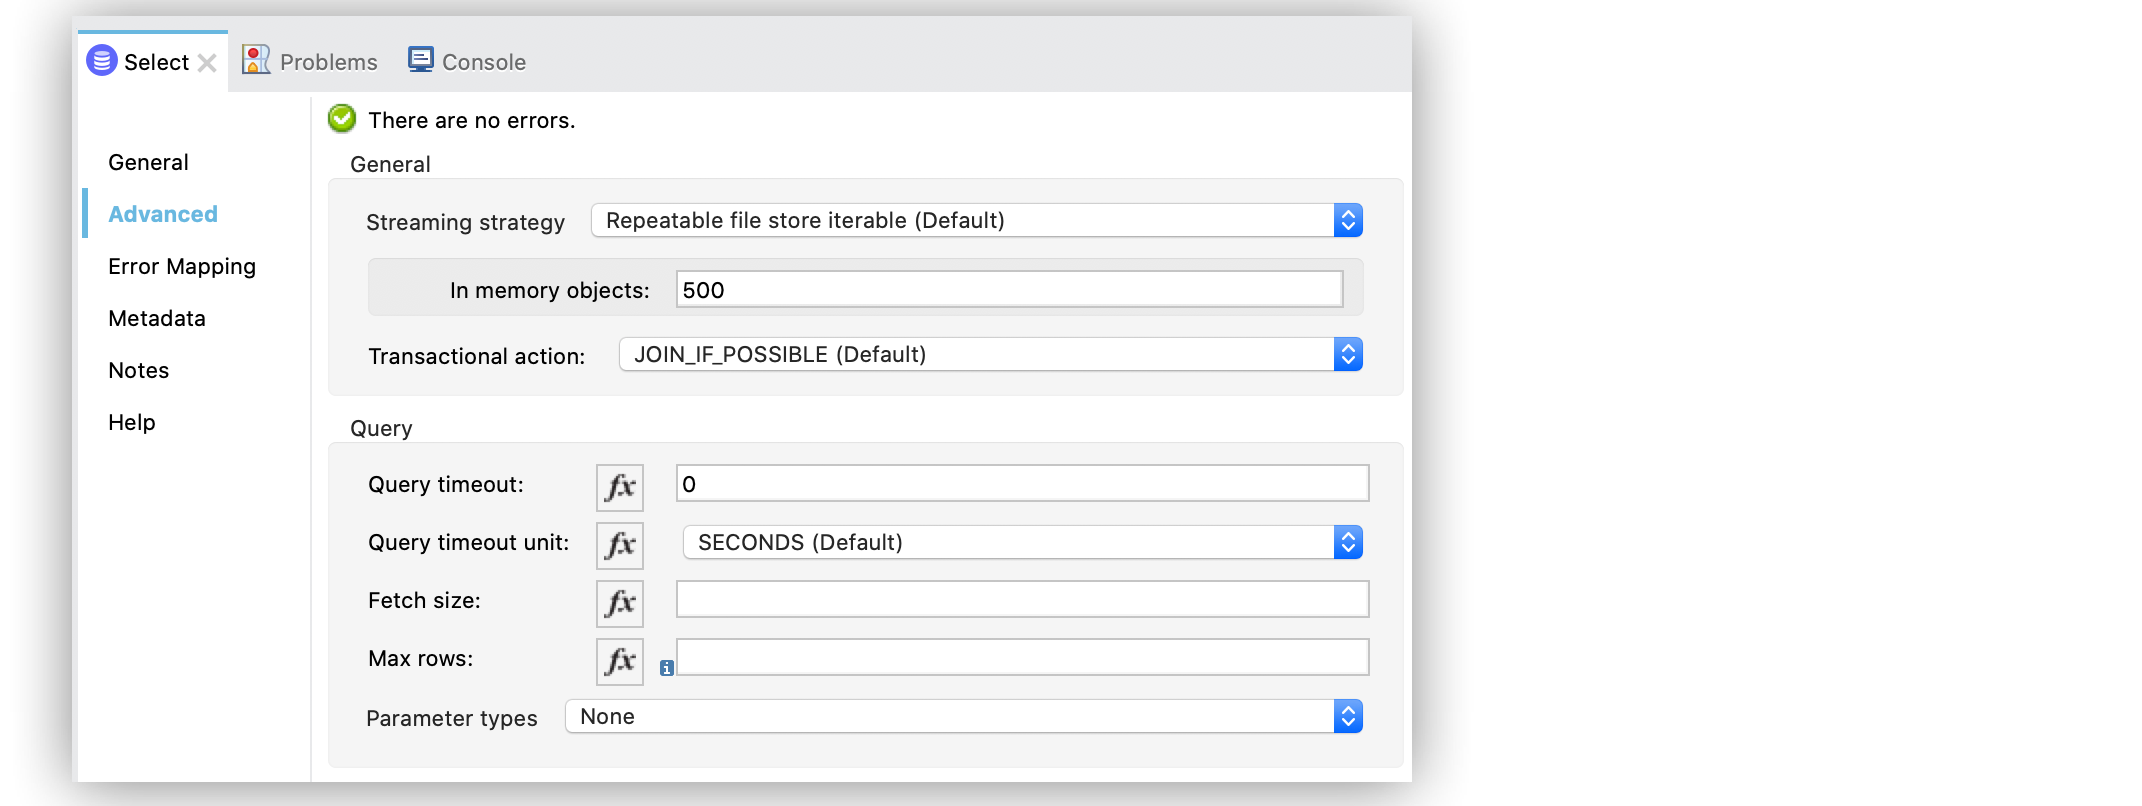
In the Advanced tab, set the Query timeout field to the minimum amount of time before the JDBC driver attempts to cancel a running statement, for example,
0. -
Set the Query timeout unit field to a time unit that qualifies the Query timeout, for example,
SECONDS.
The following screenshot shows the configuration in Studio:
In the XML editor, the queryTimeout and SECONDS configuration looks like this:
<db:select queryTimeout="0" queryTimeoutUnit="SECONDS" config-ref="dbConfig">
   <db:sql>select * from some_table</db:sql>
</db:select>


