Using Anypoint Studio to Configure Microsoft .NET Connector 3.1
Anypoint Studio (Studio) editors help you design and update your Mule applications, properties, and configuration files.
To add and configure a connector in Studio:
When you run the connector, you can view the app log to check for problems, as described in View the App Log.
If you are new to configuring connectors in Studio, see Using Anypoint Studio to Configure a Connector. If, after reading this topic, you need additional information about the connector fields, see the Reference.
Create a Mule Project
In Studio, create a new Mule project in which to add and configure the connector:
-
In Studio, select File > New > Mule Project.
-
Enter a name for your Mule project and click Finish.
Add the Connector to Your Mule Project
Add Anypoint Connector for Microsoft .NET (Microsoft .NET Connector) to your Mule project to automatically populate the XML code with the connector’s namespace and schema location and to add the required dependencies to the project’s pom.xml file:
-
In the Mule Palette view, click (X) Search in Exchange.
-
In the Add Dependencies to Project window, type
microsoft.netin the search field. -
Click Microsoft .NET Connector in Available modules.
-
Click Add.
-
Click Finish.
Adding a connector to a Mule project in Studio does not make that connector available to other projects in your Studio workspace.
Configure a Source
A source initiates a flow when a specified condition is met. You can configure one of these sources to use with Microsoft .NET Connector:
-
HTTP Listener
Initiates a flow each time it receives a request on the configured host and port.
-
Scheduler
Initiates a flow when a time-based condition is met.
For example, to configure HTTP Listener, follow these steps:
-
In the Mule Palette view, select HTTP > Listener.
-
Drag Listener to the Studio canvas.
-
On the Listener configuration screen, optionally change the value of the Display Name field.
-
Specify a value for the Path field.
-
Click the plus sign (+) next to the Connector configuration field to configure a global element that can be used by all instances of
HTTP Listenerin the app. -
On the General tab, specify connection information.
-
On the TLS tab, optionally specify TLS information.
-
On the Advanced tab, optionally specify reconnection information, including a reconnection strategy.
-
Click Test Connection to confirm that Mule can connect with the specific server.
-
Click OK.
Add a Connector Operation to the Flow
When you add a connector operation to your flow, you immediately define a specific operation for that connector to perform.
To add an operation for Microsoft .NET, follow these steps:
-
In the Mule Palette view, select Microsoft DotNet and then select the desired operation.
-
Drag the operation onto the Studio canvas to the right of the source.
Configure a Global Element for the Connector
When you configure a connector, it’s best to configure a global element that all instances of that connector in the app can use. Configuring a global element requires you to provide the authentication credentials the connector uses to access the target Microsoft .NET system.
To configure the global element for Microsoft .NET Connector, follow these steps:
-
Select the name of the connector in the Studio canvas.
-
In the configuration screen for the operation, click the plus sign (+) next to the Connector configuration field to access the global element configuration fields.
-
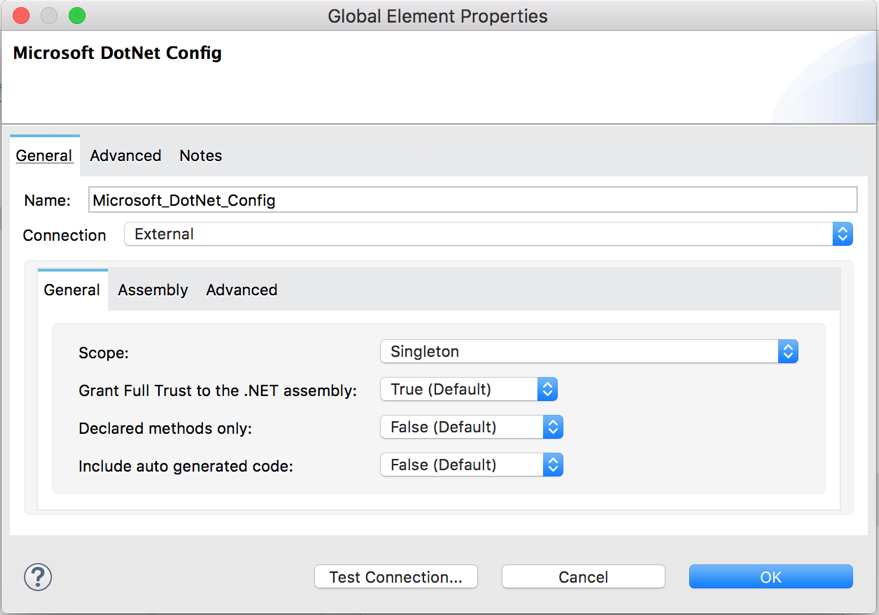
On the General tab, complete these fields:
-
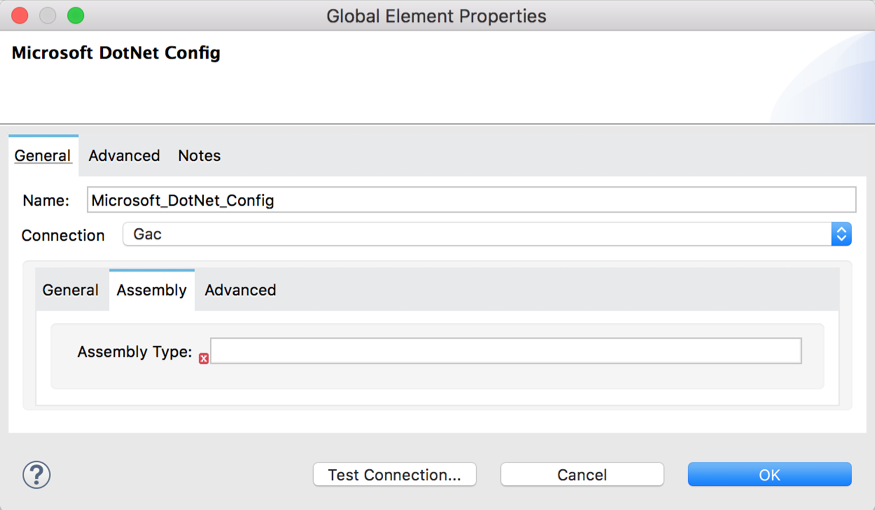
Connection
Select a connection type.
-
Scope
Select the connection scope:
-
Singleton
Shares the same instance of the Microsoft .NET component across multiple calls. Use this option to store a shared state in class instance members across different calls.
-
Transient
Creates a new instance of the Microsoft .NET component per request.
-
-
Grant Full Trust to the .NET assembly
Microsoft .NET code can be executed in an application domain with restricted privileges to avoid the execution of malware code that can affect the stability of the Mule runtime engine. These restrictions include limited access to the file system, native code execution, network calls, registry access, and more. By default the Microsoft .NET connector is set to use full trust.
-
Declared methods only
If the Declared methods only field is set to
true, the metadata fetches only the declared methods from the .NET assembly and populates the Method field in the Method Info section with these methods. The default isfalse. -
Include auto generated code
If the Include auto generated code field is set to
false(the default value), the metadata does not fetch the compiler-generated methods, so these methods won’t appear in the Method field.
-
-
On the Advanced tab, optionally specify reconnection information, including a reconnection strategy.
-
Click Test Connection to confirm that Mule can connect with the specified server.
-
Click OK.
Configure the Legacy Connection Type
Use the Legacy connection type for backward compatibility:
-
In the Connection field, select Legacy.
-
In the Assembly Type field, enter the fully qualified type name for the Legacy connection type, for example,
Namespace.ClassName. -
In the Assembly Path field, enter the path of the Microsoft .NET assembly, for example,
C:\Projects\..dll.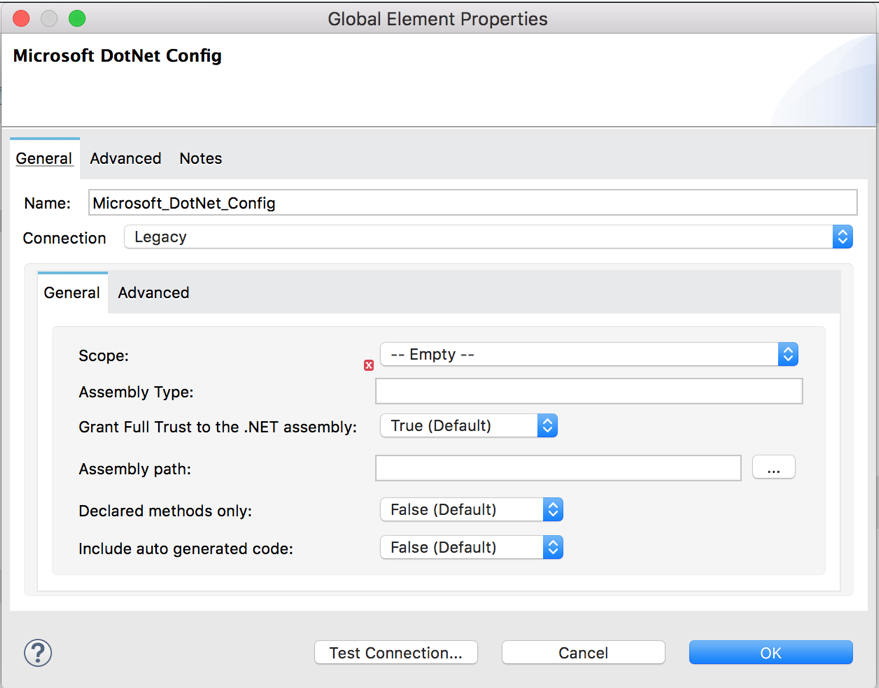
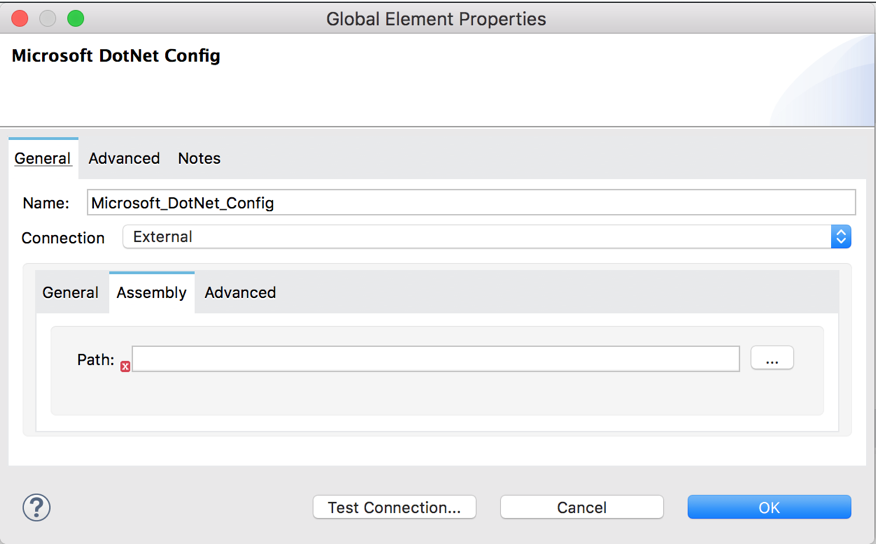
Configure the Resource Connection Type
Use the Resource connection type to connect with an assembly embedded as a resource:
-
In the Connection field, select Resource.
-
In the Path field, specify the relative path to an executable .NET library in the resource folder.
The default resources folder is
src/main/resources.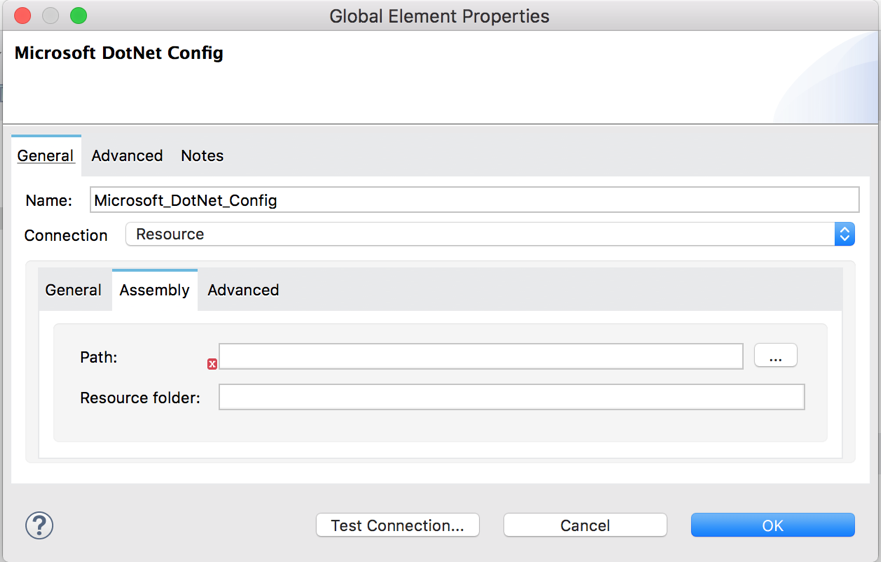
Configure the Other Connector Fields
After you configure a global element for Microsoft .NET Connector, configure the other required fields for the connector:
| Field | Description |
|---|---|
Table name |
Name of the table to create |
Attribute definitions |
Attributes that describe the key schema for the table and its indexes |
Key schemas |
Attributes that compose the primary key for a table or index |
View the App Log
To check for problems, you can view the app log as follows:
-
If you’re running the app from Anypoint Platform, the output is visible in the Anypoint Studio console window.
-
If you’re running the app using Mule from the command line, the app log is visible in your OS console.
Unless the log file path is customized in the app’s log file (log4j2.xml), you can also view the app log in the default location MULE_HOME/logs/<app-name>.log.