Workflow Elements in Detail
RPA Builder creates the basic structure of a Workflow when you set up a new project.
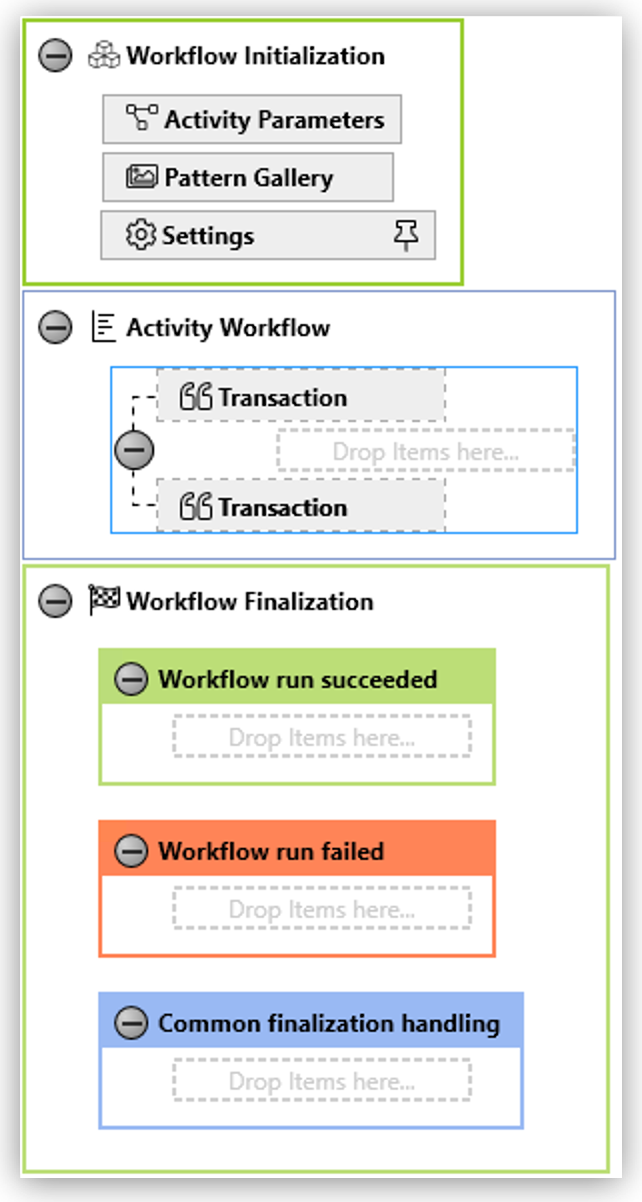
The Workflow is the surrounding container for all Action Steps and Control Blocks. The Workflow element is fixed, cannot be deleted, and does not appear within the Toolbox.
Workflow elements fall into different categories. There are elements that affect the entire Workflow, elements that control the Workflow sequence, elements that can simulate inputs, elements that monitor something, and elements that can measure the length of time taken to execute the Workflow and its availability. The Toolbox is structured based on these categories.
Properties
Properties are shown in the Workflow Properties panel. If this panel is not visible, enable it by going to View → Show Workflow Properties in the top menu bar. After you select an Activity Workflow, its properties are shown in the Workflow Properties panel.
The following is a list of available properties:
-
Miscellaneous
-
Defined Checkpoints
A list of all Checkpoints within the Workflow.
-
Defined Timers
A list of all timers within the Workflow.
-
Record Timer Sum
If activated, the Workflow generates an additional timer that contains the sum of all measured response times.
-
-
Workflow Fail Handling
-
Default Timeout Defines
A global setting for the maximum time a Workflow will wait for an expected event.
-
Reduce Design time Exec Tries
Limits the number of attempts in design mode to 1. Has no effect on execution on an agent.
-
Retry Delay
The waiting time after a failed Workflow run before the next error cycle is started.
-
Workflow Exec Tries
The Number of attempts that the Workflow starts before reporting an error.
-
Action Steps
Action Steps are the smallest components in a Workflow. They can be combined into logical blocks in Transactions.
There are two ways of editing an Action Step. You can either use an Action Step wizard or edit directly using the Properties grid.
-
The Wizard provides special functions (like capturing an image within the Image search wizard), can disable or hide properties that are not currently applicable, and displays all properties in a condensed and more user-friendly view. Configure each Action Step by using its wizard at least once.
There are three ways to start a wizard:
-
Double-click an Action Step and select Run Wizard from the context menu.
-
Click Run Wizard (
 )in the Workbench toolbar while the Action Step is selected.
 -
Insert and element using the Quick Creation Mode.
In this case, the wizard opens automatically for each element inserted.
-
-
Using the Properties grid enables you to edit several Action Steps at once. Select multiple Action Steps by using Ctrl + Click or Shift + Click. The Properties grid only shows the properties that are available on every selected Action Step and you can set those properties for all steps at once.
If the Properties grid is not visible, from the top menu bar, click View > Show Workflow Properties.