Using Search Patterns in a Workflow
The Capture functionality provided in the Search Pattern, Pattern Select, and Pattern Gallery action steps enables you to create search patterns from a screenshot. Then, you can use these patterns in different elements of your Workflow. The Search Pattern, Pattern Select, and Pattern Gallery action steps also share the Pattern Strip module in the wizard, which provides a list of the existing patterns and their associated operations.
Adding a Pattern from Screen Capture
You can create search patterns in the Search Pattern, Pattern Select, and Pattern Gallery action steps by capturing a screenshot. The menu bars for these action steps include a Capture button (![]() ) for this purpose.
) for this purpose.
Clicking Capture freezes the screen content like a screenshot and a small window with the title Capture Patterns appears. Then, you can select the search pattern by clicking and dragging to specify the area that contains the pattern. The selection surrounded with a blue rectangle is no longer transparent gray and you can move or resize it using the mouse or the keyboard. Press Shift+Arrow key to move the selection. Press Ctrl+Arrow key to resize the selection by moving the right and bottom edges.
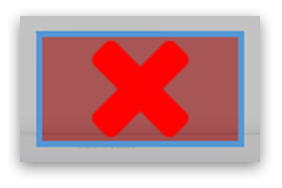
Select more than one search pattern by clicking and dragging multiple times. If the selected image detail is too small, not adequately differentiated, or if it contains too few of the features needed to recognize a search pattern, the search pattern definition window shows a red cross with a red background.
Click Accept selection & continue to add the applicable pattern to the wizard for the relevant action step. The wizard enables you to specify names and color spots for each of the captured patterns.
To cancel the recording of a search pattern at any time, click the close button (X) in the upper right corner of the Capture Patterns window.
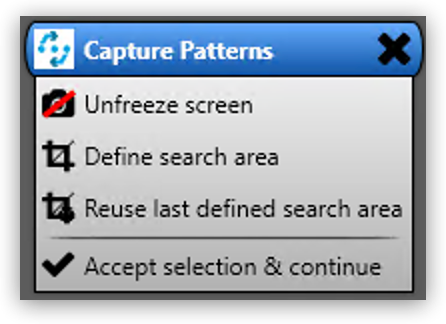
The Capture Patterns Window
-
Unfreeze screen
Releases the frozen screen so that changes can be made on the screen again.
-
Define Search Area
Enables you to reduce the search area from full screen to a smaller area by clicking and dragging the mouse. The selection is transparent red with a red border. When defining the search area, you can unfreeze and refreeze the screen.
-
Reuse last defined Search Area
Enables you to reuse a search area defined in a previous capture. This option shows only if you already defined a search area when setting up the Workflow.
-
Accept selection & continue
Adds the selection into the wizard for the corresponding action step and then returns to that action step.
After you capture at least one search pattern, the Delete selected pattern option shows. This option removes the border around the previously selected pattern (or the last search area defined).
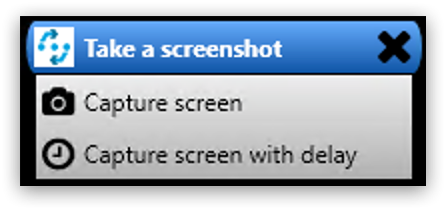
Unfreeze Screen
When you click Unfreeze screen the Capture Patterns window changes as follows:
-
Capture screen
Freezes the screen image again so that the pattern can be captured.
-
Capture screen with delay
Starts the timer. After a delay, the screen image refreezes and the Capture Patterns window reappears.
Using Color Spot with Search Patterns
By default, RPA Builder only captures the pattern features for search patterns and color plays no role in pattern-based searches. However, sometimes you may find that it is necessary to determine when the color in a certain position in the search pattern is correct. For example, the text of an error message needs to be in red, or a traffic light symbol needs to appear green rather than yellow or red. In order to guarantee this, there is an option to define a Color Spot for a Search Pattern. In the case of a Search Pattern with Color Spot, the pattern-based image search is successful only if the color in a defined position matches a predefined color.
When you hover a search pattern in the wizard for the relevant action step, an overlay menu bar shows at the end of the image.
![]()
Click the Color Spot Picker (![]() ) to open a window where you can select the color spot to use with the search pattern.
) to open a window where you can select the color spot to use with the search pattern.
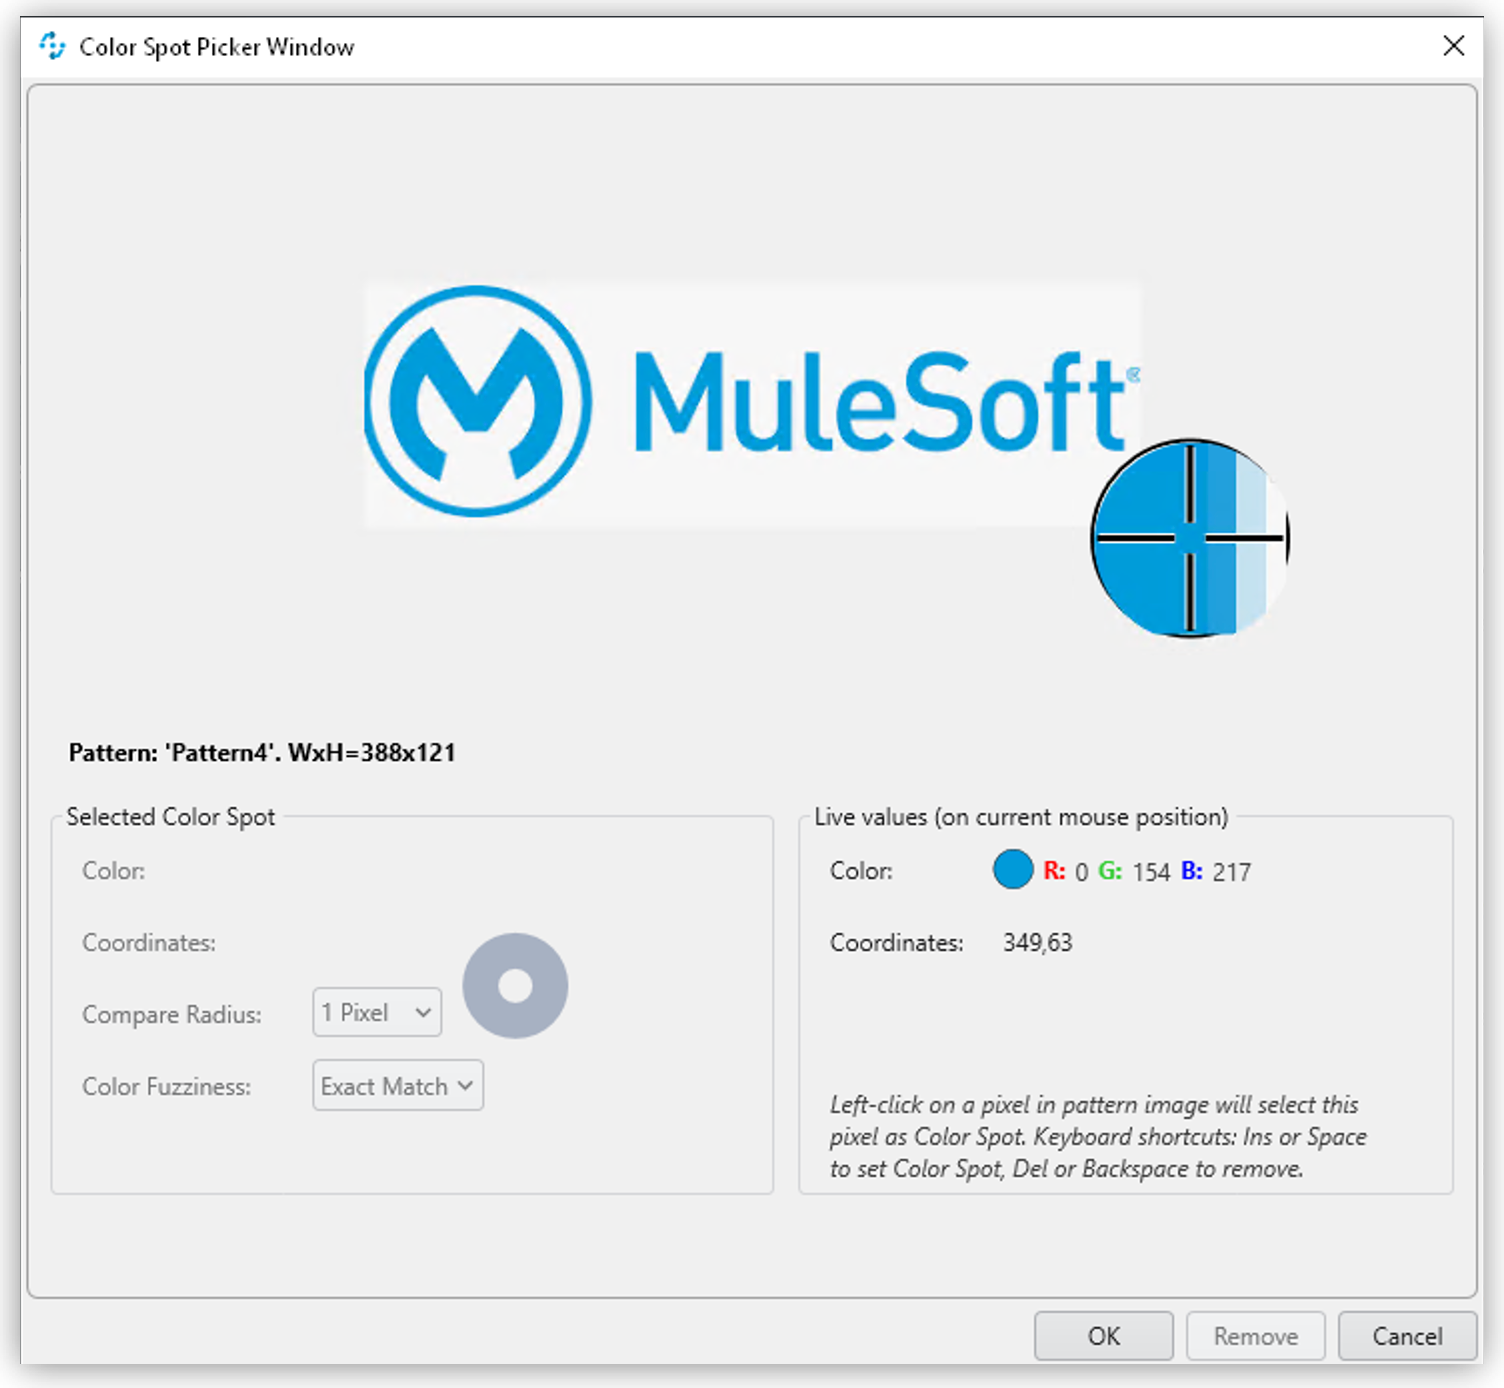
As you move the mouse over the image, the Live values section updates showing the following information:
-
Color
The color value, expressed in RGB color values (
R:255,G:255,B:255), for the current image coordinates. -
Coordinates
The image coordinates based on the current position of the mouse, indicated in
x;ycoordinates being0;0the upper-left corner of the image.
To define the current selection as a Color Spot, either click the left mouse button or press Insert or Space on the keyboard.
To delete the Color Spot, use the Delete or Backspace key.
When you select a Color Spot, it shows in the Selected Color Spot section on the left side of the window.
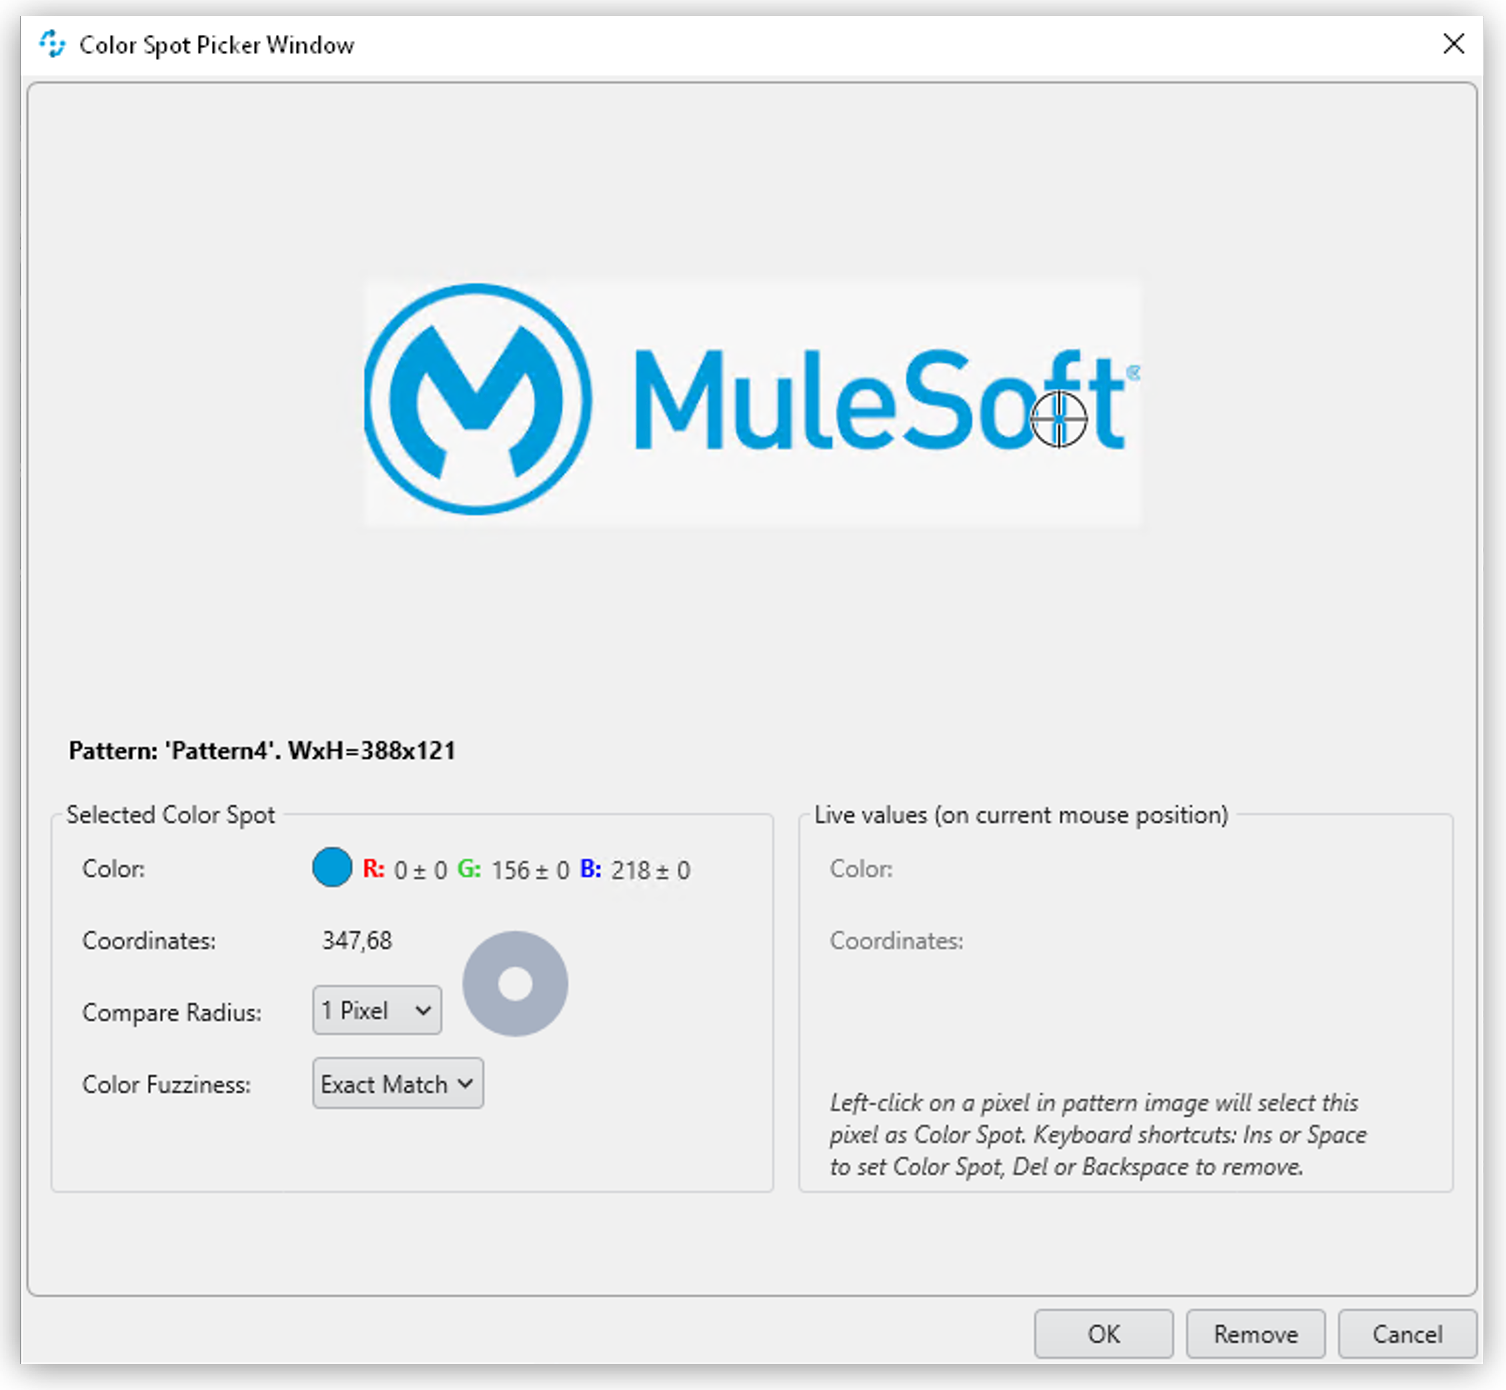
The following settings lessen the restrictions on Color Spots:
-
Compare Radius (in pixels)
Determines the radius around the specified position for the Color Spot in which the specified color must be found. There is a graphical representation of this radius next to the input field.
-
Color Fuzziness (in bits)
Determines the color deviation which is permitted for each RGB color channel. Use this option to specify how many low-order digits in the binary 8-digit color code can be ignored when comparing the color.
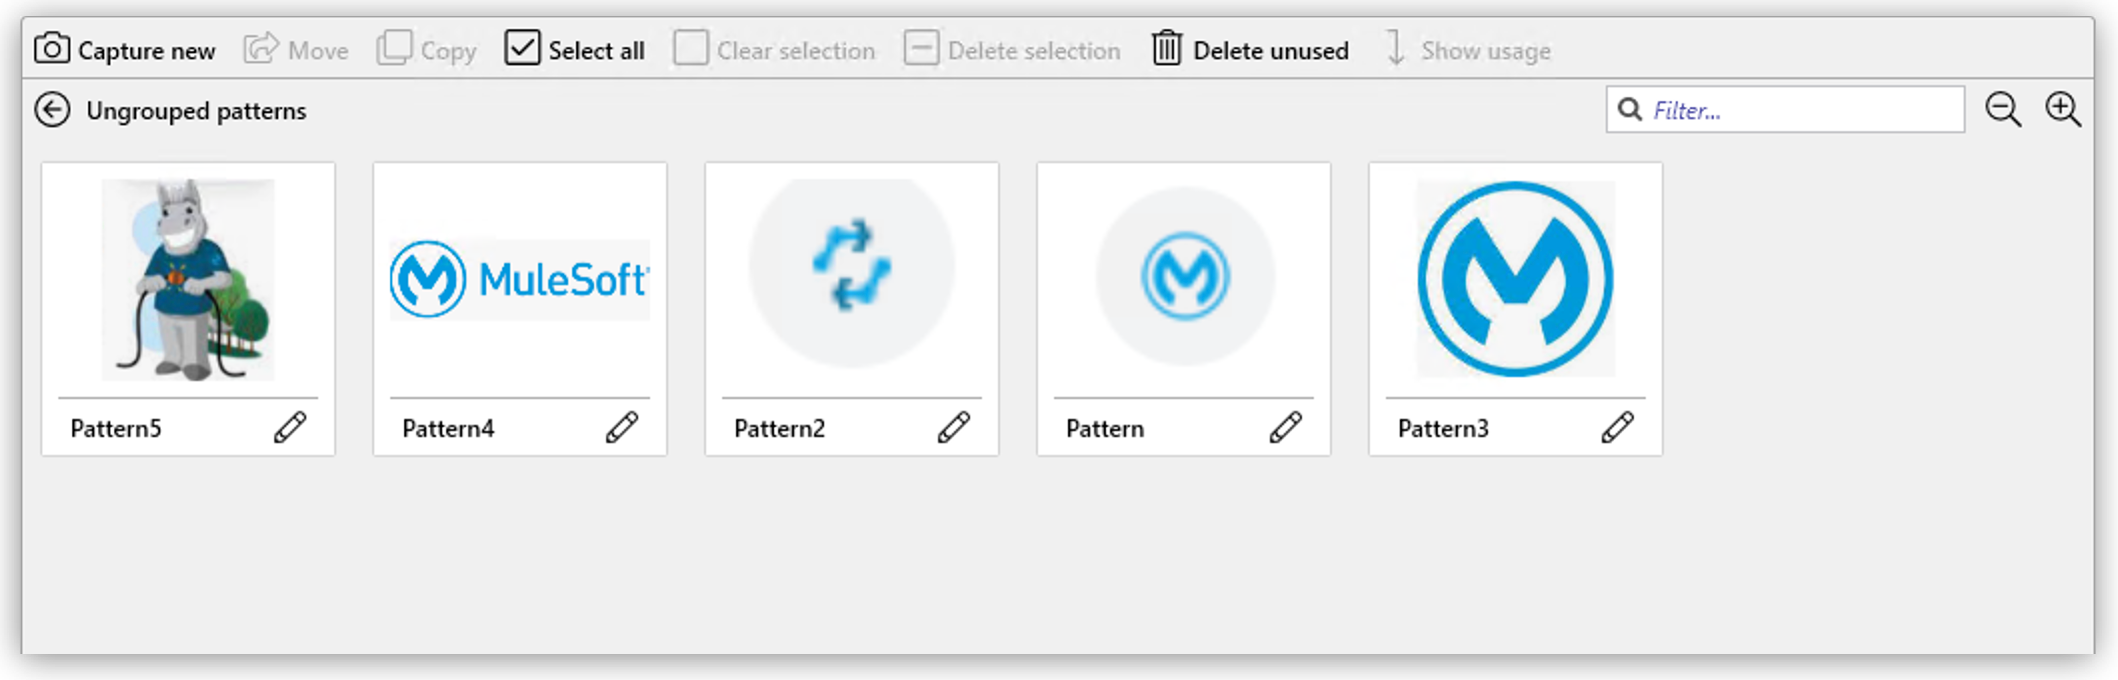
The Pattern Strip Module
Pattern Strip is a UI module that is used across all the wizards for the Search Pattern, Pattern Select, and Pattern Gallery action steps. The Pattern Strip consists of a list of Search Patterns, the associated options, and a menu bar. The menu bar buttons vary according to the action step and the quantity and selection status of the search patterns.
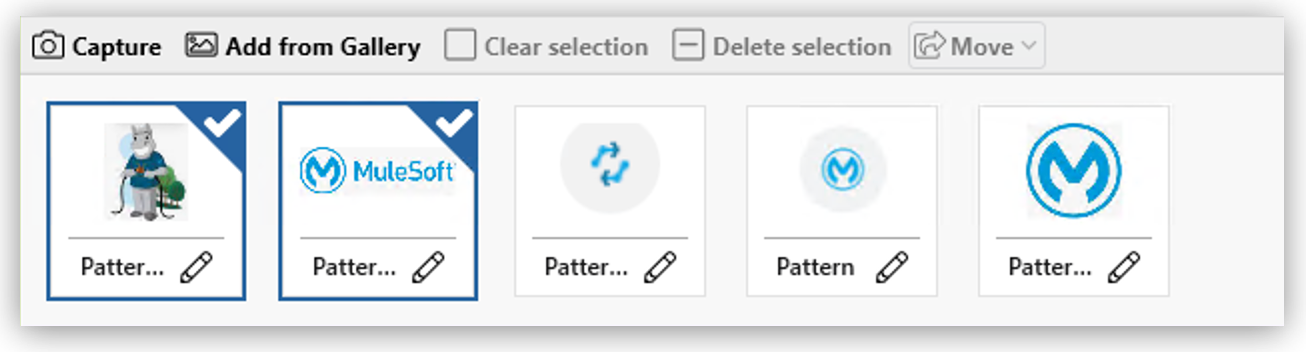
Use the mouse to click and select search patterns. A white check mark appears on a blue background in the top-right corner to highlight a selected item. Click again to undo the selection.
Buttons for functions relating only to the selected patterns appear on the menu bar only if at least one pattern is selected.
Menu Bar
The Pattern Strip menu bar has general buttons that show in all related action steps and buttons that are specific to the Search Pattern, Pattern Select, and Pattern Gallery action steps. The following table shows the button images, names, descriptions, and also in which of the related action steps they are available:
| Button | Name and Description | Pattern Gallery | Pattern Select | Search Pattern |
|---|---|---|---|---|
|
Add from Gallery: Enables you to add existing patterns from the Pattern Gallery. |
Yes |
Yes |
|
|
Add Pattern Group: Creates a new pattern group which enables you to group patterns based on different criteria and perform group operations. |
Yes |
||
|
Capture: Enables you to create a new pattern from a screen capture. |
Yes |
Yes |
Yes |
|
Clear Selection: Removes all selections so that no image is selected. |
Yes |
Yes |
Yes |
|
Copy: Copies the selected patterns to the specified pattern group. |
Yes |
||
|
Delete Selection: Deletes the selected patterns. |
Yes |
Yes |
Yes |
|
Delete Unused: Deletes the patterns that are not being used by any action steps. |
Yes |
||
|
Link Group: Selects a Pattern Group and all search patterns included in that group. If the search patterns inside the linked group change, those changes are also reflected here. |
Yes |
Yes |
|
|
Move: In the Pattern Gallery, moves the selected patterns to the specified pattern group. In Search Pattern and Pattern Select, moves the selected patterns to the specified to either the Regular, Ignored, or Excluded sections. |
Yes |
Yes |
Yes |
|
Select All: Selects all patterns in the current pattern group. |
Yes |
||
|
Show Usage: Shows which action steps are using the currently selected patterns. |
Yes |
Filtering for Pattern Names and Zooming Search Pattern Images

The Pattern Gallery includes filter options in the main menu bar. Search Pattern and Pattern Select action steps show filter options at the beginning of the Search Patterns section in a separate menu bar and apply to all Pattern Strips in the wizard equally.
Entering text into the Filter… field hides all patterns in the subsequent sections of the wizard with names that do not contain the specified text. Filtering is applied as you type each letter. The filter text may appear in any position within the pattern name, but must be contiguous to be considered a match.
For example: Consider a Search Pattern action step that contains search patterns with the following names House, House1, Mouse, and Mouse1.
-
If you type
usein the filter, all images show. -
If you type
1, onlyHouse1andMouse1show. -
If you type
H, onlyHouseandHouse1show.
The Zoom Out (![]() ) and Zoom In (
) and Zoom In (![]() ) buttons make all pattern images in the wizard either smaller or larger.
) buttons make all pattern images in the wizard either smaller or larger.
Search Pattern Options
When you position the mouse over a pattern, the following buttons appear:
-
The Edit (
 ) button enables you to rename the search pattern. Alternatively, you can click the name of the search pattern to rename it. This action also changes the name in the Pattern Gallery and all other action steps that use this pattern.
 -
The Recapture Pattern (
 ) button enables you to replace the pattern with a new screenshot. Recapturing the pattern ensure that both the pattern name and its position in the list remain the same.
 -
The Color Spot Picker (
 ) button opens a window where you can select the Color Spot within the pattern. See Using Color Spot with Search Patterns for additional details about the Color Spot functionality.
 -
The Delete Pattern (
 ) button deletes the pattern. You can also delete a selected pattern using the Delete Selection (
 ) button from the menu bar.