Managing Private Spaces
Use Anypoint Runtime Manager to manage private spaces, such as adding and removing a route from the route table or detaching a transit gateway from the private space.
Add or Remove a Route from the Route Table
Routes determine how to direct traffic from your private space, for example, to the public internet or through a connection (VPN or transit gateway).
You might want to add a route to enable a new subnet to be accessible or remove a route if you no longer want a subnet to be accessible through the transit gateway.
When you create a new private space, you can remove the default routes that MuleSoft provides. However, when you change the default route, your private space might experience downtime. If the X icon doesn’t appear for a route, you can’t remove it.
You cannot remove the MuleSoft-defined routes for existing private spaces created before March 9, 2023. You must create and configure a new private space to remove the default routes that MuleSoft defines. MuleSoft defines other routes, such as control plane traffic routes, that you cannot view or remove from the route table. Note that Anypoint MQ, ObjectStore v2, and API Manager require internet access from your network.
-
From Anypoint Platform, select Runtime Manager > Private Spaces.
-
Click the name of the private space to manage.
-
On the Network tab, in the Private Network section, click Route Table:
The route table shows all routes for the private space.
-
Add a route by entering the subnet in CIDR notation, selecting the connection, and clicking Add Route:
You can’t add a route that matches a priority route (a route that’s used by your private network).
Routes can be used by only one connection at a time. If you enter a non-local/Internet Gateway (IGW) route, CloudHub 2.0 warns that the route is being used by another connection.
Routes should not overlap with existing routes. CloudHub 2.0 warns if you enter a route that overlaps with another route in the route table.
-
Remove a route by clicking the X icon for a row in the table and then clicking Delete to confirm.
If the X icon doesn’t appear for a route, you can’t remove it.
You can remove routes for static VPN connections.
-
-
Click Done to close the route table.
Anypoint Platform submits the new route to AWS.
Rename a Connection
-
From Anypoint Platform, select Runtime Manager > Private Spaces.
-
Click the name of the private space to manage.
-
On the Network tab, in the Connections section, click the Connections menu (…) and select Rename:
-
Enter the new name and click Save.
Create Redundant VPN
-
From Anypoint Platform, select Runtime Manager > Private Spaces.
-
Click the name of the private space to manage.
-
On the Network tab, in the Connections section, click the VPN menu (…) and select Create Redundant VPN:
<screenshot>
-
Follow the steps in Create a Redundant VPN.
Rename a VPN
-
From Anypoint Platform, select Runtime Manager > Private Spaces.
-
Click the name of the private space to manage.
-
On the Network tab, in the Connections section, click the VPN menu (…) and select Rename:
-
Enter the new name and click Save.
Change VPN Connection Settings
You can change the tunnel initiation behavior after configuring the VPN connection.
This setting applies to all VPNs in this connection and is enabled by default.
| Modifying the tunnel initiation after VPN creation causes all VPNs in this connection to restart. |
-
From Anypoint Platform, select Runtime Manager > Private Spaces.
-
Click the name of the private space to manage.
-
On the Network tab, in the Connections section, click the VPN menu (…) and select Connection Settings:
-
On the Connection Settings page, you can:
-
Enter a new name for the VPN connection.
-
Expand Advanced Options to change the Automatic Tunnel Initiation option.
Enable this option to specify that VPN starts up automatically.
If you deselect this option, you must generate traffic from the customer gateway to establish VPN tunnels.
-
-
Click Save or Cancel to close the Connection Settings window.
Modifying the Automatic Tunnel Initiation option restarts all VPNs in the connection.
View VPN Status
-
From Anypoint Platform, select Runtime Manager > Private Spaces.
-
Click the name of the private space to manage.
-
On the Network tab, in the Connections section, click the VPN menu (…) and select View Details:
-
Click X to close the VPN Details window.
Enable VPN logs
You can enable VPN logs to be directly accessible by MuleSoft support engineers. This shortens the process for obtaining the logs from AWS.
-
For VPN connections created after March 8, 2023, VPN logs are enabled by default upon creation.
-
For existing VPN connections:
-
You can enable VPN logs via PATCH call to the following existing endpoint:
The payload to enable logs for VPNs with two tunnels without making other changes is
{"vpnTunnels":[{"isLogsEnabled": true}, {"isLogsEnabled": true}]}.The
isLogsEnabledflag can only be set totrue; otherwise, the API returns a 400 error. -
Any updates you make to an existing VPN after March 8, 2023 enables the VPN logs to be directly accessible by MuleSoft Support Engineers.
-
| Enabling this feature speeds up the process for obtaining VPN logs from AWS, as the MuleSoft support team can download them directly, with no need to raise an AWS support ticket. |
Delete a VPN
Deleting the last VPN in a connection removes the entire connection.
| You can’t undo this action. |
-
From Anypoint Platform, select Runtime Manager > Private Spaces.
-
Click the name of the private space to manage.
-
On the Network tab, in the Connections section, click the VPN menu (…) and select Delete:
-
Click Delete to confirm the deletion or Cancel.
Rename a Transit Gateway Attachment
You might want to rename a transit gateway attachment to match the attachment name in AWS.
To rename a transit gateway attachment:
-
From Anypoint Platform, select Runtime Manager > Private Spaces.
-
Click the name of the private space to manage.
-
On the Network tab, in the Connections section, click the transit gateway menu (…) and select Rename:
-
Enter the new name and click Save.
Detach a Transit Gateway from the Private Space
You might want to detach a transit gateway attachment for the following reasons:
-
If you reject an attachment in AWS, the transit gateway attachment appears as
Rejectedin Anypoint Platform. In this case, you must remove the attachment before trying to attach it again. -
If an attachment is deleted on AWS, you can remove the attachment from Anypoint Platform.
Removing a transit gateway attachment also deletes any associate routes. The resource share on AWS remains unaffected so you can readd the transit gateway without creating a new one. However, detaching a transit gateway from a private space also deletes the attachment in AWS.
The transit gateway appears under Add a transit gateway if you only detach it and do not delete it from your organization. Any apps deployed to the private space continue to run, but they are no longer connected to your Amazon VPCs and VPNs.
To detach the transit gateway:
-
From Anypoint Platform, select Runtime Manager > Private Spaces.
-
Click the name of the private space to manage.
-
On the Network tab, in the Connections section, click the transit gateway menu (…) and select Detach:
-
At the confirmation prompt, click Detach.
Detaching a transit gateway might take several minutes.
Delete a Transit Gateway
To completely remove the transit gateway from your Anypoint Platform organization,
use the delete transit gateway API call (DELETE <>/organizations/:orgId/transitgateways/:tgw-id) and delete the resources share on AWS.
For information, see Deleting a resource share in the AWS documentation.
Delete a Private Network
You can’t delete a private network if any apps are deployed to it or if any connections exist.
| You can’t undo this action. |
-
From Anypoint Platform, select Runtime Manager > Private Spaces.
-
Click the name of the private space to manage.
-
On the Network tab, click the Private Network menu (…) and select Delete:
-
Click Delete to confirm the deletion.
Delete a Private Space
You can’t delete a private space if it has any related private network, VPNs, or transit gateway attachments.
| You can’t undo this action. |
-
From Anypoint Platform, select Runtime Manager > Private Spaces.
-
Click the name of the private space to manage.
-
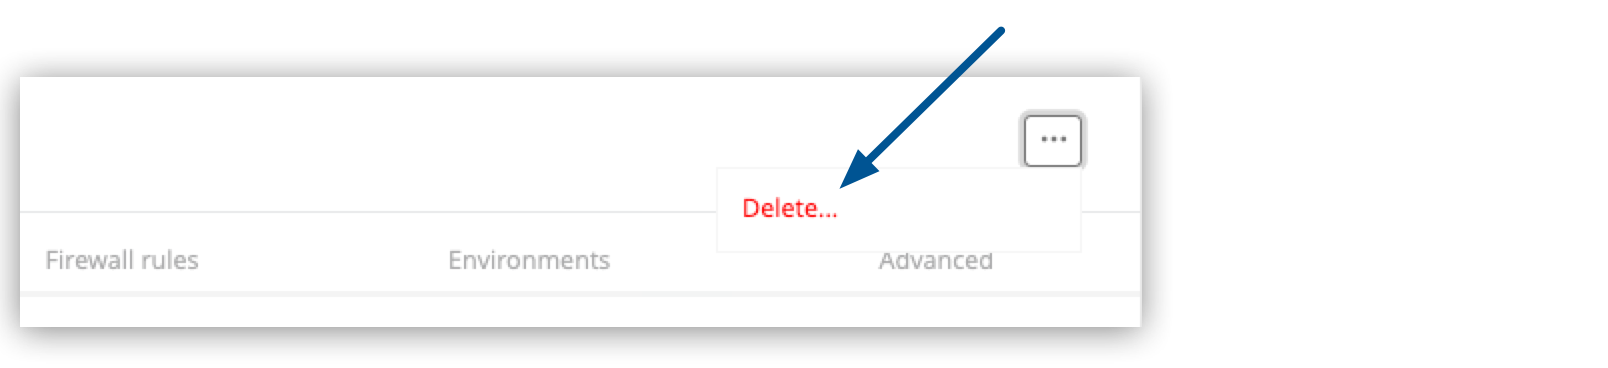
Click the Private Space menu (…) and select Delete.
-
Click Delete private space to confirm the deletion or Cancel.
See Also
-
Deleting a resource share in the AWS documentation