Setting Up Your Development Environment
| DevKit is compatible only with Studio 6 and Mule 3. To build Mule 4 connectors, see the Mule SDK documentation. |
Before developing Anypoint Connectors, you must prepare a development environment that includes all the required components.
Prerequisites
You must have the following components installed and working in your local environment:
-
Java Development Kit (JDK) version 7 or 8 to compile and build your Java code
-
Apache Maven to manage your project’s build
-
Anypoint Studio as the IDE to build and test your connector
-
Anypoint DevKit Plugin
The sections below describe the specific details necessary for setting up your connector development environment.
Anypoint Studio
Although you can use any Java IDE with Maven support, it’s strongly recommended that you use Anypoint Studio, as it streamlines and simplifies several of the steps needed to build your connector.
| To build connector projects, you must first install the Anypoint Connector DevKit add-on into Anypoint Studio. |
If you have not already installed Anypoint Studio, follow the detailed instructions to install. For a quick introduction to Anypoint Studio, review Anypoint Studio Essentials.
JDK
Oracle makes the Java Development Kit (JDK) freely available for all supported platforms, including Windows, Mac OS X and Linux. Download version 7 or version 8 as appropriate for your platform and install.
Anypoint Studio must be configured to reference the location of your JDK rather than your JRE. To set JDK as Anypoint Studio’s installed JRE:
-
Open Anypoint Studio.
-
Open Preferences.
-
Windows and Linux: Window > Preferences.
-
Mac: Anypoint Studio > Preferences.
-
-
Expand Java.
-
Select Installed JREs.
-
If Anypoint Studio is referencing the JRE rather than the JDK, edit the record and remap it to the root of your JDK installation.
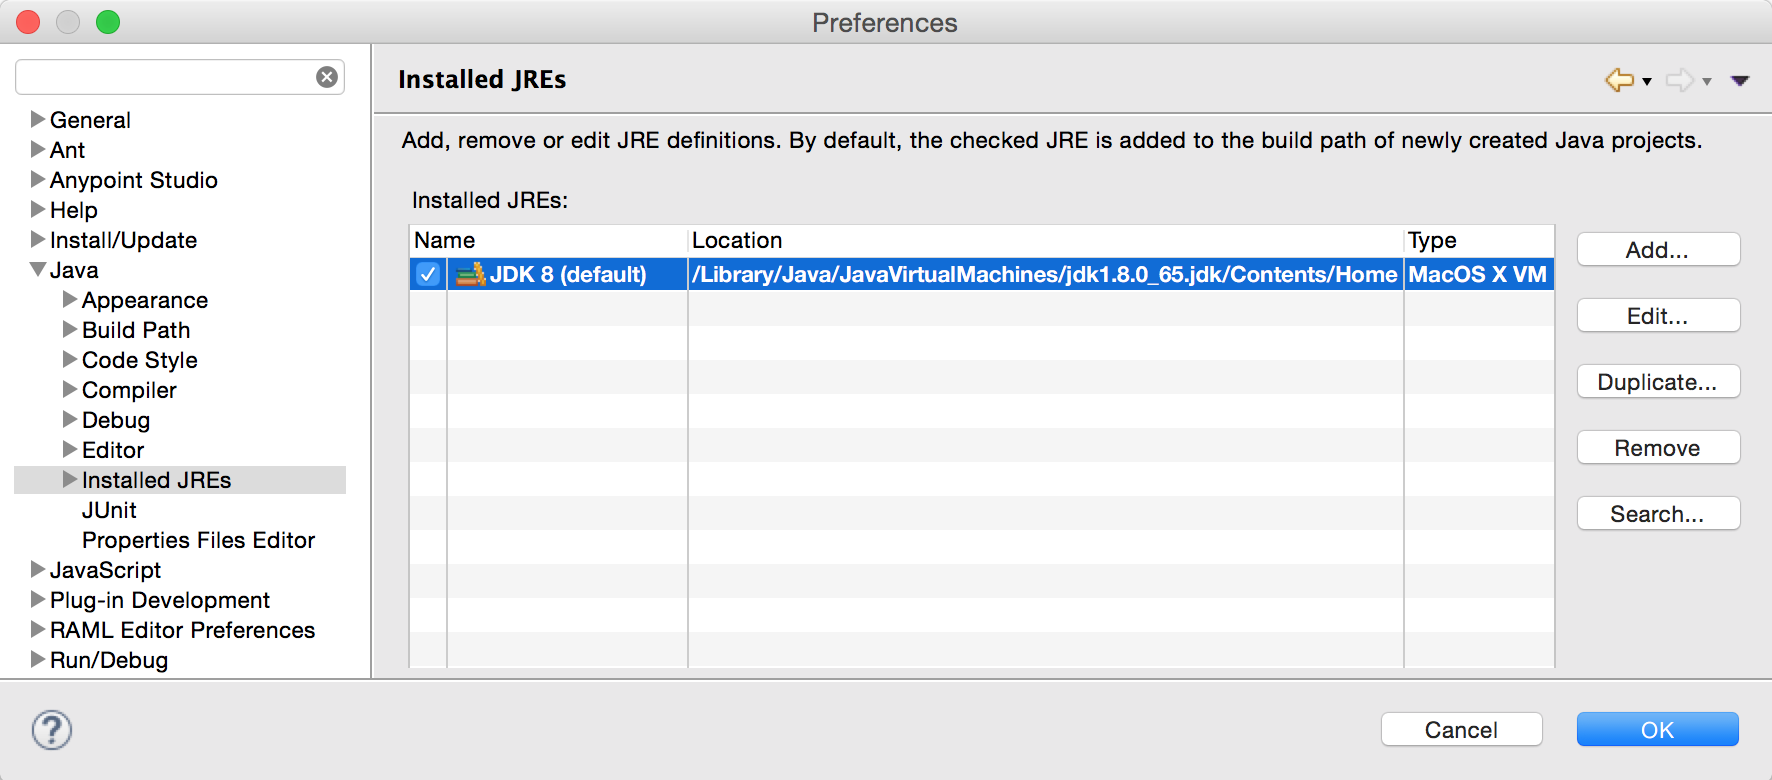
When referencing the root of your JRE instead of a JDK, Maven will be unable to resolve the DevKit-required dependency com.sun:tools:jar:1.6. An error describing the inability to resolve this dependency will show up in the console when the build process kicks off.
|
Apache Maven
Apache Maven provides a build manager that Anypoint Studio uses to build connector projects.
See Maven in Five Minutes for a brief introduction to the concepts and basic commands.
-
Download the Maven distribution from the Apache Maven download page.
Important: For Windows use, only download Maven 3.1.1, which is available by scrolling down the Apache Maven download page.
-
Unpack the download to a folder on your local drive.
-
Create an environment variable called
M2_HOME, then set it to the folder into which you unpacked Maven. -
Update the
PATHenvironment variable to include the path to Maven binaries.-
Windows: add the following to the PATH variable:
%M2_HOME%\bin -
Mac or Linux: add the following to the PATH variable:
$M2_HOME/bin
-
For more detailed instructions and installation options, see the Maven download page; instructions for different platforms are available below the download links.
Installing the DevKit Plugin in Studio
To install the DevKit Plugin:
-
To use DevKit in Studio, you must have Apache Maven installed on your local drive:
-
To confirm you have Maven installed open the Anypoint Studio preferences (on a Mac click Anypoint > Preferences, on a Windows computer, click Window > Preferences).
-
Navigate to Anypoint Studio > Maven Settings and ensure that Maven installation home directory points to the directory in which you installed Maven.
-
Click Test Maven Configuration to ensure that Maven is correctly configured.
-
-
From the
Helpmenu in Anypoint Studio, click Install New Software: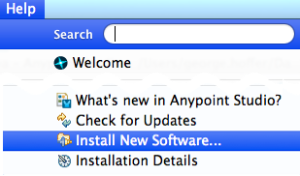
-
In the Install menu’s Work with drop-down menu, click the down arrow and click Anypoint DevKit Update Site. Click the checkbox for Anypoint DevKit Plugin, and click Next.
If the Anypoint DevKit Update Site is not available in the dropdown list, click Add and copy this URL to the repository
Location:http://studio.mulesoft.org/r5/devkit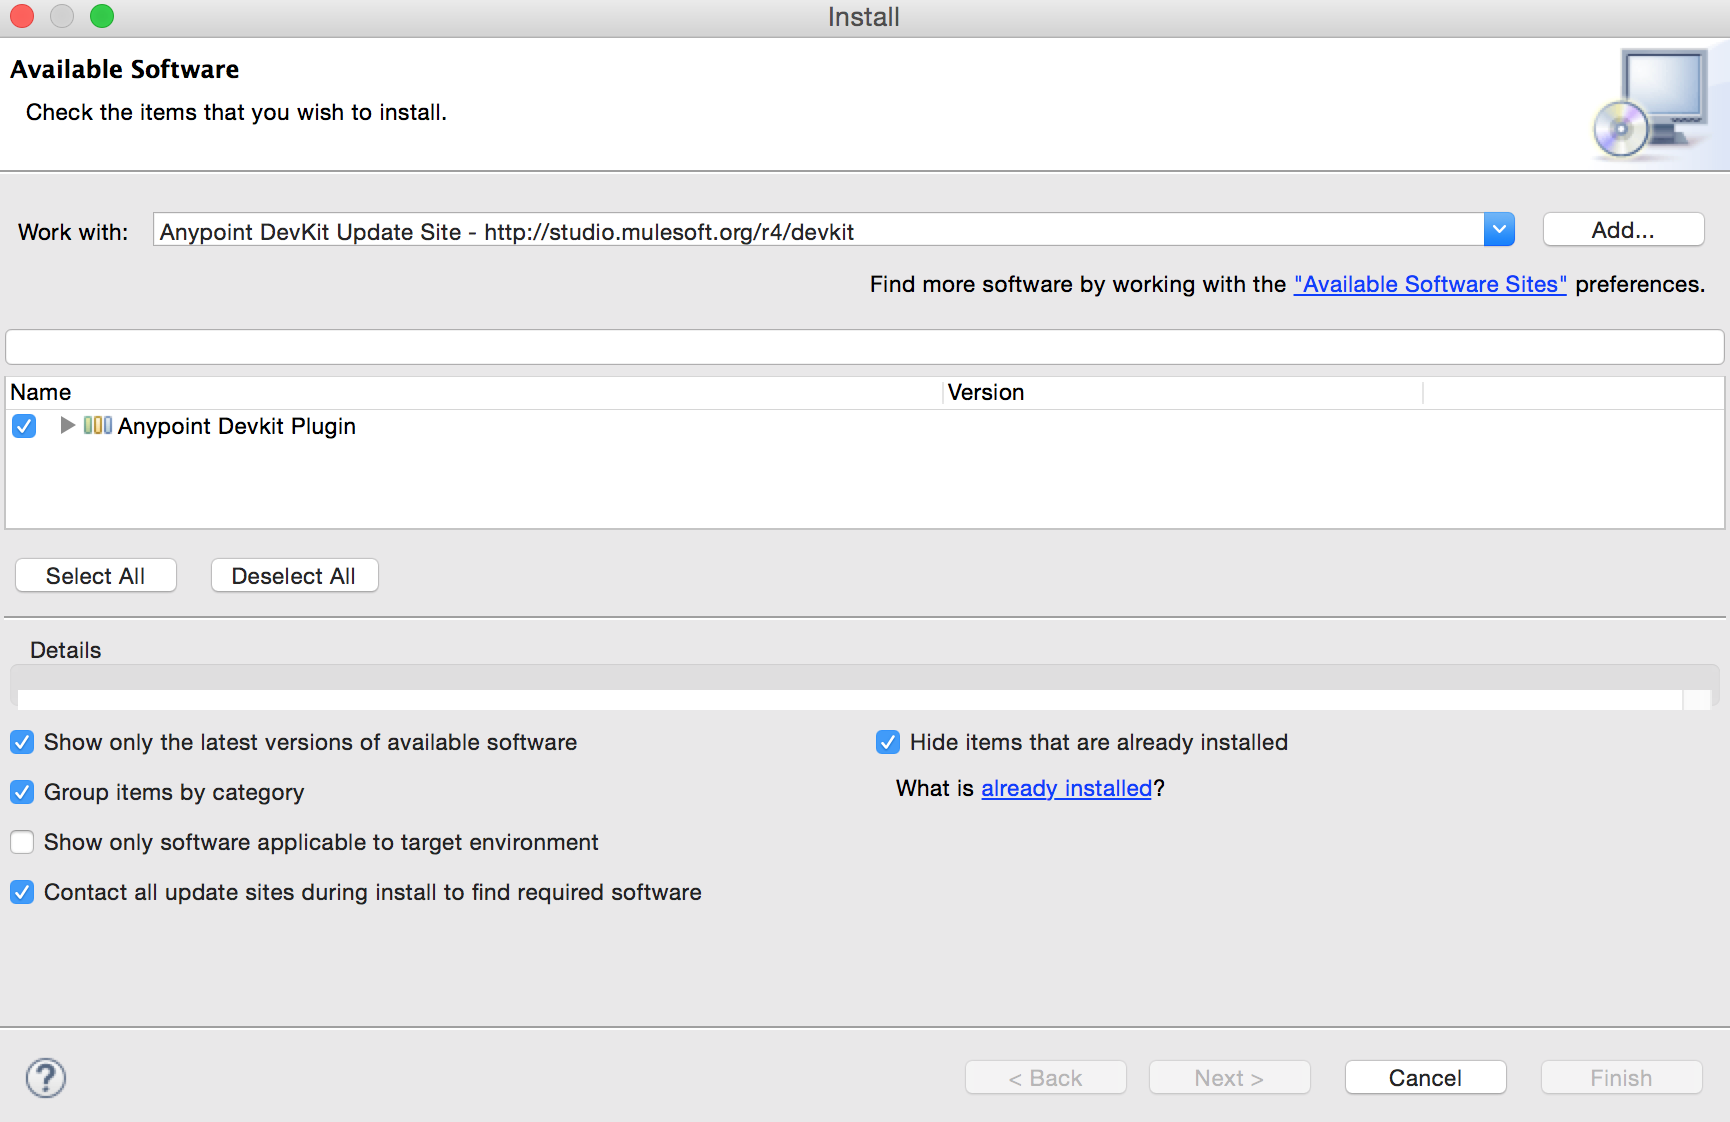
-
Proceed through the remaining steps in the wizard to install.
-
Restart Studio.
See Also
-
NEXT: Continue to the next step by Setting Up API Access.
-
Jump into Creating an Anypoint Connector Project.
-
Eager to begin coding? Use the Anypoint Connector Development for a quick walkthrough of the entire development process.