#%RAML 1.0
title: hello world
version: v1
description: A greeting for the world

types:
 greeting:
   properties:
     todays-greeting: string

/greeting:
     get:
       responses:
         200:
           body:
             application/json:
               type: greeting
               example:
                 {todays-greeting: "test-greeting"}
         404:
           body:
             application/json:
               properties:
                 message: string
               example: |
                 {
                   "message" : "Greeting not found"
}Step 2. Design an API Specification
To design an API, assess the purpose and requirements:
-
Identify the type of API: Is it a simple API, part of an integration, or part of a backend system?
-
Understand the data flows: one-way, two-way, or more.
-
Explore the security requirements.
API Specifications and APIs
An API is a published interface to a resource that anyone with the correct permissions and a properly structured request can access.
An API specification details the functional and expected behavior of an API, as well as the fundamental design philosophy and supported data types. It contains both documentation and API definitions to create a contract that people and software can read.
MuleSoft provides tools that make it easy to create an API specification that you can then share with your team, your customers, or the general public. Using an API specification increases adoption and shortens project completion time.
Step 2.1: Explore Existing API Specifications
If you look at existing API specifications before writing your own, you can learn how other people have approached situations similar to yours. You can also check whether an API specification with the same objectives is not already in development, and reuse it if appropriate.
Looking for an API specification that already does what you need is easy:
-
Look at the public Exchange, which is a portal hosted by MuleSoft that contains API specifications, connectors, and other assets that you can download and use. You’ll see some of the most popular API specifications, connectors, and other assets displayed on the landing page.
-
Select Any Type > REST APIs to display only REST API specifications.
-
Click on any specification to see the data types and the HTTP requests defined for the API.
-
-
Look at Exchange for your organization (account). Logging in changes the view to your organization’s private Exchange.
-
Log in to Anypoint Platform if needed.
-
In the Anypoint Platform landing page, go to the Exchange section and click Discover and share.
-
Click on any specification to see the data types and the HTTP requests defined for the API. If this is a trial org, you might not see anything yet.
-
After exploring Exchange to see the range of assets available, return to Anypoint Platform and use web-based tools to create a new API specification.
Step 2.2: Create Your API Specification
Create your own API specification for a simple Hello World API that responds to a GET request. To do this, use API Designer, a part of Design Center.
-
Open API Designer:
-
Select Create > New API Specification to open the API Designer editor.
-
In the New API specification dialog, enter
hello-world-apiin Project Name, don’t change the other default values, and then click Create API.The API Designer editor displays a sample RAML definition.
-
Delete the existing text and paste in the following RAML:
This API specification contains:
-
A single HTTP request, GET
-
A single data type,
greeting, with a single property,todays-greetingand a sample value -
An HTTP success response
-
An HTTP error response
Step 2.3: Test Your API Specification
Now test your hello-world-api API specification by sending a request using the mocking service. The mocking service creates a functioning endpoint from your API specification and provides a simple UI for managing authentication, request headers, and response headers.
To test the API specification:
-
Open
hello-world-api.ramlif it isn’t already open: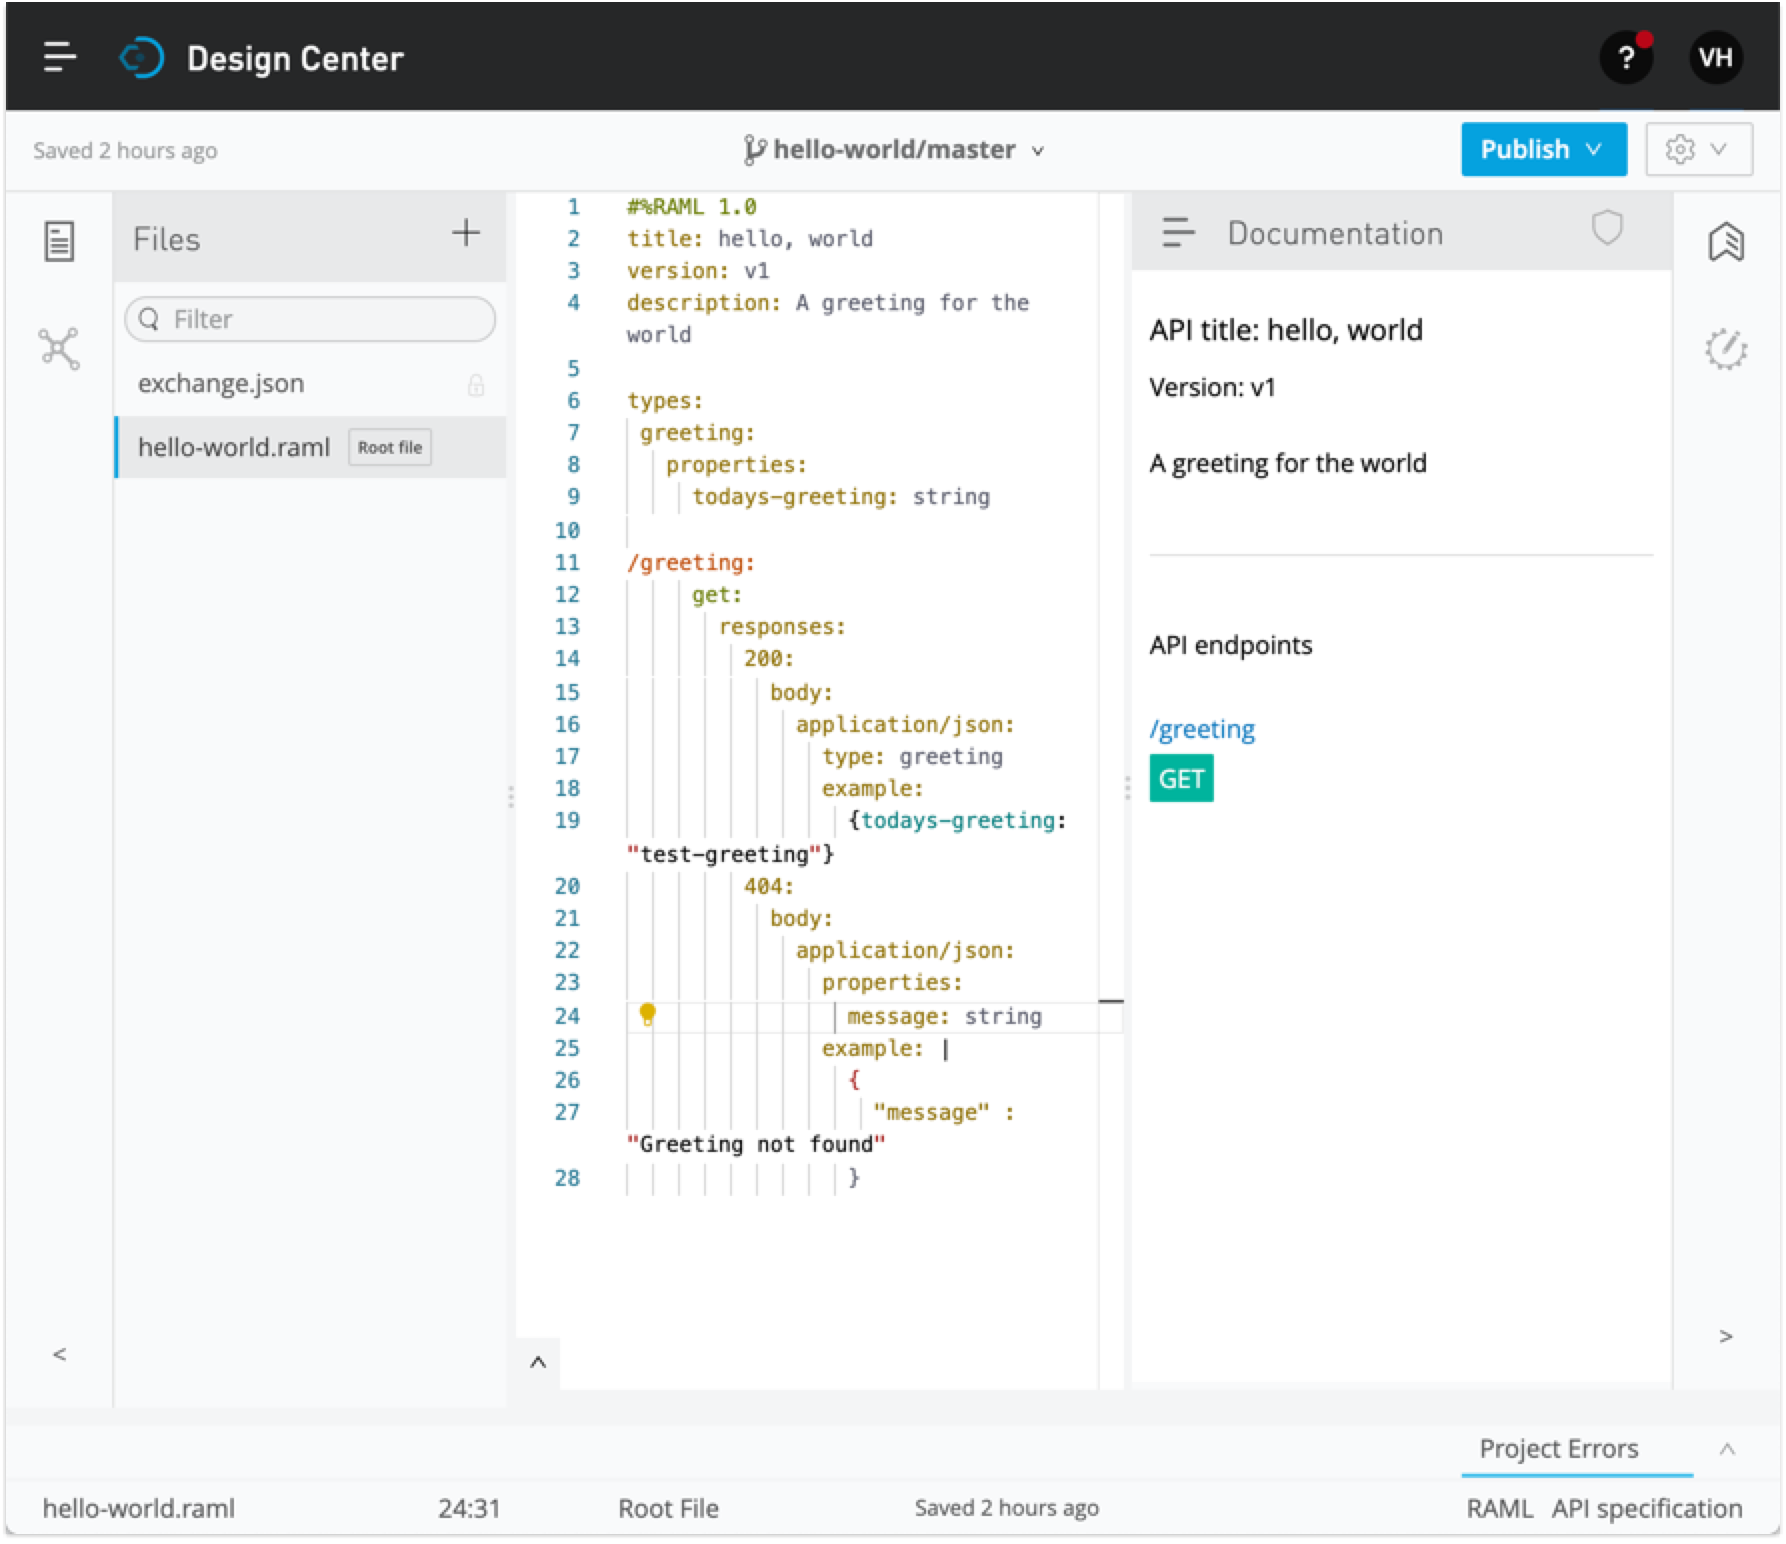
-
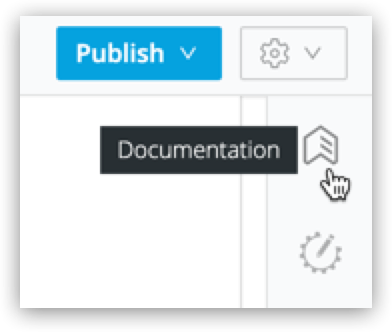
Click the Documentation icon if the Documentation panel isn’t already open.
-
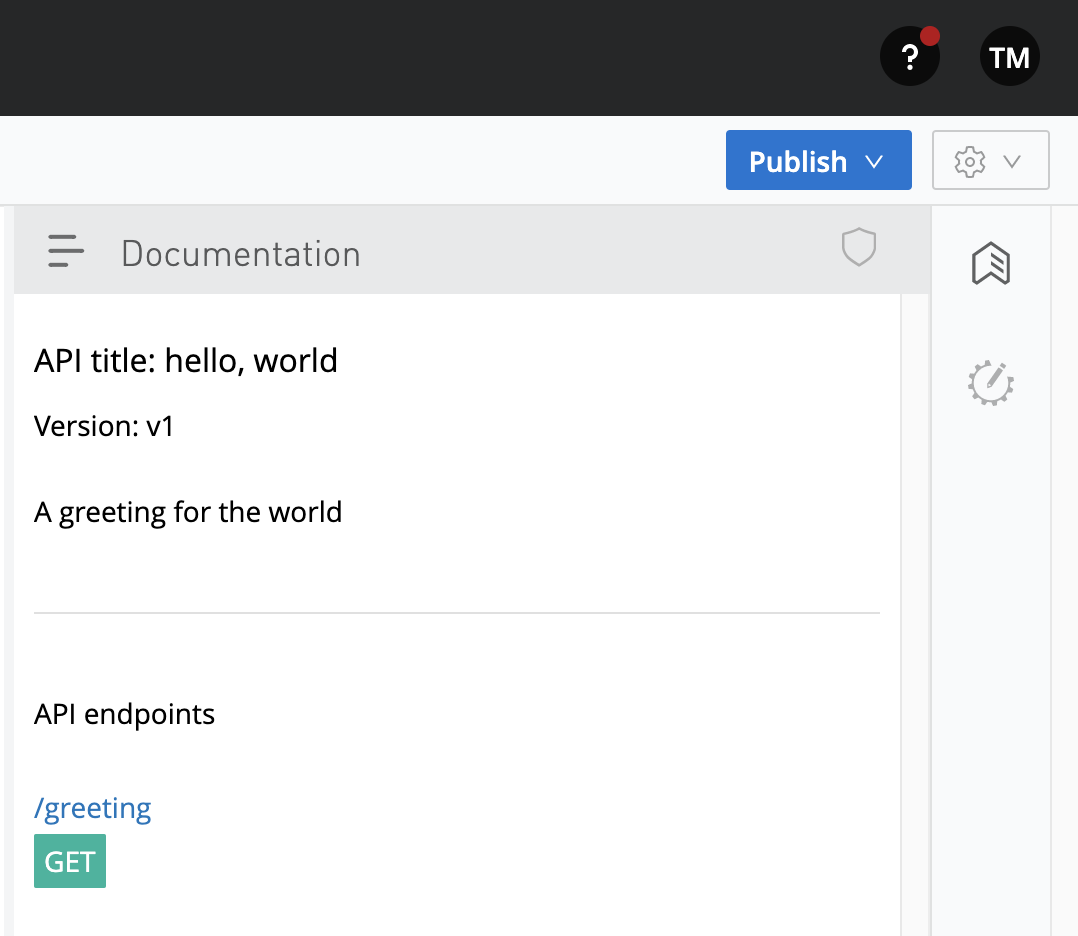
Look for the label API endpoints. You can see the endpoint you defined. HTTP requests appear in green boxes.
-
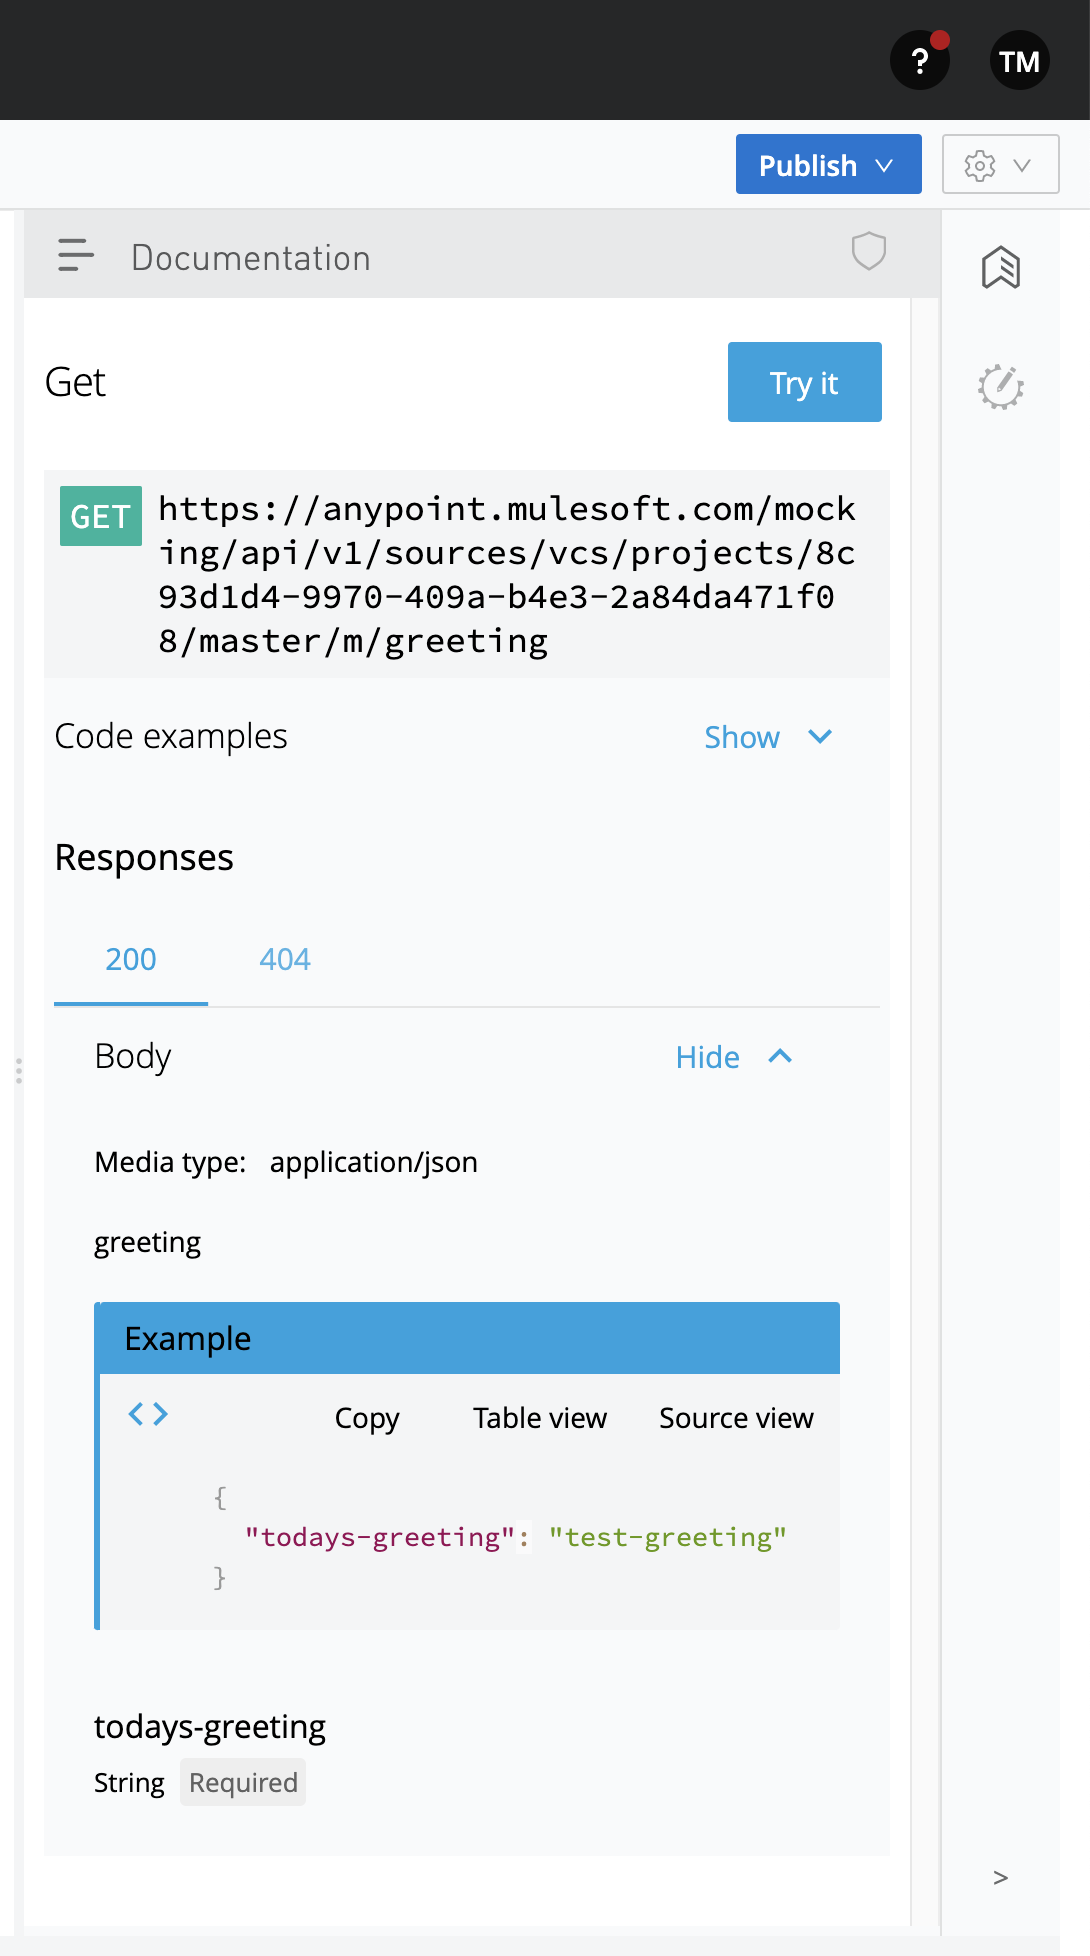
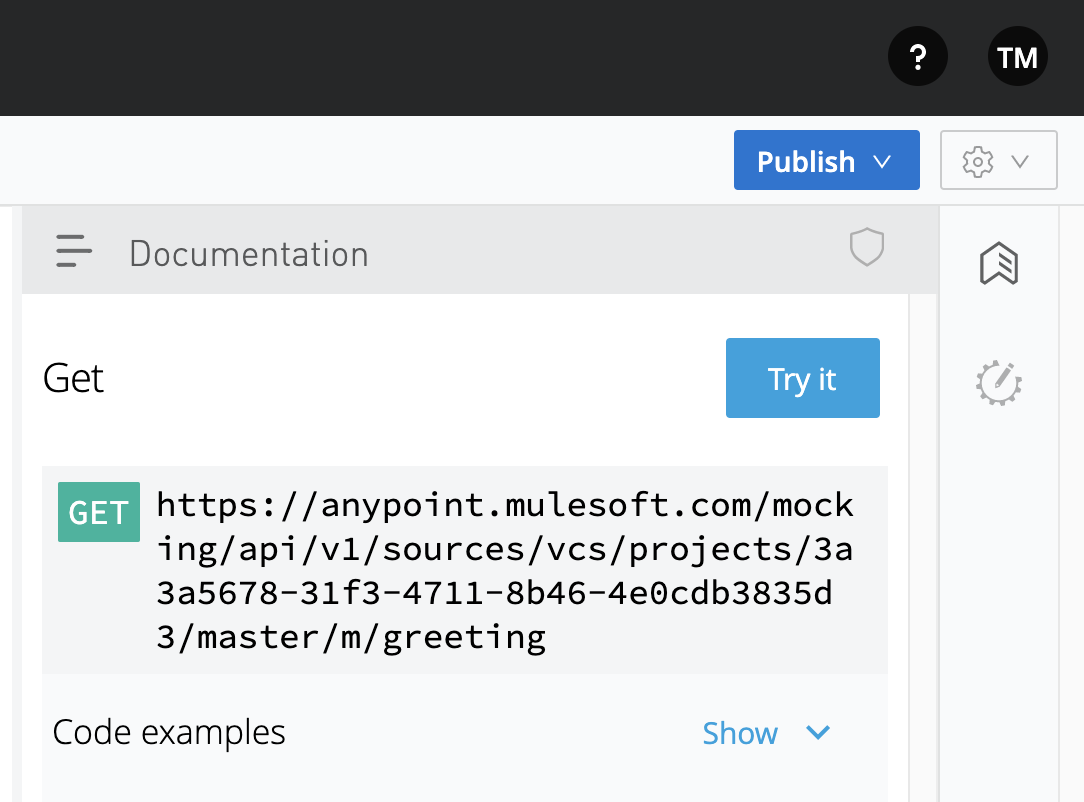
Click GET to display the GET request and more information about the specification.
-
Click Show to review code examples for each protocol.
-
Click the 200 and 404 tabs to review the responses defined in the API specification.
-
Click the Try it button:
-
Click Send to send your request to the temporary request URL that the mocking service creates from your specification.
It’s safe to ignore any error messages on this screen. A successful request returns
200 OKand the test message: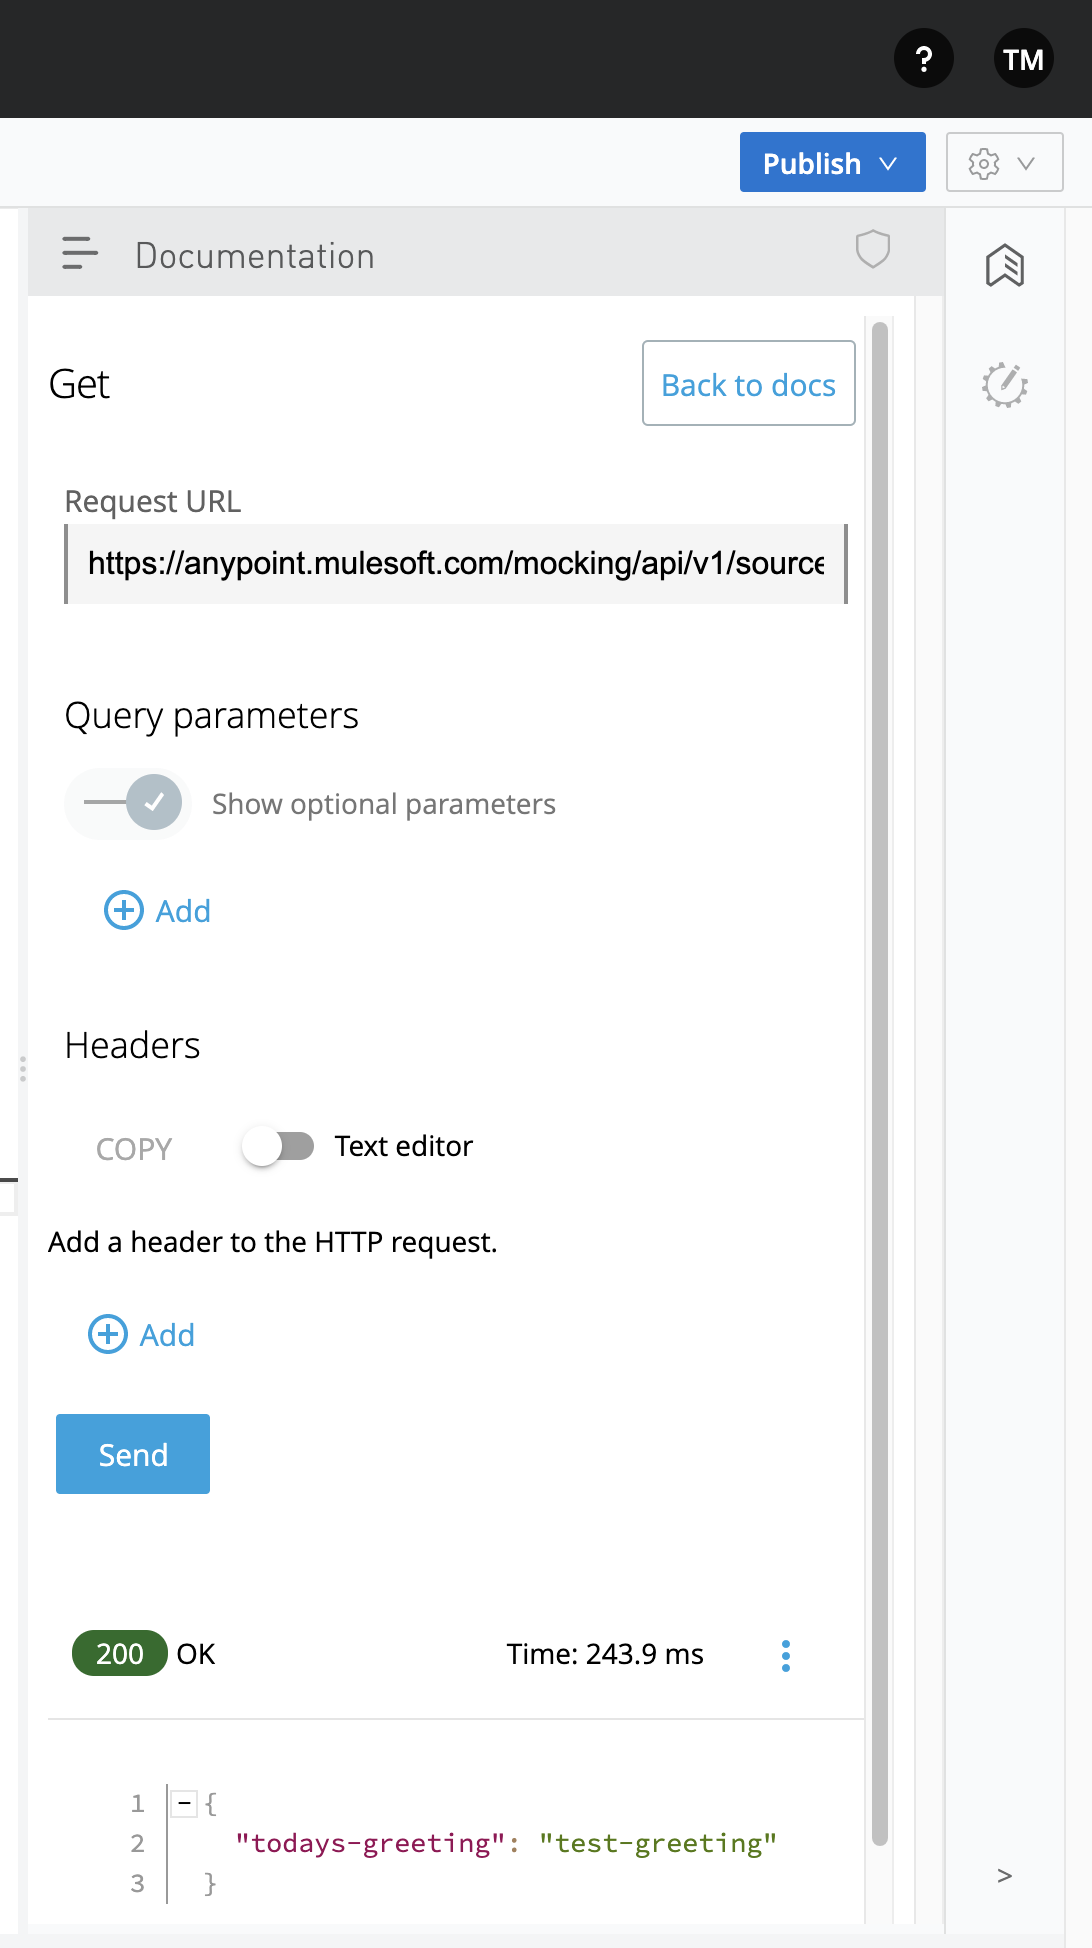
-
Select Response details in the more (…) menu to examine the response headers and request headers in the mocking service to help diagnose issues or understand the behavior of your API specification.
-
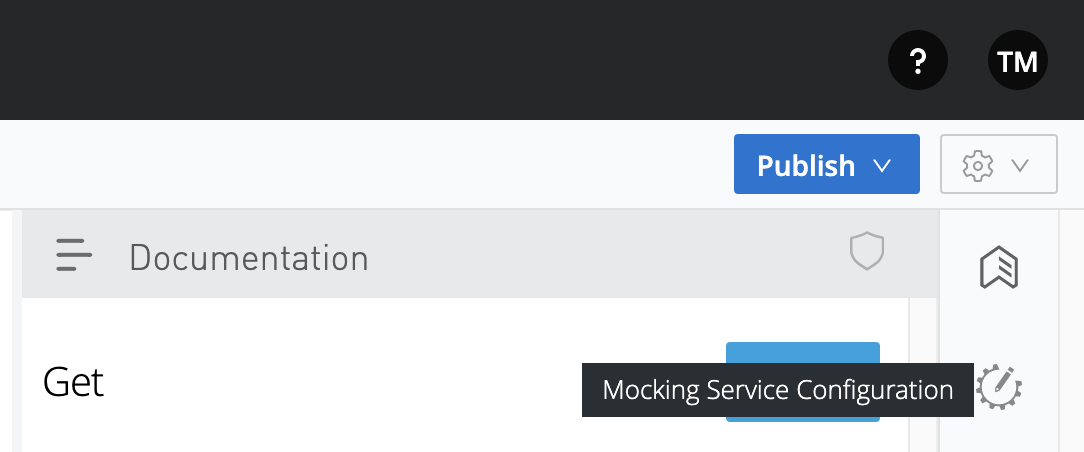
When you finish testing, open the Mocking Service Configuration panel.
-
In Local Settings, enable Select By Default.
Step 2.4. Publish Your API Specification
After testing your API, publish it to your private Exchange so others in your organization can reuse your work.
-
Open
hello-world-api.ramlif it isn’t already open: -
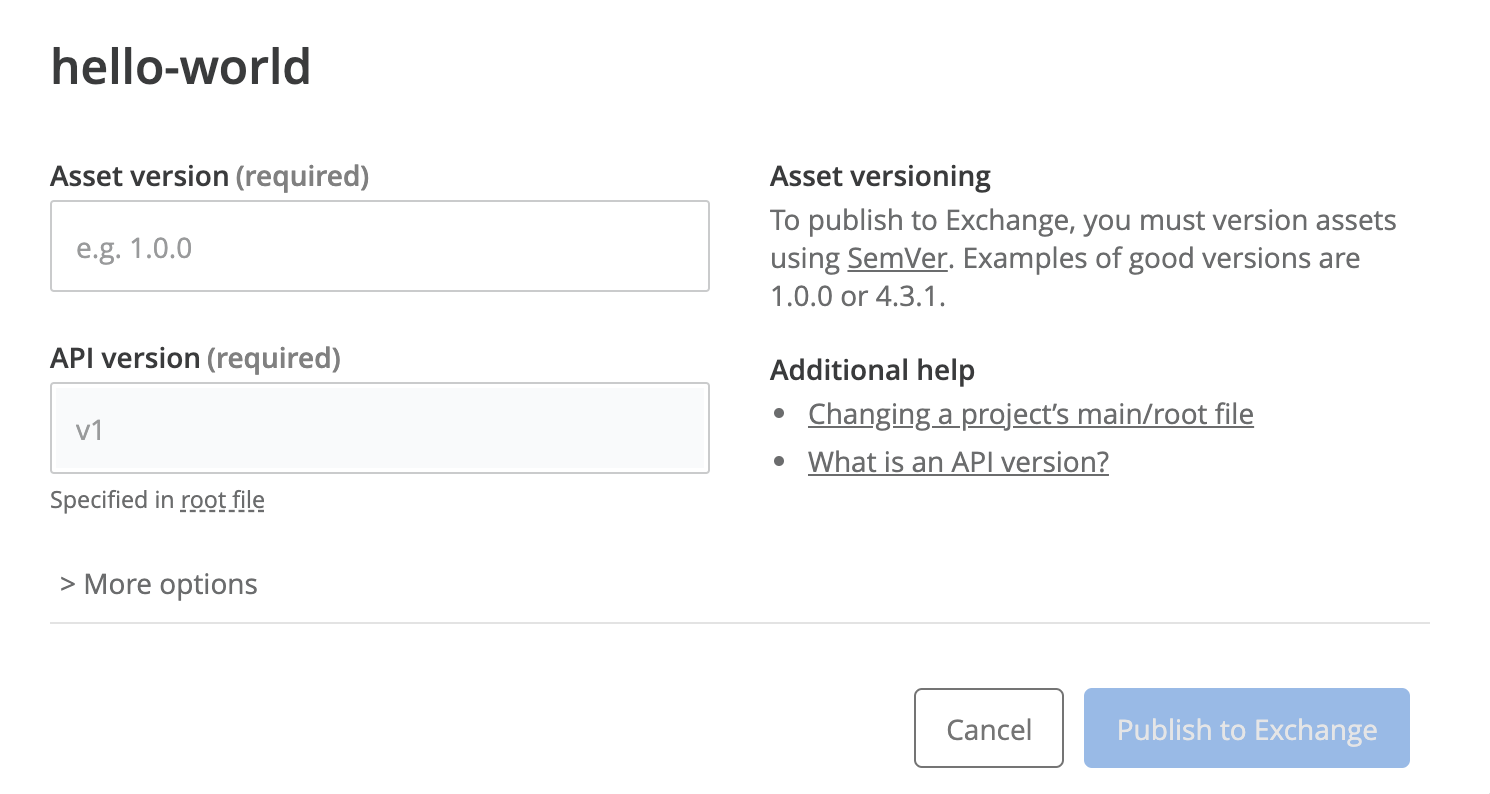
Click Publish.
-
In the Publishing to Exchange dialog, accept the defaults and click Publish to Exchange:
-
Click Close in the confirmation dialog.
After publication, anyone in your organization can see the hello-world-api API specification and reuse it.
What’s Next
Now that you have designed an API and created an API specification for it, use Anypoint Studio (Studio) to create a Mule app that contains the implementation and interface for the API.
Developer Deep Dives
If you’re curious about the details, dive right in.
Deep Dive: Exchange
You can publish assets to the public Exchange, your internal Exchange, or your public developer portal.
-
In addition to the public Exchange, you can review your own organization’s internal offerings.
-
If you’ve created a public developer portal, you can look there as well by clicking Public portal.
Deep Dive: API Features
In a typical API project, you’d likely want to do a few more things:
-
Add authentication.
-
Add annotations as defined in the RAML specification.
-
Model the data your API specification exposes, using Studio.
-
Modularize your specifications for reuse with API fragments.
Developer and Partner Deep-Dive
To share and support your API specification, collect feedback about your API specification for the next version.


