Contact Us 1-800-596-4880

Tracking Requests with Autodiscovery

logo cloud IDE Cloud IDE

logo desktop IDE Desktop IDE

Open Beta Release: The cloud IDE is in open beta. Any use of Anypoint Code Builder in its beta state is subject to the applicable beta services terms and conditions, available from the IDE.

Set up API autodiscovery in a Mule app to display key metrics in API Manager, including requests to endpoints in the app. API Manager is part of Anypoint Platform.

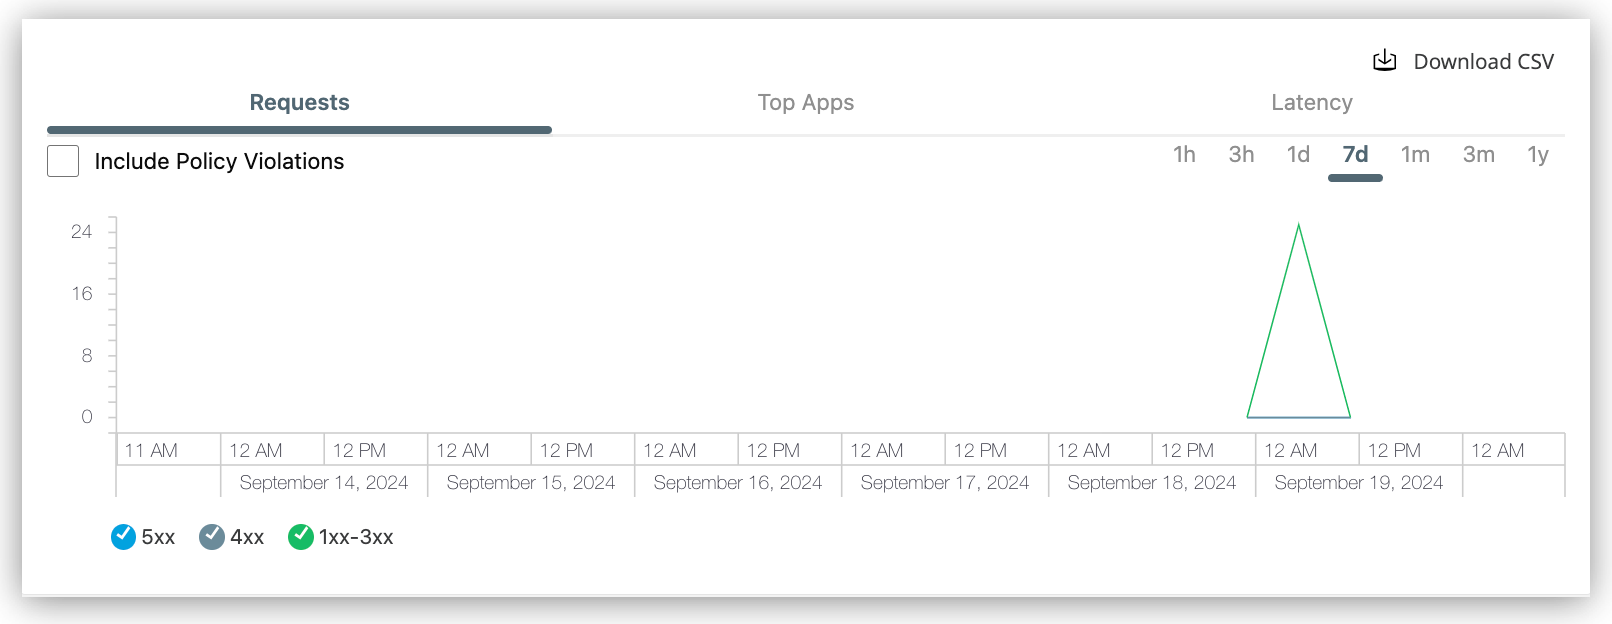
View request metrics for a Mule app in API Manager

Autodiscovery configuration in a Mule app requires an API instance ID from an API in API Manager that runs on a Mule Gateway runtime, and your app requires Anypoint Platform credentials (client ID and secret) for connecting to your API in API Manager.

For other important uses of Mule Gateway API instances, review Managing API Instances and Mule Gateway Policies Overview.

Before You Begin

To obtain the API instance ID for your Mule app’s autodiscovery configuration, you must have access to an API in API Manager that runs on a Mule Gateway runtime, or you can create your API by following the procedure in Adding a Mule Gateway API Instance, in the API Manager documentation.

APIs in API Manager are associated with an API spec on Anypoint Exchange that defines endpoints in your Mule app. For an API spec example that defines an endpoint and a Mule app example that implements the endpoint, see Examples. For guidance creating API specs, see:

For guidance publishing an API spec to Exchange, see:

Set Up API Autodiscovery in a Mule App

Configure a Mule app to send request data to an API running on a Mule Gateway runtime in API Manager. The API tracks this data in charts on API Manager.

Autodiscovery configuration of a Mule app requires a global element (<api-gateway:discovery/>) that references an API instance ID along with credentials (client ID and secret) that enable the Mule runtime engine in your Mule app to connect to the Anypoint Platform business group or environment for your API in API Manager.

To set up autodiscovery:

  1. Meet the prerequisites in Before You Begin.

  2. Obtain the client ID and secret for your business group from Access Management (US, EU), in Anypoint Platform.

    Show me how
    1. Open the list of business groups in Access Management, on Anypoint Platform (US, EU).

      To navigate to the business group list from the Anypoint Platform home page instead, open Access Management, and click Business Groups.

    2. In the business group list, click the name of your business group.

    3. Click the Settings tab for your business group.

    4. Obtain the Client ID and Client Secrets values from the Settings tab in Access Manager.

  3. Obtain the API instance ID from your API instance in API Manager.

    Show me how
    1. In Anypoint Platform (US, EU), navigate to API Manager.

    2. In the API Administration page of API Manager, locate and click the name of your API to open its API Summary page.

    3. Find the API Instance ID in the API Summary page.

      You’ll need the instance ID when configuring your Mule app for autodiscovery.

  4. In your Mule app in Anypoint Code Builder, use your API instance ID to pair your app to the API instance:

    1. In the XML editor for your Mule app, add the <api-gateway:autodiscovery/> element above <flow/> elements in the app, for example:

      <api-gateway:autodiscovery apiId="YOUR_API_ID_HERE" flowRef="currentTimeFlow" doc:name="Autodiscovery" />

      For more complete context, see the example in Example: Mule Application.

    2. Paste your API instance ID as the apiID value, for example:

      <api-gateway:autodiscovery apiId="123456" flowRef="currentTimeFlow" doc:name="Autodiscovery" />
  5. In Anypoint Code Builder, append the client ID and client secret for your business group to the Mule runtime arguments in the Settings tab:

    1. Open the Settings tab.

      Show me how
      • From the Anypoint Code Builder panel, click the (gear) icon.

      • From the activity bar, click the (gear) icon, select Settings, and search for mule in the Settings tab.

      • Provide the command MuleSoft: Open ACB Settings in the Command Palette.

    2. In the Settings tab, find Mule › Runtime: Default Arguments.

    3. In the text field, append your client ID and secret arguments to the end of the existing arguments, for example:

      -M-Danypoint.platform.client_id=999abcde1f888e9h9aaa00ff5a5b03c5 -M-Danypoint.platform.client_secret=abc0d1234e5a4ab321A000B2033D4E56

      Replace the mock values in the example with your client ID and secret.

  6. Run your application to ensure that the API is connected by checking the build logs for the following information:

    • The client ID and client secret validated successfully against API Manager.

    • The underlying GateKeeper is available (unblocked) and in FLEXIBLE mode.

    • The API Gateway extension is in STANDALONE mode.

  7. Send requests to an endpoint in your app that is tracked by your API instance.

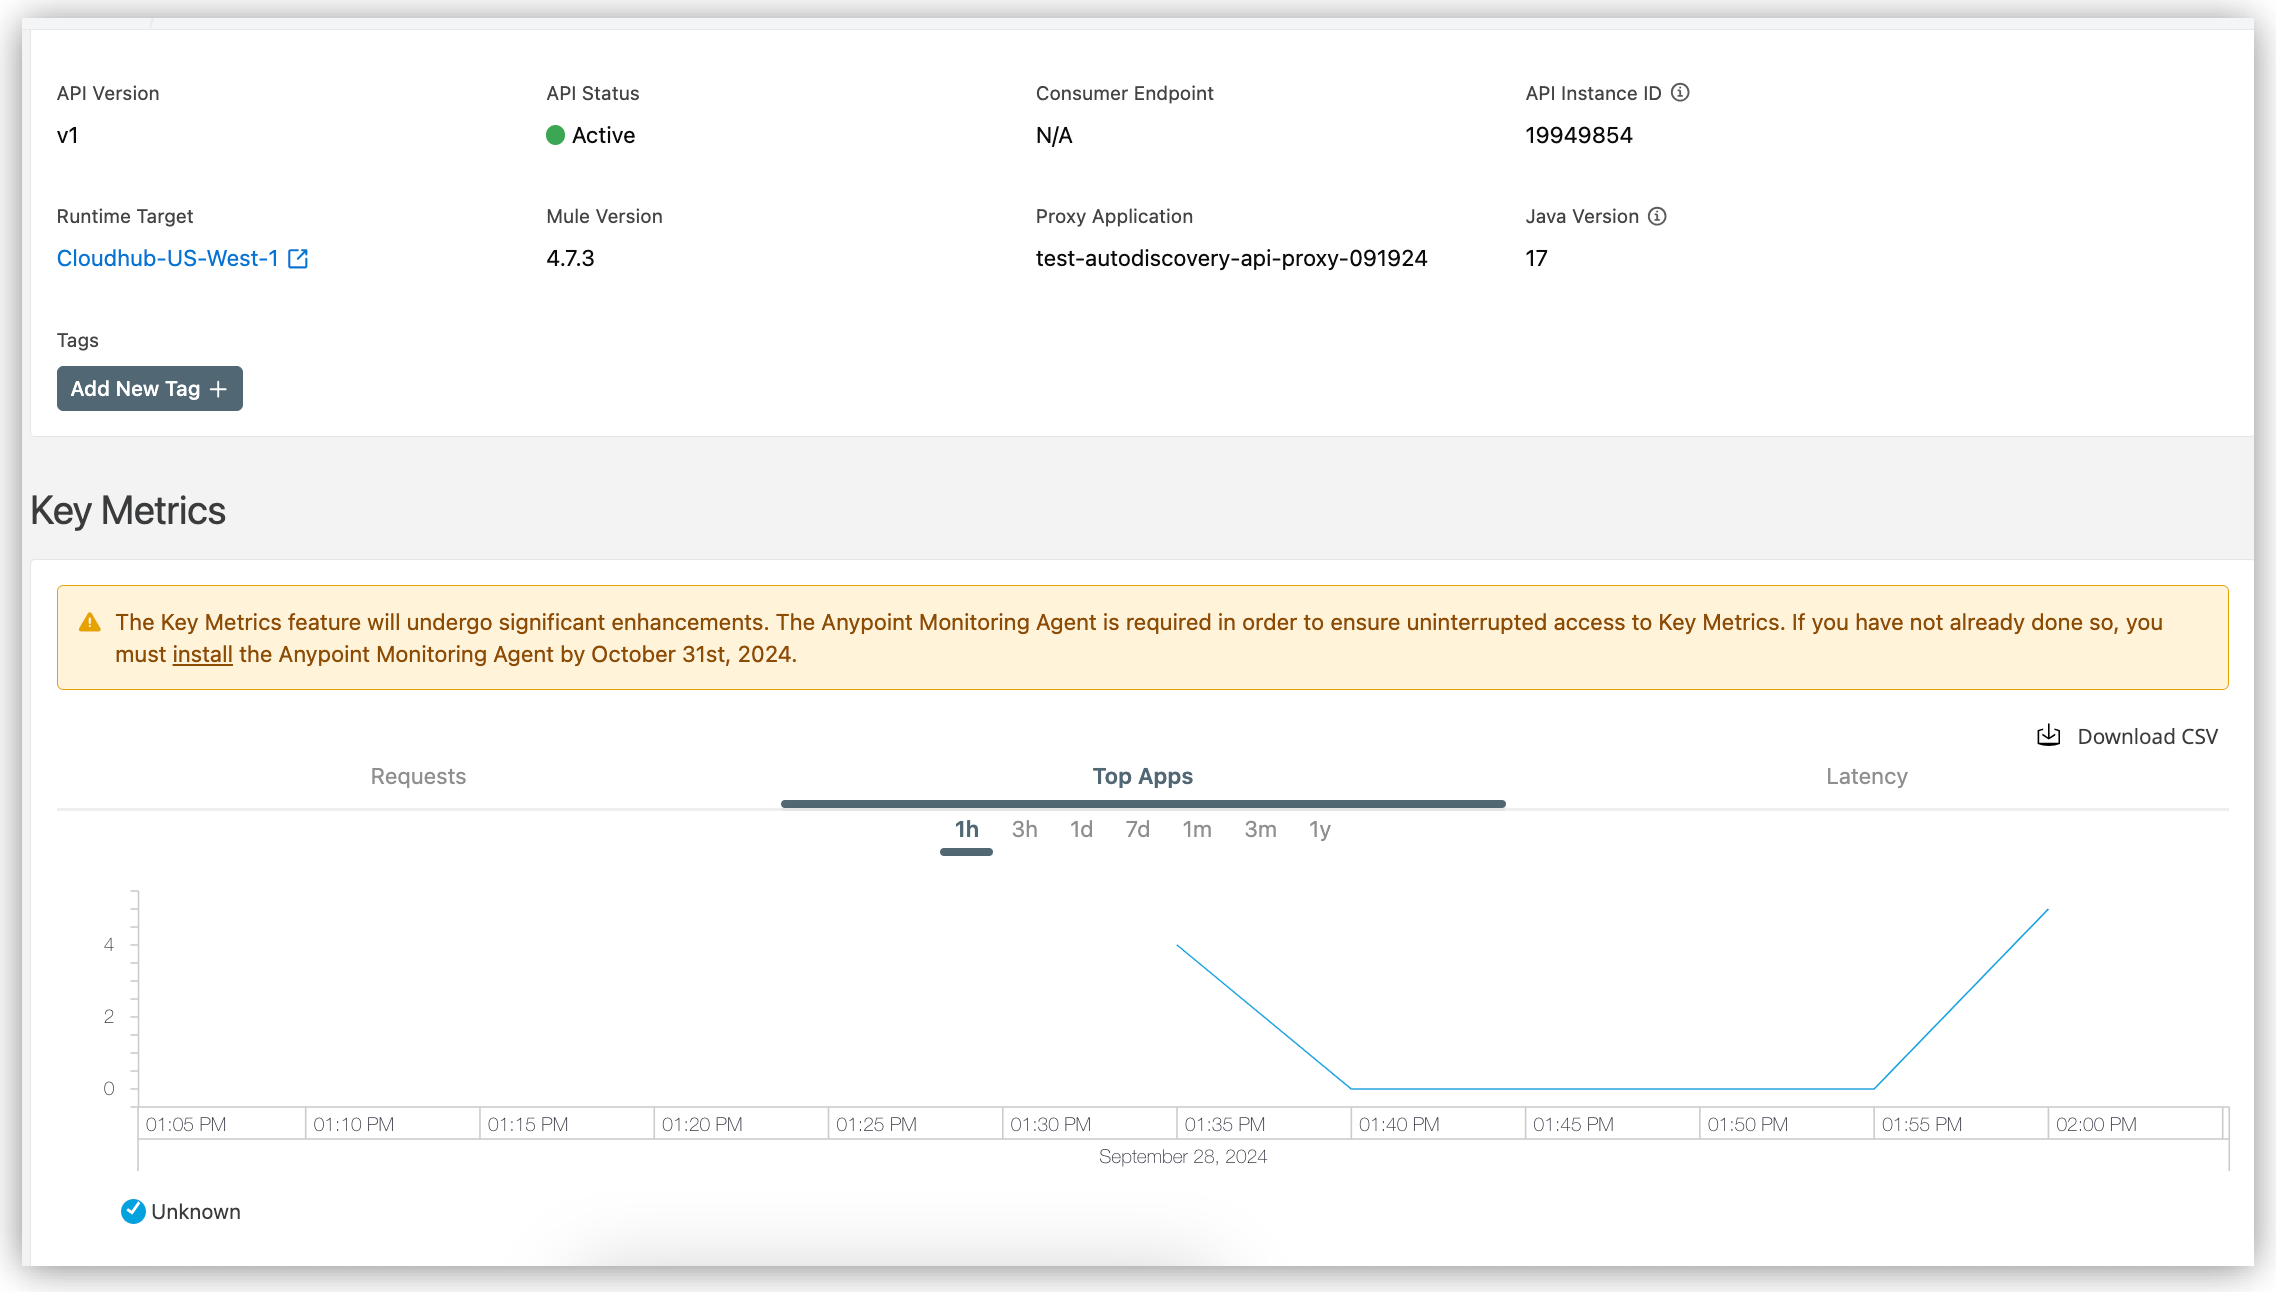
  8. In API Manager, check that the API instance is now registered (active) and produces metrics in API Manager.

    API in API Manager with autodiscovery data

Examples

Examples tested for API autodiscovery include the following:

  • Example: OAS Spec:

    Testing involved creating the spec in Design Center, publishing the spec to Exchange, creating an Mule Gateway API instance in API Manager that is associated with the spec on Exchange.

  • Example: Mule Application

    Testing involved adding the <api-gateway:autodiscovery/> element with the apiID value from API Manager, appending the client ID and secret to the Mule runtime arguments in Anypoint Code Builder settings, running the app in debug mode to deploy the app locally, making requests to the defined endpoint in the app, and checking that the associated Mule Gateway API instance on API Manager is Active and that the requests produce data (key metrics) in the instance’s charts.

Example: OAS Spec

The following OAS spec defines a single endpoint in the Mule app example.

openapi: "3.0.0" (1)
info:
  version: 1.0.0
  title: my-autodiscovery-api
servers:
  - url: https://my-autodiscovery-app.us-e2.cloudhub.io
paths:
  /current-time: (2)
    get:
      responses:
        "200":
          description: my description here.
          content:
            application/json:
              schema:
                type: object
                properties:
                  current-time:
                    type: string
              example:
                current-time: "2024-08-05 14:56:12"  (3)
1 OAS 3.0 specification
2 /current-time endpoint definition
3 Formatted example of a date-time value

Example: Mule Application

  <http:listener-config name="HTTP_Listener_config" > (1)
    <http:listener-connection host="0.0.0.0" port="8081" />
  </http:listener-config>

<api-gateway:autodiscovery apiId="YOUR_API_ID_HERE" flowRef="currentTimeFlow" doc:name="Autodiscovery" /> (2)

  <flow name="currentTimeFlow"> (3)
        <http:listener path="/current-time" config-ref="HTTP_Listener_config" doc:name="Listener" doc:id="bce0d0"/> (4)
        <ee:transform doc:name="Transform" doc:id="ahlupg" > (5)
            <ee:message>
                <ee:set-payload >
                <![CDATA[#[%dw 2.0
output application/json
---
{
	"current-time": now() as String {format: "yyyy-MM-dd hh:mm:ss"}
}]]]>
            </ee:set-payload>
            </ee:message>
        </ee:transform>
        <logger doc:name="Logger" doc:id="bhcobk" message="#[payload]"/> (6)
  </flow>
1 HTTP Listener connection configuration example
2 Autodiscovery configuration that references the flow currentTimeFlow

If you try this app, replace YOUR_API_ID_HERE with the apiID value of an Mule Gateway API instance associated with the OAS spec example.

3 Flow currentTimeFlow
4 HTTP listener with endpoint configuration path="/current-time"

This endpoint matches the name of the endpoint defined in the OAS spec example.

5 Transform Message component that uses DataWeave to get the current time in the specified format

The format matches the formats defined in the OAS spec example.

6 Logger component that prints the current time (in the payload) upon requests to http://localhost:8081/current-time when the app is running