
Creating and Importing API Specifications
Use Anypoint Code Builder to create, import, and test API specs before publishing to Anypoint Exchange. You can start a new spec or import an existing spec from MuleSoft Version Control System (VCS).
-
Create an API spec project in Anypoint Code Builder or import the spec from MuleSoft VCS:
-
Create an API spec project (example uses OAS 3.0 (YAML))
-
Use the oas-example API spec to explore the functionality of Anypoint Code Builder with OAS, or see Create a REST API Specification Using RAML 1.0 for a RAML-first project.
Before You Begin
-
Understand the basics of designing API specs.
See Take Your API Specification from Design Through Deployment for a suggested order of topics.
-
Have some familiarity with business groups.
When you publish your API spec to Exchange from Anypoint Code Builder, it requests the name of the business group. See Anypoint Platform Business Groups.
Create a New API Specification Project
To create an API spec project in Anypoint Code Builder:
-
In the activity bar, click the
 (Anypoint Code Builder) icon.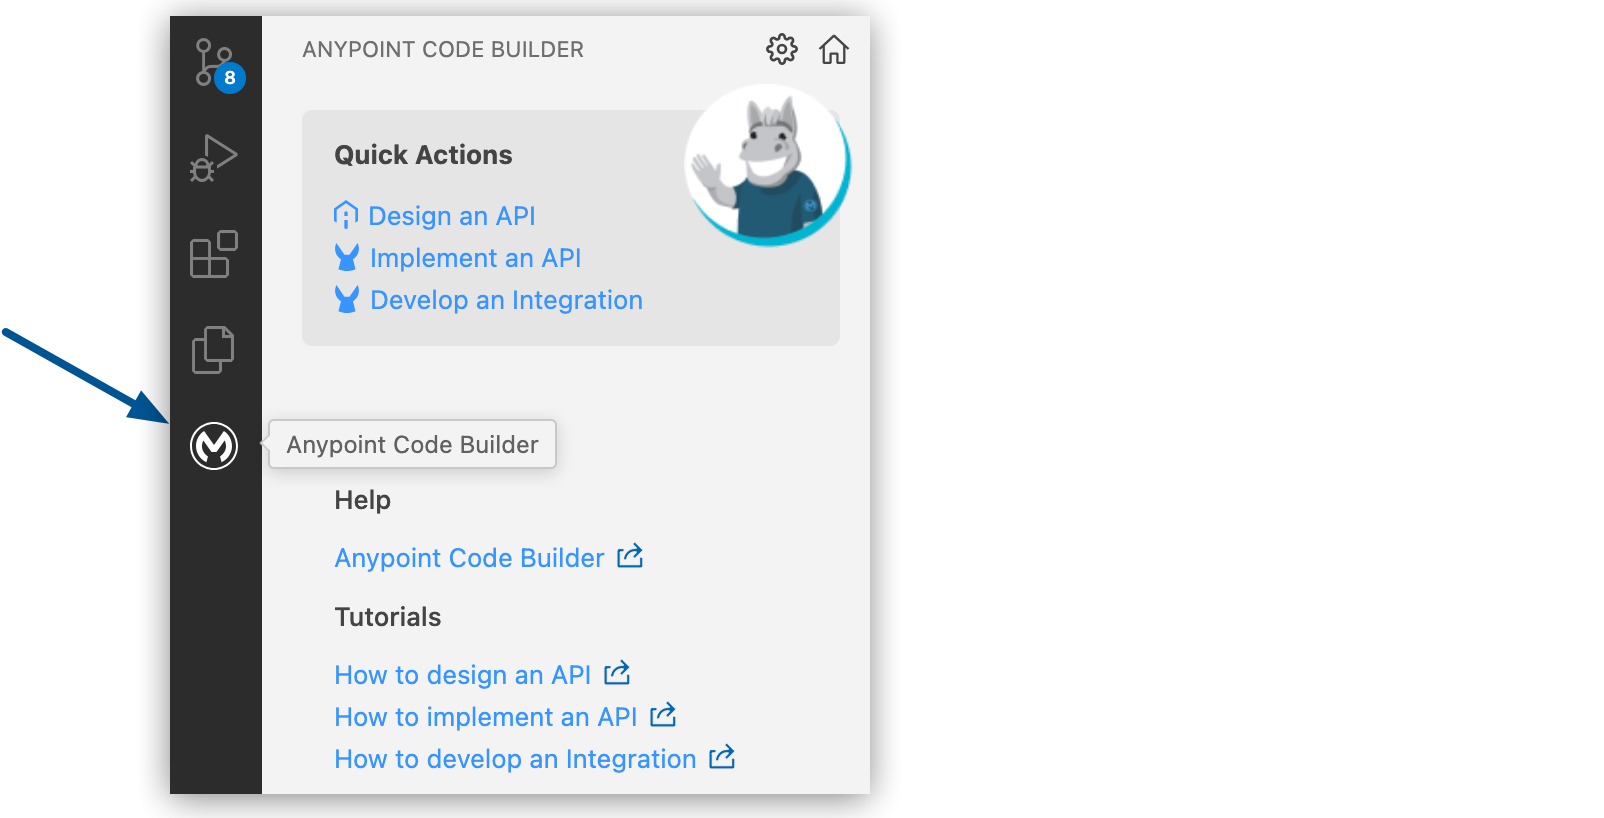
-
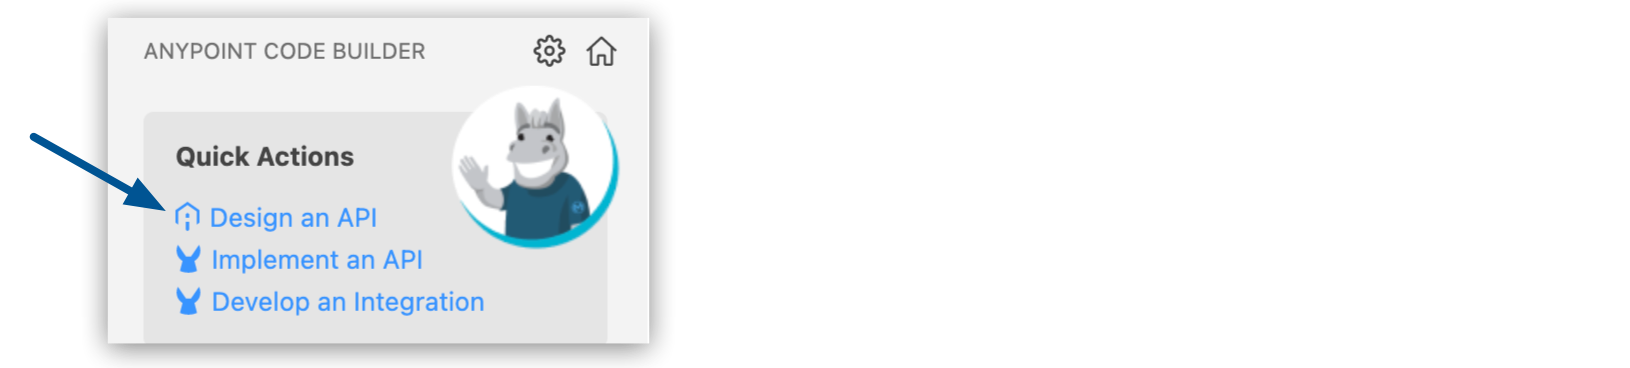
From Create, click Design an API:
-
Complete the API Specification form:
Field Name Field Value Project Name
Unique name for your project.
This name is used as the API spec title in Exchange, the name of the spec file, and the name of the project’s root directory. For example, if the project name is OAS Example, the spec file name is
oas-example.To reuse an existing project name, you must delete the project that is already using the name first. See Deleting API Specs and Fragments.
Project Location
Your home directory or another directory you create.
Don’t create the project within another project directory.
API Type
The type of API spec to create.
Available options are REST API and AsyncAPI.
Select REST API to use the example in this procedure.
API Specification Language
Select OAS 3.0 (YAML) to use the example in this procedure.
-
Click Create Project.
If prompted, trust the authors of the files in the folder.
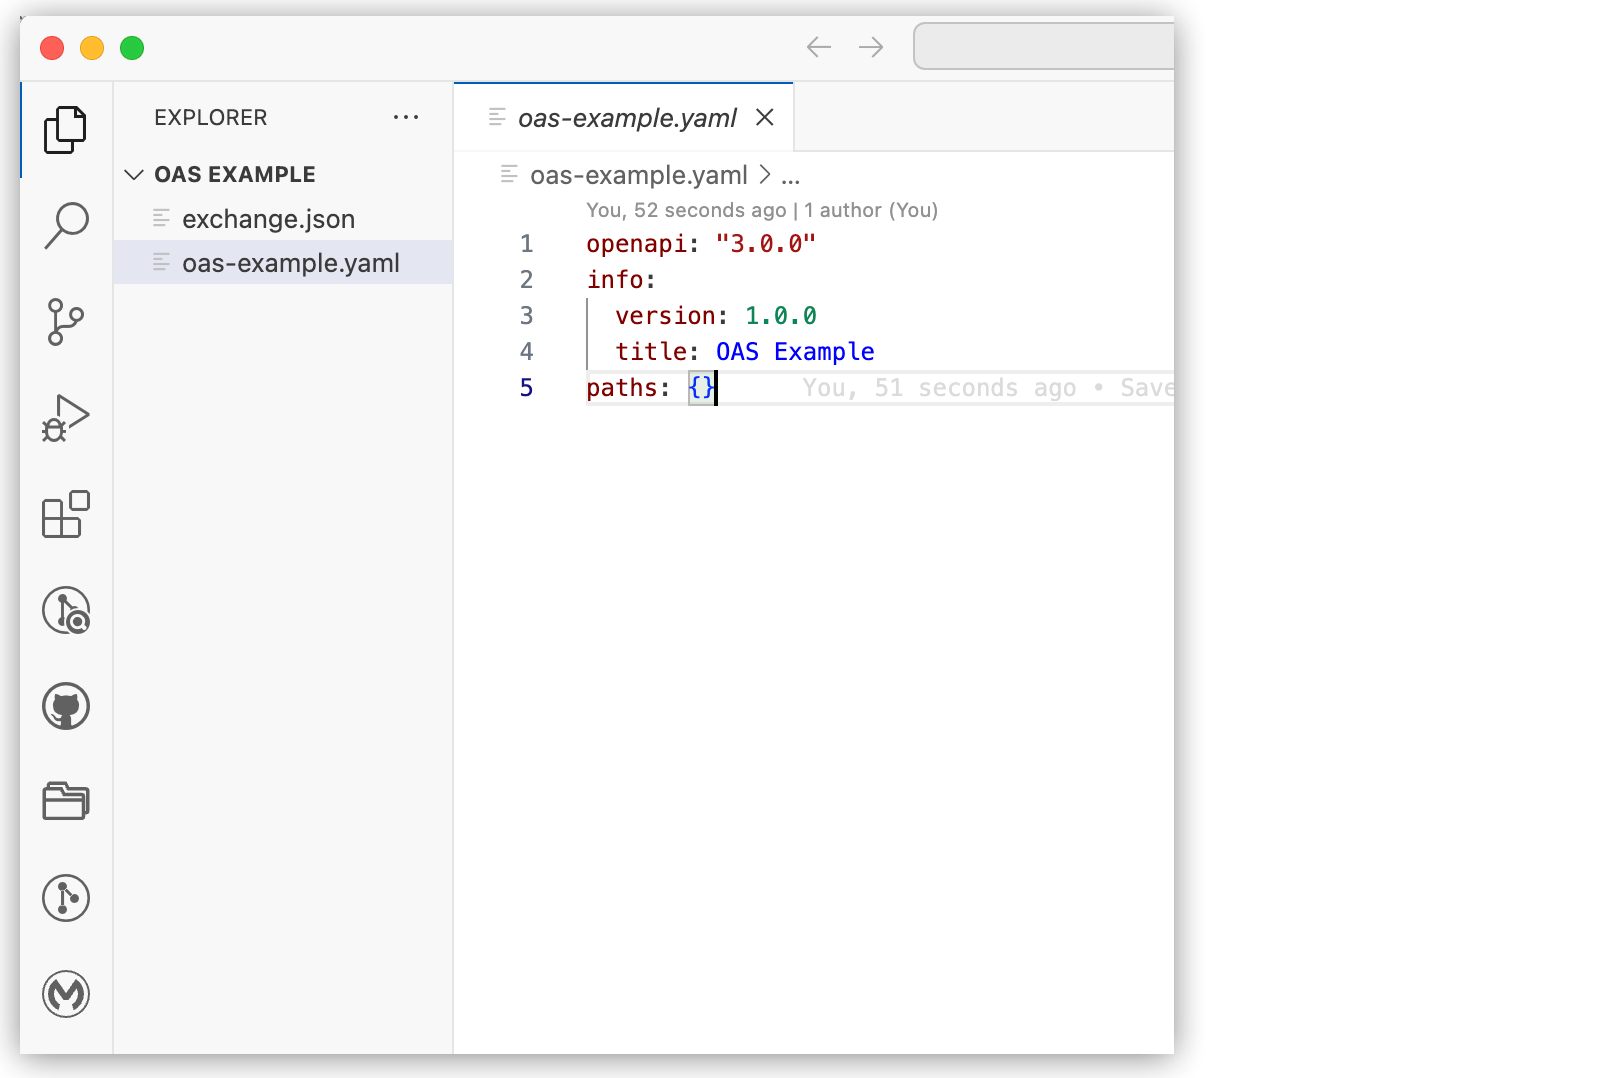
When the project is ready for editing, the API project opens the spec in the Editor view, for example, this OAS 3.0 (YAML) spec:
-
Continue designing your API spec.
As you enter elements, use auto-complete (or press Ctrl+Space) to display available options within the context.
Create a REST API Specification Using RAML 1.0
To create a REST API specification project that uses RAML 1.0:
-
In the activity bar, click the
(Anypoint Code Builder) icon.
-
From Create, click Design an API:
-
Complete the API Specification form:
Field Name Field Value Project Name
Unique name for your project.
This name is used as the API spec title in Exchange, as the name of the spec file, and as the name of the project’s root directory.
To reuse an existing project name, you must delete the project that is already using the name first. See Deleting API Specs and Fragments.
Project Location
Your home directory or another directory you create.
Don’t create the project within another project directory.
API Type
REST API
API Specification Language
RAML 1.0
Anypoint Code Builder also supports RAML 0.8 and OAS formats. For the full list, see Supported OAS and RAML Versions. -
Click Create Project.
If prompted, trust the authors of the files in the folder.
When the project is ready for editing, the API project opens your root RAML file in the Editor view. The file name matches the project name you provided (for example,
my-inventory-api.raml). -
Continue designing your RAML spec in the Editor view.
Use auto-complete (Ctrl+Space or Cmd+Space) to add resources, methods, traits, and other RAML constructs in context.
To add reusable data types and examples from Anypoint Exchange, add fragment dependencies to the project and reference them with
!includedirectives in RAML. For step-by-step procedures, see Creating and Using API Spec Fragments.When you want to try requests against your examples, open the API Console and use the mocking service the same way you do for OAS projects.
Optional starter RAML for a /items resource
#%RAML 1.0
title: Example Items API

/items:
  get:
    description: List items
Import an API Specification from MuleSoft VCS
Import an API spec from MuleSoft VCS and use Git or another source-control management system compatible with VS Code to keep your project in sync. For more information, see Source Control for API Design Projects.
| Importing an API spec from MuleSoft VCS requires Git installed on your computer. If Git is not installed on your computer, follow the Git installation instructions for your machine. |
-
Open the Command Palette.
Show me how
-
Use the keyboard shortcuts:
-
Mac: Cmd+Shift+p
-
Windows: Ctrl+Shift+p
-
-
Select View > Command Palette.
-
-
Provide the following command:
MuleSoft: Import API Specification from MuleSoft VCS -
If prompted, log in to Anypoint Platform.
-
Complete the import process:
-
Select your business group from the Select a Business Group popup.
-
Search for the API spec in the APIs from MuleSoft VCS field.
-
Navigate to or create a folder for the spec, and click Select target folder.
If you receive an error that the import failed (Importing project a_project_name has failed), check your target folder for a project with the same name. To address a duplicate naming issue before importing, you can import the design project to a different target folder or delete the project (see Deleting API Specs and Fragments).
-
-
Edit or continue designing your spec, as needed.
As you enter elements, use auto-complete (or press Ctrl+Space) to display available options within the context.
-
You can sync your changes with MuleSoft VCS.
This feature is available only for API projects that you import from MuleSoft VCS. You can also store your work in another SCM. For SCM options, see Controlling Source Files.
Track Progress in the Output Panel
To track the progress of internal processing as you design your API:
-
Open the Output panel.
Show me how
-
Use the keyboard shortcuts:
-
Mac: Cmd+Shift+u
-
Windows: Ctrl+Shift+u
-
-
Select View > Output.
-
-
Select Mule DX Server from the dropdown list:

To see scaffolding errors only, select Mule DX Server: Scaffolding from the list.
Review Your Spec in the API Console
To display your spec in the console:
-
Click your spec file in the editor.
-
Click the
 (API Console) icon.
Alternatively, you can provide the command
MuleSoft: API Consolefrom the Command Palette. -
Wait for the endpoints to render in the API Console.
The API Console shows the endpoints for the spec in API Console, for example:
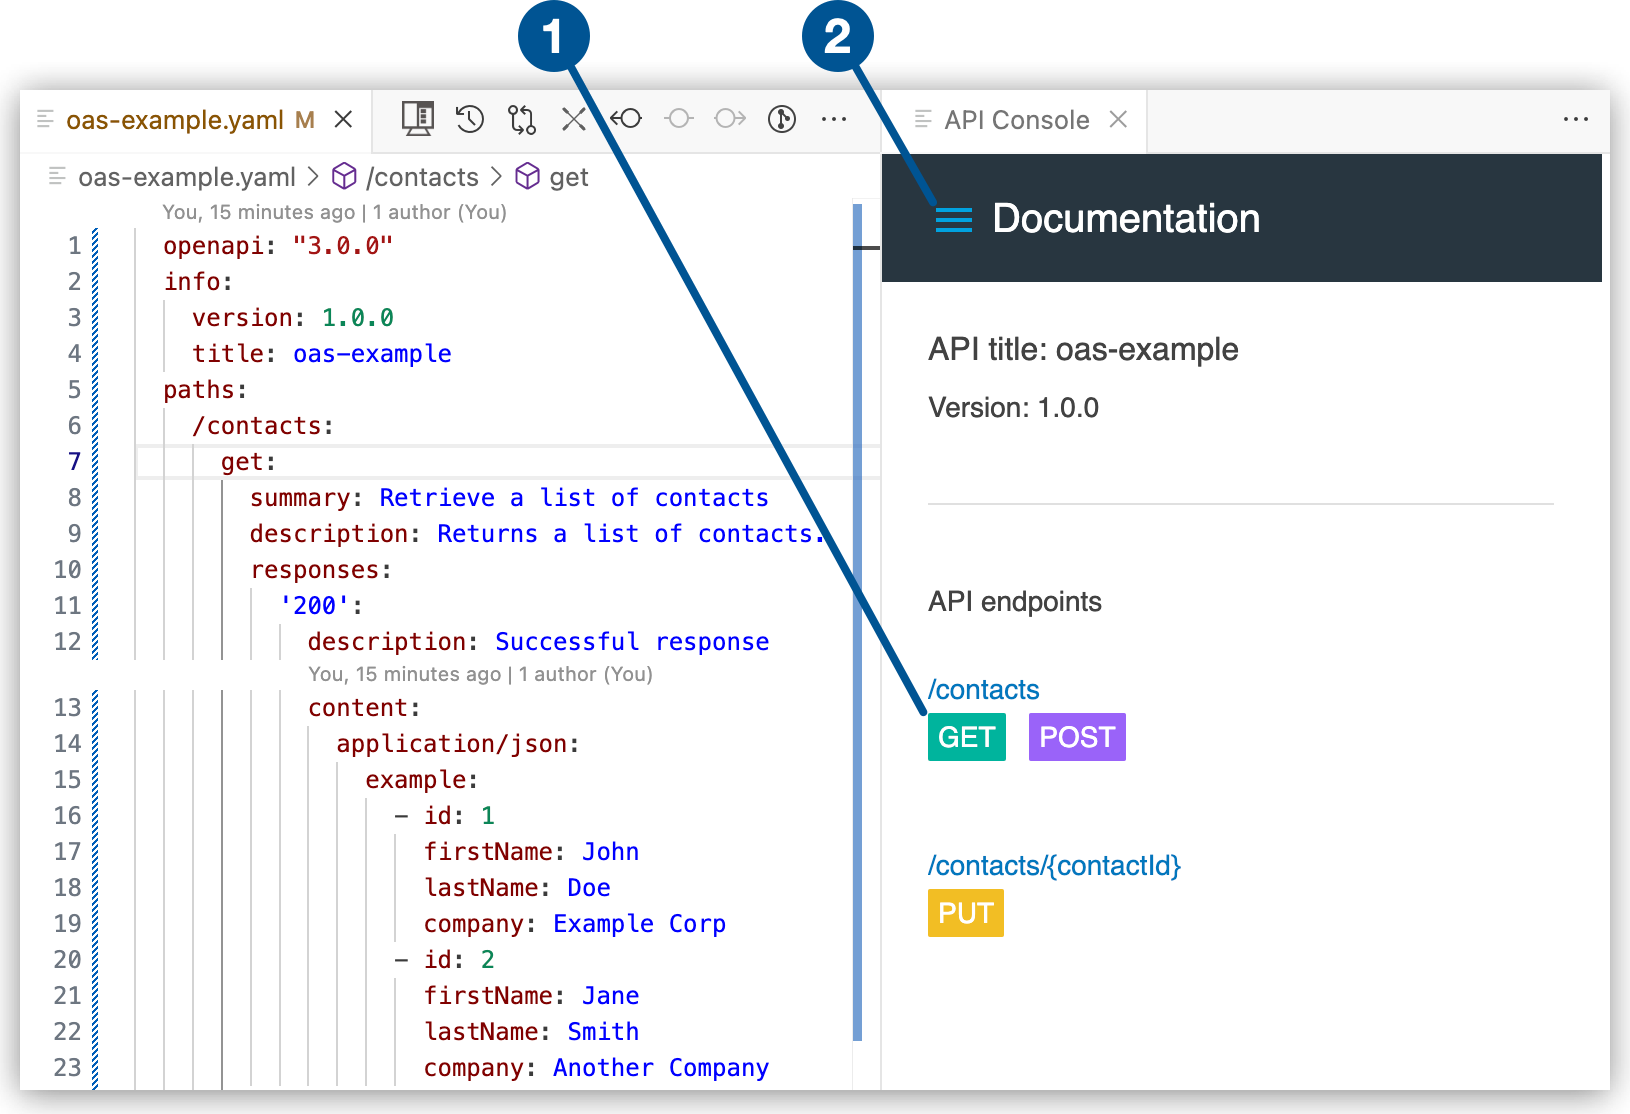
1 Click a method to view details. 2 Display the console menu. -
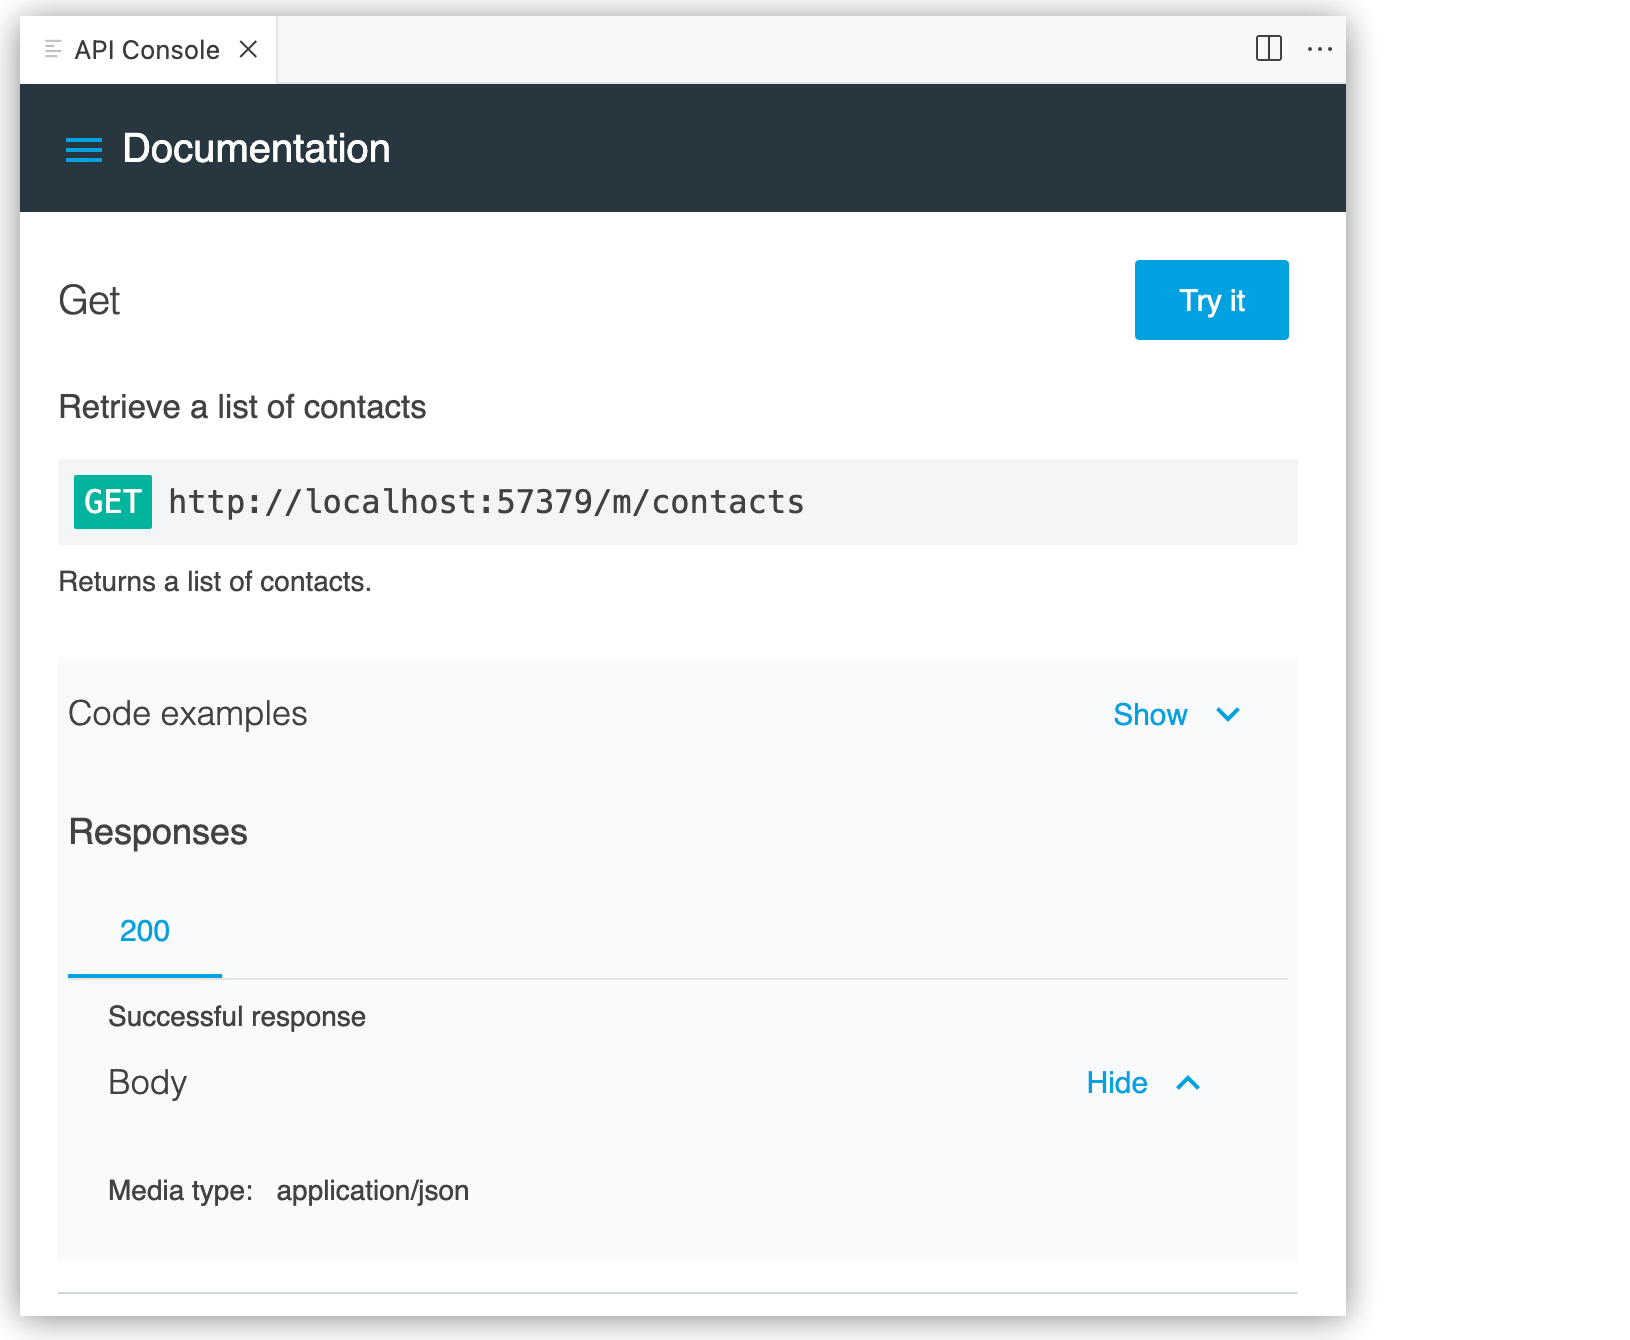
Click methods in the console or select items from the menu to view different parts of your spec. For example, click GET:
Test Your API Spec Using the Mocking Service
Use the Mocking Service in the API Console to check the request and responses that you configured in your API spec.
-
In Anypoint Code Builder, open the spec for your API project, such as
oas-example. -
Click the
(API Console) icon to display your spec in the console. -
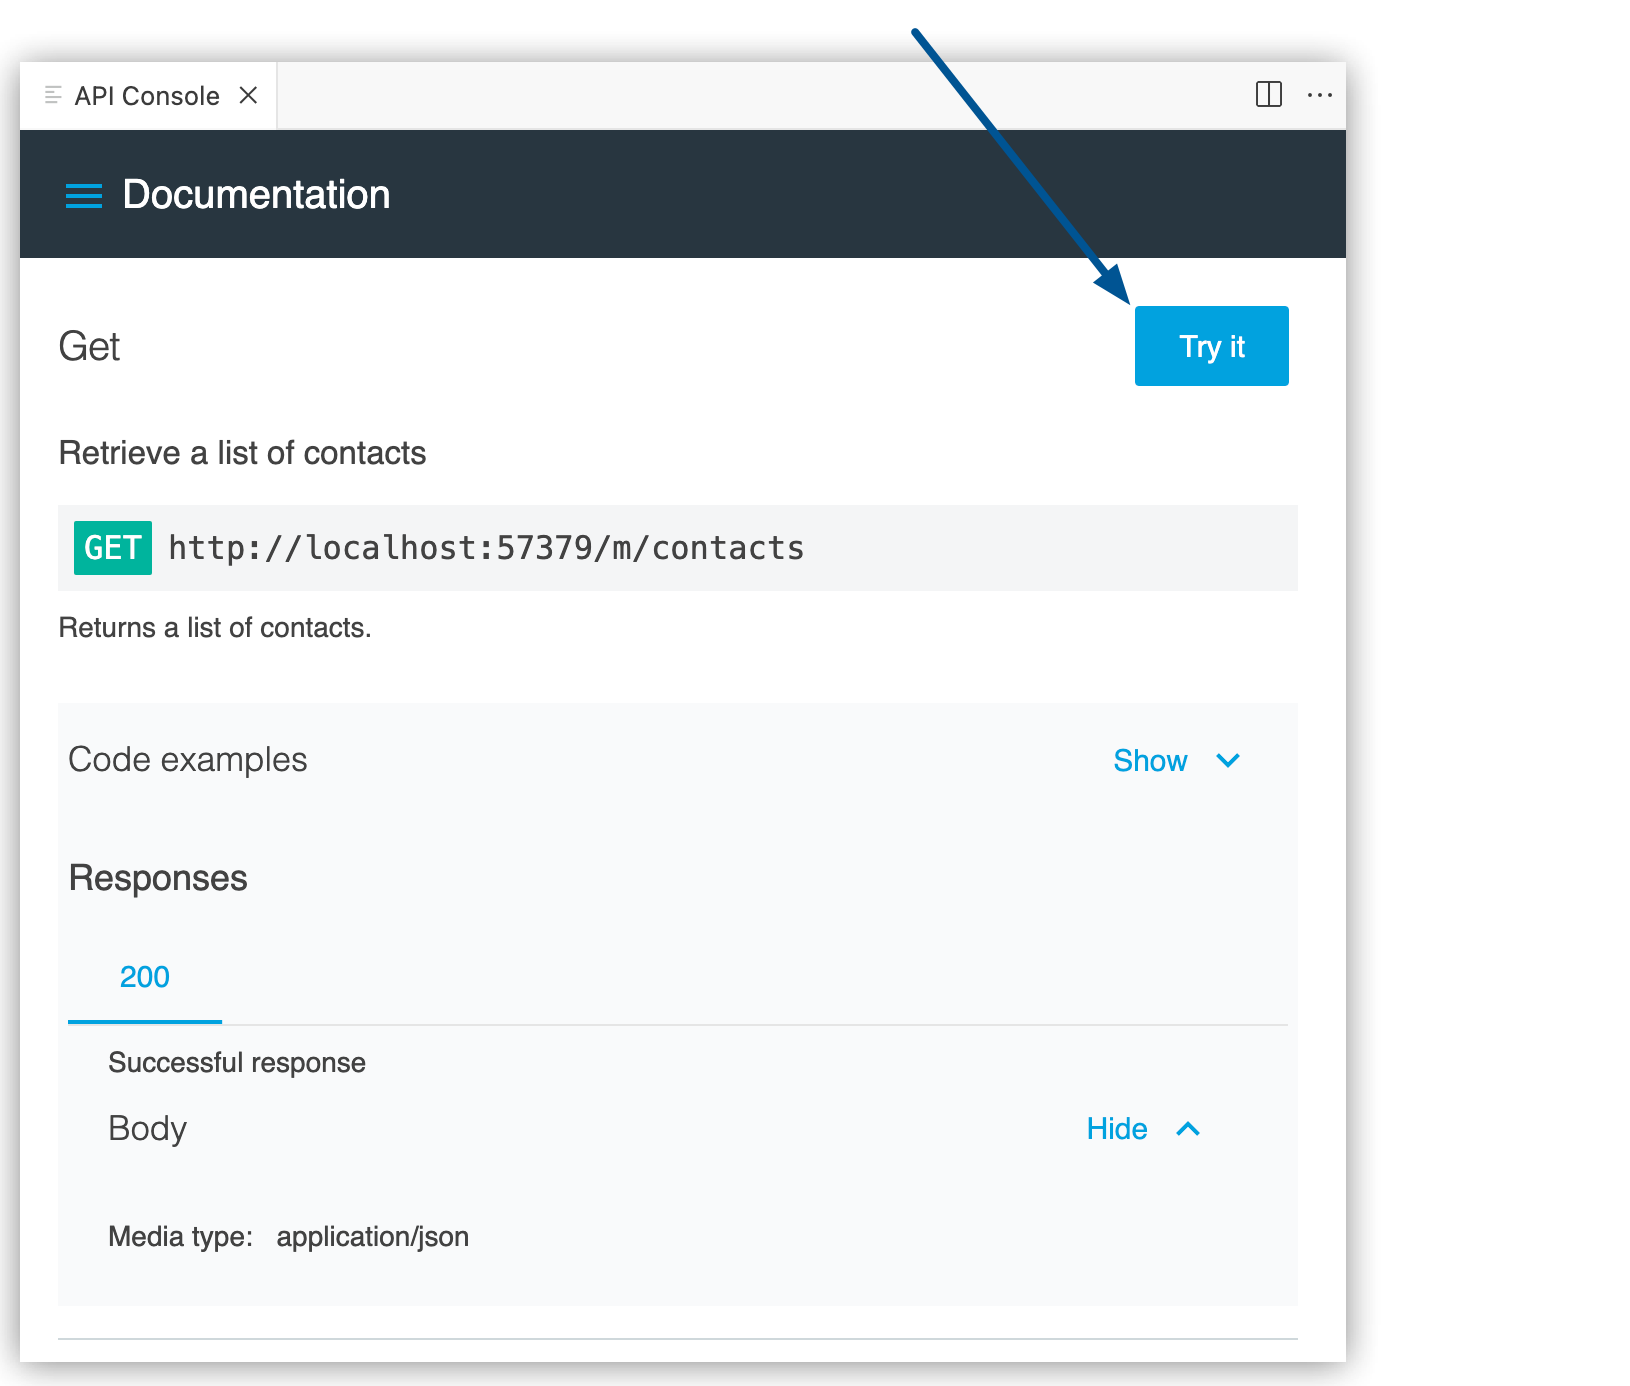
In the API Console, click a method, such as GET or POST.
-
Click Try It:
-
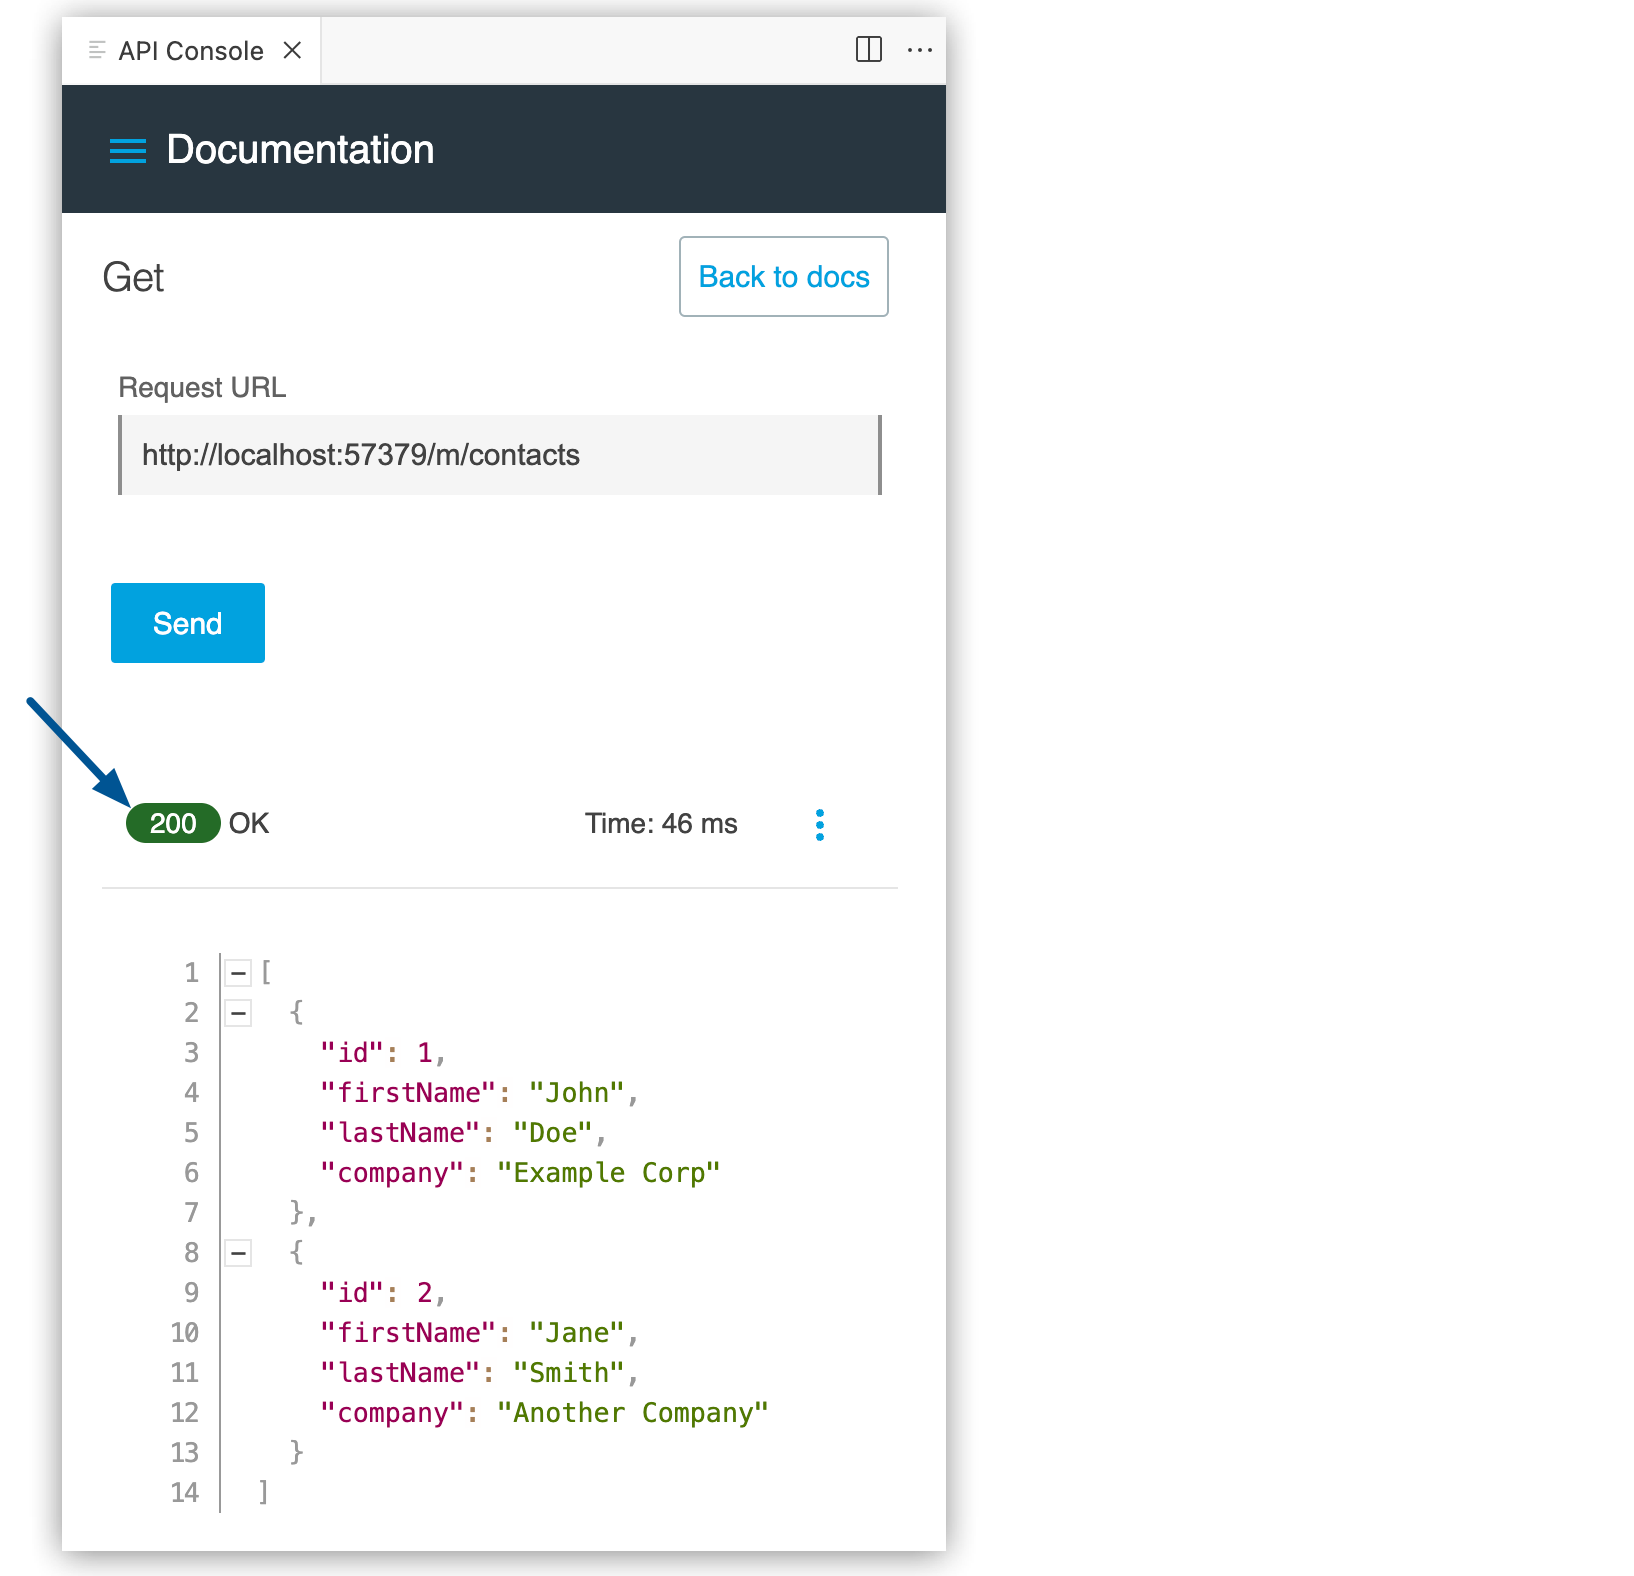
Confirm that the parameters that you’ve defined are correct and click Send.
-
Verify that API console returns the response you defined, for example:
-
Optionally, review your configured response examples when querying your mocked API endpoints.
Example OAS 3.0 (YAML) API Specification
If you created an OAS 3.0 (YAML) project, you can replace the initial spec with following example code:
Example OAS 3.0 (YAML) API Specification
  openapi: "3.0.0"
  info:
    version: 1.0.0
    title: oas-example
  paths:
    /contacts:
      get:
        summary: Retrieve a list of contacts
        description: Returns a list of contacts.
        responses:
          '200':
            description: Successful response
            content:
              application/json:
                example:
                  - id: 1
                    firstName: John
                    lastName: Doe
                    company: Example Corp
                  - id: 2
                    firstName: Jane
                    lastName: Smith
                    company: Another Company

      post:
        summary: Create a new contact
        description: Creates a new contact.
        requestBody:
          description: Contact object to be created
          required: true
          content:
            application/json:
              schema:
                $ref: '#/components/schemas/Contact'
        responses:
          '201':
            description: Contact created successfully
            content:
              application/json:
                example:
                  id: 3
                  firstName: John
                  lastName: Doe
                  company: Example Corp
          '400':
            description: Invalid request
          '500':
            description: Internal server error

    '/contacts/{contactId}':
      put:
        summary: Update a contact
        description: Updates an existing contact based on the contact ID.
        parameters:
          - name: contactId
            in: path
            description: ID of the contact to update
            required: true
            schema:
              type: integer
              format: int64
        requestBody:
          description: Updated contact object
          required: true
          content:
            application/json:
              schema:
                $ref: '#/components/schemas/Contact'
        responses:
          '200':
            description: Contact updated successfully
            content:
              application/json:
                example:
                  id: 3
                  firstName: John
                  lastName: Doe
                  company: Updated Corp
          '400':
            description: Invalid request
          '404':
            description: Contact not found
          '500':
            description: Internal server error

  components:
    schemas:
      Contact:
        type: object
        properties:
          id:
            type: integer
            format: int64
          firstName:
            type: string
          lastName:
            type: string
          company:
            type: string
        required:
          - firstName
          - lastName