
Add a Condition to Your Flow Logic
In this section of the tutorial, you learn how to add a condition to your flow to send an email to the regional leader if the Salesforce case is escalated, otherwise your Mule application sends a message to Slack.
Before You Begin
Complete these procedures:
-
Integrate Salesforce Data into Slack and Email Notifications.
-
Create a Configuration File for Slack and Salesforce and configure your Salesforce integration.
Define the Behavior for When the Case Is Escalated
Use a Choice router to define behaviors based on specific conditions. In this case, choose to send an email if the case is escalated.
-
In Anypoint Code Builder, open your
new-case-salesforce.xmlfile. -
Click the
 (Add component) icon for the Logger component: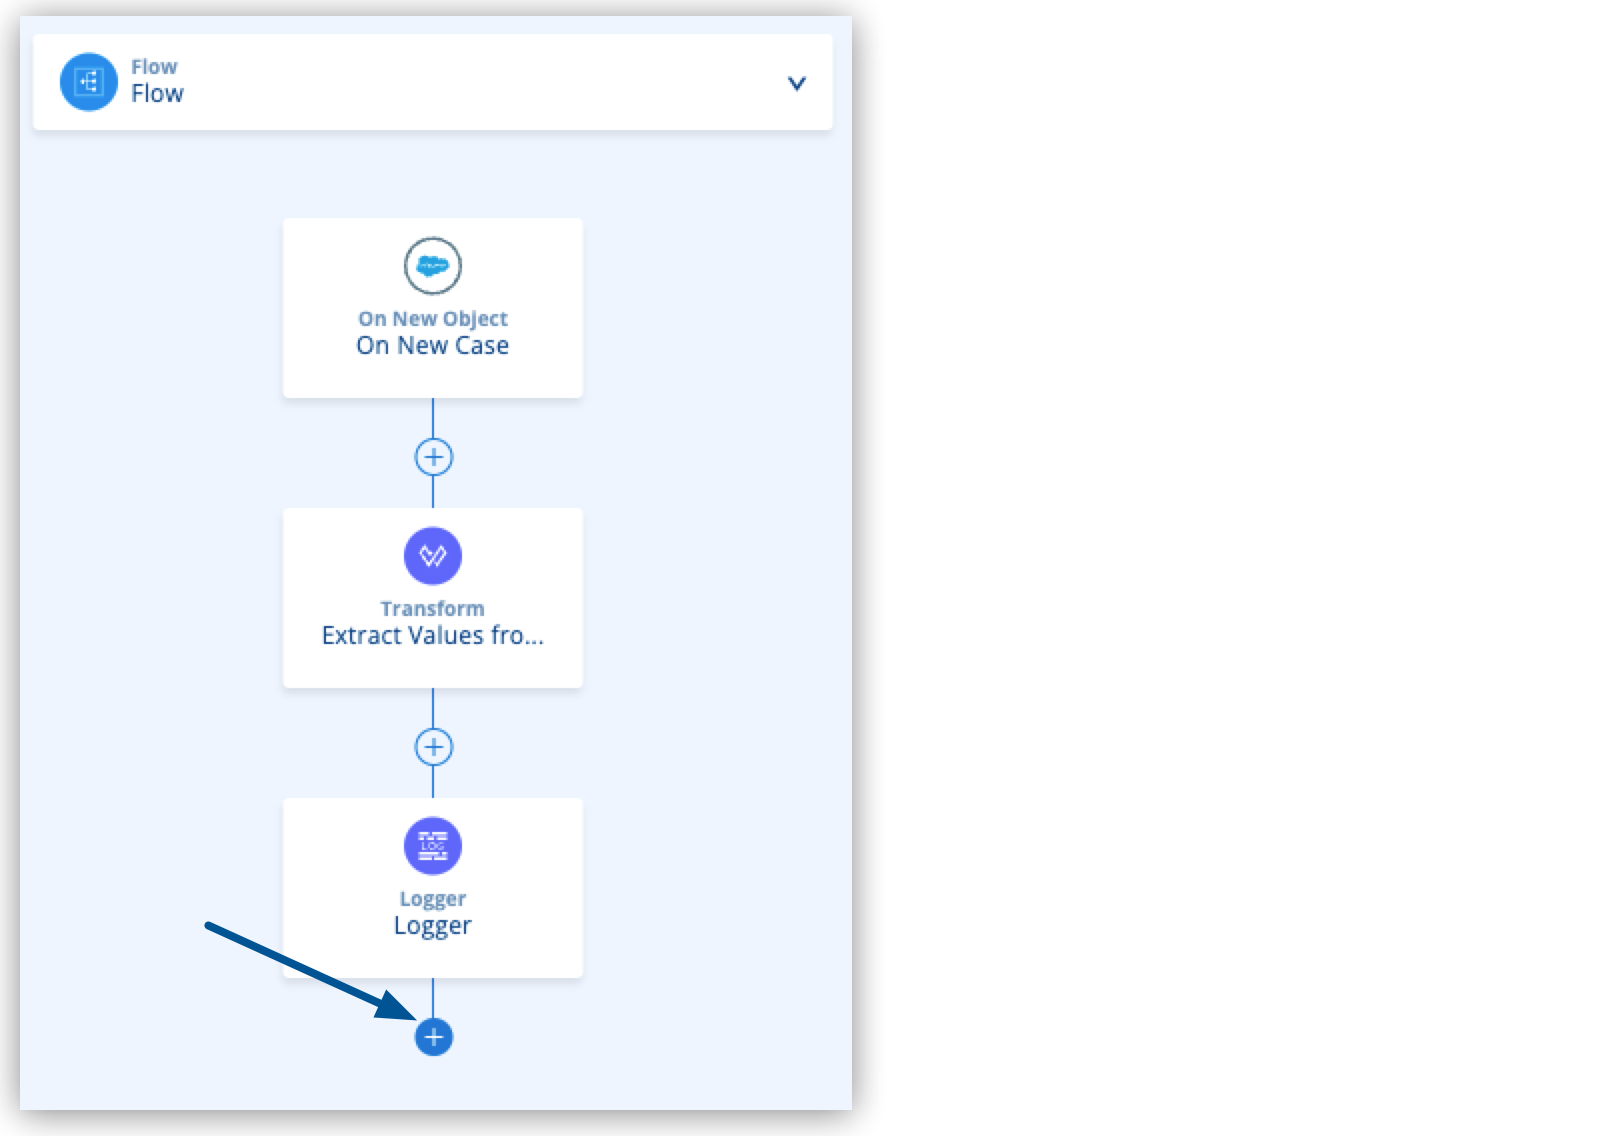
-
Type
choiceand select Choice under Flow Control: -
Add the
<when/>and<otherwise/>elements:
<choice doc:name="Choice">
   <when doc:name="When" >

   </when>
   <otherwise doc:name="Otherwise" >

   </otherwise>

</choice>
For better readability of your Mule flow, update the name of the
<choice/>,<when/>, and<otherwise/>elements:<choice doc:name="Is Case Escalated?"> <when doc:name="Escalated" > </when> <otherwise doc:name="Not Escalated" > </otherwise> </choice> -
Define the
whenbranch to execute if the variablecasestatusequalsEscalated:<choice doc:name="Is Case Escalated?"> <when doc:name="Escalated" expression='#[vars.casestatus == "Escalated"]'> </when> <otherwise doc:name="Not Escalated" > </otherwise> </choice>
Add an Email Connector
To configure the <when/> element, you must first configure operations from the Anypoint Connector for Email (Email Connector):
-
In Anypoint Code Builder, open your
new-case-salesforce.xmlfile, and add a new line under your<salesforce:sfdc-config/>element. -
Type
smtpand select email:smtp-config:<email:smtp-config name="Email_SMTP"> <email:smtps-connection host="${email.host}" user="${email.username}" password="${email.password}"> <tls:context> <tls:trust-store insecure="true" /> </tls:context> </email:smtps-connection> </email:smtp-config> -
Click the
(Add component) icon after the Escalated section: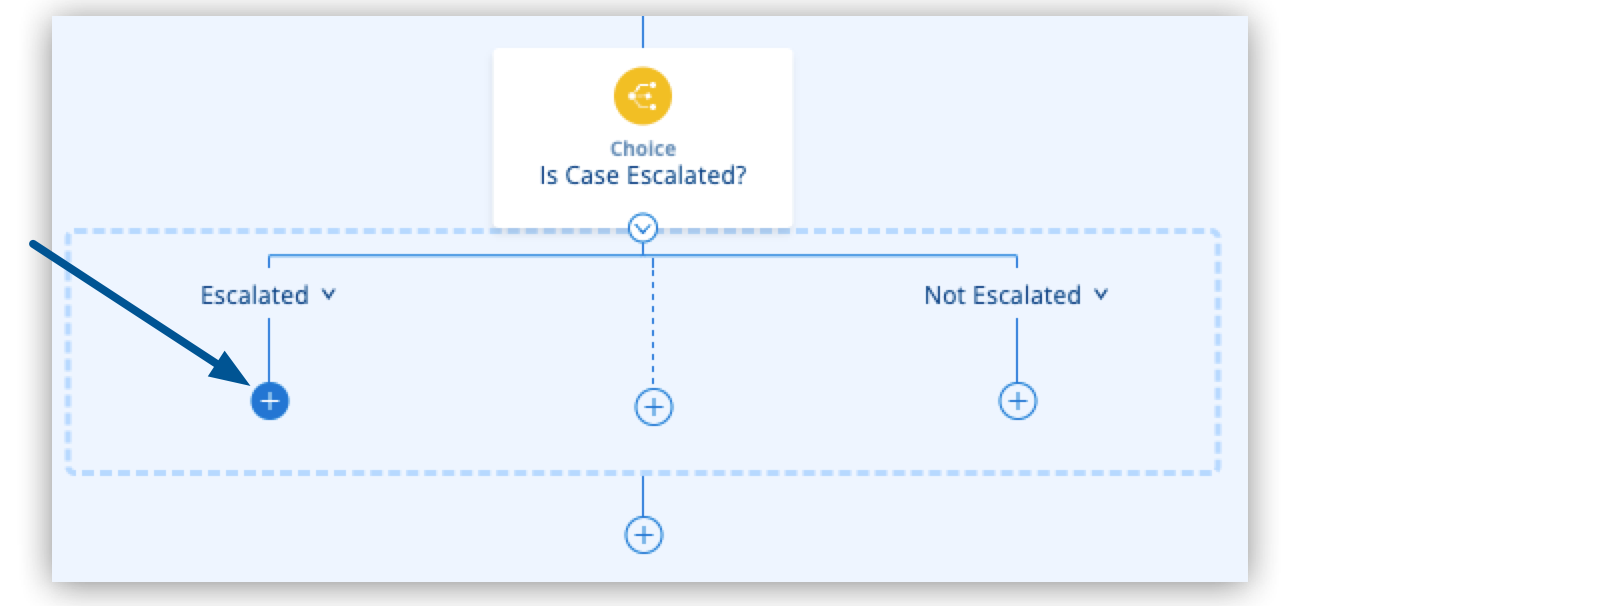
-
Type
sendand select Send from the Email section: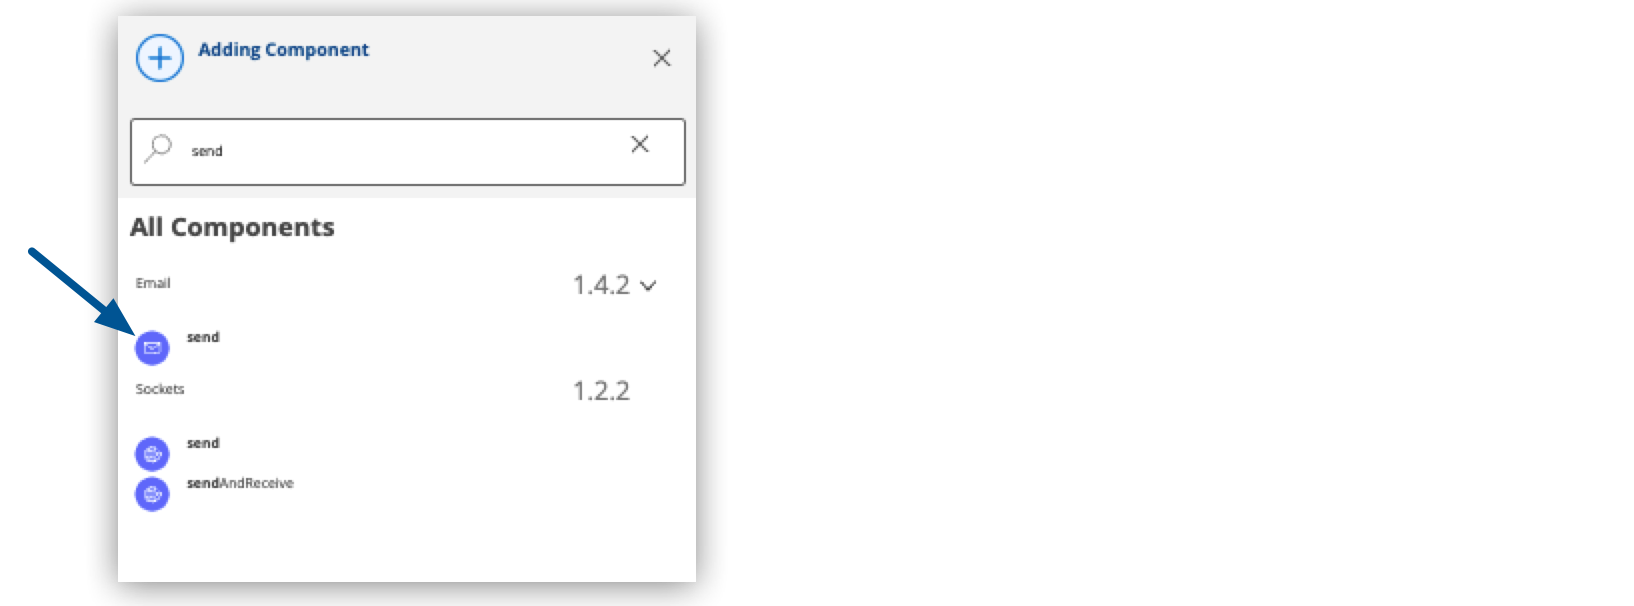
-
Configure
sendusing the following code sample:<email:send config-ref="Email_SMTP" doc:name="Send Escalation Email" subject='#["Case " ++ vars.casenumber ++ " was escalated"]'> <email:to-addresses> <email:to-address value="${email.username}" /> </email:to-addresses> <email:body contentType="text/html" > <email:content ><![CDATA[#["Please handle this case. " ++ payload]]]></email:content> </email:body> </email:send> -
To be able to test the application, temporarily add a
<logger/>element inside your<otherwise/>element:<logger doc:name="Temporary Logger" message='#["Please look into this new Case: " ++ payload]'/> -
Examine your full Choice router configuration:
<choice doc:name="Is Case Escalated?">
  <when doc:name="Escalated" expression='#[vars.casestatus == "Escalated"]'>
      <email:send config-ref="Email_SMTP" doc:name="Send Escalation Email" subject='#["Case " ++ vars.casenumber ++ " was escalated"]'>
             <email:to-addresses>
               <email:to-address value="${email.username}" />
            </email:to-addresses>
            <email:body contentType="text/html" >
                   <email:content ><![CDATA[#["Please handle this case. " ++ payload]]]></email:content>
                 </email:body>
           </email:send>
  </when>
  <otherwise doc:name="Not Escalated" >
    <logger doc:name="Temporary Logger" message='#["Please look into this new Case: " ++ payload]'/>
  </otherwise>
</choice>
Test Your Mule Application
-
To expedite the test, remove the breakpoint for your Logger component.
-
Select Run > Start Debugging (F5).
-
After your application deploys successfully, log in to your Salesforce account.
-
From App Launcher, select Service:
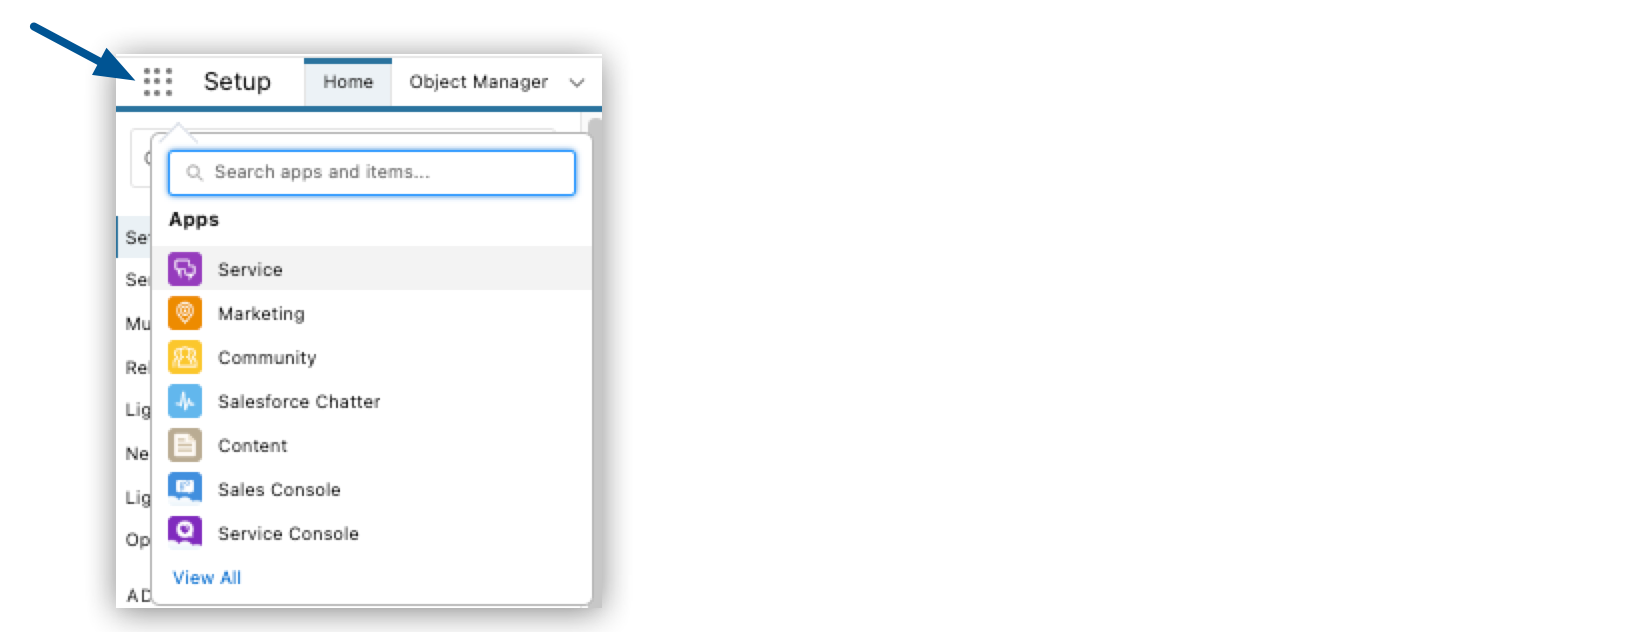
-
Select Cases > New Case:

-
Ensure that the Status of the new case is Escalated.
-
After a few seconds, ensure that your configured email account received an email with the information configured in the case:
Please handle this case. Case Number: 00001030, Origin: Phone, Case Type: , Priority: Medium, Status: Escalated -
Proceed to Configure Slack Integration to learn how to configure the Slack message for any case that was not escalated.