Iteratively Design and Implement APIs
 Cloud IDE
 Desktop IDE
Using Anypoint Code Builder, you can scaffold an API specification into a new integration project without first publishing the API to Anypoint Exchange. As you make changes, you sync changes in the project by re-scaffolding the spec. For example, after adding a new endpoint to your API spec, you re-scaffold to add a new flow for that endpoint to the configuration XML file.
Anypoint Code Builder supports scaffolding these schema fragment files if they’re referenced from API specs:
| Avro | JSON | RAML | |
|---|---|---|---|
AsyncAPI |
Yes |
Yes |
No |
GraphQL |
No |
No |
Yes |
OData |
No |
No |
Yes |
REST |
No |
Yes |
Yes |
SOAP |
No |
No |
Yes |
If you add a fragment that isn’t supported, the scaffolder doesn’t add these fragments as project dependencies when you import the spec from Exchange. However, you can scaffold schemas that are specified inline within the spec.
For AsyncAPI specifications, iterative design and implementation is not supported at this time.
After syncing the API spec and related Mule project, you can modify the API specification and implement changes simultaneously.
By using this method to implement the API, you reflect your changes to your API design directly into the interface in your Mule project. Iterating between API design and implementation tasks speeds up the development process.
When you’re ready, publish your API specification to Exchange and deploy your Mule project.
When you scaffold your API specification into a new integration project, Anypoint Code Builder creates a configuration XML for your implementation.
Multi-Root Workspace Considerations
When you scaffold an API, Anypoint Code Builder creates a multi-root workspace in VS Code with both the API spec and integration projects and keeps them synchronized.
VS Code uses a file with the extension .code-workspace to store your multi-root workspace.
This file maps the folders for your API spec and implementation projects.
For your projects to work properly, the .code-workspace file must not reside within either project folder.
|
In addition, Anypoint Code Builder permits only one pair of iterative design and implementation project folders per multi-root workspace.
For general information about using workspaces in Anypoint Code Builder, see Working with Workspaces.
For more information, see Multi-root Workspaces in the VS Code documentation.
Scaffold an API Spec into a New Implementation Project
To scaffold the current API spec into a new implementation project:
-
Click the
 (Implement this local API) icon in the activity bar:
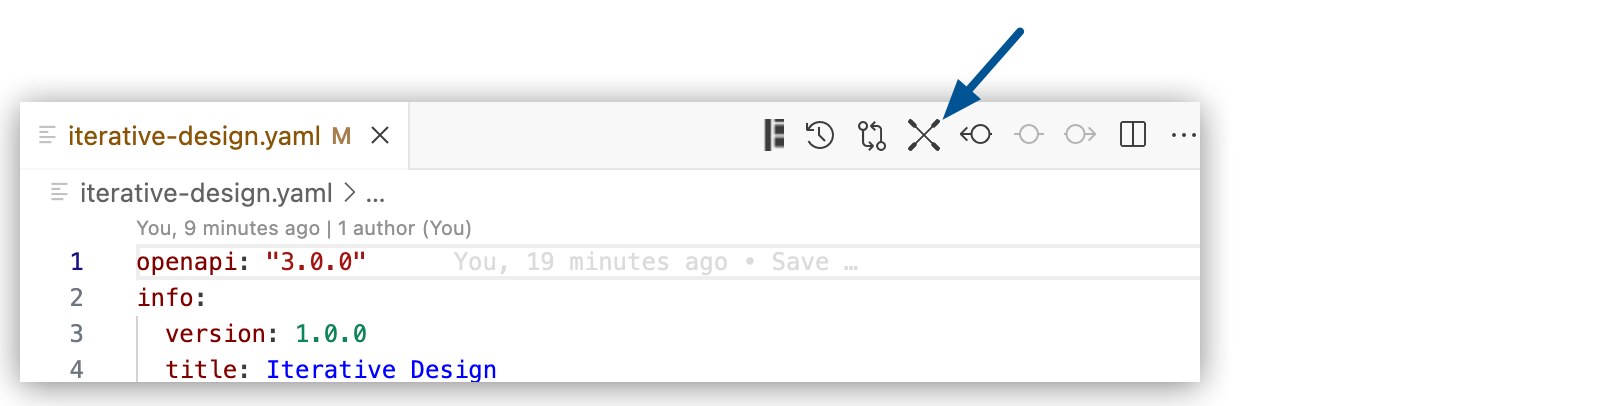
Alternatively, use the Command Palette.
Show me how
-
Open the Command Palette
-
Use the keyboard shortcuts:
-
Mac: Cmd+Shift+p
-
Windows: Ctrl+Shift+p
-
-
In the desktop IDE, select View > Command Palette.
-
In the cloud IDE, click the
 (menu) icon, and select View > Command Palette.
-
-
Select the following command:
MuleSoft: Implement this Local API
-
-
At the prompt, click OK:

After the workspace is created, Anypoint Code Builder builds and packages the API specification, and publishes it to a local Maven repository as a snapshot.
-
Navigate to a directory for your new project, and click Save.
Anypoint Code Builder starts creating a multi-root workspace with your API specification and Mule project.
In the multi-root workspace, you can work with both your API specification and Mule project folders at the same time.
Do not accept the default location.
Save your
.code-workspacefile in a directory outside of your project folder, not within your API spec folder. -
When prompted, provide project configuration details:
-
Provide a name for your Mule project.
-
Navigate to a folder for your Mule project, and click Select target folder.
-
Select a Mule runtime version for the project.
-
Select a Java version for the project.
Anypoint Code Builder scaffolds your local API specification into a new Mule project and displays a message when complete:

Both the API spec and the Mule project open in your IDE, for example:
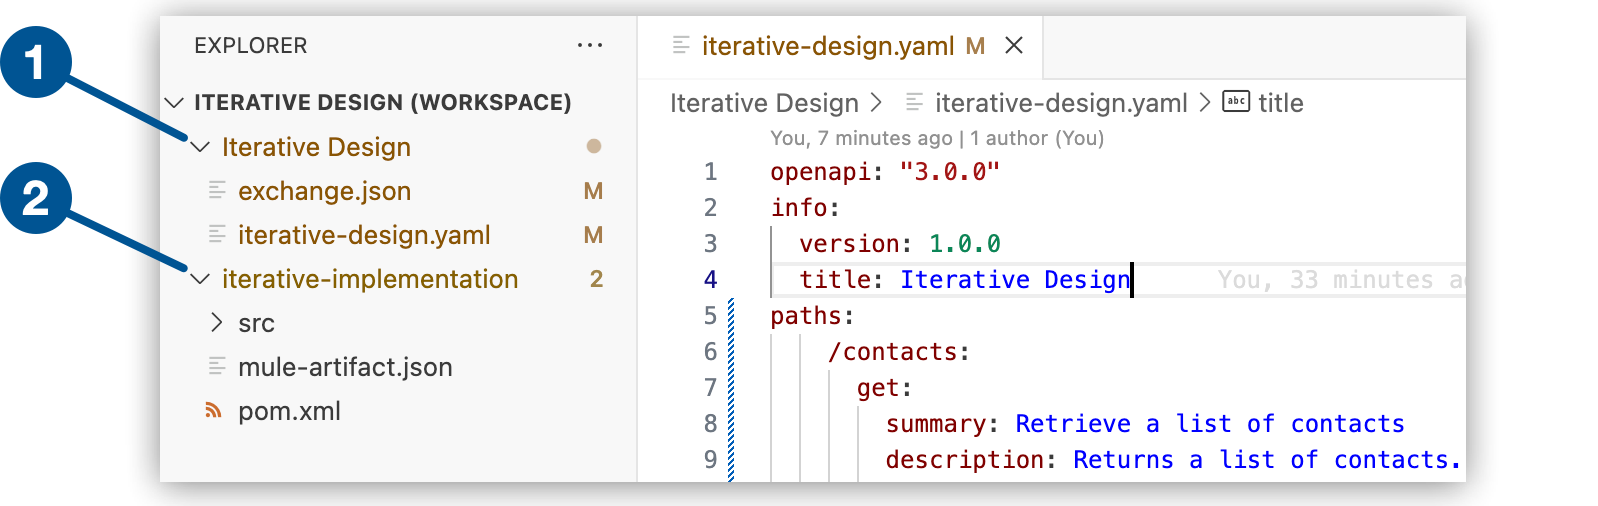
1 API spec 2 Implementation project
-
-
In the Explorer view, open the configuration XML file for your interface.
-
Click the
 (Show canvas UI) icon in the activity bar to open the canvas if it doesn’t open automatically.
Notice that the new Mule project includes flows for each endpoint, a built-in XML-based router, and error handlers, which you then implement within a Mule application.
You can switch between the spec and the implementation project in the Explorer view.
To close or reopen your workspace later, see Working with Workspaces.
Re-Scaffold the API Spec
After making changes to your API spec, such as adding a new endpoint, re-scaffold the spec to update your Mule project:
-
In the Explorer view, navigate to the API spec file.
-
Open the Command Palette.
Show me how
-
Use the keyboard shortcuts:
-
Mac: Cmd+Shift+p
-
Windows: Ctrl+Shift+p
-
-
In the desktop IDE, select View > Command Palette.
-
In the cloud IDE, click the
(menu) icon, and select View > Command Palette.
-
-
Select the following command:
MuleSoft: Re-scaffold this local APIThis command is available only for API specifications that haven’t been published to Anypoint Exchange. If you publish the spec to Exchange, re-scaffolding is no longer available for that asset. After you see the message that your project was rescaffolded successfully, navigate to your implementation XML file, and notice the new flow was added.