Integrate Salesforce Data into Slack and Email Notifications
Create an integration that notifies you through email or Slack when a new case is created in Salesforce.
The integration that you build contains a flow with the following logic:
-
The creation of a new case in Salesforce triggers your flow.
-
If the case is escalated, your application sends an email to the regional leader including the case number, origin, reason, priority, and status.
-
If the case is not escalated, your application sends a message to a Slack channel with the same information.
Before You Begin
Before you begin, ensure you:
-
Set up your MuleSoft environment.
See Getting Started with Anypoint Code Builder for more information.
-
Set up a Salesforce demo environment.
-
Have a personal or business Gmail account.
-
Have a personal or business Slack account.
Set Up Your Slack Workspace
-
Navigate to Slack and log in using your organization credentials.
If your work organization restricts users from creating new workspaces, log in using your personal email account.
-
Create a new Workspace called Integration Test.
-
Skip the step to invite new users and type a brief description of your Workspace, for example, This is a test Workspace.
-
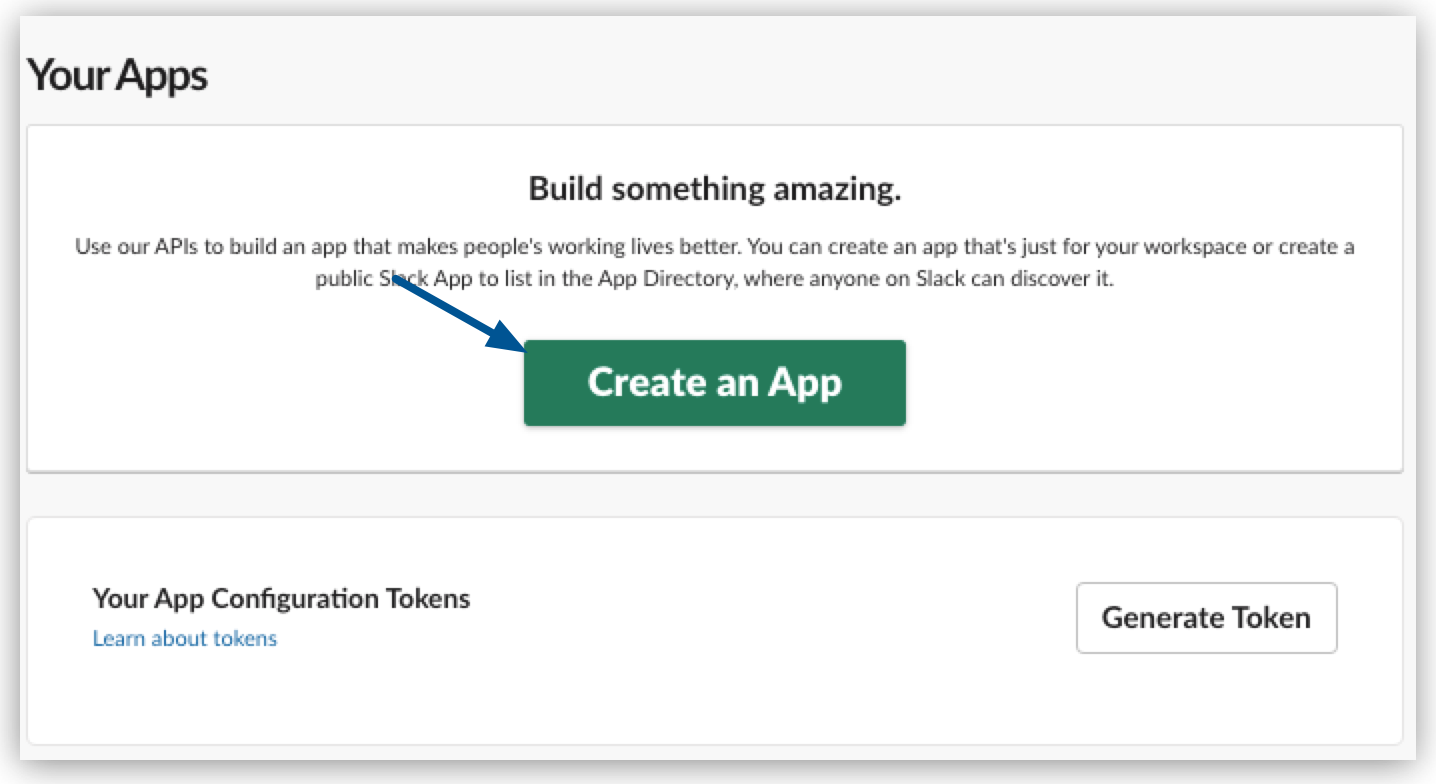
Navigate to Your Apps and click Create an App:

-
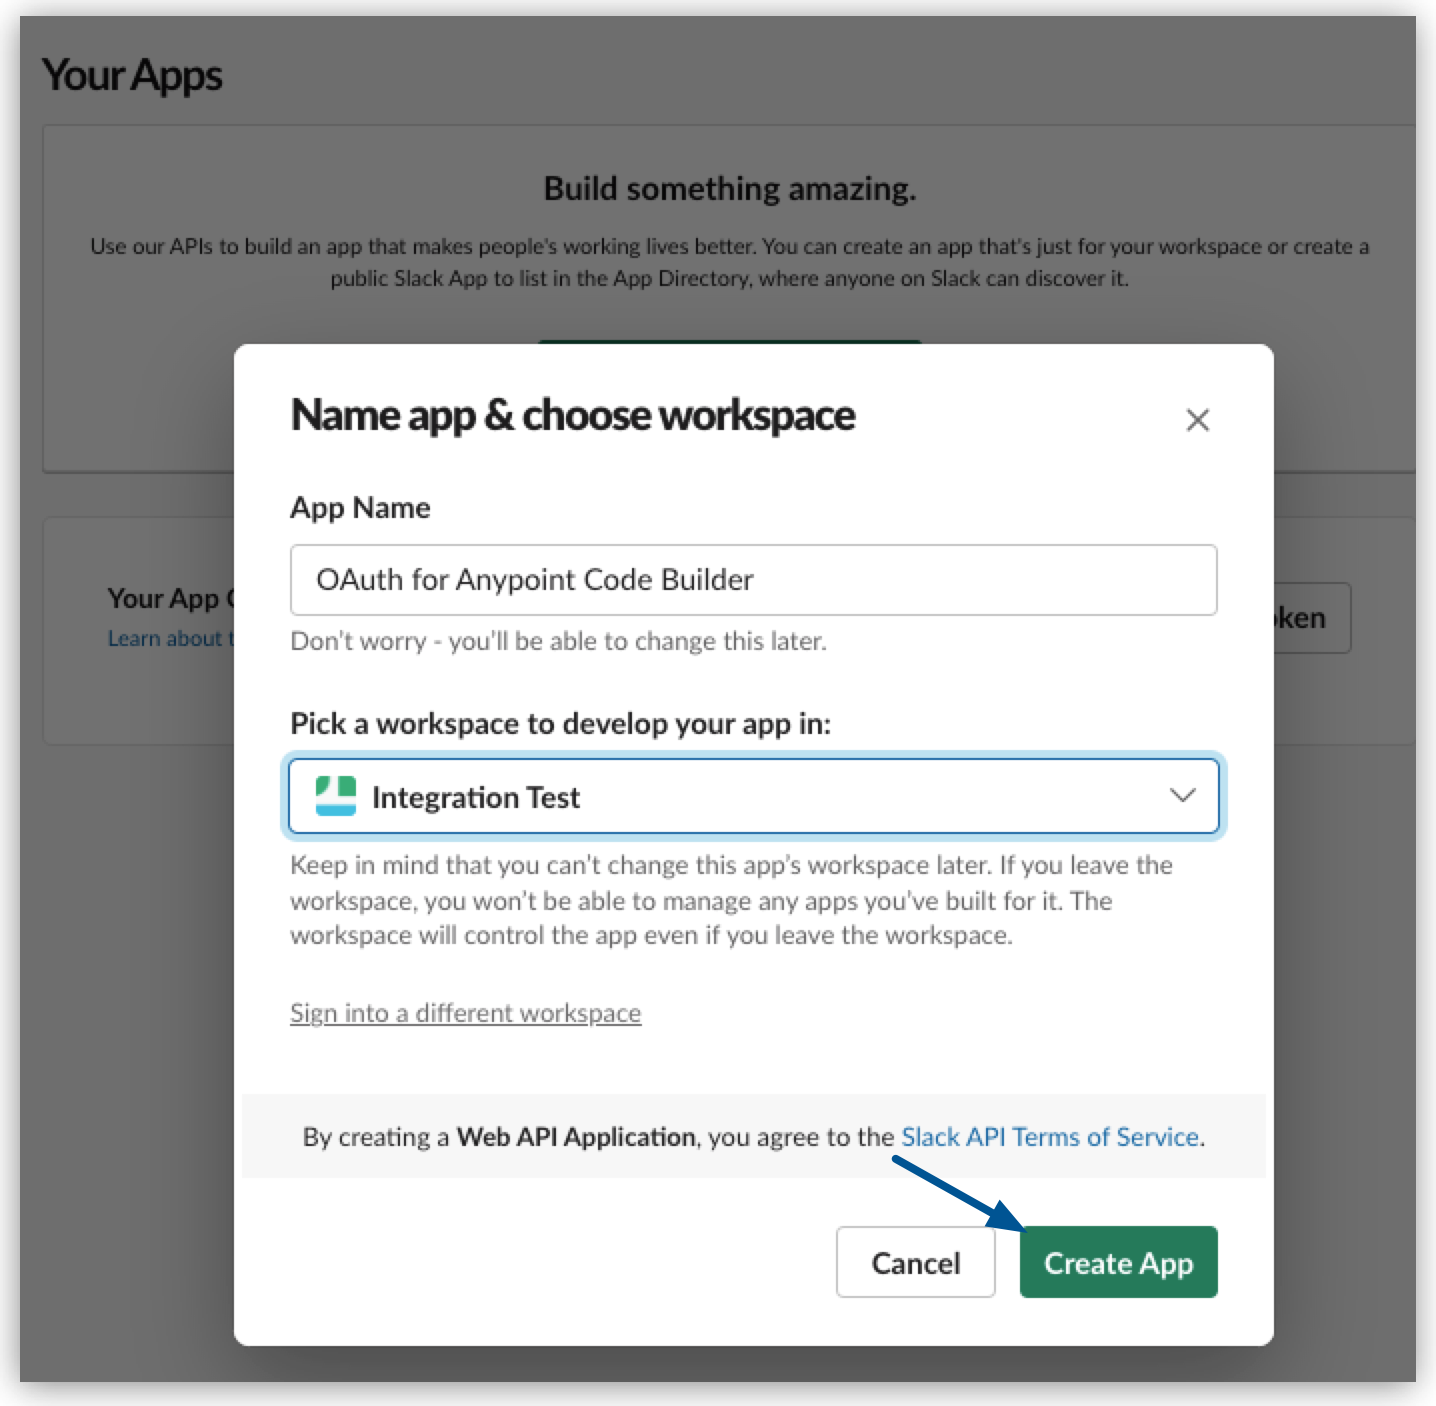
Select From scratch.
-
Name your app OAuth for Anypoint Code Builder, and select your Integration Test workspace.
-
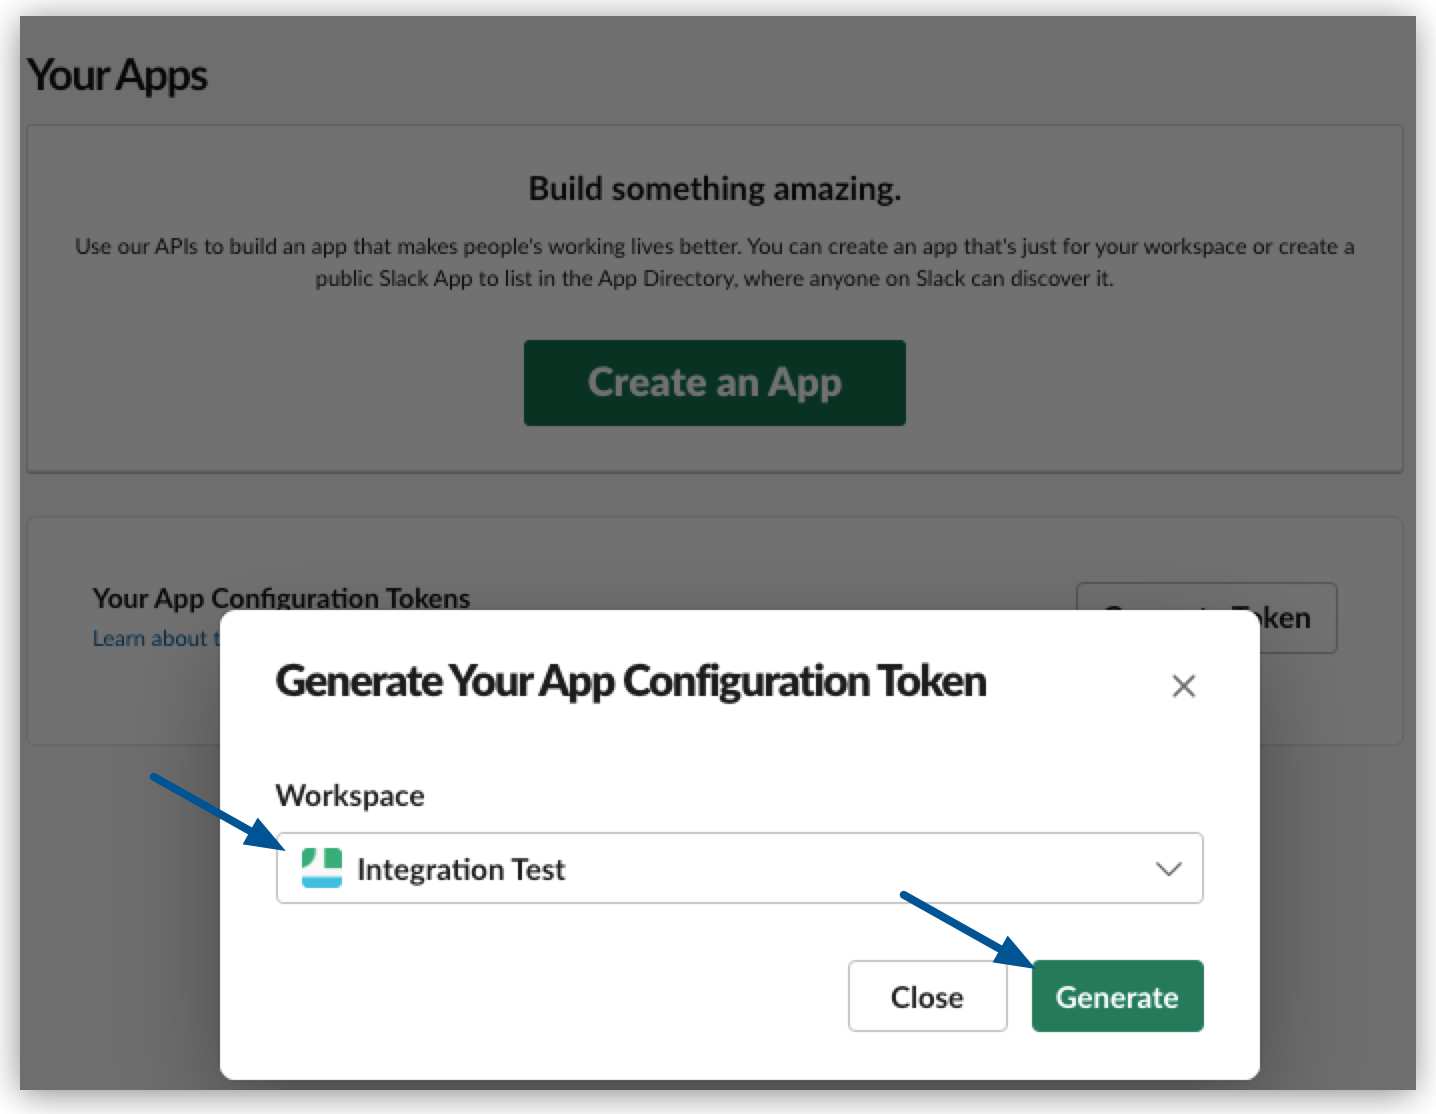
Click Generate:
-
Click Create App:
-
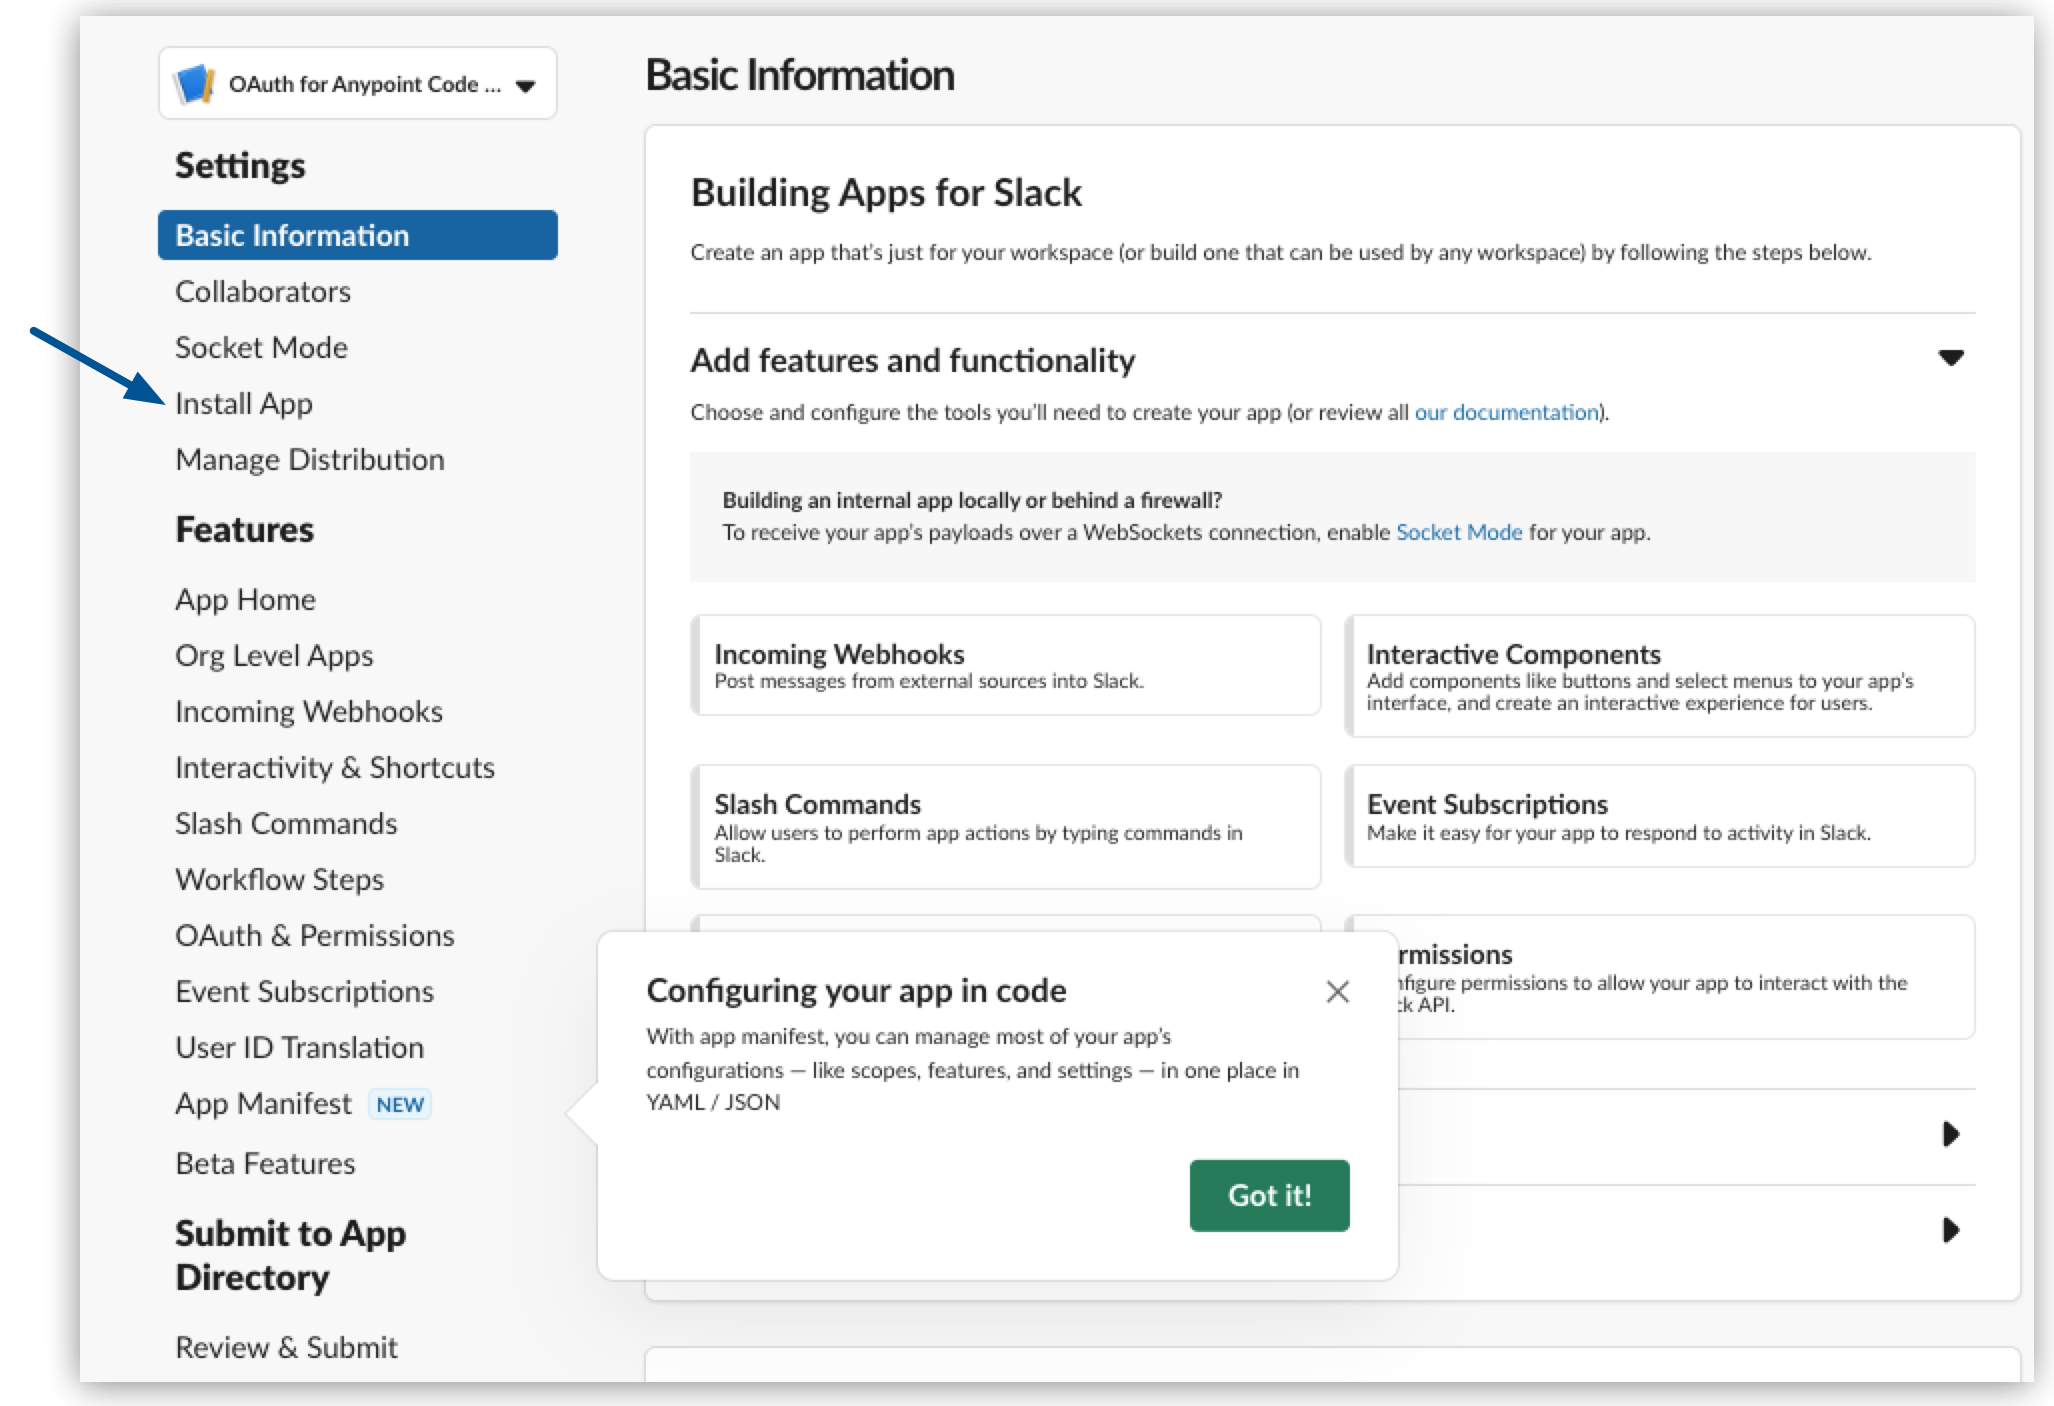
Click Install App:
-
Click Permission scope:

-
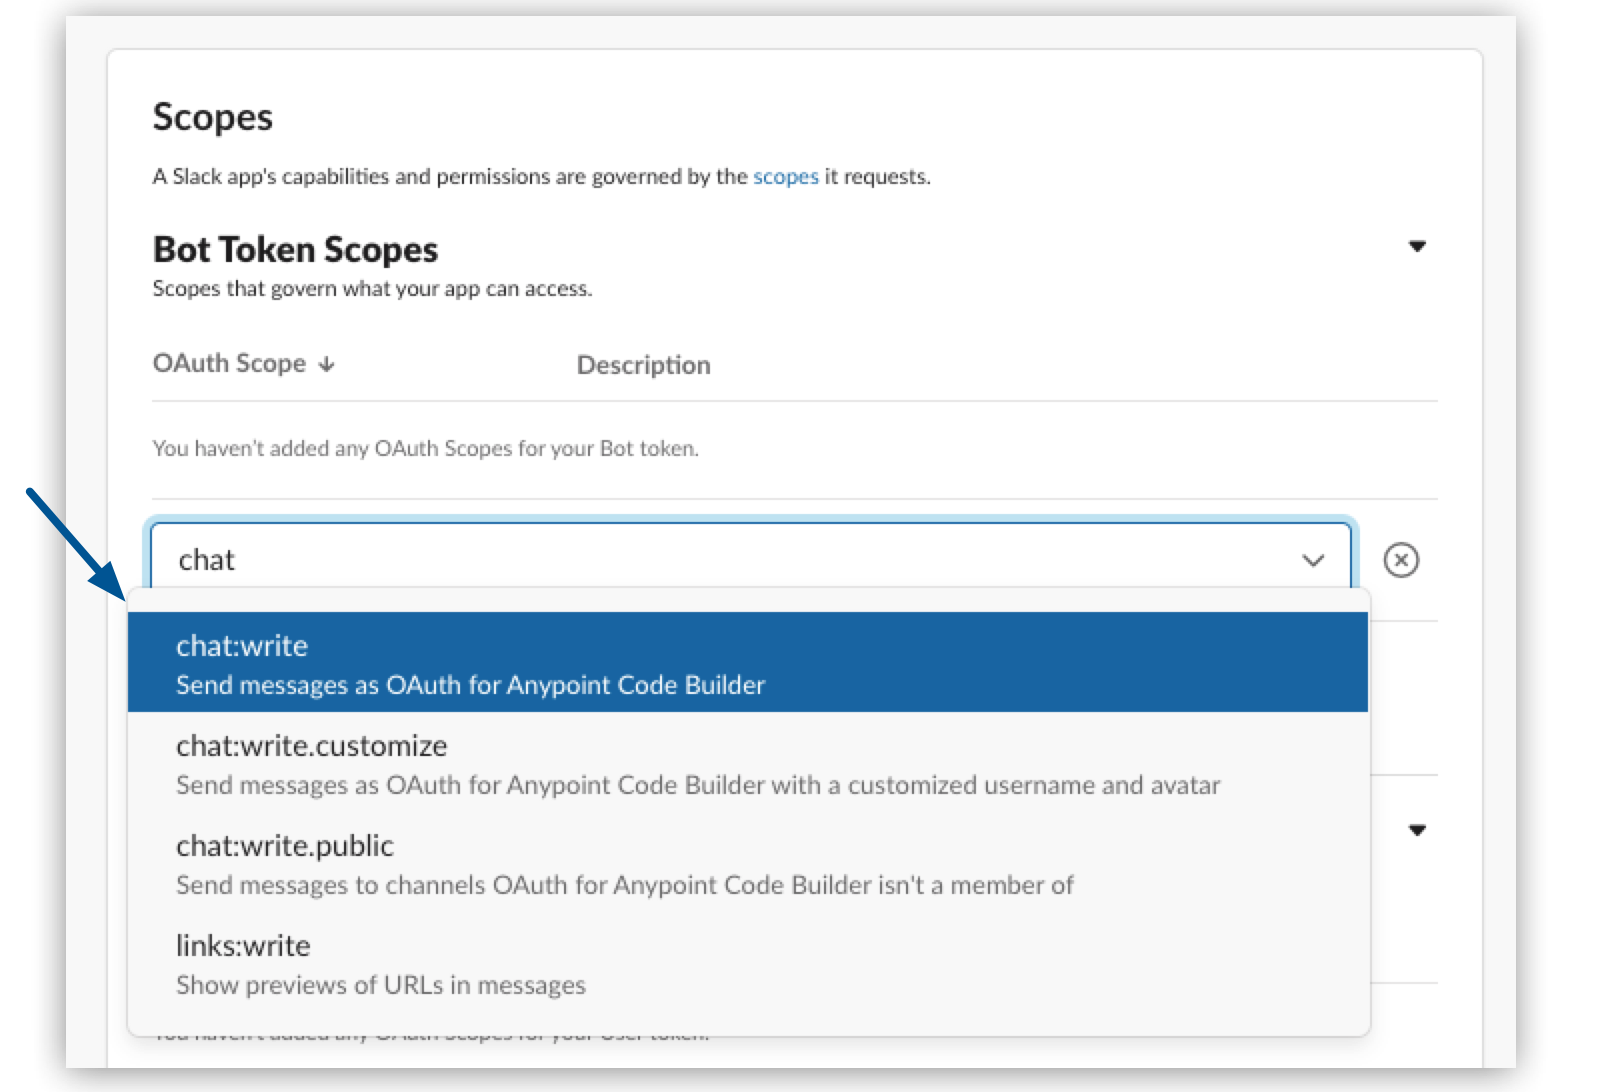
Scroll down to the Scopes section and, under Bot Token Scopes, select Add an OAuth Scope, and select chat:write.public:
-
Select Add scopes when prompted to add other necessary scopes for
chat:write.public. -
Scroll up to the OAuth Tokens for Your Workspace and select Install to Workspace.
-
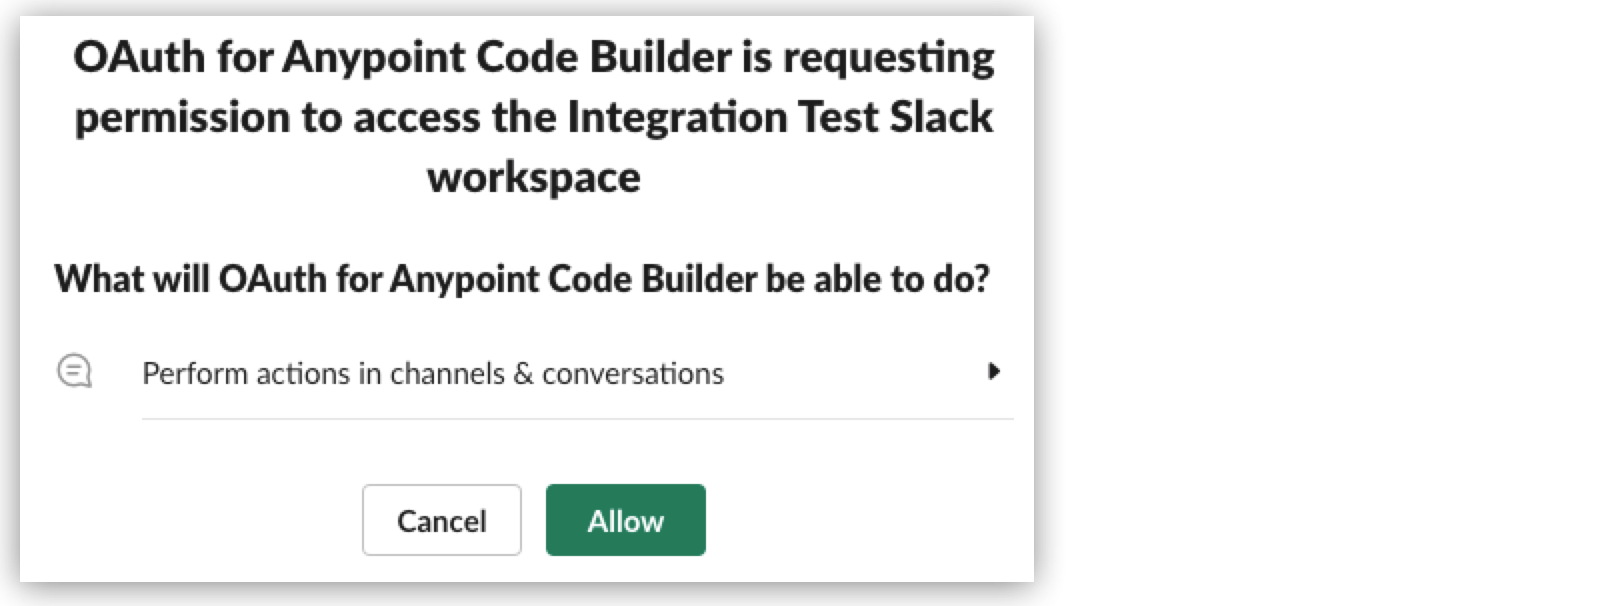
Click Allow:
-
Under Bot User OAuth Token, click Copy and save it on a safe location.

You use this token to connect to your Slack workspace from Anypoint Code Builder:
-
Create a new public channel called "this-is-a-test" in your Integration Test workspace.
-
Add the OAuth for Anypoint Code Builder app to the
this-is-a-testchannel.
Set up an App Password for Your Email
Later in this tutorial, you configure the Email Connector to send emails to your configured email account. To avoid using your email password, follow Google instructions to configure an App password.
| The Gmail account must have 2-factor authentication enabled to configure an App password. |
Create an Integration
-
Navigate to Anypoint Code Builder.
-
Open the Command Palette.
Show me how
-
Use the keyboard shortcuts:
-
Mac: Cmd+Shift+p
-
Windows: Ctrl+Shift+p
-
-
In the desktop IDE, select View > Command Palette.
-
In the cloud IDE, click the
 (menu) icon, and select View > Command Palette.
-
-
Provide the following command:
MuleSoft: Develop an Integration -
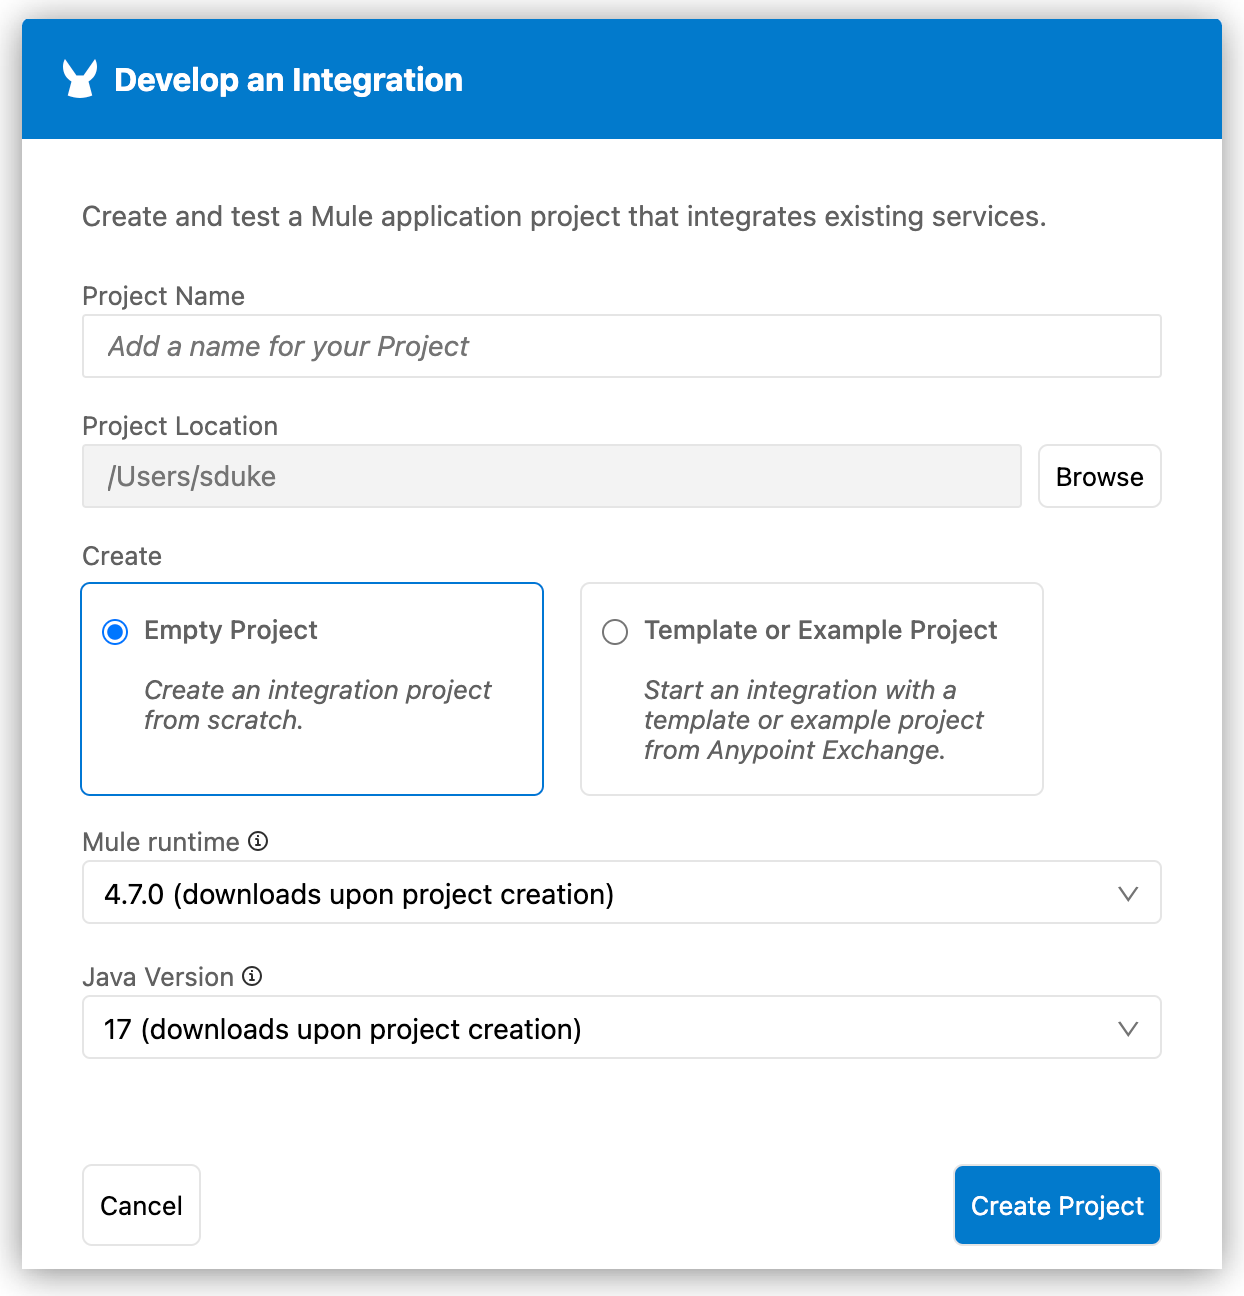
Provide integration project properties to the Develop an Integration form:
-
Under Project Name, provide the name New Case Salesforce.
-
Under Project Location, click Browse, and then select your home directory.
-
Under Create, select Empty Project.
-
Select a Mule runtime and Java version.
You can select any of the supported Mule runtime and Java versions. The IDE saves your version settings to the project’s
mule-artifact.jsonfile. For information about version support and automated Mule patch updates, see Mule and Java version support. To set default Mule runtime and Java versions for the projects you create, see Version Settings for Mule, Java, and Connectors.
-
-
Click Create Project.
The IDE provides a notification if it is necessary to download the selected Mule runtime or Java version for the project. Mule runtime downloads to
${user.home}/AnypointCodeBuilder/runtimes, and the selected Java version downloads to${user.home}/AnypointCodeBuilder/java. -
Proceed to Create a Configuration File for Slack and Salesforce to create configuration files for connectors.


 Cloud IDE
 Desktop IDE