Creating Integrations
 Cloud IDE
 Desktop IDE
To process your data with business logic, create an integration with connectors and other components in a Mule application.
A typical workflow includes one or more of the following tasks:
-
Create or import an integration project:
-
Create the integration from scratch, or start from a project template or integration example that you import from Anypoint Exchange. For information about templates and examples in Exchange, see Asset Types.
-
You can create multiple configuration XML files in your project. See Create an Additional Configuration XML File.
Create an Integration Project
To create an integration project:
-
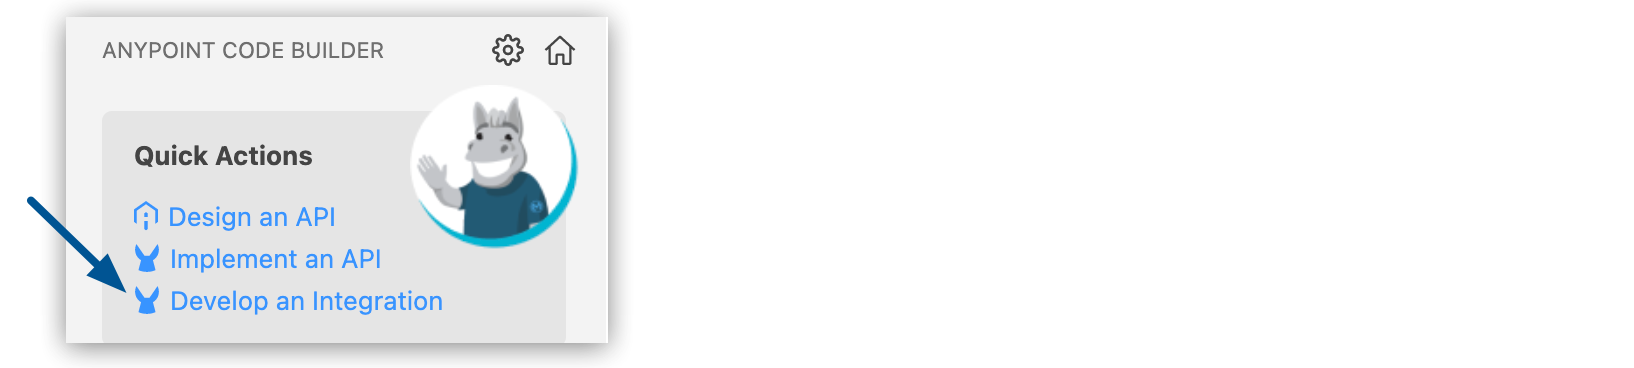
In the activity bar of the IDE, click the
 (Anypoint Code Builder) icon.
 -
From Create, click Develop an Integration:
-
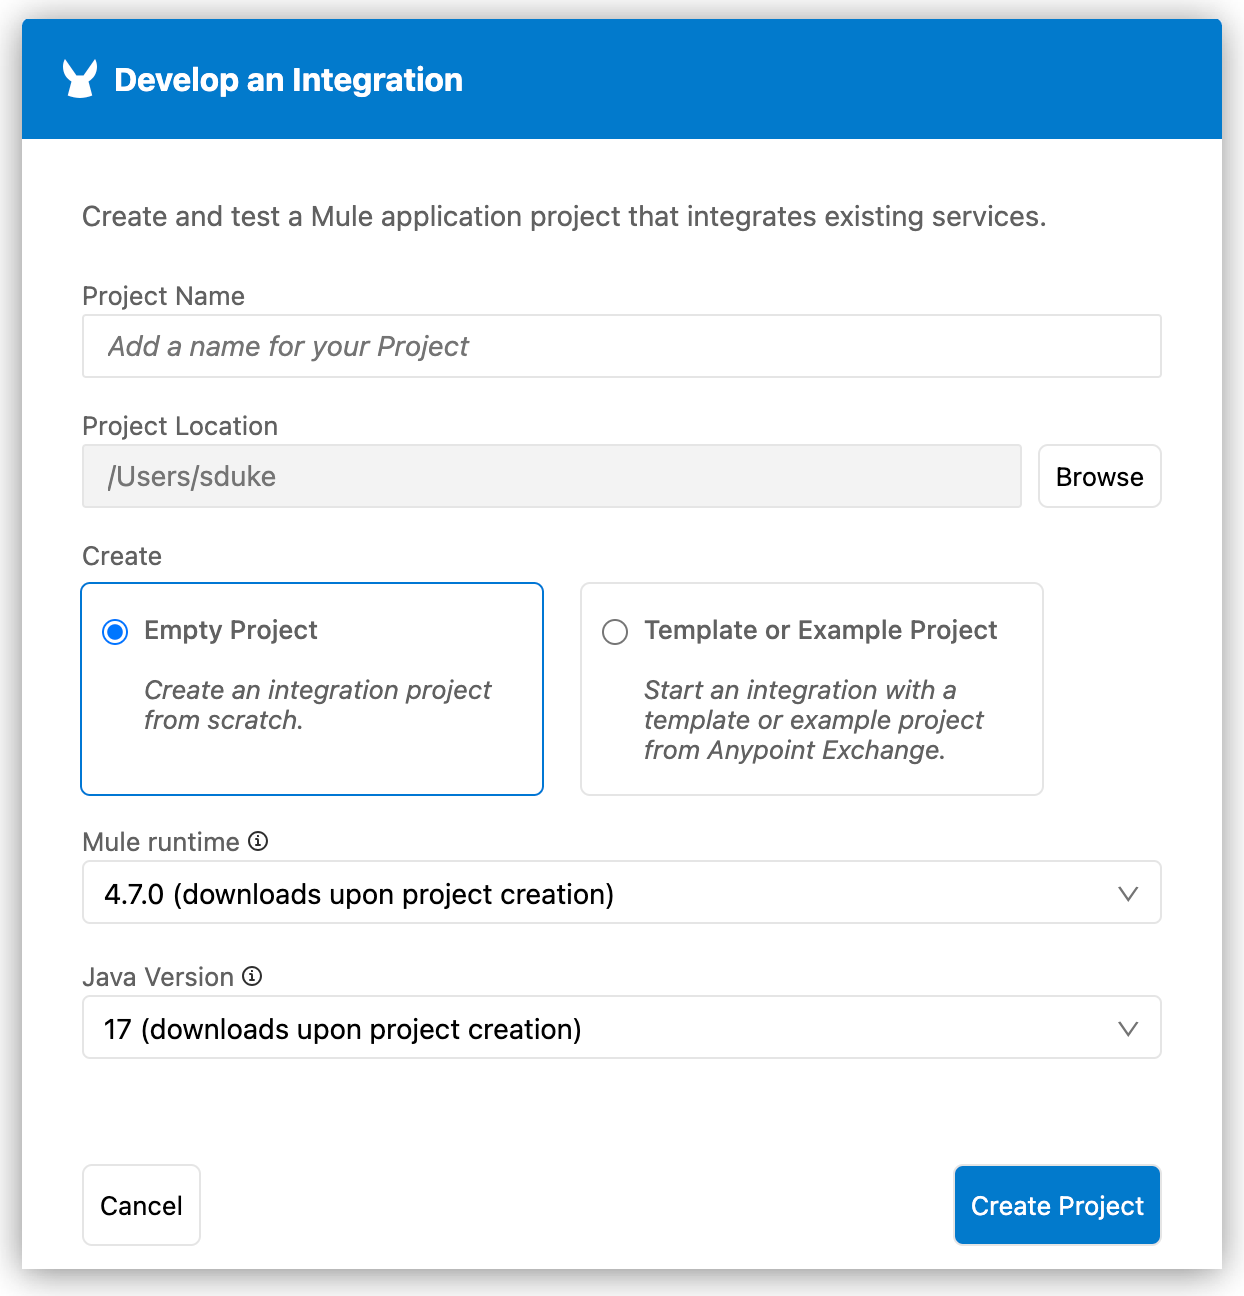
Specify a project name and location in the Develop an Integration form.
Field Name Field Value Project Name
Unique name for your project.
This name is used as the title and name of the integration project file. For example, if the project name is "OAS Integration," the project file name is
oas-integration.Project Location
Your home directory or another directory you create. Click Browse to select a different directory for the integration.
Don’t create the project within another project directory.
-
Create a project from scratch, or start with an asset from Anypoint Exchange.
-
Start with an Empty Project
-
Start with a Project Template or Example
Click Empty Project to start an integration project from scratch, without any preconfigured components.
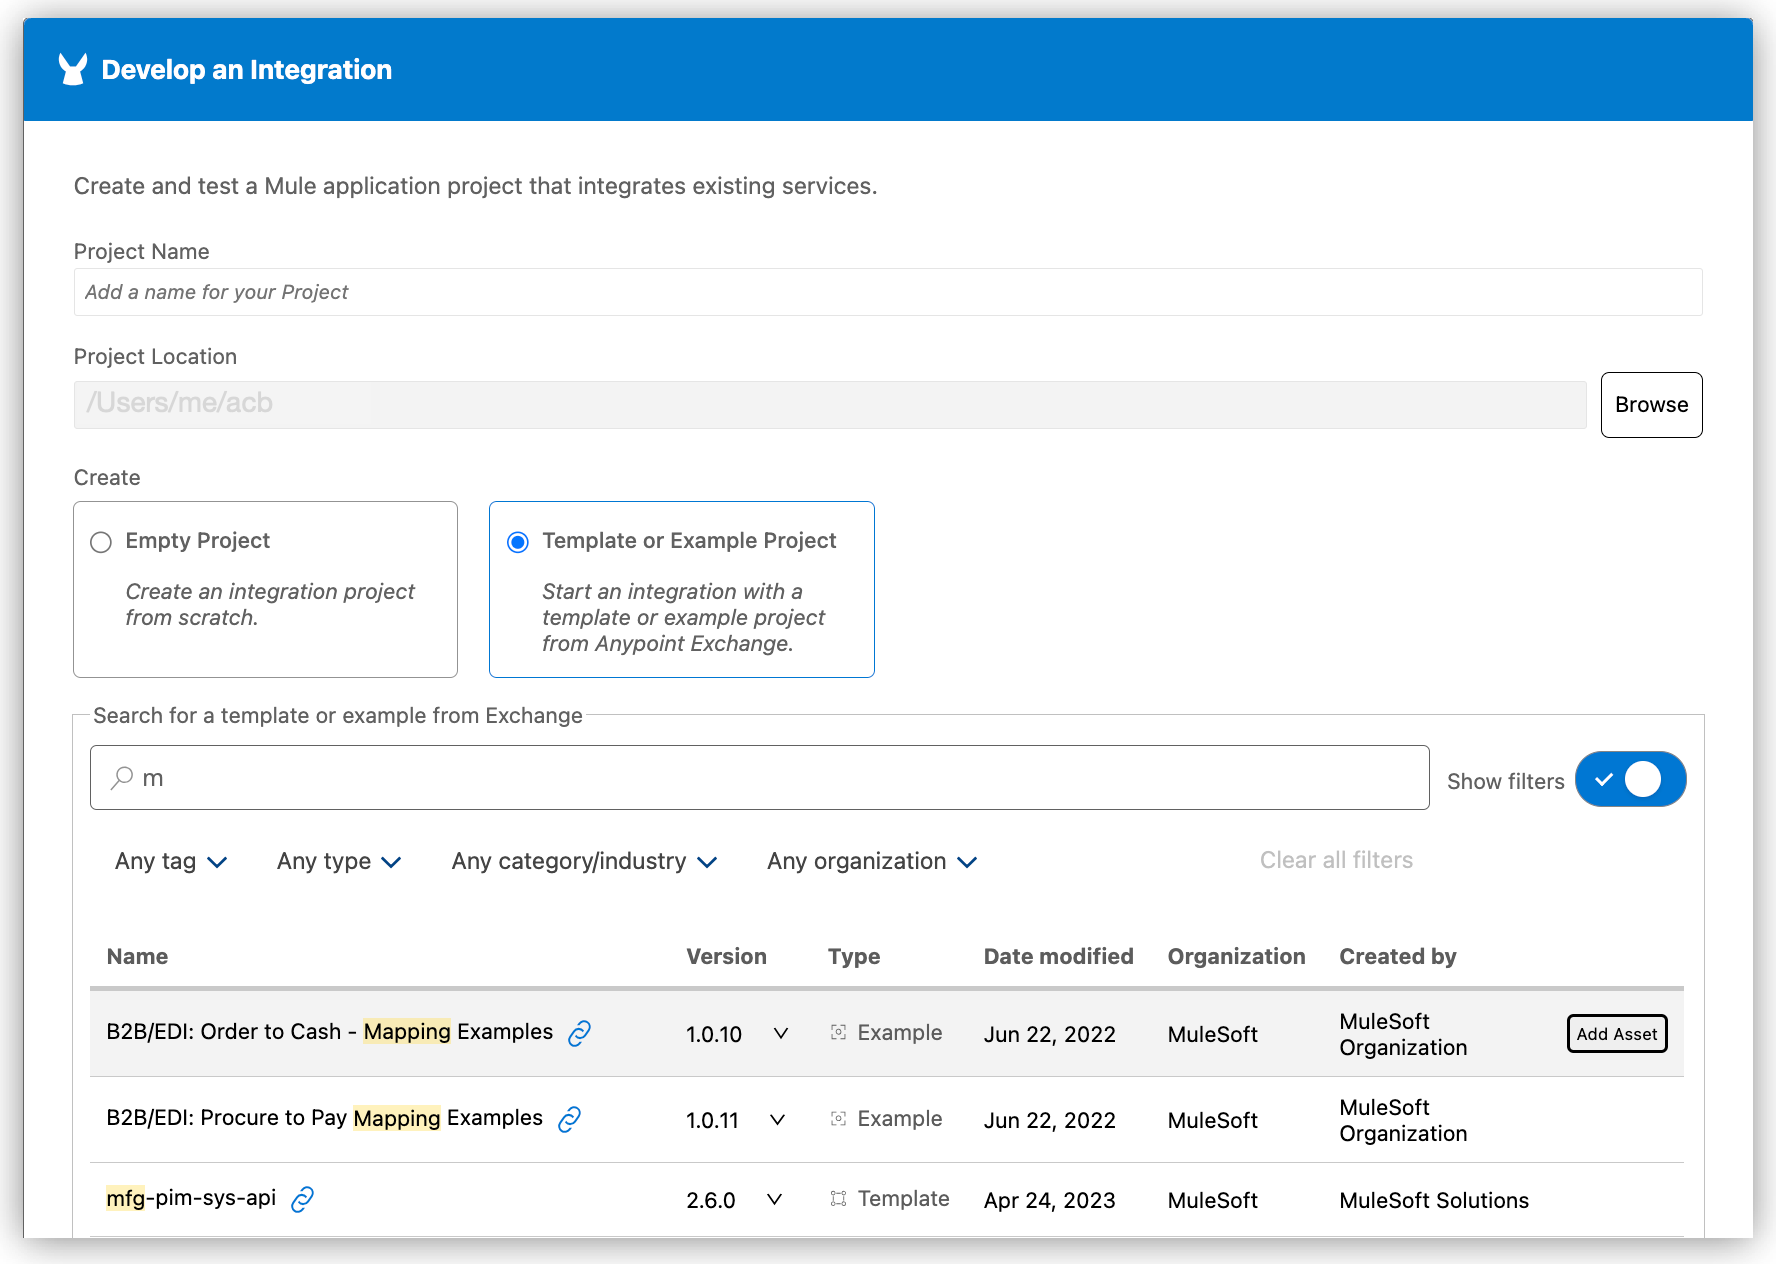
To import an existing integration template or example from Anypoint Exchange:
-
Click Template or Example Project to import an existing integration template or example from Anypoint Exchange.
-
If you intend to import a private asset associated with your business organization, log in to Anypoint Platform from the IDE to list the template or example in the search results.
Searches for public assets do not require login.
-
From the IDE, search for a template or for an example.
Partial searches are accepted.
-
Mouse over the asset that you want to add.
-
Click Add Asset.
-
-
Select a Mule runtime and Java version.
The dropdown shows only the Mule runtime versions that are installed on your local disk, including bundled Mule runtime versions that are available immediately after installation. By default, the latest bundled Mule runtime version (Java 17 compatible) is selected. For Java 8 projects, select Mule runtime version 4.8 (Java 8 compatible, reduced).
You can select from locally available Mule runtime and Java versions. The dropdown shows only the Mule runtime versions that are installed on your local disk, including bundled Mule runtime versions that are available immediately after installation. The IDE saves your version settings to the project’s
mule-artifact.jsonfile. Bundled Mule runtime versions enable instant project opening and design. To install additional Mule runtime versions, use theMuleSoft: Install Runtimecommand. For information about version support and automated Mule patch updates, see Mule and Java version support. To set default Mule runtime and Java versions for the projects you create, see Version Settings for Mule, Java, and Connectors. -
Click Create Project.
Your project opens instantly using the bundled Mule runtime versions. No Mule runtime download is required to start designing your integration. If you need a specific Mule runtime version for running or debugging, you can install it later using the
MuleSoft: Install Runtimecommand. See Install Additional Mule Runtime Versions.
When you create an integration project from scratch or if your project from Exchange does not contain a flow structure (Flow, Subflow, or Error handling component), the canvas provides the option to create one. Otherwise, the canvas generates a graphical representation of the imported asset’s components that you can use to start your configuration.
Create an Additional Configuration XML File
Anypoint Code Builder creates the initial Mule configuration XML file in src/main/mule within the Mule project.
You can create additional configuration files, for example, for an implementation file for a scaffolded interface or for global configurations that you can reference from an XML file.
To create a new configuration XML file:
-
In the Explorer view, right-click the mule folder (
src/main/mule) and select New Mule Configuration File…. -
In the New Mule Configuration File… field that opens, provide a name for the new file without an extension.

The name must be unique within the project. Permitted special characters are
_(underscore),-(hyphen),.,@,(, and).The process automatically appends an
xmlextension to the file name and opens the new configuration XML file and its canvas within the IDE. The new configuration XML file contains the<mule/>element with default namespaces:<?xml version="1.0" encoding="UTF-8"?> <mule xmlns="http://www.mulesoft.org/schema/mule/core" xmlns:doc="http://www.mulesoft.org/schema/mule/documentation" xmlns:xsi="http://www.w3.org/2001/XMLSchema-instance" xsi:schemaLocation="http://www.mulesoft.org/schema/mule/core http://www.mulesoft.org/schema/mule/core/current/mule.xsd"> </mule>The file’s canvas provides the same options for building your project file that appear when you create an integration project. For an example and to get started with your configuration, see Add a Component to Your Project.