-
From the Anypoint Code Builder panel, click the
 (gear) icon.
 -
From the activity bar, click the
 (gear) icon, select Settings, and search for
 mulein the Settings tab. -
Provide the command
MuleSoft: Open ACB Settingsin the Command Palette.
Version Settings for Mule, Java, and Connectors
-
Default versions: Set default Mule and Java versions to display in version drop-down menus.
-
Project-level versions: Set versions to use in a specific project.
-
For Mule and Java versions, see Select Mule and Java Versions for a Project.
-
For connector versions, see Select Connector Versions for a Project.
-
Select Default Mule and Java Versions
Select the default Mule and Java versions for new implementation and integration projects. The defaults appear in drop-down menus from which you select a version, for example, when creating a project.
Versions not present in the IDE append a message similar to downloads upon project creation. Versions that don’t support a feature typically append a message, such as AsyncAPI implementation unsupported for Mule 4.4.
You can set a different version at the project level (see Select Mule and Java Versions for a Project).
To select the default Mule and Java versions from the Settings tab:
-
Open the Settings tab for the IDE:
Show me how
-
Find Mule › Application: Default Mule Runtime And Java Versions in the open tab.
-
Click Edit defaults through command palette.
Although it is also possible to set the versions as values to muleRuntimeVersion and jdkVersion items directly in the Settings tab, you must know the major, minor, and patch numbers, and in some cases, the timestamp. It is easier to set them after clicking Edit defaults through command palette.
-
Select a Mule runtime version.
-
Select a Java version.
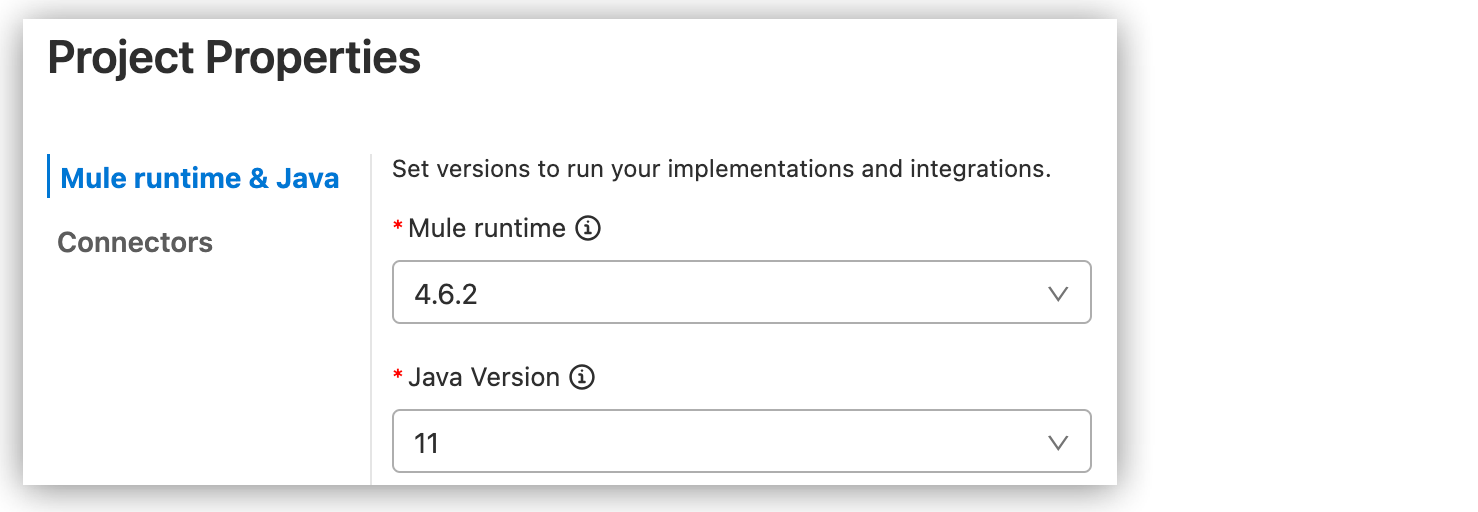
Select Mule and Java Versions for a Project
Set Mule or Java versions for a specific implementation or integration project from Project Properties. You can change versions at any time, but it is important to test your projects with the versions you intend to deploy.
Version settings are important in several scenarios:
-
Updating a project to use more current versions
-
Switching to a supported version, for example, for a project that you import into Anypoint Code Builder that uses an unsupported version
-
Adding a version of Mule or Java that is missing from your project
-
Selecting versions of Mule or Java that are compatible with each other
When a Mule or Java version isn’t set for a project, the IDE’s canvas and notifications provide a Set version button that opens the Project Properties tab. You can also navigate directly to the Project Properties tab.
To select Mule and Java versions for a project:
-
Open your implementation or integration project
-
Run this command to open the Project Properties tab:
MuleSoft: Open Mule Project Properties -
In the Explorer, right-click a configuration XML file in your project directory, and select Project Properties from the menu.
-
In Project Properties, select the versions to use in this project.

You can select any of the supported Mule runtime and Java versions. The IDE saves your version settings to the project’s
mule-artifact.jsonfile. For information about version support and automated Mule patch updates, see Mule and Java version support.
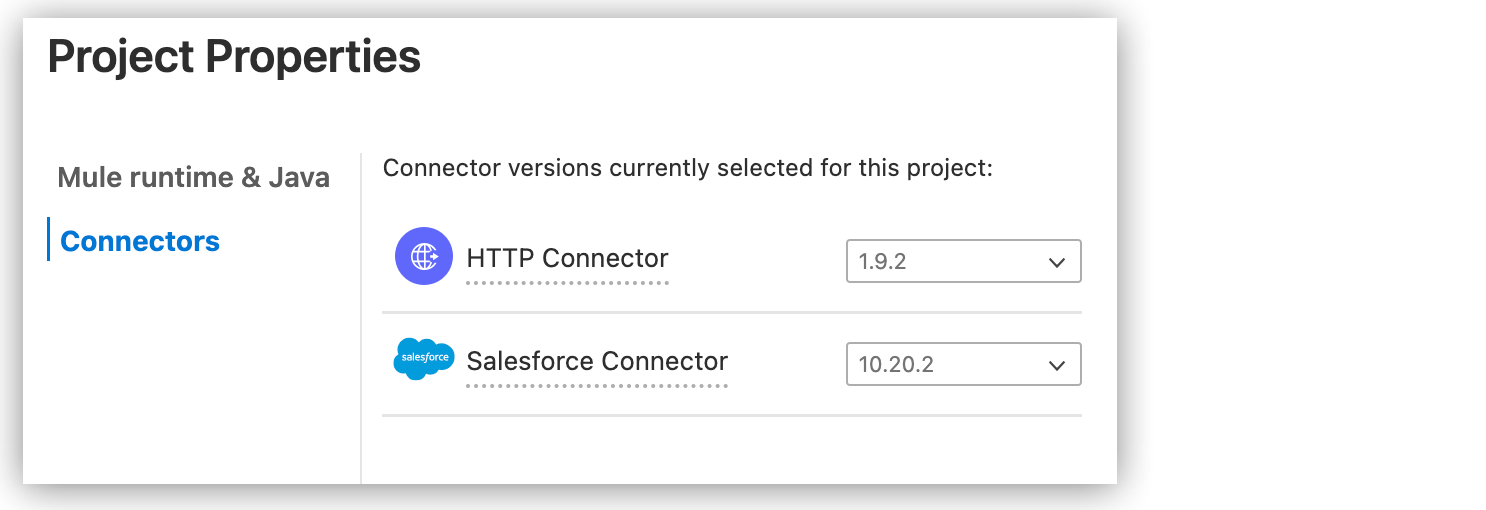
Select Connector Versions for a Project
Set connector versions for a specific implementation or integration project from Project Properties or when you add a component to the canvas. You can change versions at any time, but it is important to test your projects with the versions you intend to deploy.
To select connector versions for a project:
-
Open your implementation or integration project.
-
Run this command to open the Project Properties tab:
MuleSoft: Open Mule Project Properties -
In the Explorer, right-click a configuration XML file in your project directory, and select Project Properties from the menu.
-
Click Connectors from the Project Properties side bar.

-
Select connector versions. You can update Exchange connector versions for compatibility with your project’s Mule runtime and Java versions.


