Create a Configuration File for Slack and Salesforce
 Cloud IDE
 Desktop IDE
A configuration file is a YAML file that can reference different configurations and specify different values for your connector properties. Configuration files enable you to define specific properties depending on the environment to which you are deploying your application.
To start configuring your Slack and Salesforce connectors in your escalation API, create a configuration file.
Create a Configuration File
-
In your Explorer view, right-click the resources folder (
src/main/resources) and select New File: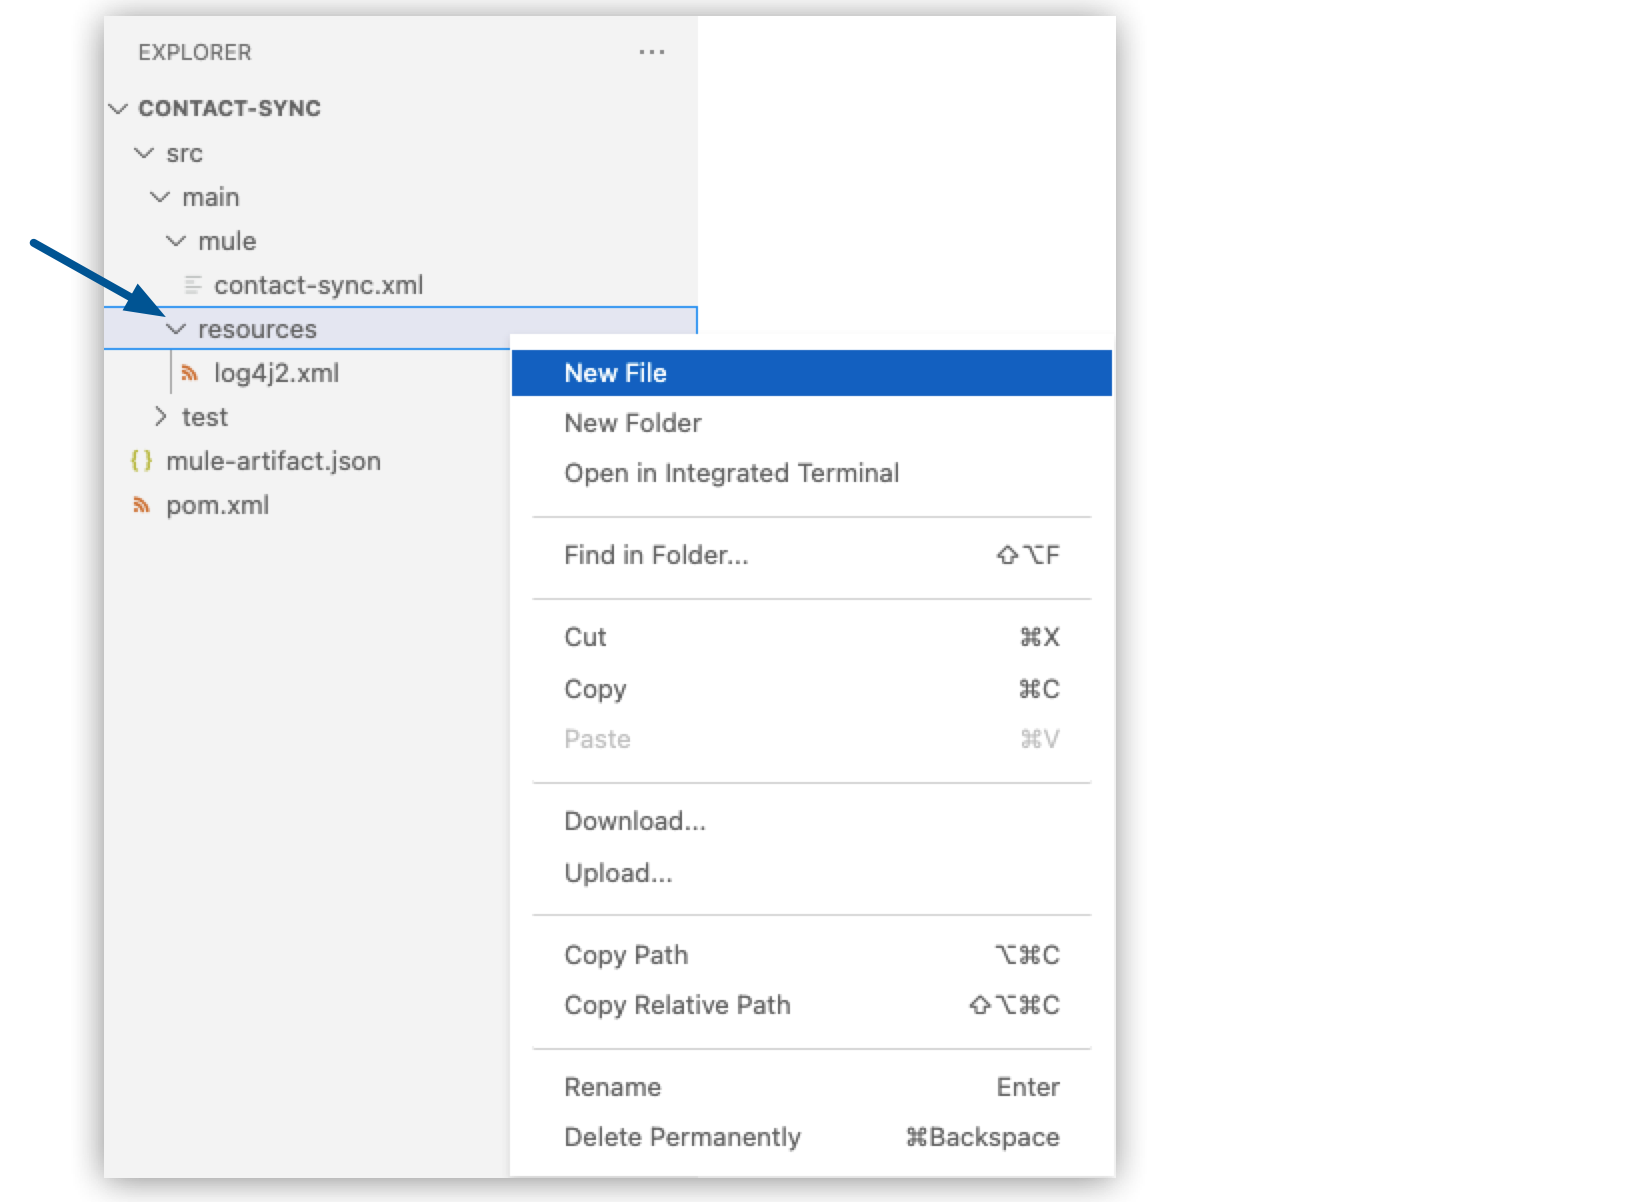
-
Name the file
config.yaml. -
Populate your file with your Salesforce, Gmail, and Slack configurations:
salesforce: username: "yourUserName" password: "yourPassword" token: "yourToken" email: host: "smtp.gmail.com" username: "yourGmailEmail" password: "yourEmailAppPassword" slack: token: "yourSlackToken" -
Navigate to your
new-case-salesforce.xmlfile, add a new line before the</mule>tag, and paste this line:<configuration-properties file="config.yaml" doc:name="Configuration properties" />
Configure Your Salesforce Connector
Use the values in your config.yaml file to connect the Salesforce Connector to your Salesforce environment:
-
In your
new-case-salesforce.xmlfile, create a new line after the<configuration-properties/>element, and paste the following code:<salesforce:sfdc-config name="Salesforce-Config" doc:name="Config"> <salesforce:basic-connection username="${salesforce.username}" password="${salesforce.password}" /> </salesforce:sfdc-config>
+
|
When you move your cursor over the |
-
Verify your connection to Salesforce by clicking Test Connection for the
<salesforce:sfdc-config/>element:
Anypoint Code Builder returns a Connection is valid message.
If you get an error, verify the error message to troubleshoot further.
Add a Salesforce Trigger
-
Add a new flow on your canvas.
-
In the code editor, name the flow
NewSalesforceCaseFlow:<flow name="NewSalesforceCaseFlow"> </flow> -
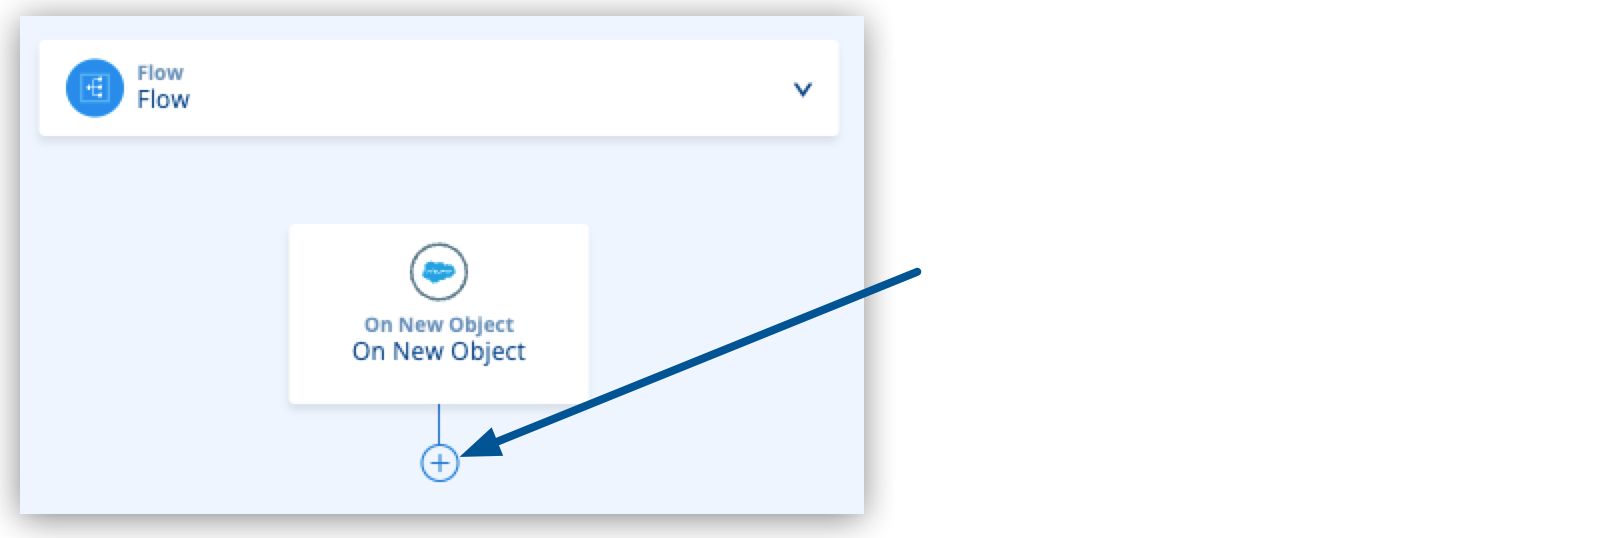
On your canvas, click the
 (Add component) icon after Flow, type
 new object, and select On new object after Salesforce. -
In the code editor, set the following values of the
<salesforce:new-object-listener/>element:-
objectType: Case -
config-ref: Salesforce-Config -
name: On New Case
-
-
In the
<salesforce:new-object-listener/>element, replace<scheduling-strategy/>with the following XML:<scheduling-strategy > <fixed-frequency frequency="1000"/> </scheduling-strategy>
Test Your Salesforce Integration
-
Add a logger at the end of your flow:
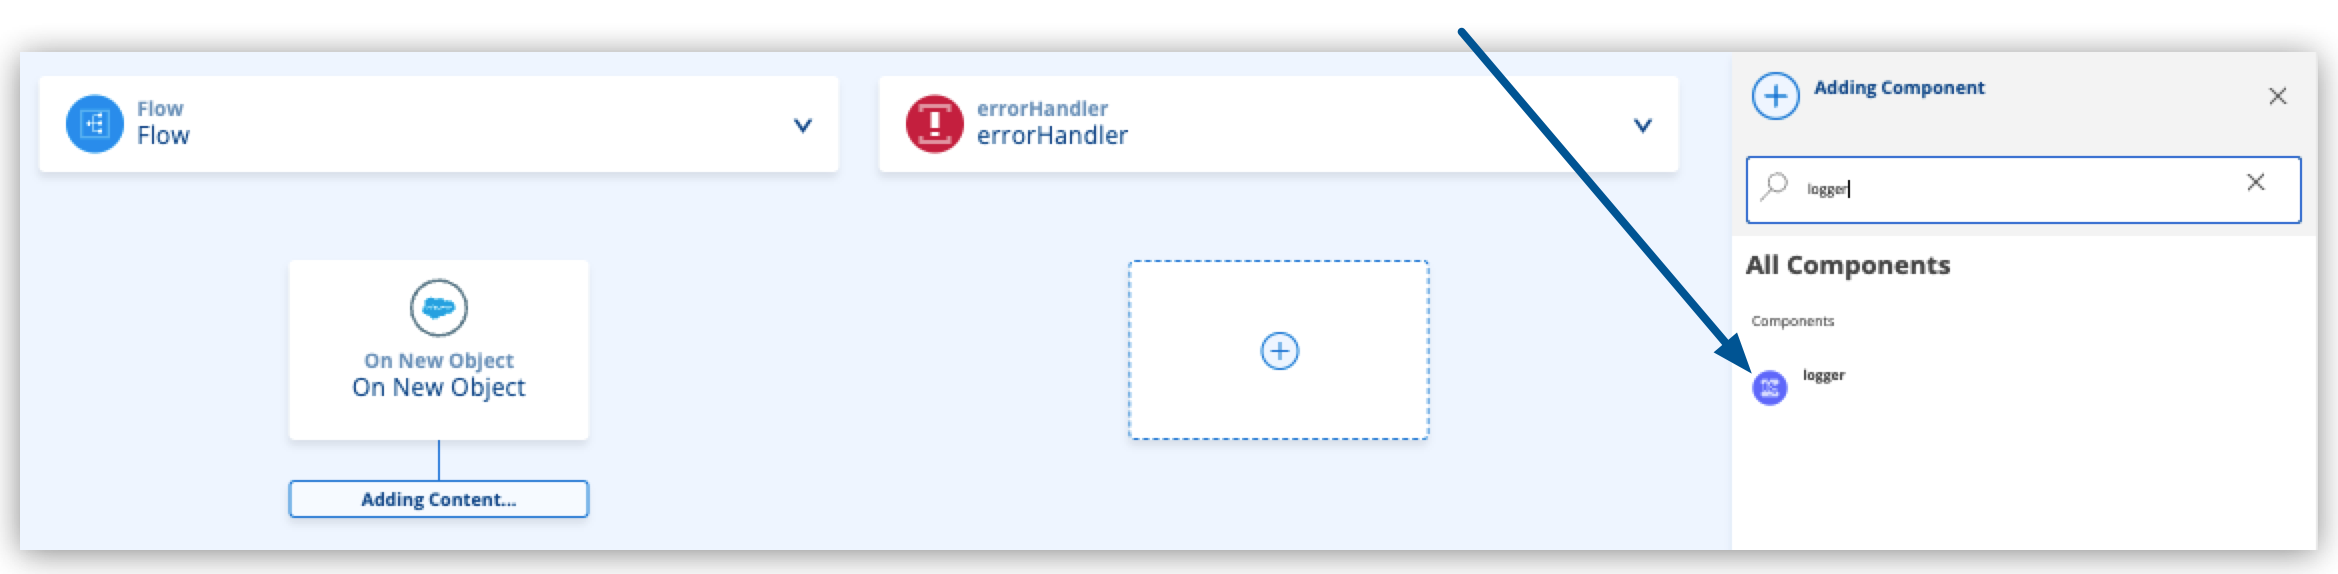
A
loggercomponent is added to the flow in the code editor. -
Replace the
loggercomponent in the code editor with the following:<logger level="INFO" doc:name="Log Case Object" message="{#payload}" /> -
Add a breakpoint to this line by clicking the red dot at the line number:

Alternatively, add a breakpoint to the
loggercomponent by right-clicking on the component in the canvas UI and selecting Add Breakpoint. -
Select Run > Start Debugging (F5).
-
After your application deploys successfully, log in to your Salesforce account.
-
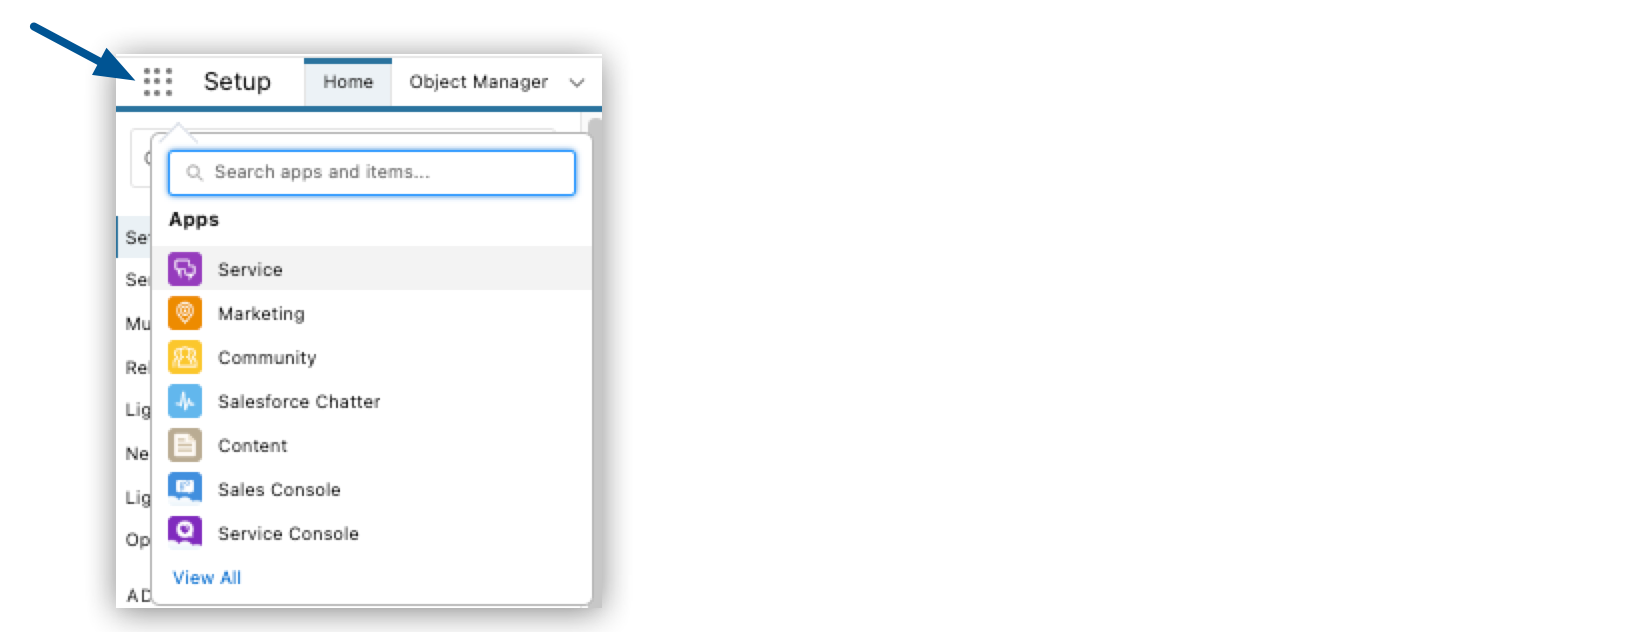
From App Launcher, select Service:
-
Select Cases > New Case:

-
Ensure that the Status of the new case is New.
-
Create a new case and save it.
-
In Anypoint Code Builder, your application stops at the logger. Inspect the payload in Variables:
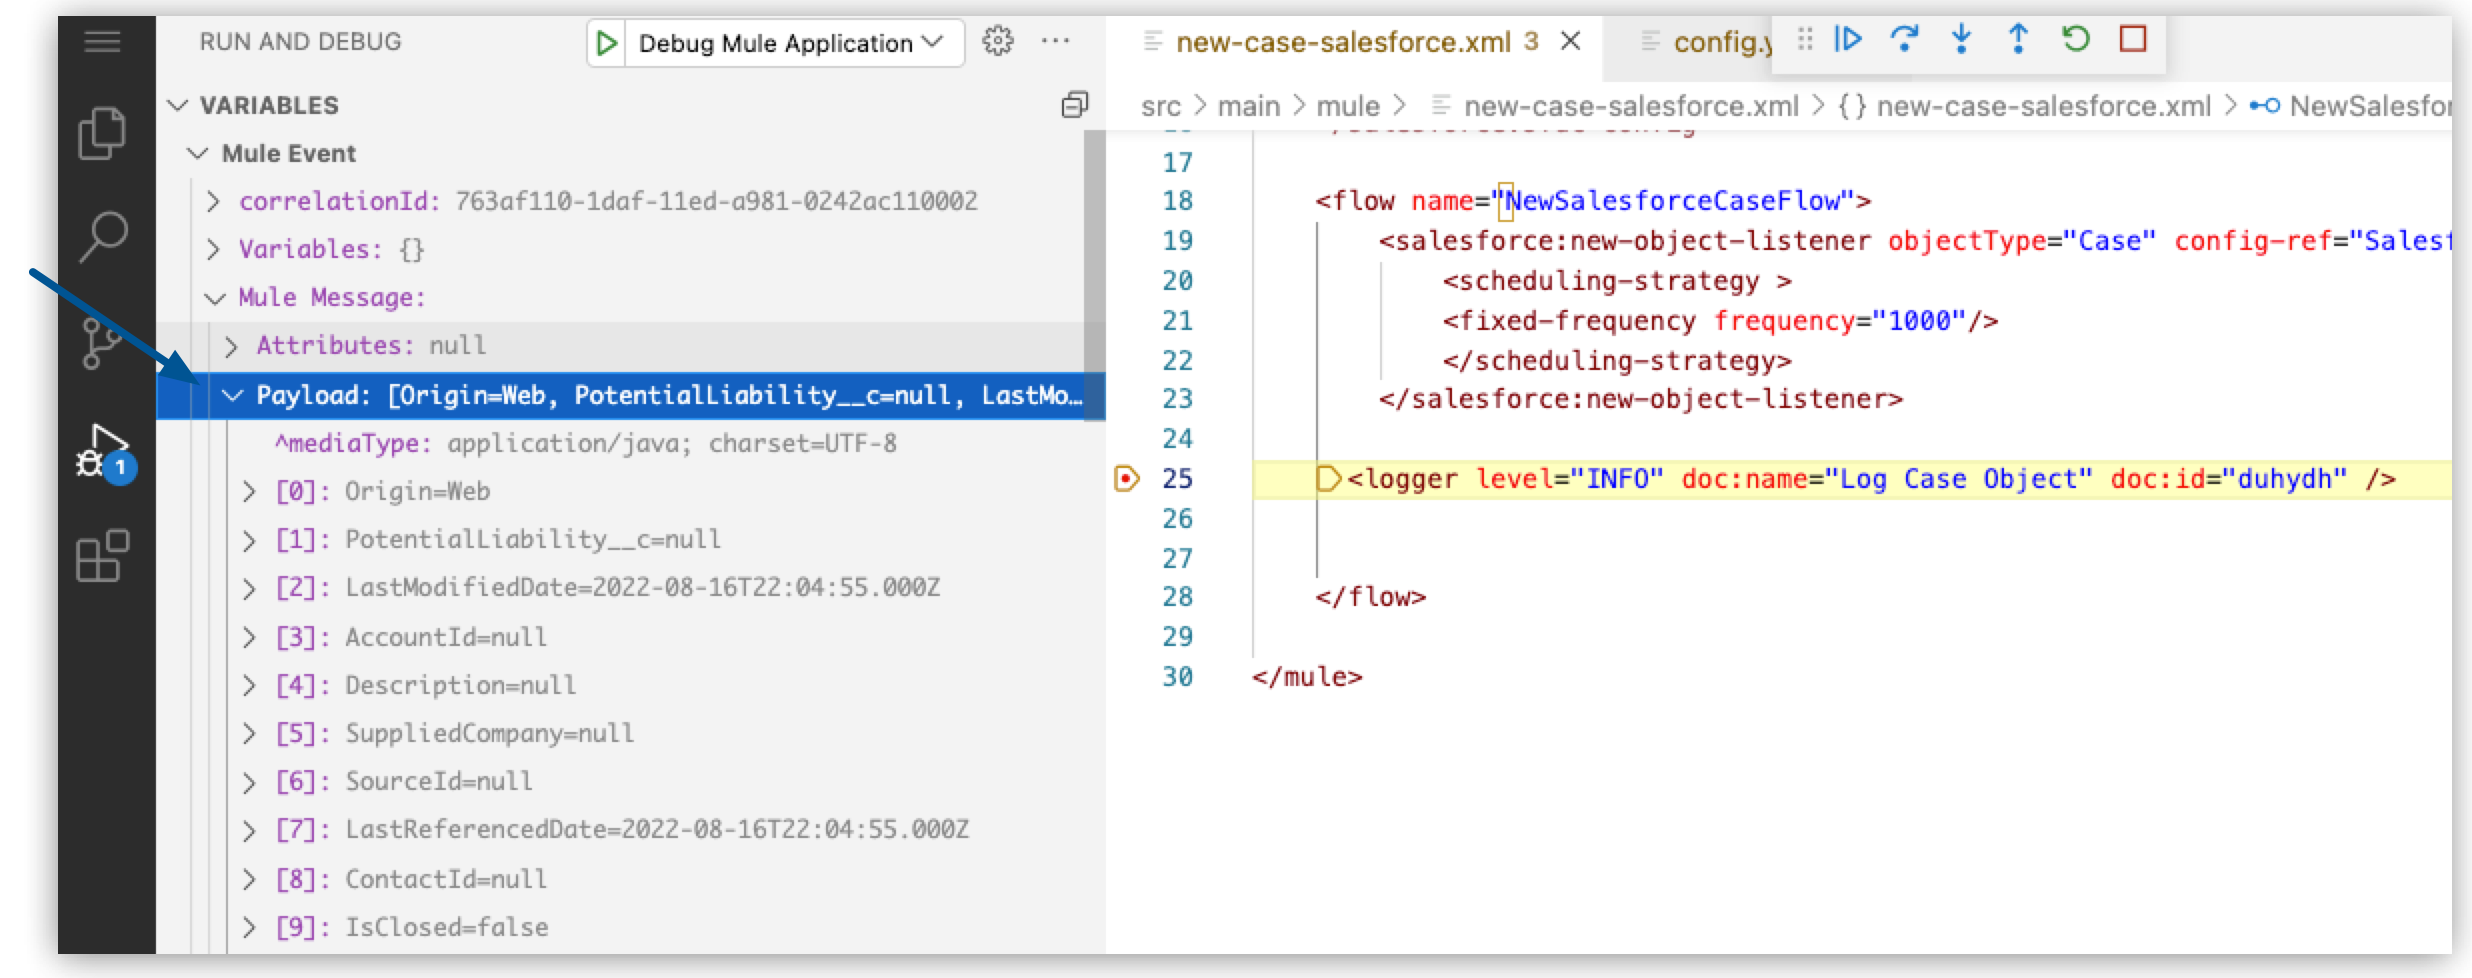
The payload contains information about your newly created case.
-
Step over your Logger component.
-
Proceed to Extract Payload Information to Variables to learn how to extract your case information to a variable to use it later in the flow.