Importing Projects into the IDE
 Cloud IDE
 Desktop IDE
Import a project JAR file or folder into a workspace in your IDE. A project directory contains a Mule application for an integration or implementation.
You can also import a Maven multi-module project and apply the properties, dependencies, and versions from a Maven parent POM file to the pom.xml file of each child module. For more information about the Maven parent POM file, see Maven Project Parent POM.
If you encounter an import issue, check for workarounds in Known Issues in the Anypoint Code Builder Release Notes or in Troubleshooting.
To export a JAR file that packages a project with resources from your application, see Exporting Mule Projects.
Migrate a Project from Cloud IDE to Desktop IDE
Migrate your project from Cloud IDE to Desktop IDE by downloading the project folder directly or by exporting a JAR file from Cloud IDE.
Download Your Project Folder
-
In Cloud IDE, select File > Open Folder and navigate to the folder that contains your project.
-
In the Explorer view, right-click the project folder.
-
Select Download.
The Cloud IDE downloads the selected folder to your local file system.
Export Your Project and Download a JAR
-
Open the Command Palette.
Show me how
-
Use the keyboard shortcuts:
-
Mac: Cmd+Shift+p
-
Windows: Ctrl+Shift+p
-
-
Click the
 (menu) icon, and select View > Command Palette.
-
-
Search for and run this command:
MuleSoft: Export Mule Project+ A JAR file is created with the name of your project.
-
Right-click the JAR file and select Download.
The CloudIDE downloads the JAR file to your local file system.
After you download either a project folder or JAR file from Cloud IDE, continue with Import and Open a Project in the Desktop IDE.
Before You Begin
-
Close any open project in your IDE.
Show me how
-
In the desktop IDE, select File > Close Folder.
-
In the cloud IDE, click the
(menu) icon, and select File > Close Folder.
Never open or unpack a project folder within another project folder. -
Import and Open a Project in the Desktop IDE
Use the desktop IDE to upload a project directory or shareable JAR file into a project workspace.
Import a Shareable Project JAR File into the Desktop IDE
Import a shareable JAR file for a snapshot of a Mule project into the desktop IDE.
To create a shareable JAR, see Export Mule Project.
The contents are lightweight because they don’t include dependencies.
The IDE generates the dependencies configured in the pom.xml for the project.
To import a shareable JAR file in your desktop IDE:
-
Ensure that no project is open in the IDE.
-
Open the Command Palette.
Show me how
-
Use the keyboard shortcuts:
-
Mac: Cmd+Shift+p
-
Windows: Ctrl+Shift+p
-
-
Select View > Command Palette.
-
-
Provide the following command:
MuleSoft: Import a Mule Project -
Navigate to the shareable JAR file to import, and click Select jar file to import.
-
Navigate to a folder to which to unpack the JAR file, such as your home directory or any folder outside of a Mule project folder.
-
Click Select project folder.
The IDE unpacks the shareable JAR file for your project into the selected folder.
-
If your Mule project folder is closed, open a workspace for the project at the project’s root directory.
In addition to loading the graphical canvas, the IDE also loads dependencies defined in the
pom.xmlfor the project. If a Mule runtime or Java configuration is missing, set the versions to use from the canvas.Libraries load to the
target/repositoriesdirectory within the project folder. -
Test your project:
-
In the open project, check for errors and make sure that the canvas and code editor load correctly, which indicates that component dependencies resolved.
-
Check for any configurations to modify, such as ports or file paths in the configuration XML.
-
Run and debug your project:
For guidance, see Run Your Application in Debug Mode.
-
Import a Project Folder into the Desktop IDE
Although it is more common to import a shareable JAR file or to open a project workspace from file directory, you can also drag a Mule project folder into the Explorer view and open the project in a VS Code workspace.
Open any valid project folder, including a project from Anypoint Studio (Studio) that’s stored on your desktop. Alternatively, use the procedure in Open a Project Folder from the Desktop or Cloud IDE to open the project from your file directory instead of dragging and dropping the folder into the IDE.
To import a project folder to the desktop IDE:
-
Ensure that no project is open in the IDE.
-
Navigate to a location for your project folder:
-
Open the Command Palette.
Show me how
-
Use the keyboard shortcuts:
-
Mac: Cmd+Shift+p
-
Windows: Ctrl+Shift+p
-
-
Select View > Command Palette.
-
-
Provide this command:
File: Open Folder -
Navigate to and select a folder for your imported project, such as your home directory or any folder outside of a Mule project folder, and then click Open.
-
-
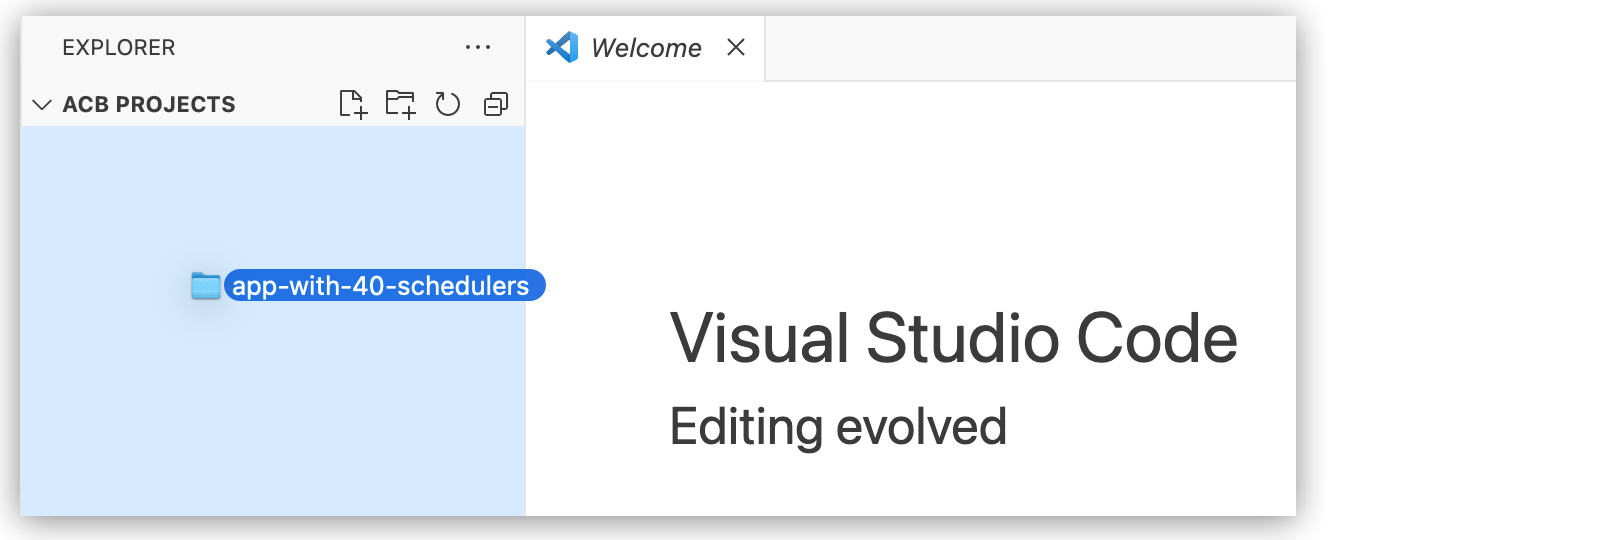
Drag your project directory from your computer to the Explorer view in VS Code, for example:
-
Select Copy Folder.
If you instead select Add Folder to Workspace, you can start over by selecting the project in the Explorer, right clicking, and then selecting Remove Folder from Workspace. After removing, drag and copy the project folder to the IDE without adding it to a workspace.
-
If your Mule project folder is closed, open a workspace for the project at the project’s root directory.
In addition to loading the graphical canvas, the IDE also loads dependencies defined in the
pom.xmlfor the project. If a Mule runtime or Java configuration is missing, set the versions to use from the canvas.Libraries load to the
target/repositoriesdirectory within the project folder. -
If prompted, click Set Version to set a supported Mule runtime or Java version in the Project Properties tab.
-
Test your project:
-
In the open project, check for errors and make sure that the canvas and code editor load correctly, which indicates that component dependencies resolved.
-
Check for any configurations to modify, such as ports or file paths in the configuration XML.
-
Run and debug your project:
For guidance, see Run Your Application in Debug Mode.
-
Import and Open a Project in the Cloud IDE
The cloud IDE enables you to upload a project directory or JAR file into a workspace.
Import a Shareable Project JAR File into the Cloud IDE
Import a JAR file for a Mule project and load the unpacked project into a workspace in the IDE.
-
Ensure that no project is open in the cloud IDE.
-
Open the Command Palette.
Show me how
-
Use the keyboard shortcuts:
-
Mac: Cmd+Shift+p
-
Windows: Ctrl+Shift+p
-
-
Click the
(menu) icon, and select View > Command Palette.
-
-
Provide this command:
File: Open Folder... -
Select your Anypoint Code Builder home directory or any directory outside of a Mule project folder and click OK.
If prompted, trust the authors of the files in the directory.
Anypoint Code Builder loads your directory.
-
Drag your shareable JAR file from your computer to the Explorer view in the cloud IDE, for example:
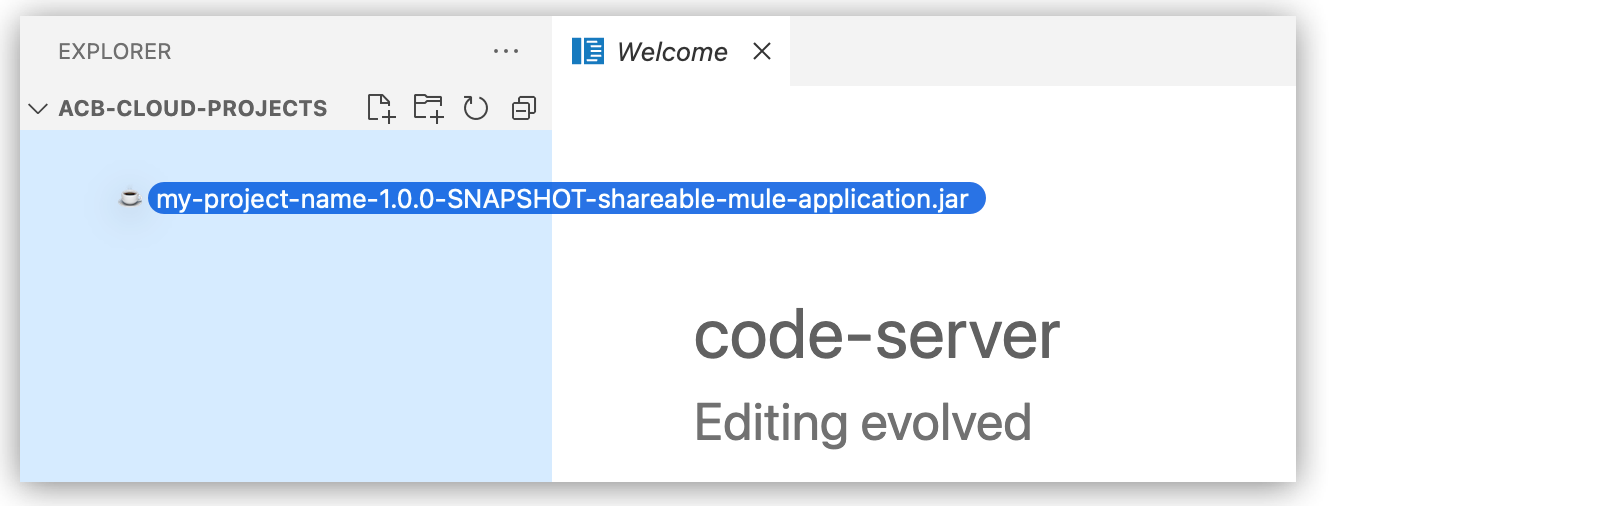
If prompted, trust the authors of your file or directory.
Do not click Open Anyway in response to this warning in the IDE: This file is not displayed in the text editor because it is either binary or uses an unsupported encoding.If the imported folder is large, Anypoint Code Builder displays an upload progress bar that you can click to expand.
-
Open the Command Palette.
Show me how
-
Use the keyboard shortcuts:
-
Mac: Cmd+Shift+p
-
Windows: Ctrl+Shift+p
-
-
Click the
(menu) icon, and select View > Command Palette.
-
-
Select the following command:
MuleSoft: Import a Mule Project -
Navigate to and select the shareable JAR file to import.
-
Navigate to a destination folder for your unpacked project, such as your home directory or any folder outside of a Mule project folder, and click OK.
The IDE unpacks the shareable JAR file for your project into the selected folder.
-
If your Mule project folder is closed, open a workspace for the project at the project’s root directory.
In addition to loading the graphical canvas, the IDE also loads dependencies defined in the
pom.xmlfor the project. If a Mule runtime or Java configuration is missing, set the versions to use from the canvas.Libraries load to the
target/repositoriesdirectory within the project folder. -
If prompted, click Set Version to set a supported Mule runtime or Java version in the Project Properties tab.
-
Test your project:
-
In the open project, check for errors and make sure that the canvas and code editor load correctly, which indicates that component dependencies resolved.
-
Check for any configurations to modify, such as ports or file paths in the configuration XML.
-
Run and debug your project:
For guidance, see Run Your Application in Debug Mode.
-
Import a Project Folder into the Cloud IDE
-
Ensure that no project is open in the cloud IDE.
-
Open the Command Palette.
Show me how
-
Use the keyboard shortcuts:
-
Mac: Cmd+Shift+p
-
Windows: Ctrl+Shift+p
-
-
Click the
(menu) icon, and select View > Command Palette.
-
-
Provide this command:
File: Open Folder... -
Select your Anypoint Code Builder home directory or any directory outside of a Mule project folder and click OK.
If prompted, trust the authors of the files in the directory.
Anypoint Code Builder loads your directory.
-
Drag your project folder from your computer to the Explorer view in the cloud IDE, for example:
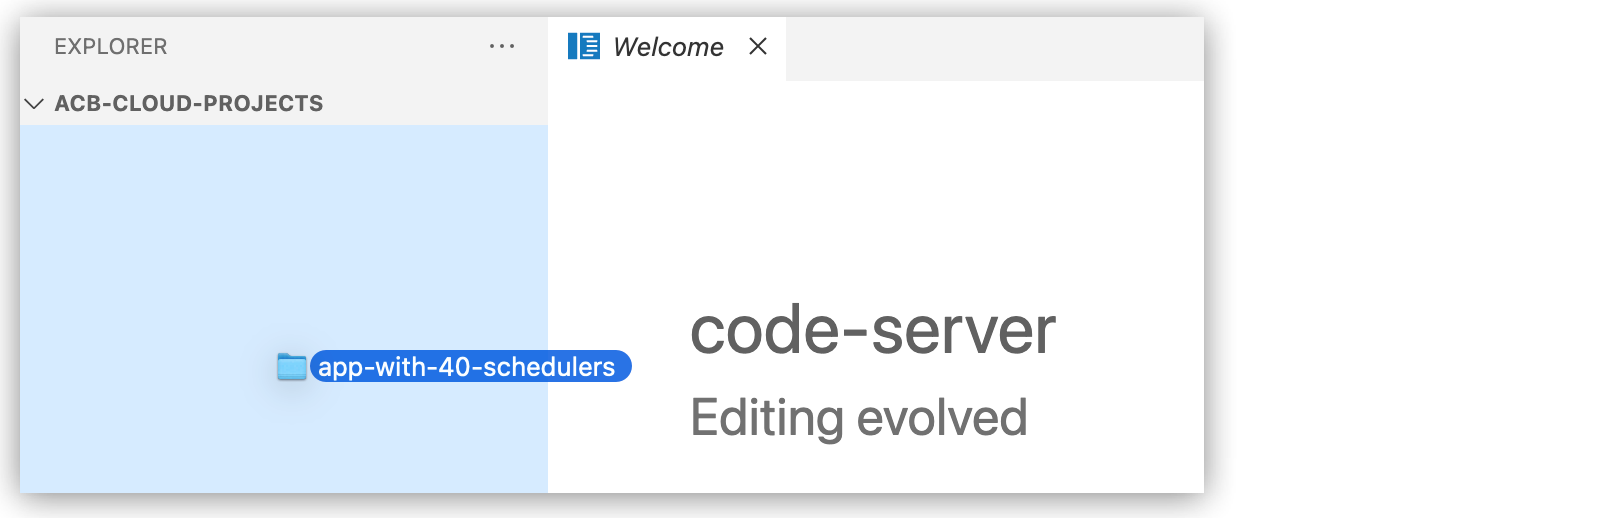
If prompted, trust the authors of your file or directory.
If the imported folder is large, Anypoint Code Builder displays an upload progress bar that you can click to expand.
-
If your Mule project folder is closed, open a workspace for the project at the project’s root directory.
In addition to loading the graphical canvas, the IDE also loads dependencies defined in the
pom.xmlfor the project. If a Mule runtime or Java configuration is missing, set the versions to use from the canvas.Libraries load to the
target/repositoriesdirectory within the project folder. -
If prompted, click Set Version to set a supported Mule runtime or Java version in the Project Properties tab.
-
Test your project:
-
In the open project, check for errors and make sure that the canvas and code editor load correctly, which indicates that component dependencies resolved.
-
Check for any configurations to modify, such as ports or file paths in the configuration XML.
-
Run and debug your project:
For guidance, see Run Your Application in Debug Mode.
-
Open a Project Folder from the Desktop or Cloud IDE
Open or reopen a project workspace folder for your application. This procedure works for projects built in Anypoint Code Builder and for projects stored on your desktop that are built in Anypoint Studio (Studio).
To import a project folder from Studio into your cloud IDE, use the procedure in Import a Project Folder into the Cloud IDE.
-
If your Mule project folder is closed, open the project at its root directory:
-
Open the Command Palette.
Show me how
-
Use the keyboard shortcuts:
-
Mac: Cmd+Shift+p
-
Windows: Ctrl+Shift+p
-
-
In the desktop IDE, select View > Command Palette.
-
In the cloud IDE, click the
(menu) icon, and select View > Command Palette.
-
-
Provide this command:
File: Open Folder... -
Navigate to and select the root folder for your project, for example:
-
Integration or Implementation Example
-
Design Project Example
Example of a root folder and subdirectories of an integration or implementation project in Anypoint Code Builder:
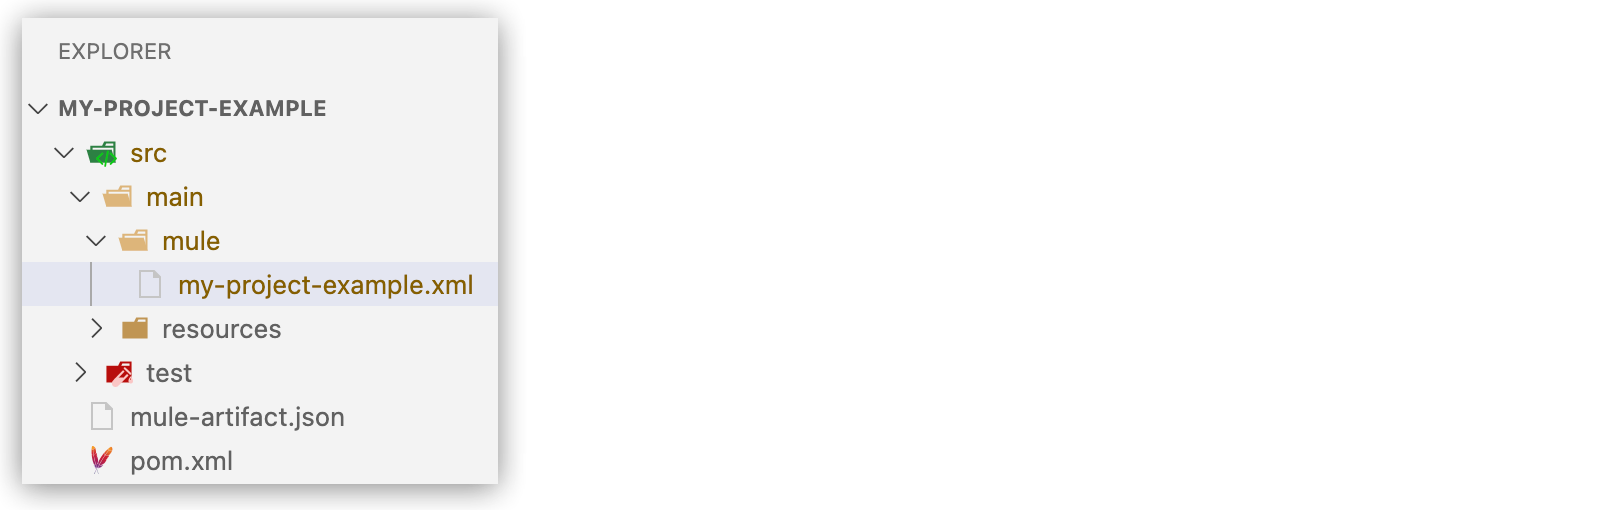
VS Code treats the root as a workspace, which enables the IDE to load the canvas properly.
Example of the root directory for an API design project in Anypoint Code Builder:

The root of a project is the top-level folder that Anypoint Code Builder generates when you create a project. Do not navigate to the project root’s parent or ancestor directory or to one of its child or descendant directories.
-
-
-
Click a configuration XML file for your project if it doesn’t open automatically.
-
Click the
 (Show Mule graphical mode) icon in the activity bar to open the canvas if it doesn’t open automatically.
 -
To monitor progress as the project loads, open the Output panel.
Show me how
-
Use the keyboard shortcuts:
-
Mac: Cmd+Shift+u
-
Windows: Ctrl+Shift+u
-
-
In the desktop IDE, select View > Output.
-
In the cloud IDE, click the
(menu) icon, and select View > Output.
-
-
Select Mule DX Server from the dropdown list. To see scaffolding errors only, select Mule DX Server: Scaffolding from the list.
-
Test your project:
-
In the open project, check for errors and make sure that the canvas and code editor load correctly, which indicates that component dependencies resolved.
-
Check for any configurations to modify, such as ports or file paths in the configuration XML.
-
Run and debug your project:
For guidance, see Run Your Application in Debug Mode.
-