
Design and Publish the American Flights API Specification
Design the American Flights API specification in Anypoint Code Builder, test it with the built-in mocking service, and publish it to Anypoint Exchange so other team members can find and implement it.
Before you begin, complete the setup in Build an API from Start to Finish with Anypoint Code Builder.
Create the API Specification
Start creating the American Flights API spec:
-
In the activity bar, click the
 (Anypoint Code Builder) icon.
-
From Create, click Design an API.
-
Configure your API spec project using these values:
Field Name Field Value Enable this API for Topics and Actions
Select this checkbox to add the applicable agent topic metadata and apply centralized governance rulesets to the project. See Enabling an API Project for Topics and Agent Actions for more information.
Project Name
American Flights APIProject Location
Your home directory is selected by default. This is the root folder of your project, which acts as your workspace. Don’t select a different project directory for this API spec. See Adding Folders to Your Home Directory for more information.
API Type
REST API
API Specification Language
OAS 3.0 (YAML)
Business Group
Select the business group to use for this project.
-
Click Create Project to generate the American Flights API project file:
american-flights-api.yaml.The file name is based on the project name you provide.
-
Configure the agent topic metadata and instructions by setting these values:
Field Name Field Value Topic Label
American Flights API
Classification Description
Use the API description.
Scope
Your job is only to book, update, or retrieve flight information.
Instruction
If a user asks to retrieve flight details, use the get flight operation to retrieve information using the booking ID.
If you don’t see the Agent Topics after creating the project, you must trust the workspace folder. You can do so by clicking Manage then Trust from the notification that shows.

If you closed the notification, or it doesn’t show, see: Trusting a workspace for instructions. -
Click Apply to save your changes.
-
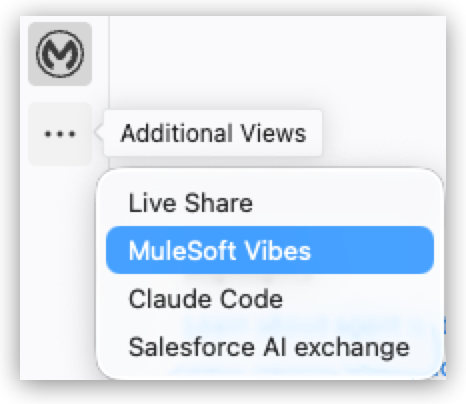
Open MuleSoft Vibes from the toolbar.
If you don’t see the MuleSoft Vibes icon, click Additional Views to expand the toolbar.
-
Enable auto-approve by clicking the Auto-approve section at the end of the MuleSoft Vibes window, and then select:
-
Read project files
-
Edit project files
-
Execute safe commands
-
Use MCP Servers
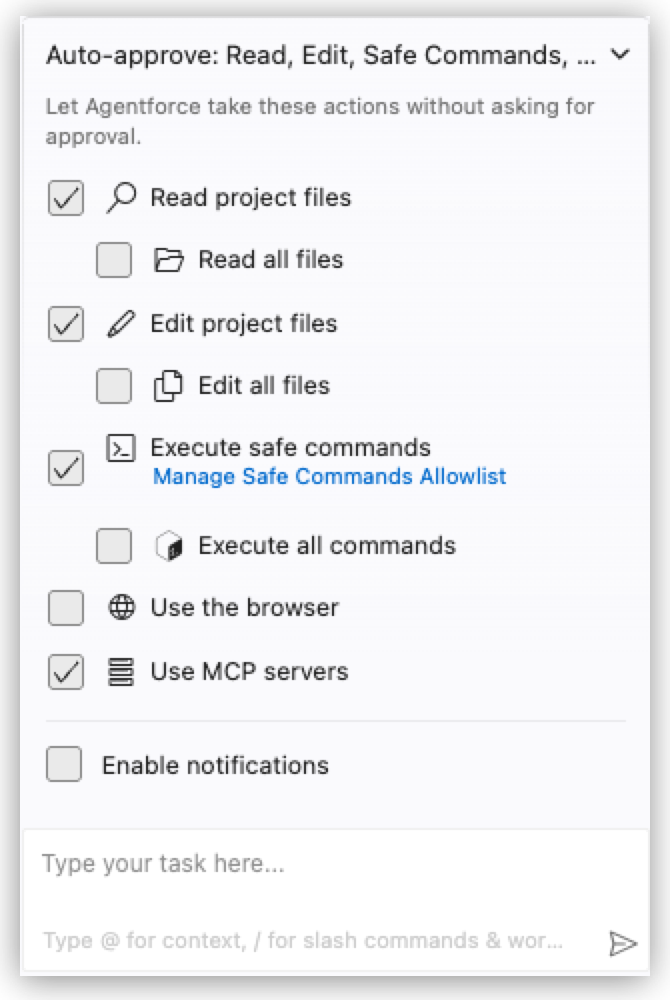
With auto-approve enabled, MuleSoft Vibes automatically applies changes to your project without prompting you for confirmation. See MuleSoft Vibes for Anypoint Code Builder for more information.
-
-
Enter this prompt, and then send your message:
Create an OAS 3.0 API specification example for the American Flights API that returns flight information from a MySQL database. The API must define:
1. A GET /flights endpoint that retrieves all flights.
2. A GET /flights/(flightId) endpoint that retrieves a single flight by its flightId path parameter. The flightId must match the pattern ^[A-Z]{2}[0-9]{1,4}$.
3. Both endpoints must return flight objects with this exact structure: ID (integer), code (string), price (number), departureDate (string), origin (string), destination (string), emptySeats (integer), and a nested plane object with type (string) and totalSeats (integer).
MuleSoft Vibes generates the spec and saves it to your file.
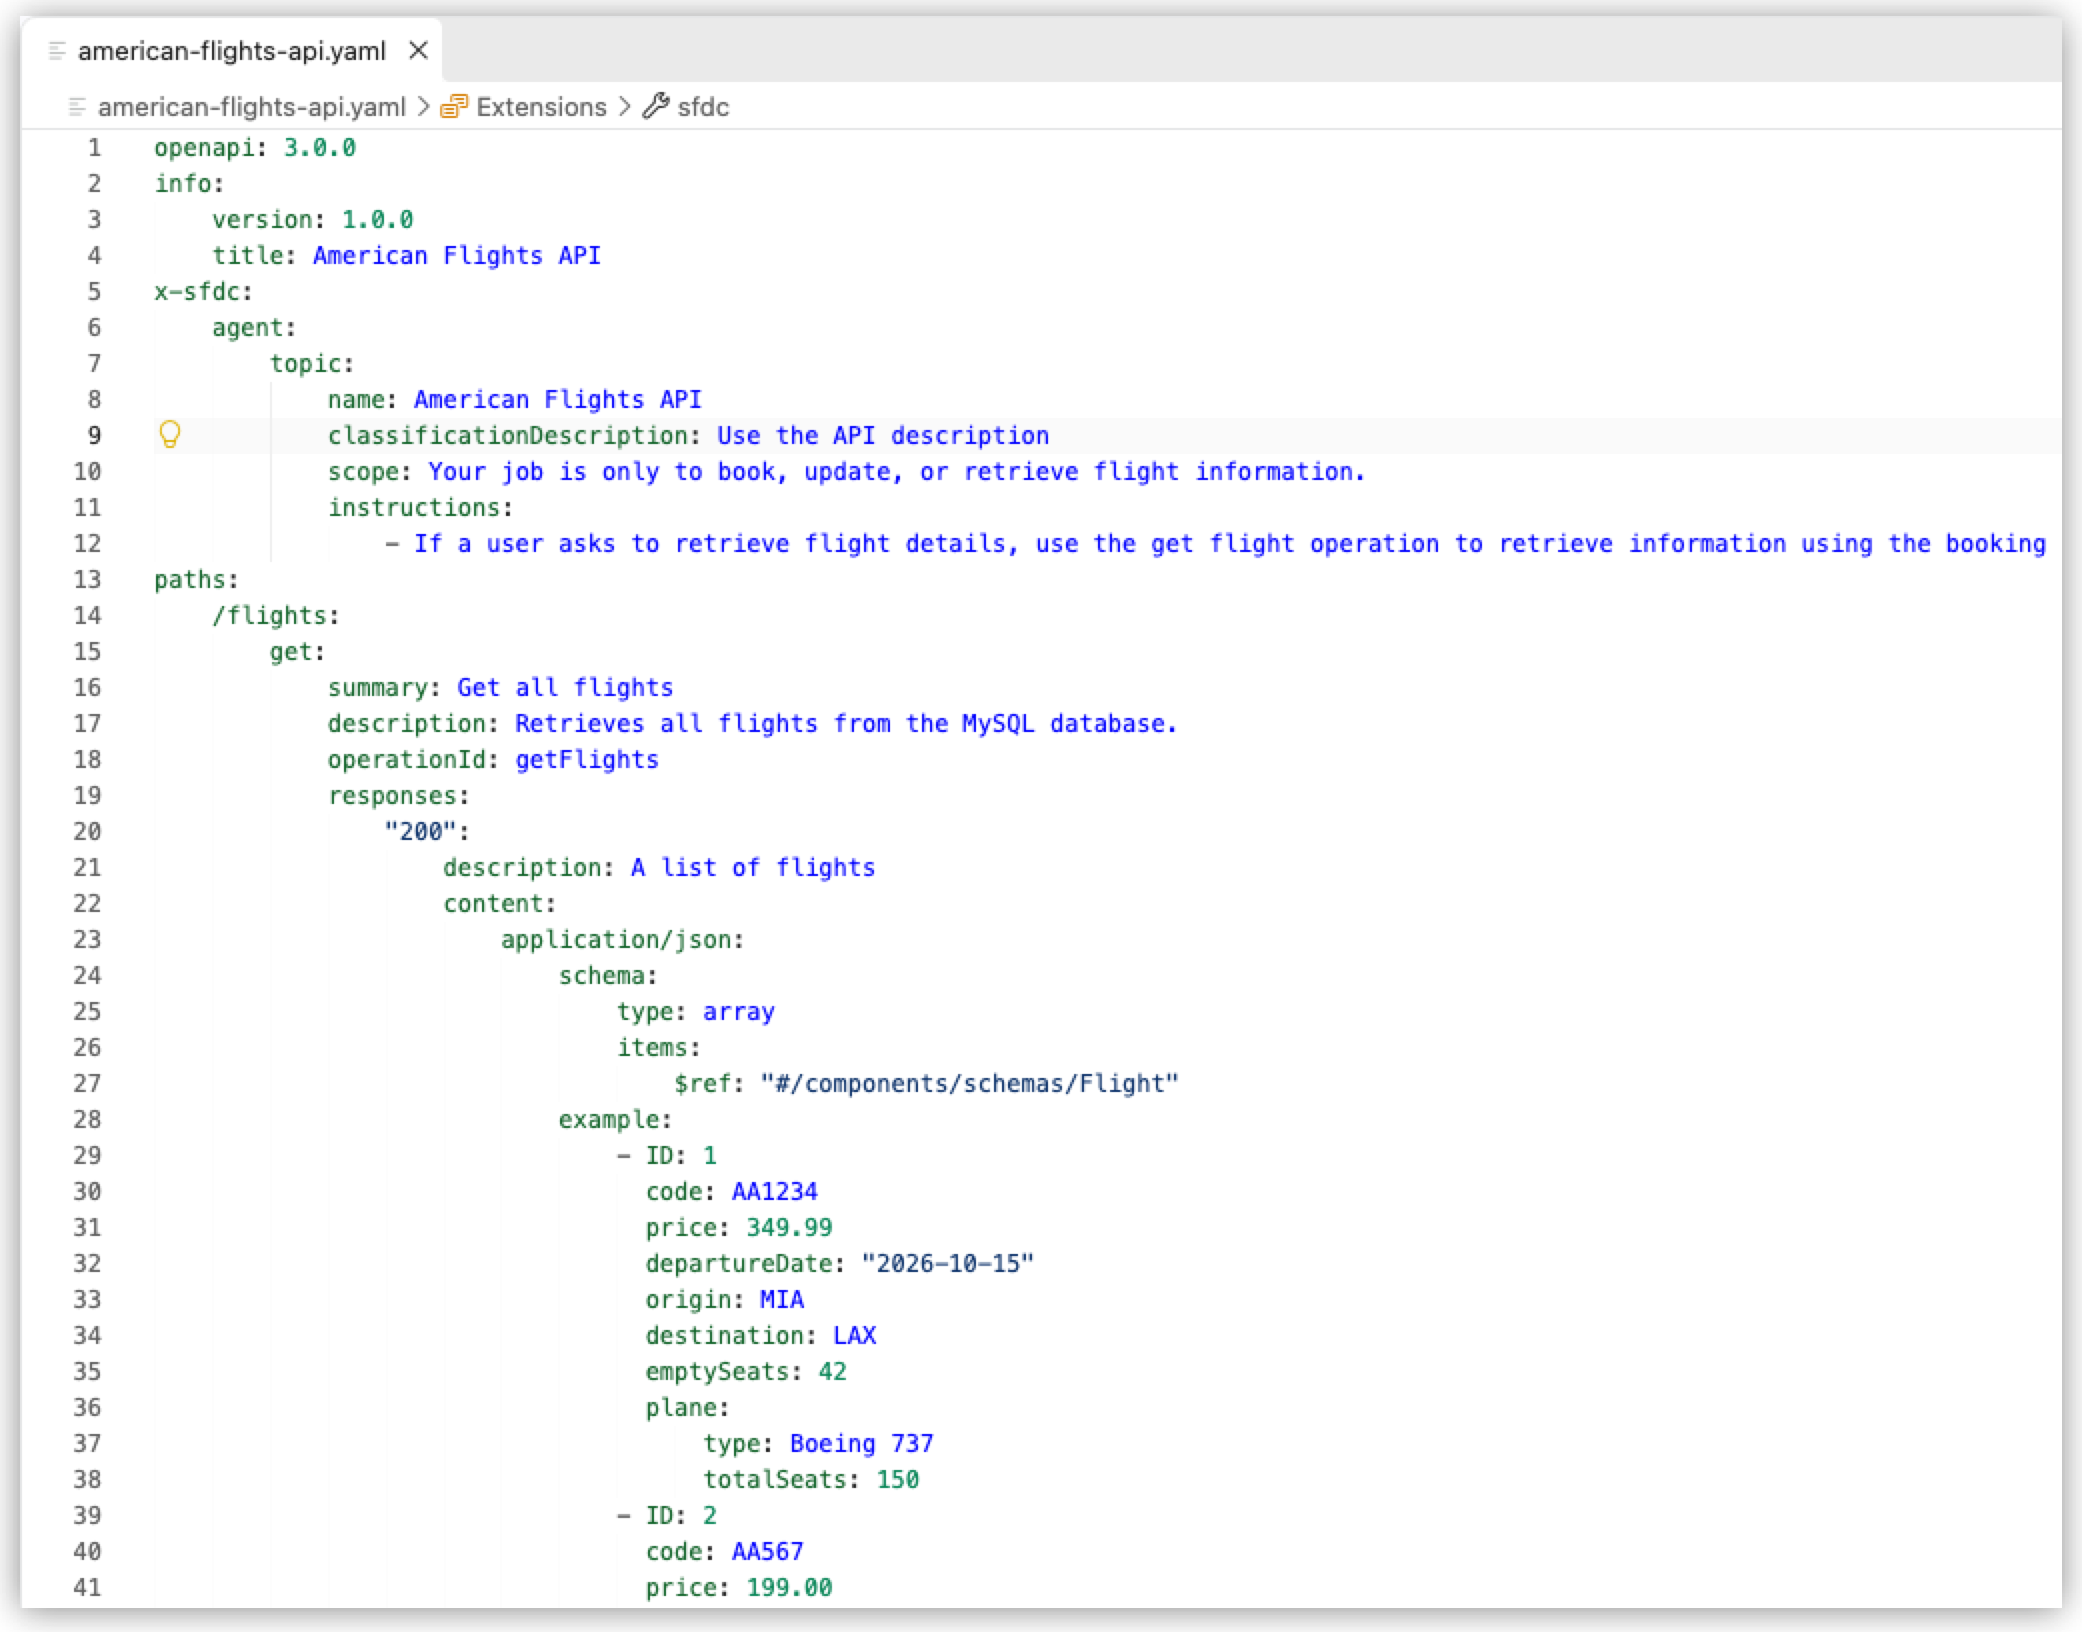
If you get an
API streaming failederror, click Resume Task to retry creating the spec.
If you see this message:The model has determined this command requires explicit approval., click Run Command.
Mock and Test the API
Next, use MuleSoft Vibes and the built-in mocking service in the API Console to test the API before you publish it.
Send this message to MuleSoft Vibes:
Test the API using the built-in mocking service in API console.Alternatively, you can open the API Console and manually test the endpoints:
-
In the project explorer, open your API spec YAML file.
-
Open the Command Palette.
Show me how
-
Use the keyboard shortcuts:
-
Mac: Cmd+Shift+p
-
Windows: Ctrl+Shift+p
-
-
Select View > Command Palette.
-
-
Provide this command:
MuleSoft: Show API Console -
Click GET in any of the endpoints.
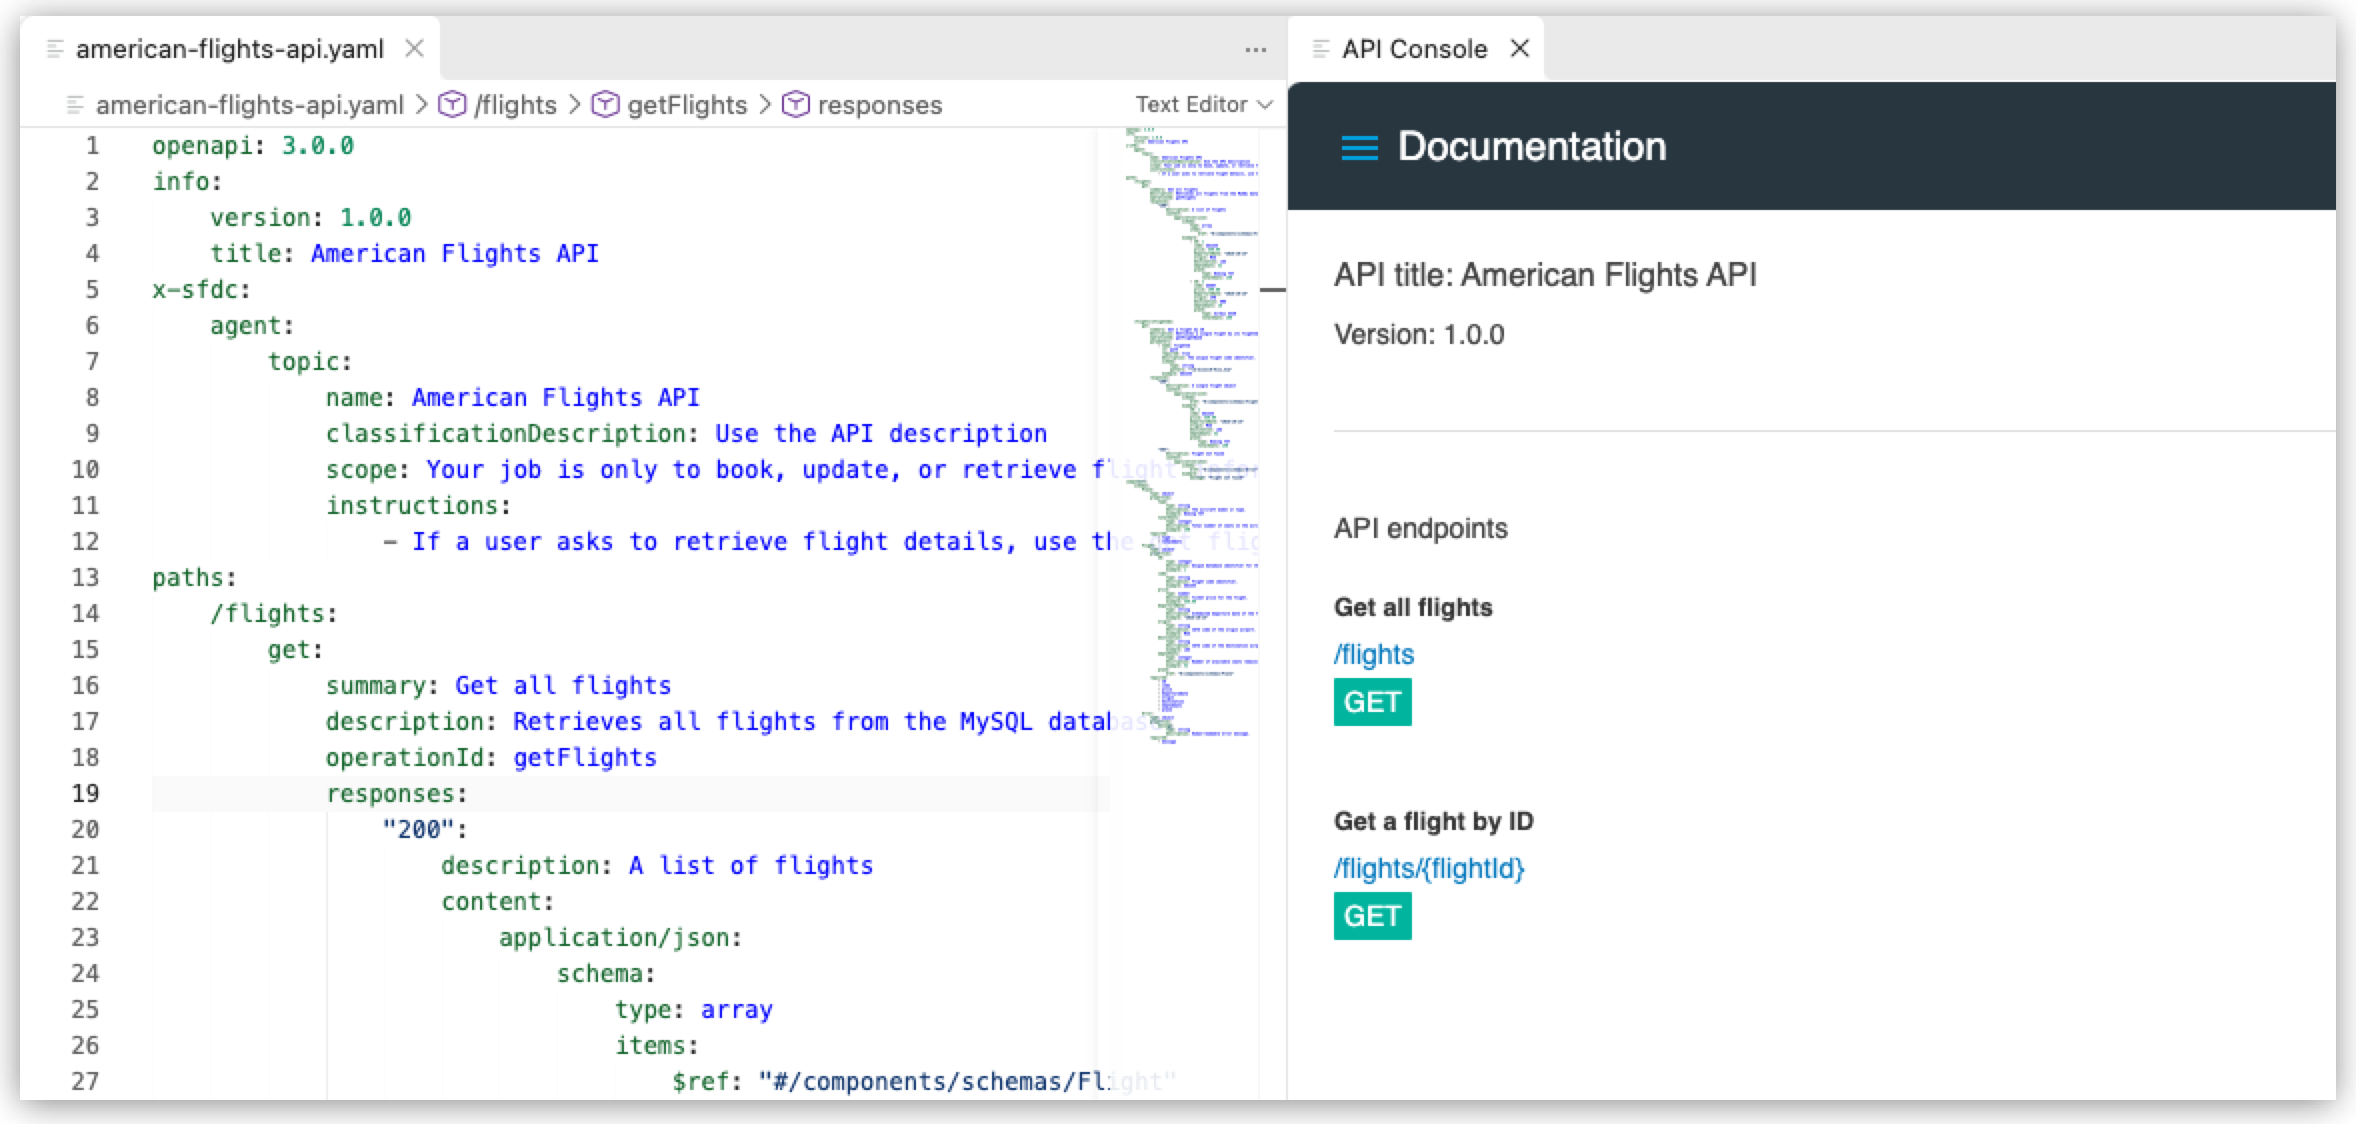
-
Click Try it and then Send.
The API Console shows an example response.
Your API spec is now ready to publish to Anypoint Exchange.
Publish the API Spec to Exchange
Publish the American Flights API spec to Exchange so that other team members can find and implement it.
-
In the project explorer, open your API spec YAML file.
-
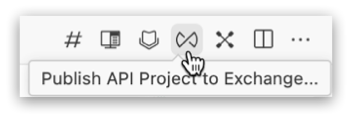
Click Publish API Project to Exchange.
-
Alternatively, provide this command in the command palette:
MuleSoft: Publish API Project to Exchange
-
-
If prompted, click Allow, and follow the prompts to sign in to Anypoint Platform.
-
If you haven’t selected a business group, select one now in Select a Business Group.
-
Enter the asset version:
1.0.0. -
Enter the API version:
v1. -
Confirm the asset ID in the project metadata:
american-flights-api. -
Click Publish.
The status bar shows the progress after the API is published successfully to Exchange.
-
When prompted to implement the API now, select No to avoid scaffolding the American Flights API spec into your integration.
Selecting Yes scaffolds the API spec into your project. Instead of scaffolding now, you scaffold the API in Implement the American Flights API.
Locate Your API in Exchange
After publishing your API spec, you can find it in Anypoint Exchange:
-
Navigate to Anypoint Exchange.
Show me how
-
US cloud (non-EU host): Exchange (US)
-
EU cloud (EU host): Exchange (EU)
-
-
Type
americanin the search bar and press Enter. -
Notice that your API spec is listed as an asset.
You can select the API, navigate through its summary, and see all the endpoints you defined in the previous tasks.