
Deploying Mule Applications Using Anypoint Code Builder
Follow these steps to develop, package, and deploy Mule applications to Anypoint Platform Private Cloud Edition (Anypoint Platform PCE) using Anypoint Code Builder in VS Code. You can complete this workflow without MuleSoft Vibes by following the standard Anypoint Code Builder documentation. MuleSoft Vibes is optional.
Connect Anypoint Platform PCE with Anypoint Code Builder
To connect Anypoint Platform PCE with Anypoint Code Builder, follow the instructions in Configuring Anypoint Code Builder for Anypoint Platform PCE.
Private cloud mode connects Anypoint Code Builder on your machine to the Anypoint Platform PCE control plane. Sign-in uses OAuth or OIDC with the identity provider hosted by Anypoint Platform PCE. Anypoint Code Builder keeps application metadata in your network and blocks standard cloud telemetry.
Develop Mule Application
Build the Mule application in VS Code with Anypoint Code Builder. You can create the specification, the flow, DataWeave transformations, and security configuration without MuleSoft Vibes. Follow the standard Anypoint Code Builder documentation:
MuleSoft Vibes is optional. If you use it, Vibes skills can generate the specification, the flow, DataWeave transformations, and security configuration.
These skills are available in the skill pack:
-
build-mule-integrationgenerates integration flows, configures endpoints, and scaffolds orchestration. -
secure-mule-appscans the configuration for security risks, applies encryption, and suggests logging. -
DataWeave skills generate transformations and map payload schemas.
You can add organization-specific skills that enforce naming conventions, header standards, and logging policies. Package those skills in a repository and use them with Anypoint Code Builder.
-
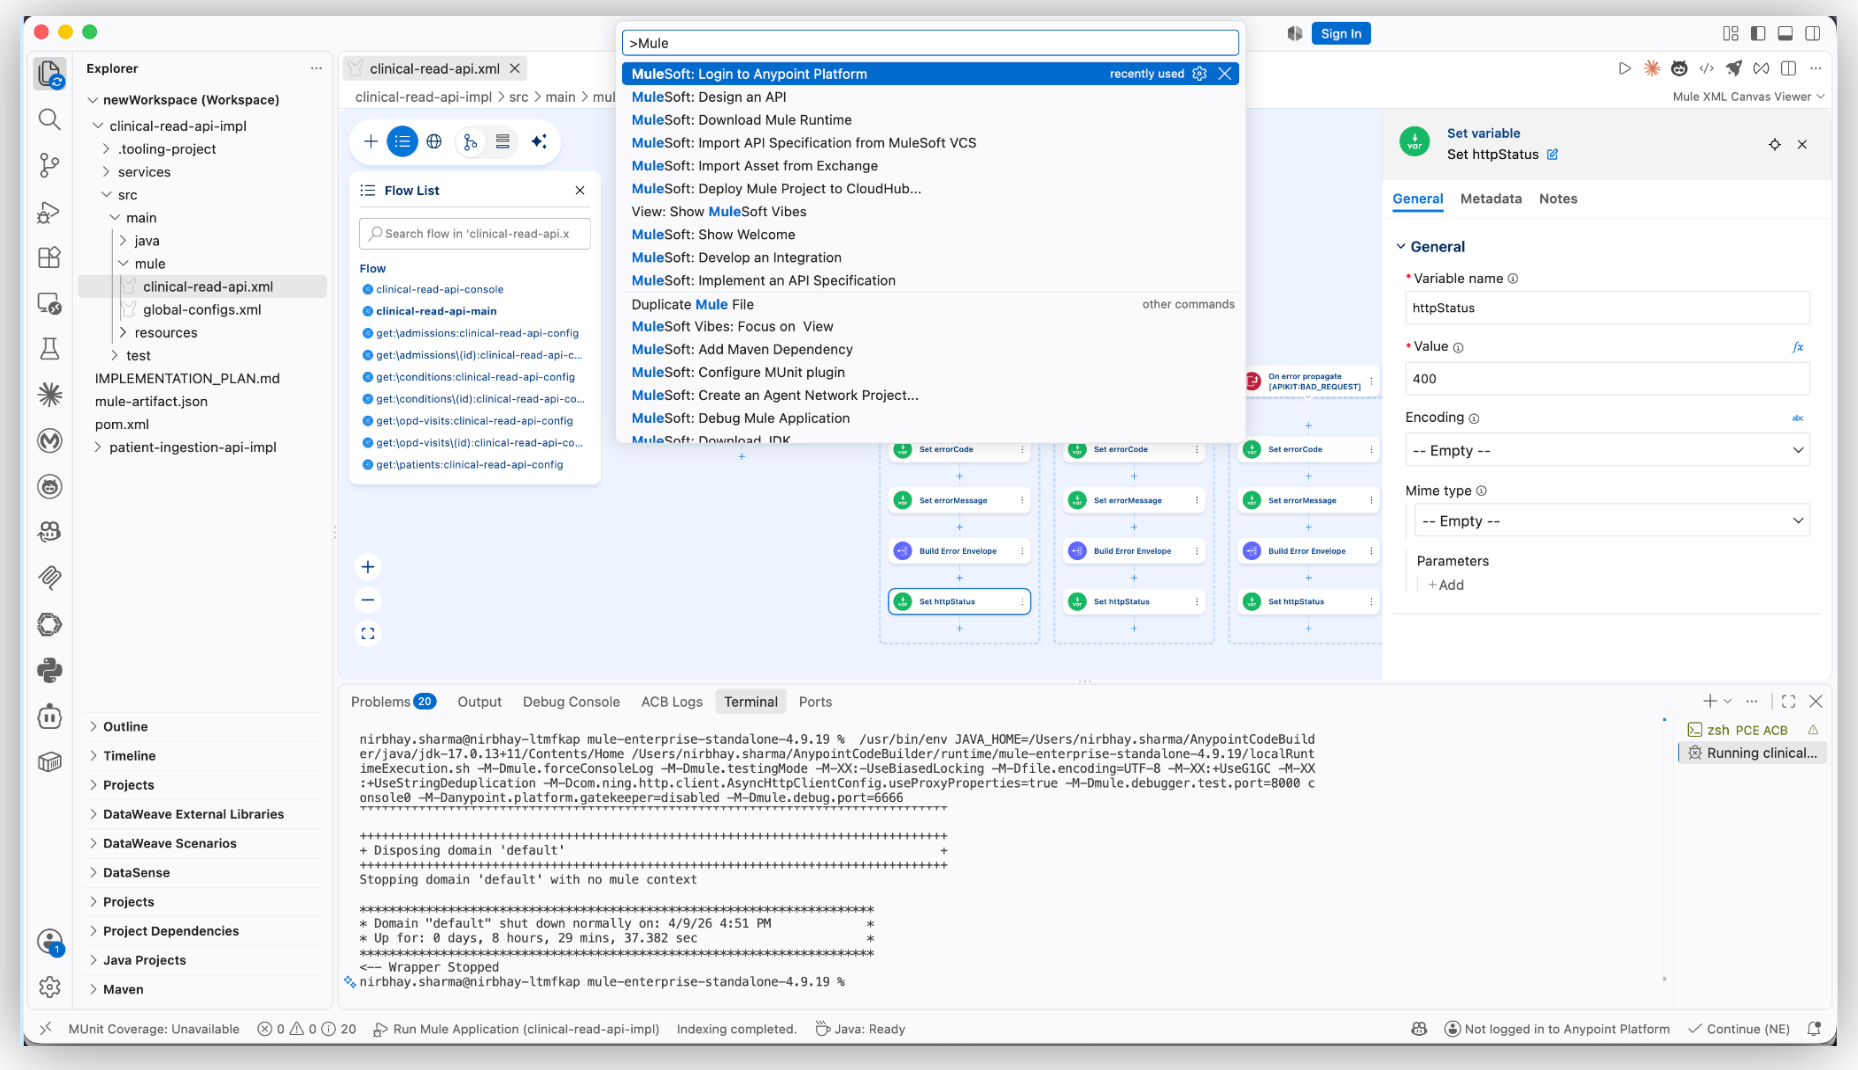
In VS Code, open the Command Palette and run
MuleSoft: Design an APIto create the API specification. Anypoint Code Builder validates the specification locally. -
To mock the API on your machine, use the API Console.
-
Run
MuleSoft: Implement an API Specificationto stub the interface and connect the services. -
To create a project from the canvas instead, select the Anypoint Code Builder icon in the primary side bar, select
Develop an Integration, and create a Mule project. -
To import an asset from Exchange, run
MuleSoft: Import Asset From Exchange. Select the asset type and add it to the project. -
Develop the flow, DataWeave transformations, and security configuration in Anypoint Code Builder. If you use MuleSoft Vibes, you can use natural language prompts for flow logic, DataWeave mappings, and the
secure-mule-appskill. -
Create and run MUnit tests in the project before you package the application.
-
Run a local debug session from the Run and Debug sidebar to test the logic before packaging.
Package and Export the Mule Application
Manually create the deployable Mule application artifact:
-
In the VS Code Explorer, right-click your
mule-artifact.jsonfile or any XML file insrc/main/mule. -
Select MuleSoft: Export Mule Project.
-
Choose Deployable JAR and select Include project sources.
Including project sources enables you to re-import the project later if needed.
-
Save the JAR to your local machine.
Deploy to Runtime Manager
Upload the JAR to your hybrid server. The server must be registered and in the Running state.
-
Log in to Anypoint Platform PCE and navigate to Runtime Manager.
-
Select the correct environment, and then click Deploy Application.
-
Set the Deployment Target to your hybrid server or cluster.
-
Click Choose File > Upload File and select the JAR you exported.
-
Click Deploy Application.
After the application status is Started, apply API Manager policies to the endpoints. Use API Manager in Anypoint Platform PCE, or the Anypoint CLI API Manager plugin from Configuring Anypoint Code Builder for Anypoint Platform PCE.
Publish to Exchange
Publishing an asset directly from Anypoint Code Builder to Exchange in Anypoint Platform PCE has partial support. Publish the deployable JAR from Exchange in Anypoint Platform PCE:
-
In Anypoint Platform PCE, navigate to Exchange.
-
Click Publish New Asset.
-
Provide an asset name and select Mule Application as the asset type.
-
Upload the same JAR file.
This publishes the project to your organization’s private library.
Validate the Deployment
To validate the deployment, follow these steps:
-
In Runtime Manager, wait until the application status is Started.
-
Use an API client such as Postman or the VS Code Thunder Client to send a request to the server IP and the port defined in your HTTP Listener.
For example:
http://10.x.x.x:8081/api/test -
Check the Logs tab in Runtime Manager to verify that the request was processed successfully.