MMC Migrator Tool
This tool enables you to migrate server configuration data in your Mule Management Console (MMC) instance to a Runtime Manager instance. MMC is in the process of being fully replaced by the Runtime Manager. MMC has been deprecated, so we advise that you carry out this migration at your soonest convenience. The migration process consists of executing two scripts and taking care of a couple of manual steps in between.
Download the migration tool (mmc-arm-migrationscripts) from Salesforce Help. If you do not have credentials to log in, please contact your Customer Success Manager.
Migration Scope
The steps explained in this doc enable you to migrate the following things from your MMC instance:
-
Server data, including current state. This is needed to match the servers registered on MMC with those on Runtime Manager.
-
Mule Application .zip files
-
Information about Mule Application Deployments on servers, together with their current statuses
The migration tool does NOT take care of migrating:
-
Alerts.
-
User Permissions.
These two things must be handled manually as both platforms follow different conceptual models in regards to them. Please refer to Runtime Manager documentation about how to configure email alerts and user roles.
Prerequisites (before running the MMC Dump Script)
As MMC and Runtime Manager have some differences in their conceptual model, keep in mind that some corner cases can’t be migrated into Runtime Manager. In these cases you must first change your configuration in MMC before you can run the dump script.
Make sure that NONE of the following conditions are met before running the dump script:
-
Server groups contain nested clusters or other nested server groups.
-
A single server is a member of multiple server groups, it can only belong to one.
-
Servers that belong to a Server Group also have deployments that target them individually as single servers
-
Clusters in MMC are in a yellow state. They must all be in OK state (all nodes running)
Although all of the cases listed above are possible configurations in MMC, they aren’t supported on Runtime Manager by design. Please make the necessary adjustments to make these compatible.
Things to consider
-
The Mule instances that are registered in MMC must be named identically as what you name them when registering them on Runtime Manager. If you wish to have them registered on Runtime Manager with a different name, you must do one of the following:
-
Rename them on MMC before running the MMC Dump Script
-
Initially register them on Runtime Manager with the same name they have on MMC and rename them only after completing the whole migration procedure
-
-
Inactive servers won’t be migrated. Their information will be dumped, but they won’t be taken into account when importing server information into Runtime Manager.
-
Runtime Manager supports Mule Runtime versions 3.6.0 and newer. If dealing with older Mule Runtime versions in MMC, you’ll need to upgrade these to newer Mule versions before migrating them.
-
Applications that are not included in at least one active deployment in MMC won’t be migrated. This means dump files won’t include the corresponding application .zip.
MMC Dump Contents
-
A folder that contains the deployable .zip file for every application that is currently active.
-
A Dump file with the extension .dmp , which includes information about Servers, Server Groups, Clusters, Applications in the repository, and Deployments.
Step by Step Migration
Migrating your Mule Runtime instances from MMC to Runtime Manager implies three high level steps:
Step 1: Run the MMC Dump Script to extract structure information and application files from MMC
In order run this script, follow these steps:
-
Download the script file from Salesforce Help.
-
Open the MMC console and navigate to Administration → Admin Shell
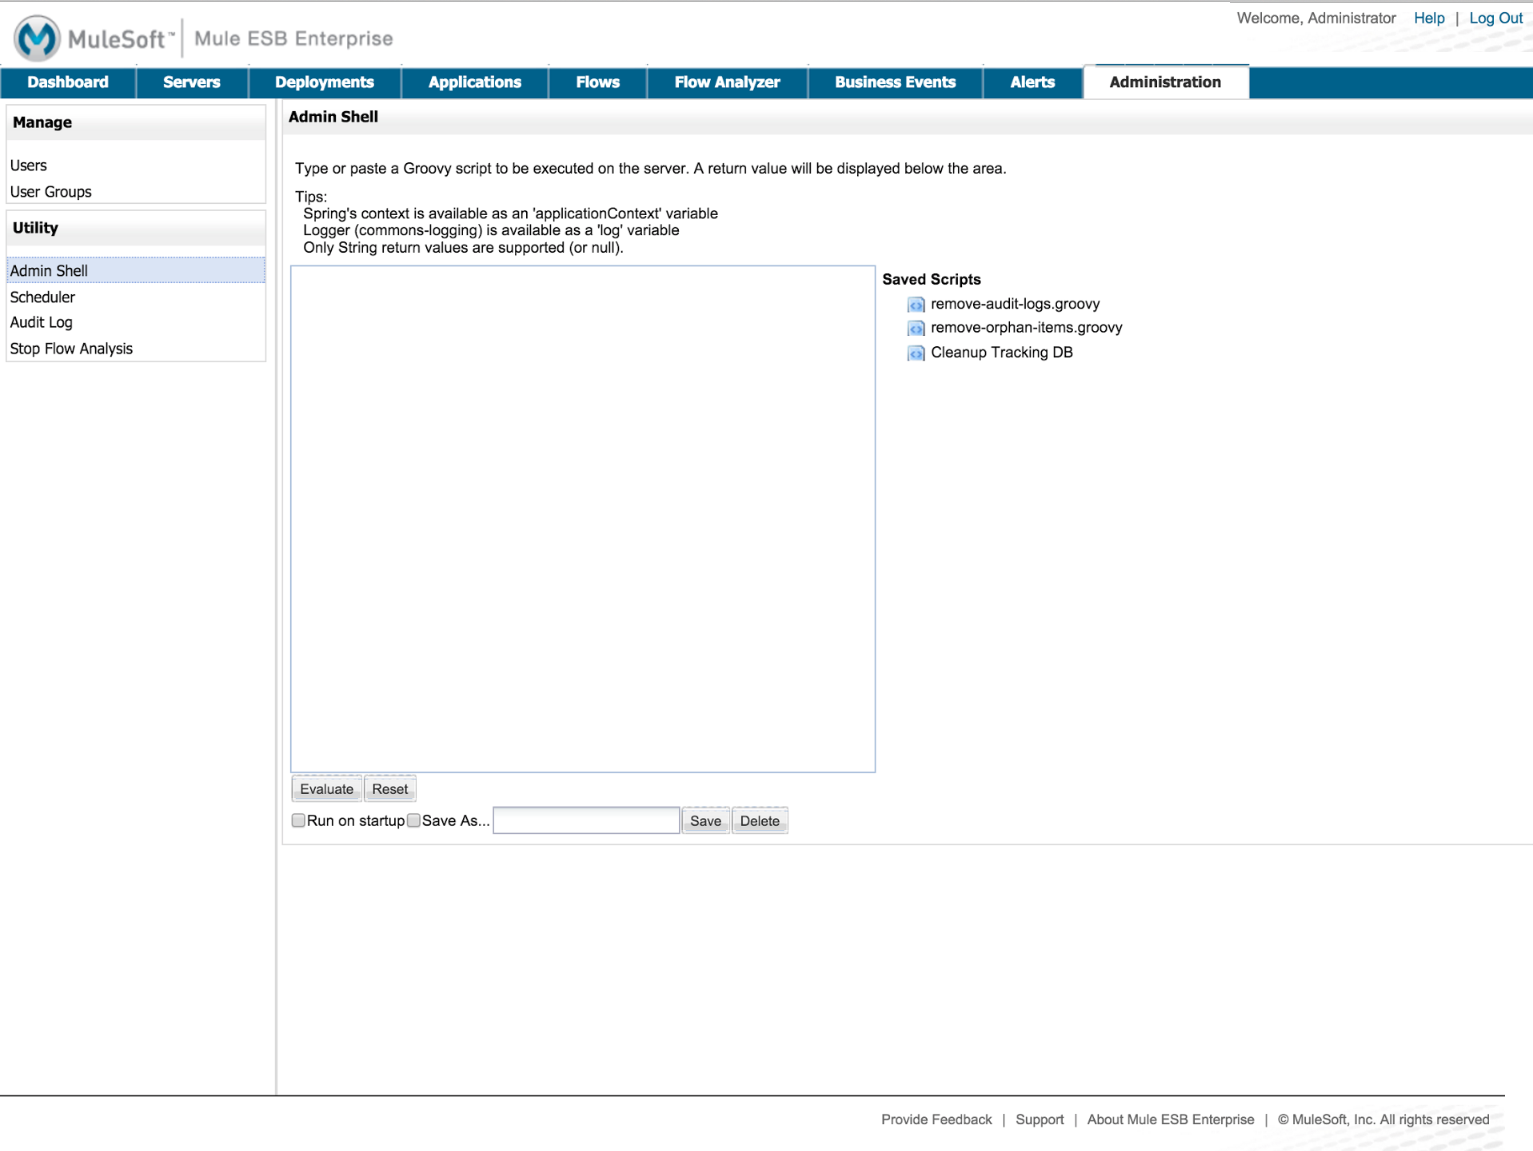
Paste the content of the script file as text in the canvas Click the Evaluate button.

This will create a dump from what’s in your MMC instance in your mmc-data folder (in a new folder called mmcDump). See MMC Dump Contents for a reference of what you’ll find in it.
Step 2: Manual handling of Mule Runtime instances to decouple them from MMC and register them on Runtime Manager
-
Stop the execution of all running Mule Runtime instances (either via MMC console or via the command line)
-
For each Mule Runtime instance, open its folder
$MULE_HOME/app, then delete everything that’s in it.You may want to take advantage of this opportunity to update your servers to a new version of Mule Runtime. If that’s the case, then this last step is irrelevant as you’d be using a fresh new installation of the Mule Runtime on your servers. Note that as long as these new Mule Runtime instances run are named identically when registered, the migration process should consider them the same, regardless of them running with a newer Mule Runtime version. If the instances are on servers with the same IP addresses, then all of the coupling of clusters and server groups should also be implemented by the script. -
Register your Mule Runtime instances in Runtime Manager (using the same names these had in MMC). For details on how to do this, see installing and configuring Mule Agent
-
Via the command line, start your Mule Runtimes
Step 3: Run the Runtime Manager Import Script to introduce the extracted information into Runtime Manager through the following command:
java -jar rtm-import-1.0.0.jar -H anypoint.mulesoft.com -D /Users/your_user/your_folder/dump_folder -V v1 -U your_user -P your_password -E your_env_id -O your_org_id
The import process command may contain the following parameters:
| param | name | Description |
|---|---|---|
-D |
--dump-path |
MMC Dump Folder Path |
-H |
--anypoint-url |
Anypoint Url |
-V |
--api-version |
Api Version |
-U |
--anypoint-user |
Anypoint Username |
-P |
--anypoint-pass |
Anypoint Password |
-E |
--environment-id |
Environment ID |
-O |
--organization-id |
Organization ID |
| You can also execute the jar with an -h or -help argument to access help. |
To obtain the required values of your Environment ID and your Organization ID, you’ll have to use the Runtime Manager CLI. Through this tool, run the commands account business-group list and account environment list. Each returns a list with all of the available business groups / environments in your organization, together with the corresponding IDs for each.
|
| If you prefer, instead of running this script once to handle your entire set of servers in one go, you can run it over as many separate batches of servers as you want. If you only register a few of your servers on the Runtime Manager and then run this script, it will configure the registered servers and ignore data about the additional servers that exist in the dump file but not on the platform, without raising any errors. If you then register more of your servers and run the script again, those servers that are already configured in the platform will be ignored and the script will only configure the newly added servers. |