<http:listener-config name="HTTP_Listener_config">
<http:listener-connection host="localhost" port="${http.transport.port}" />
</http:listener-config>
<flow name="http-transportFlow">
<http:listener config-ref="HTTP_Listener_config" path="/"/>
<set-payload value='#["Hello World!"]'/>
</flow>xmlAbout Enable Flow Sources
The Enable Flow Sources element within the MUnit Test tells MUnit which sources to load and execute for the test.
MUnit does not load any of your flows endpoints. It’s up to you to configure which endpoints to initialize for your tests.
For example, assume that you have an application whose HTTP listener returns a specific payload:
In order for MUnit to be able to reach the endpoint, you need to enable the http-transportFlow in your enable-flow-source property:
<http:request-config name="HTTP_Request_configuration">
<http:request-connection host="localhost" port="${http.transport.port}" />
</http:request-config>
<munit:test name="http-request-test-validatePayload" description="test">
<munit:enable-flow-sources>
<munit:enable-flow-source value="http-transportFlow"/>
</munit:enable-flow-sources>
<munit:execution>
<http:request method="GET" path="/" config-ref="HTTP_Request_configuration"/>
</munit:execution>
<munit:validation>
<munit-tools:assert-that expression="#[payload]" is="#[equalTo('Hello World')]" />
</munit:validation>
</munit:test>xmlIf the http-transportFlow is not listed as an enabled flow source, your MUnit test fails because it cannot initialize the http-listener configuration.
To Enable Flow Sources from Studio
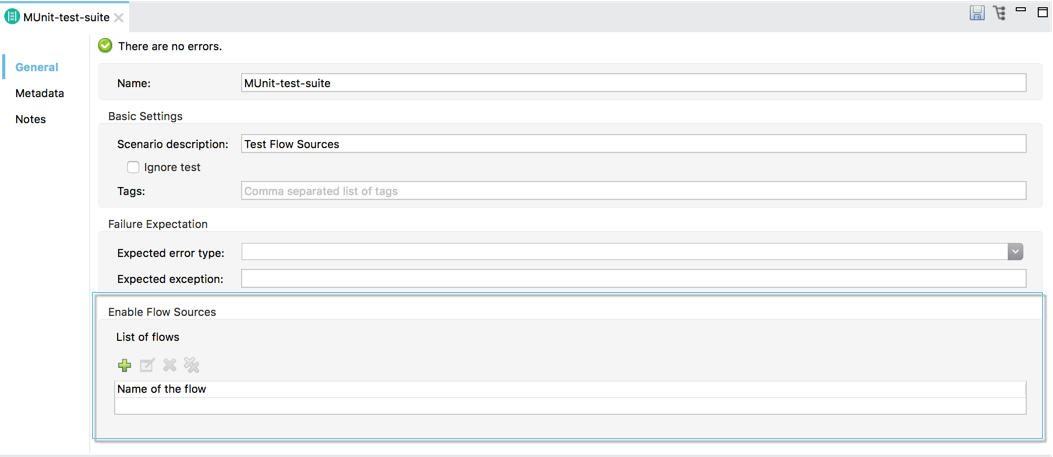
You can also define flow sources using the Mule Properties view of your MUnit Test in Anypoint studio:

-
Click the green Add icon.
-
Select the name of the flow you want to enable from the Name Of The Flow drop-down


