Using Anypoint Studio to Configure Aggregators Module 1.0
Anypoint Studio (Studio) editors help you design and update your Mule applications, properties, and configuration files.
To add and configure a module in Studio:
When you run the connector, you can view the app log to check for problems in real time, as described in View the App Log.
If you are new to configuring connectors in Studio, see Using Anypoint Studio to Configure a Connector. If, after reading this topic, you need additional information about the connector fields, see the Aggregators Module Reference.
Create a Mule Project
In Studio, create a new Mule project in which to add and configure the connector:
-
In Studio, select File > New > Mule Project.
-
Enter a name for your Mule project and click Finish.
Add the Module to Your Mule Project
Add Aggregators Module to your Mule project to automatically populate the XML code with the module’s namespace and schema location and to add the required dependencies to the project’s pom.xml file:
-
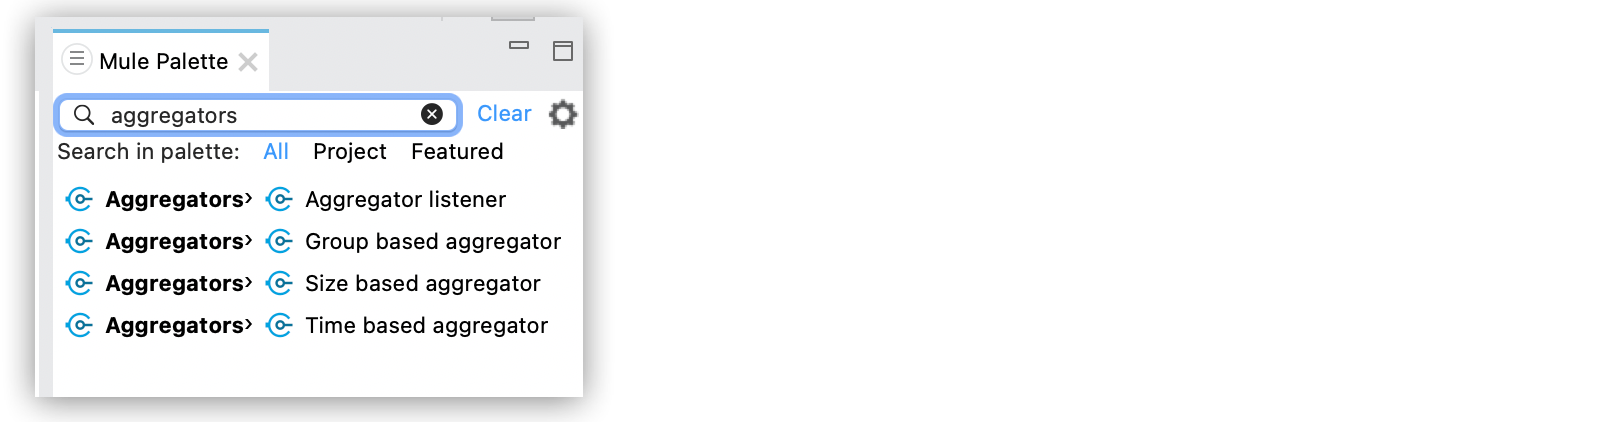
In the Mule Palette view, click (X) Search in Exchange.
-
In the Add Dependencies to Project window, type
aggregators modulein the search field. -
Click Aggregators Module in Available modules.
-
Click Add.
-
Click Finish.
Adding a module to a Mule project in Studio does not make that module available to other projects in your Studio workspace.
Configure a Source
A source initiates a flow when a specified condition is met. You can configure one of these sources to use with Aggregators Module:
-
HTTP > Listener
Initiates a flow each time it receives a request on the configured host and port.
-
Aggregator listener
Initiates a subflow by listening to elements triggered by a referenced aggregator scope.
After the aggregator scope referenced by the listener completes an aggregation, the Aggregator listener triggers the subflow with a list of all the aggregated elements.
For example, to configure an Aggregator listener, follow these steps:
-
In the Mule Palette view, select Aggregators > Aggregator listener.
-
Drag Aggregator listener to the Studio canvas.
-
On the Aggregator listener configuration screen, optionally change the value of the Display Name field.
-
Set Aggregator name to the name of the aggregator scope to listen to.
The listener executes after the aggregator scope releases its elements.
-
Select Include timed out groups to indicate whether the listener should be triggered when a group is released due to a timeout.
This configuration option also works for non-group aggregators, such as the Time based aggregator and Size based aggregator scopes.
Add an Aggregator Scope to the Flow
When you add a module scope to your flow, you are specifying an action for that module to perform.
To add a scope for Aggregators Module, follow these steps:
-
In the Mule Palette view, select Aggregators and then select the desired scope:
-
Group based aggregator
Enables you to aggregate elements into groups by group ID.
-
Size based aggregator
Enables you to aggregate elements until a predefined size number of elements completes the aggregation.
-
Time based aggregator
Enables you to aggregate elements within a predefined time limit.
-
-
Drag the scope onto the Studio canvas to the right of the source:
Configure an Object Store for an Aggregator
For any aggregator scope, you can configure an object store either by referencing a global object store or creating a private one.
Configure a Global Object Store
To configure a global object store in Studio, follow these steps:
-
Select the aggregator scope from the flow.
-
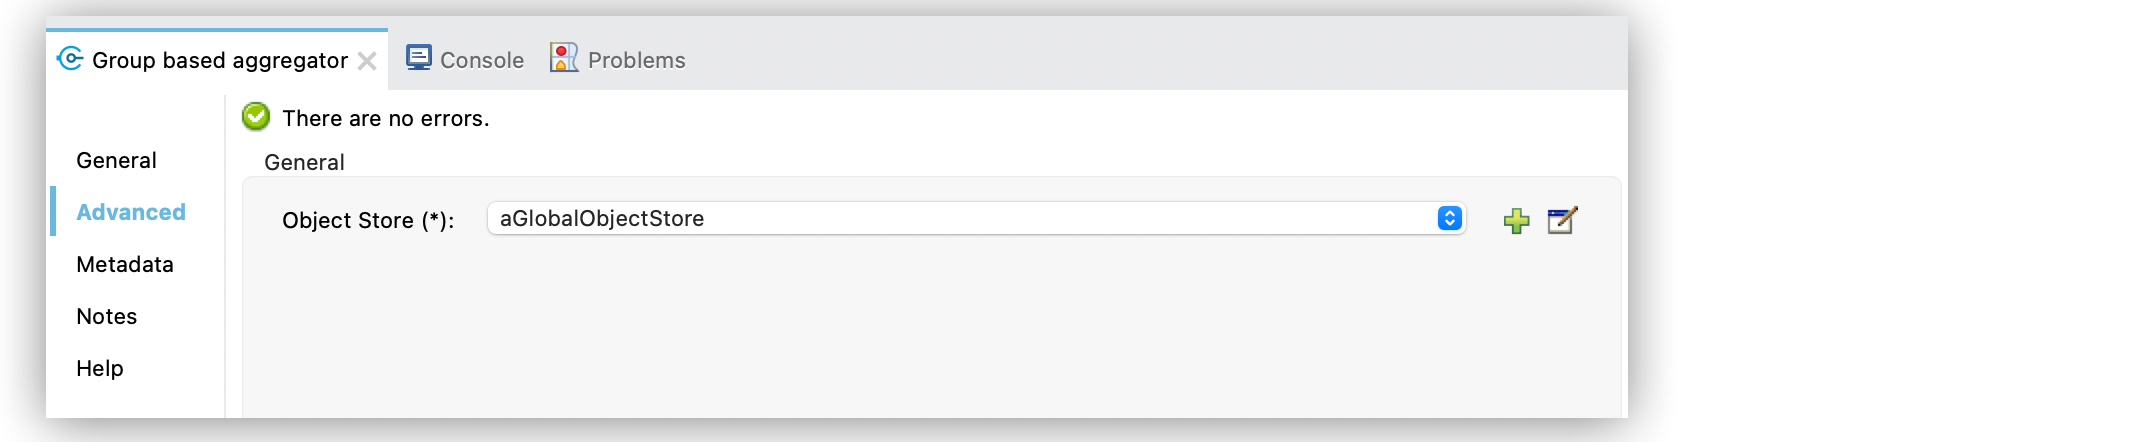
On the aggregator scope configuration screen, click Advanced.
-
Click the green plus sign (+) to create a global object store configuration.
-
In the Global Object store configuration screen, set Name to
aGlobalObjectStore. -
Complete the required configuration attributes and click OK.
The following screenshot shows the Advanced tab of Group based aggregator scope with an object store configuration:
In the Configuration XML view, the objectStore configuration looks like this:
<aggregators:group-based-aggregator name="globalOSAggregator"
                                   maxSize="10"
                                   objectStore="aGlobalObjectStore">
Configure a Private Object Store
To configure a private object store in Studio, manually update the XML code:
-
Select the aggregator scope from the flow.
-
Click Configuration XML in your Studio canvas.
-
Add the XML private object store
<os:private-object-store>inside the<aggregators:object-store>section, for example:
<aggregators:size-based-aggregator  name="privateOSAggregator" maxSize="10">
    ...
    <aggregators:object-store>
        <os:private-object-store alias="privateObjectStore" persistent="false"/>
    </aggregators:object-store>
</aggregators:group-based-aggregator>
View the App Log
To check for problems, you can view the app log as follows:
-
If you’re running the app from Anypoint Platform, the app log output is visible in the Anypoint Studio console window.
-
If you’re running the app using Mule from the command line, the app log output is visible in your OS console.
Unless the log file path is customized in the app’s log file (log4j2.xml), you can also view the app log in the default location MULE_HOME/logs/<app-name>.log.