[
  {
    "id": 1,
    "name": "Leanne Graham",
    "username": "Bret",
    "email": "Sincere@april.biz",
    "address": {
      "street": "Kulas Light",
      "suite": "Apt. 556",
      "city": "Gwenborough",
      "zipcode": "92998-3874",
      "geo": {
        "lat": "-37.3159",
        "lng": "81.1496"
      }
    },
    "phone": "1-770-736-8031 x56442",
    "website": "hildegard.org",
    "company": {
      "name": "Romaguera-Crona",
      "catchPhrase": "Multi-layered client-server neural-net",
      "bs": "harness real-time e-markets"
    }
  }
]
Building, Implementing, and Testing a REST API
This workflow guides you through the process of designing, implementing, and testing a REST API.
For example purposes, this workflow uses the free online REST service {JSON} Placeholder, which provides mocked user information in JSON format.
Before You Begin
Ensure you have the following software installed:
-
Anypoint Studio 7.1.4 or later
-
Mule runtime engine 4.1.1 or later
Design Your API Specification
Design your API specification with API Designer from Design Center, with the API Specification Project tool from Anypoint Studio, or with a text editor of your choice:
-
Create a JSON file including a list of users that serve as an example of what the service returns:
-
Save it as
user-example.json. -
Create a new blank file with the following API specification:
#%RAML 1.0 title: placeholder version: 1.0 /users: get: description: Retrieve a list of all the users responses: 200: body: application/json: example: !include user-example.json /userbyid: get: description: Get information about a particular user queryParameters: id: description: Specify the id of the user you want to retrieve type: integer required: false example: 3 responses: 200: body: application/json: example: | [ { "id": 3, "name": "Clementine Bauch", "username": "Samantha", "email": "Nathan@yesenia.net", "address": { "street": "Douglas Extension", "suite": "Suite 847", "city": "McKenziehaven", "zipcode": "59590-4157", "geo": { "lat": "-68.6102", "lng": "-47.0653" }, }, "phone": "1-463-123-4447", "website": "ramiro.info", "company": { "name": "Romaguera-Jacobson", "catchPhrase": "Face to face bifurcated interface", "bs": "e-enable strategic applications", } } ] -
Save it as
api.raml. -
In Studio, select File > New > Mule Project.
-
In Project Name, type the name of your Mule project.
-
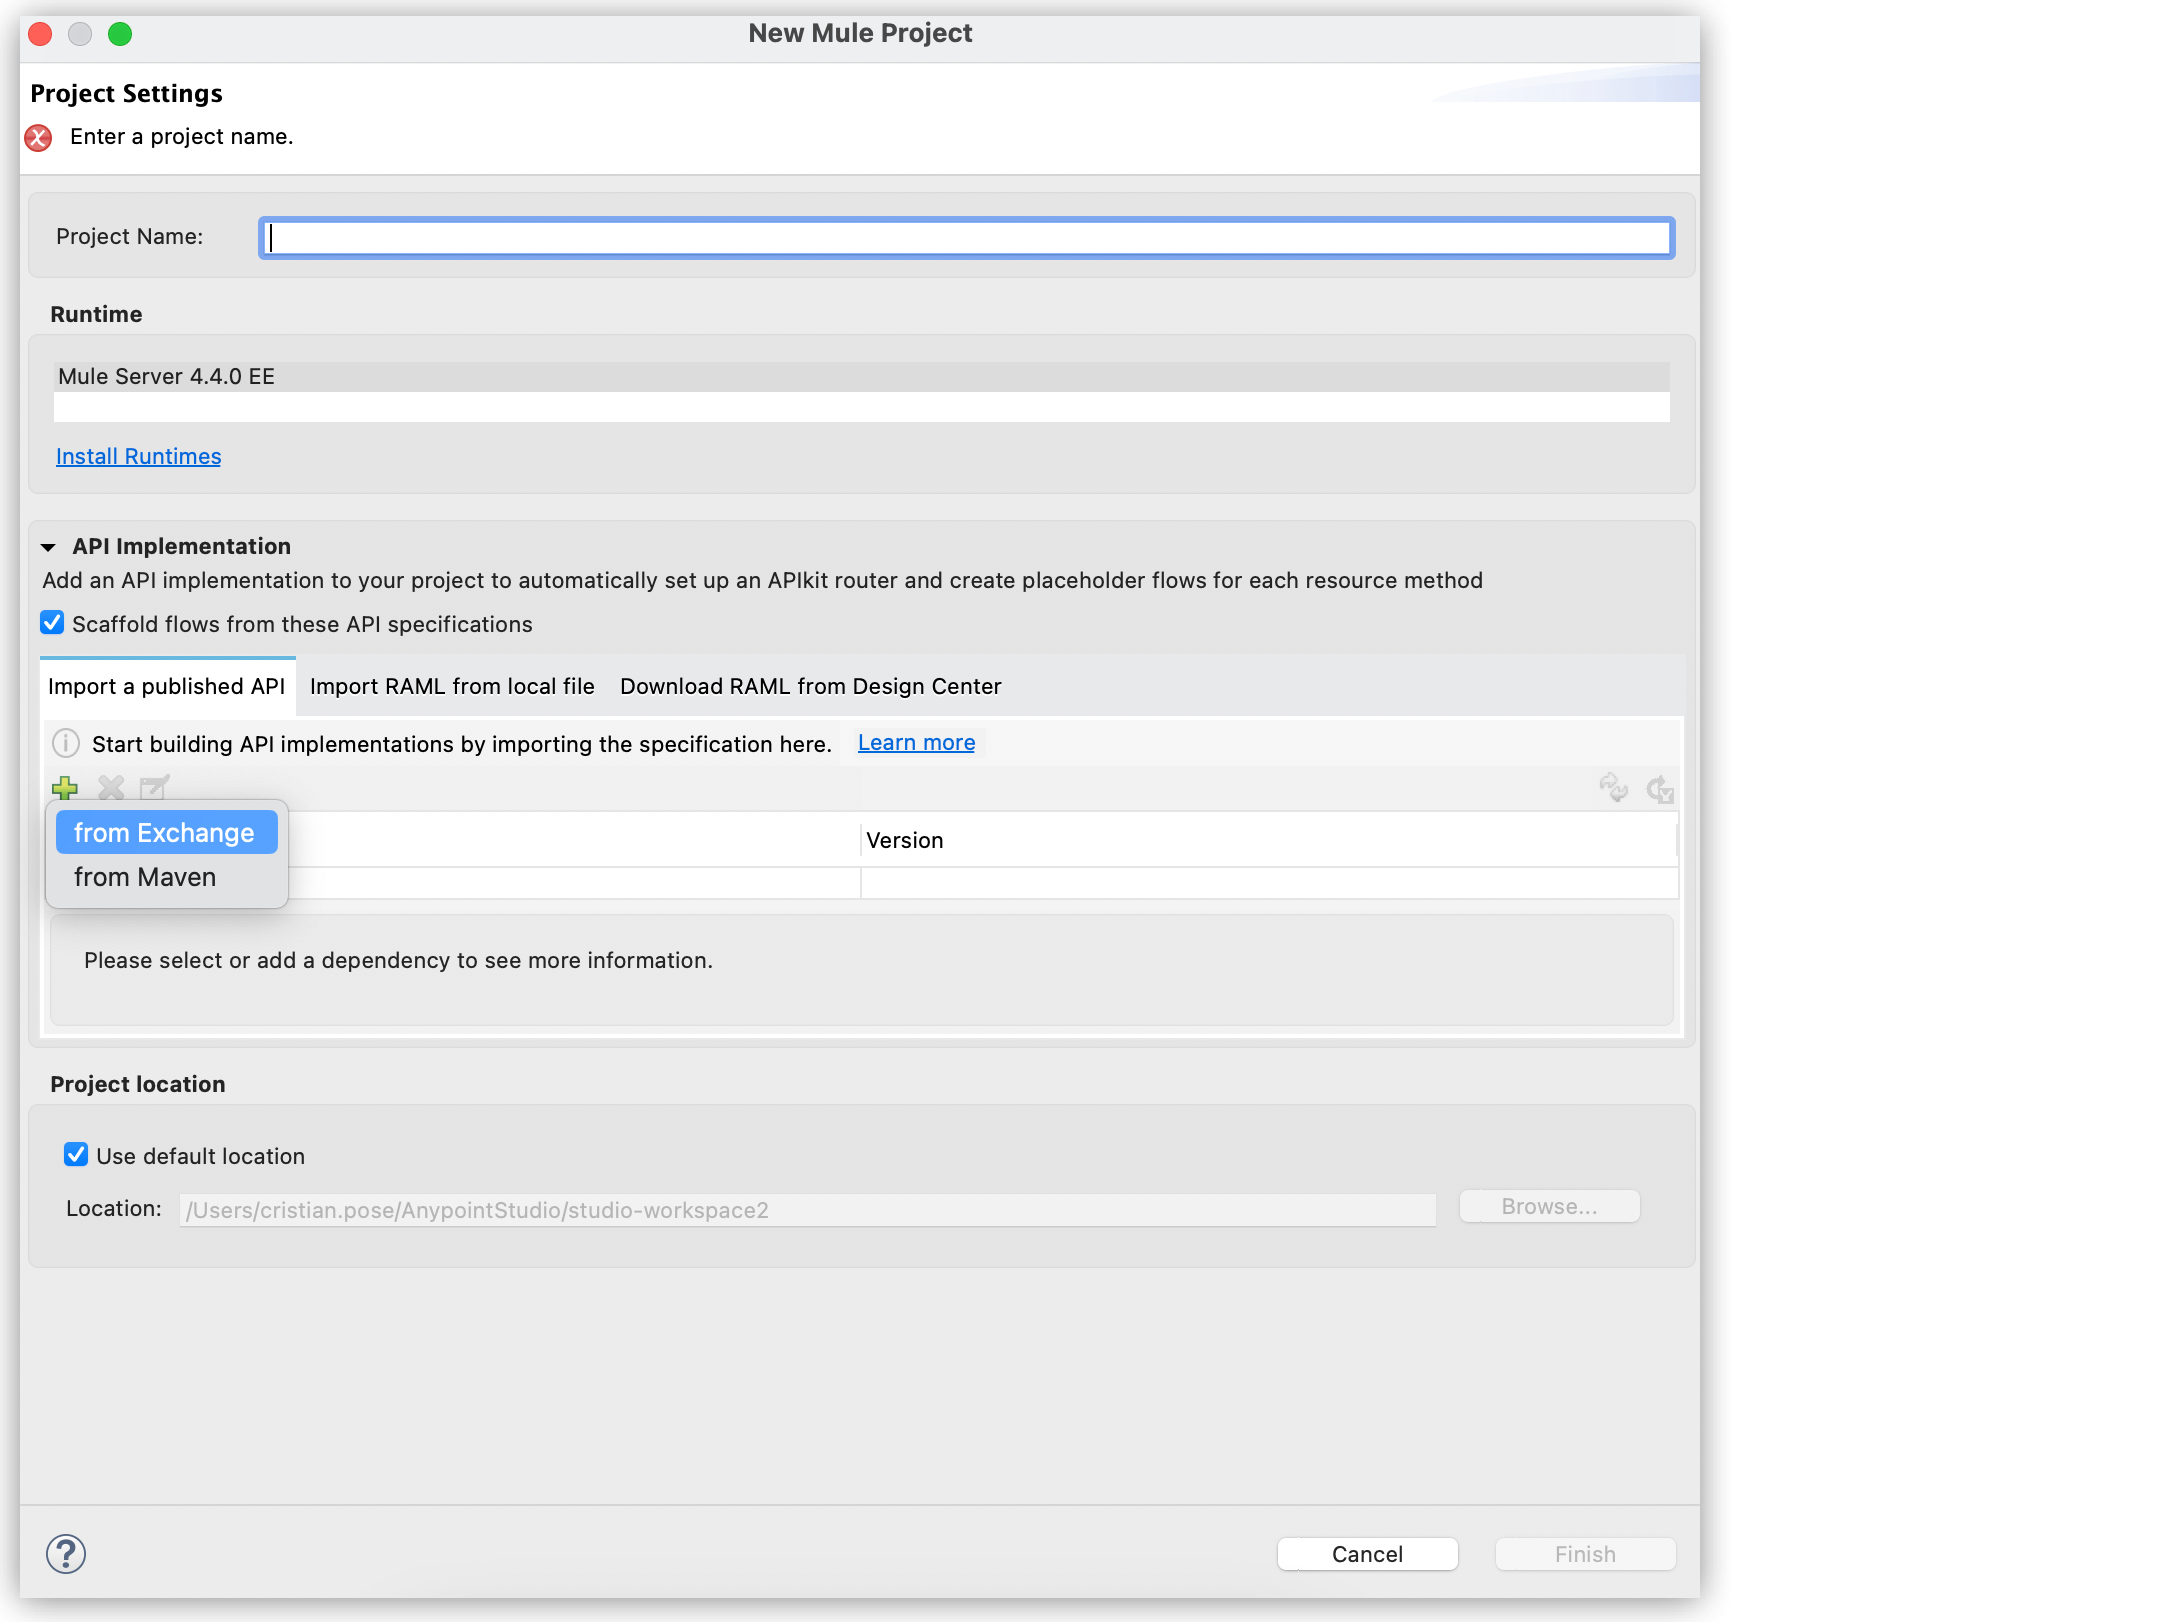
If you are importing your API specification from Exchange, select Import a published API, click the plus icon, and select From Exchange.
-
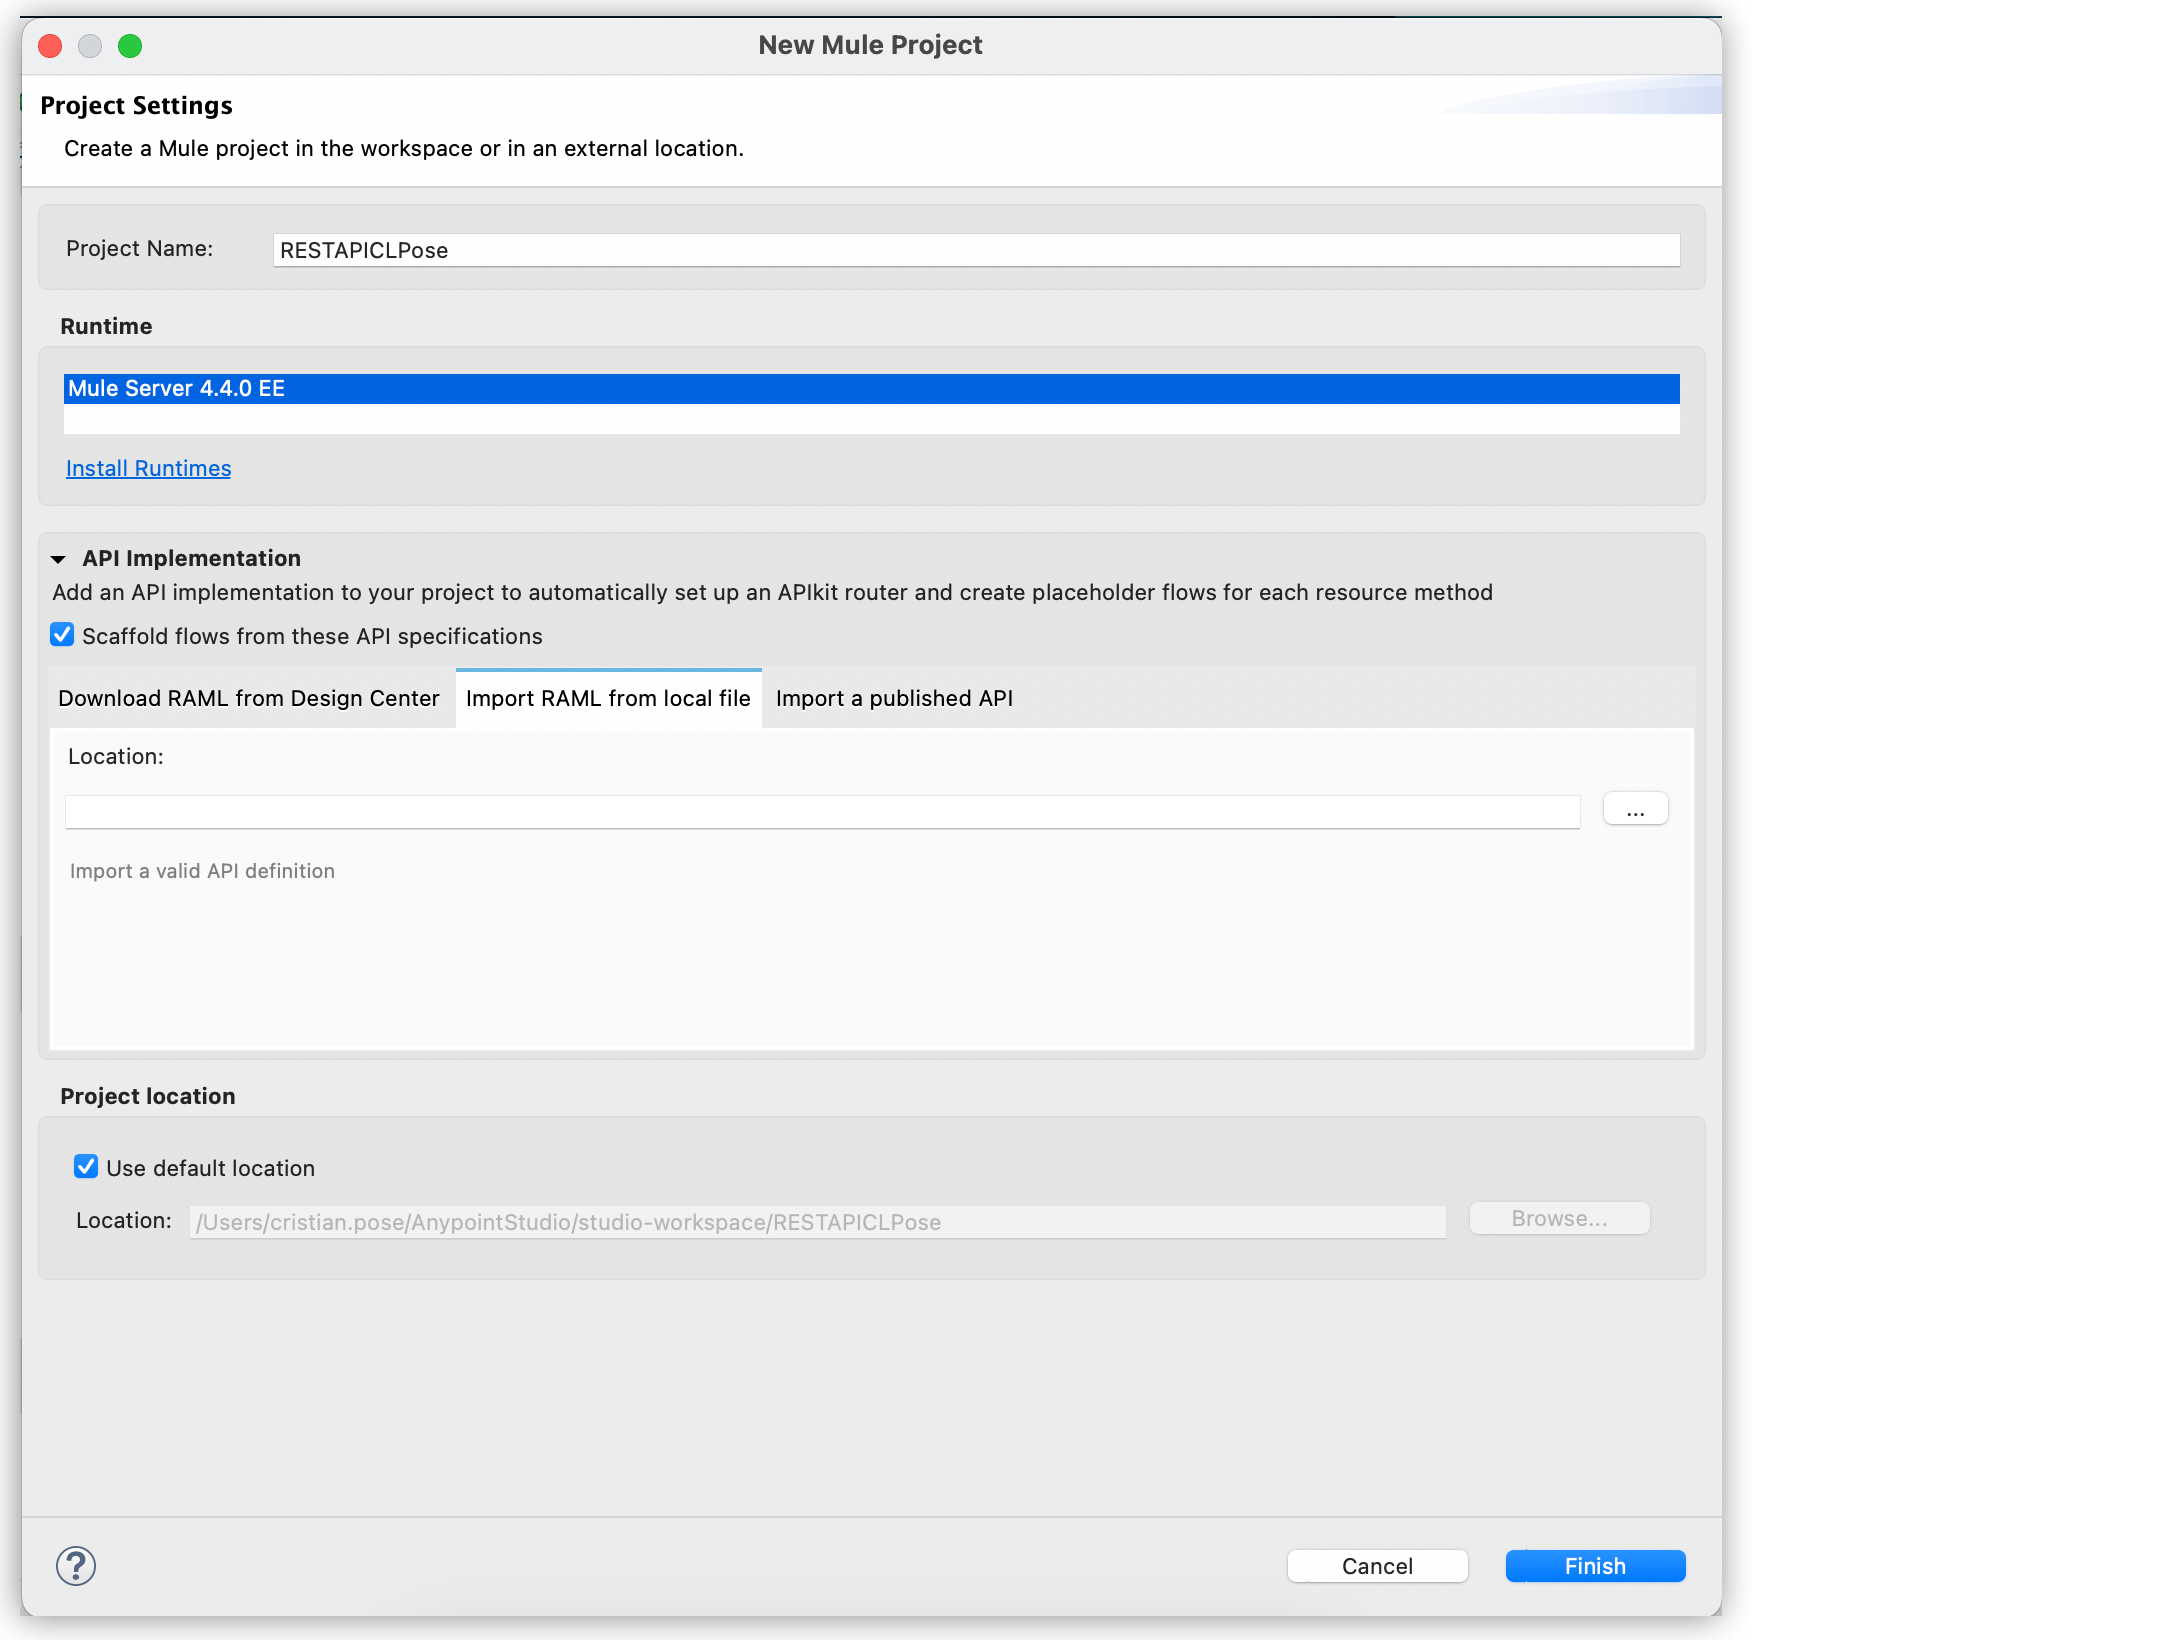
If you are importing your API specification from a local file in your file system, select Import RAML from Local File.
-
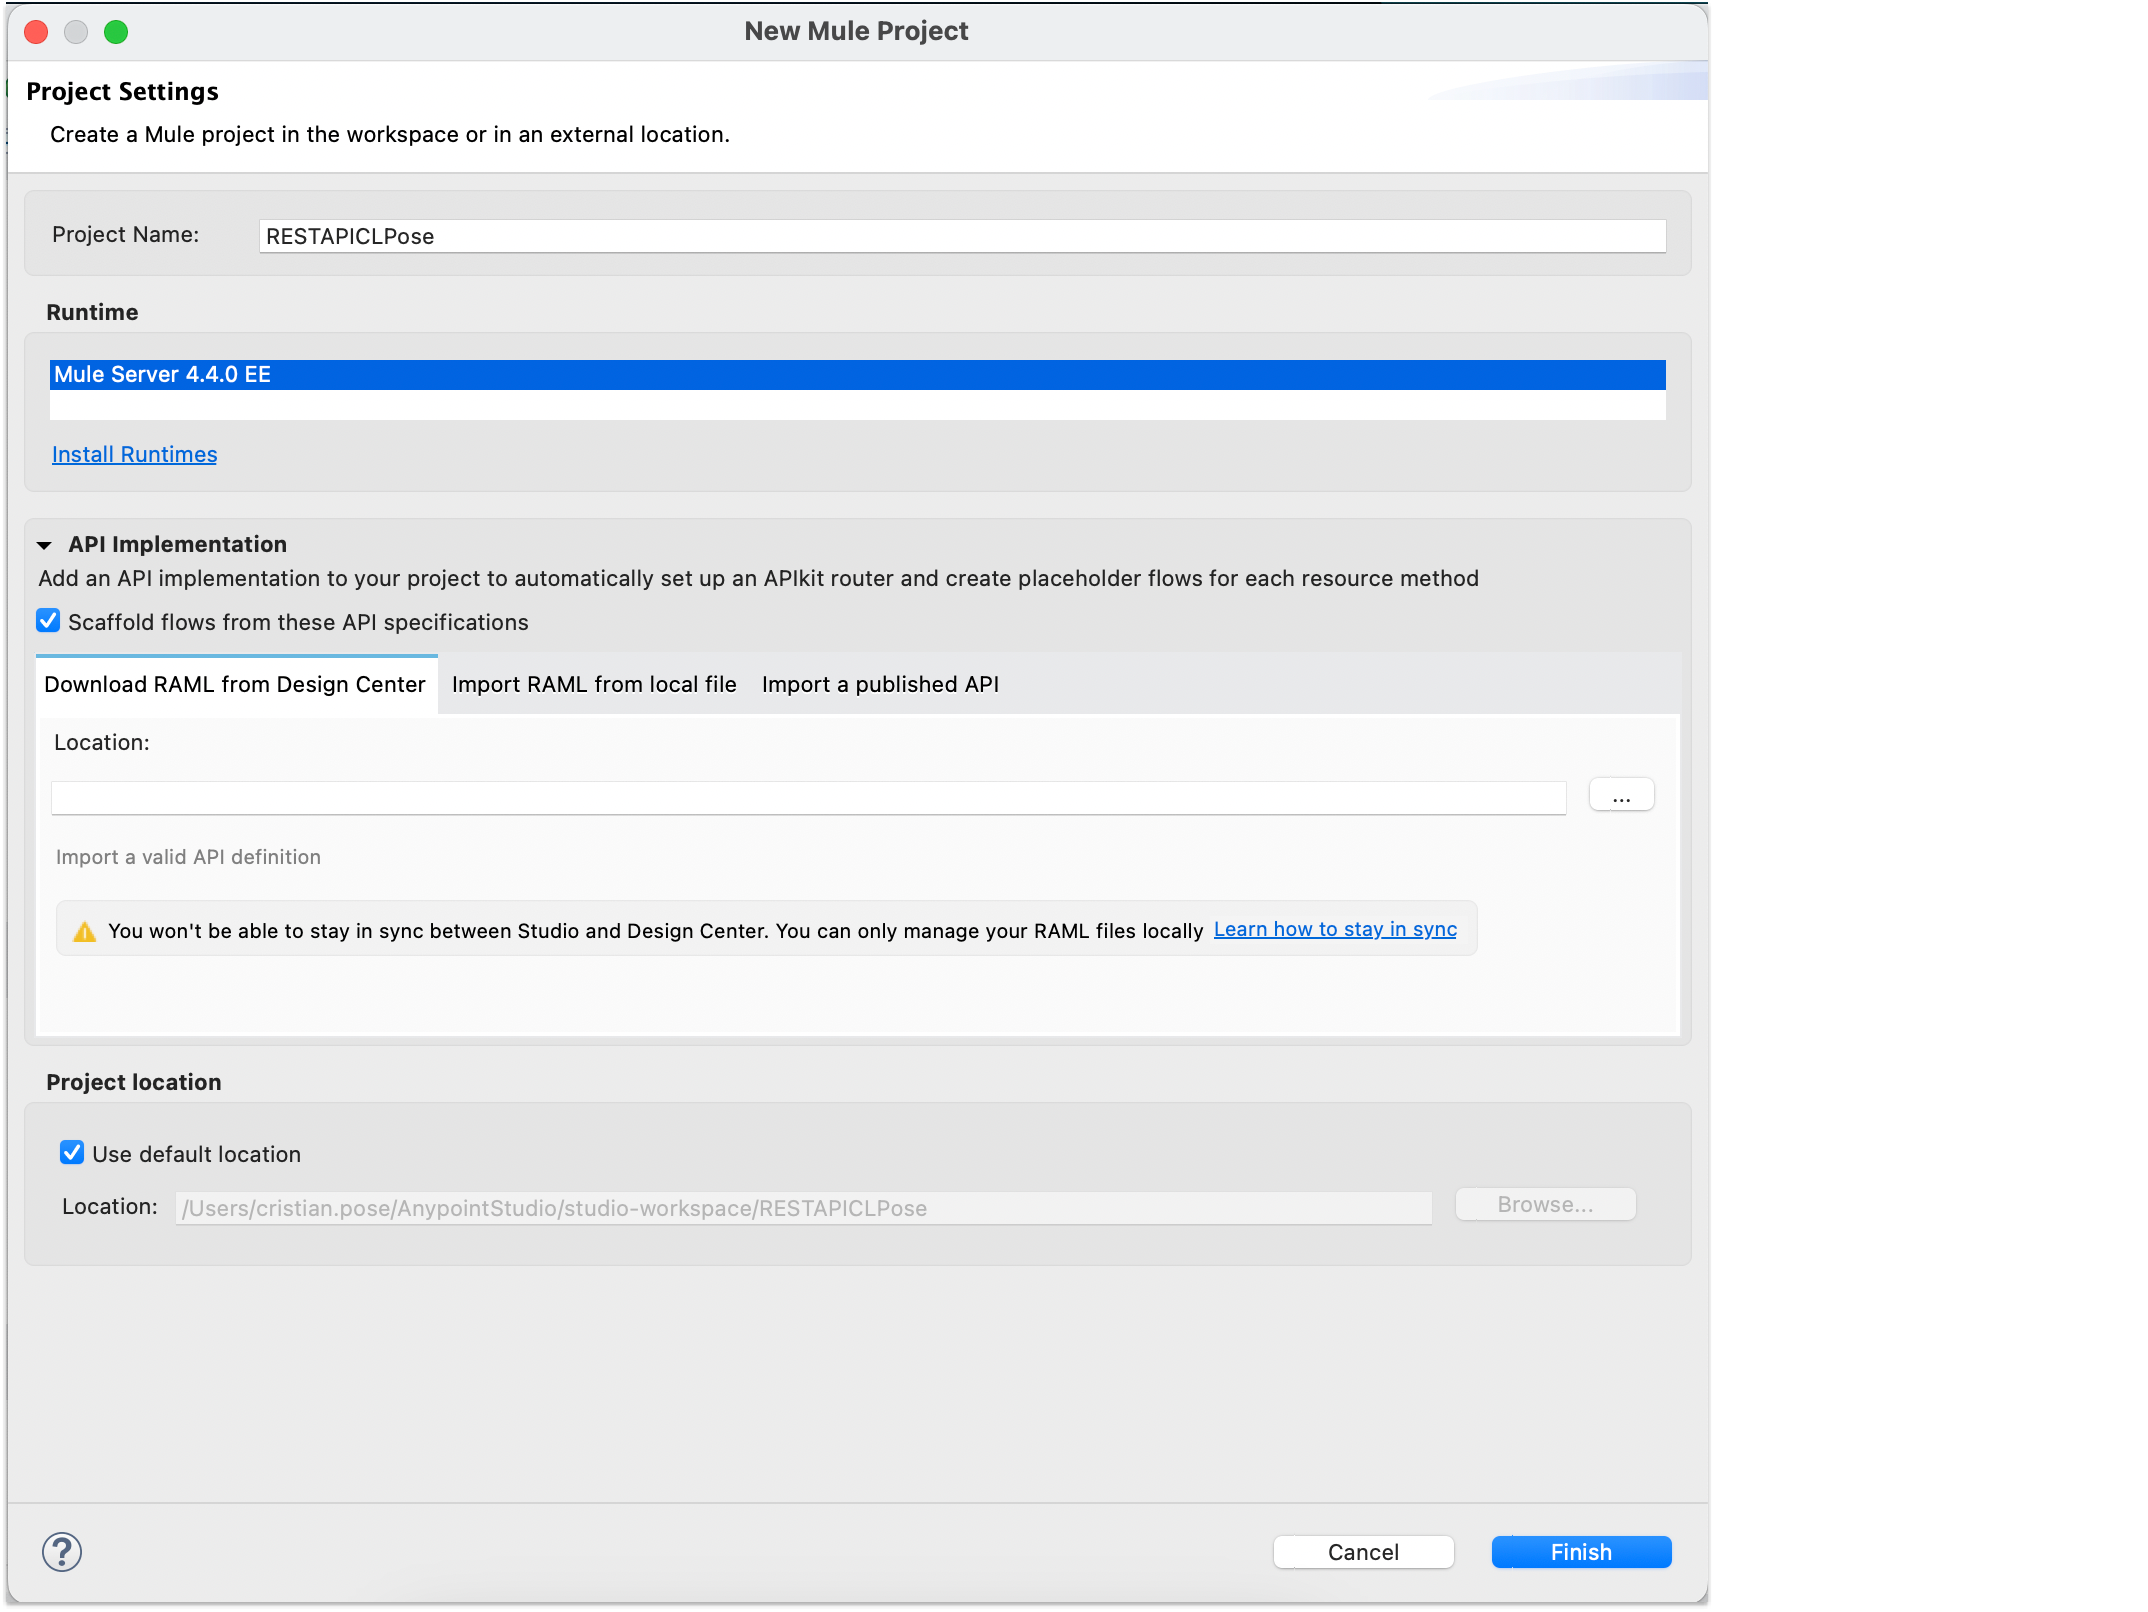
If you are importing your API specification from Design Center, select Download RAML from Design Center.
-
-
Select Scaffold flows from these API specifications if not already selected.
-
Click Finish.
APIkit generates the necessary flows based on the API specification you imported.
-
Run your APIkit project by clicking Run > Run As > Mule Application.
Simulate API Calls
-
In Anypoint Studio, locate the APIkit Consoles view and click Open console under the base point URL
http://localhost:8081/console/.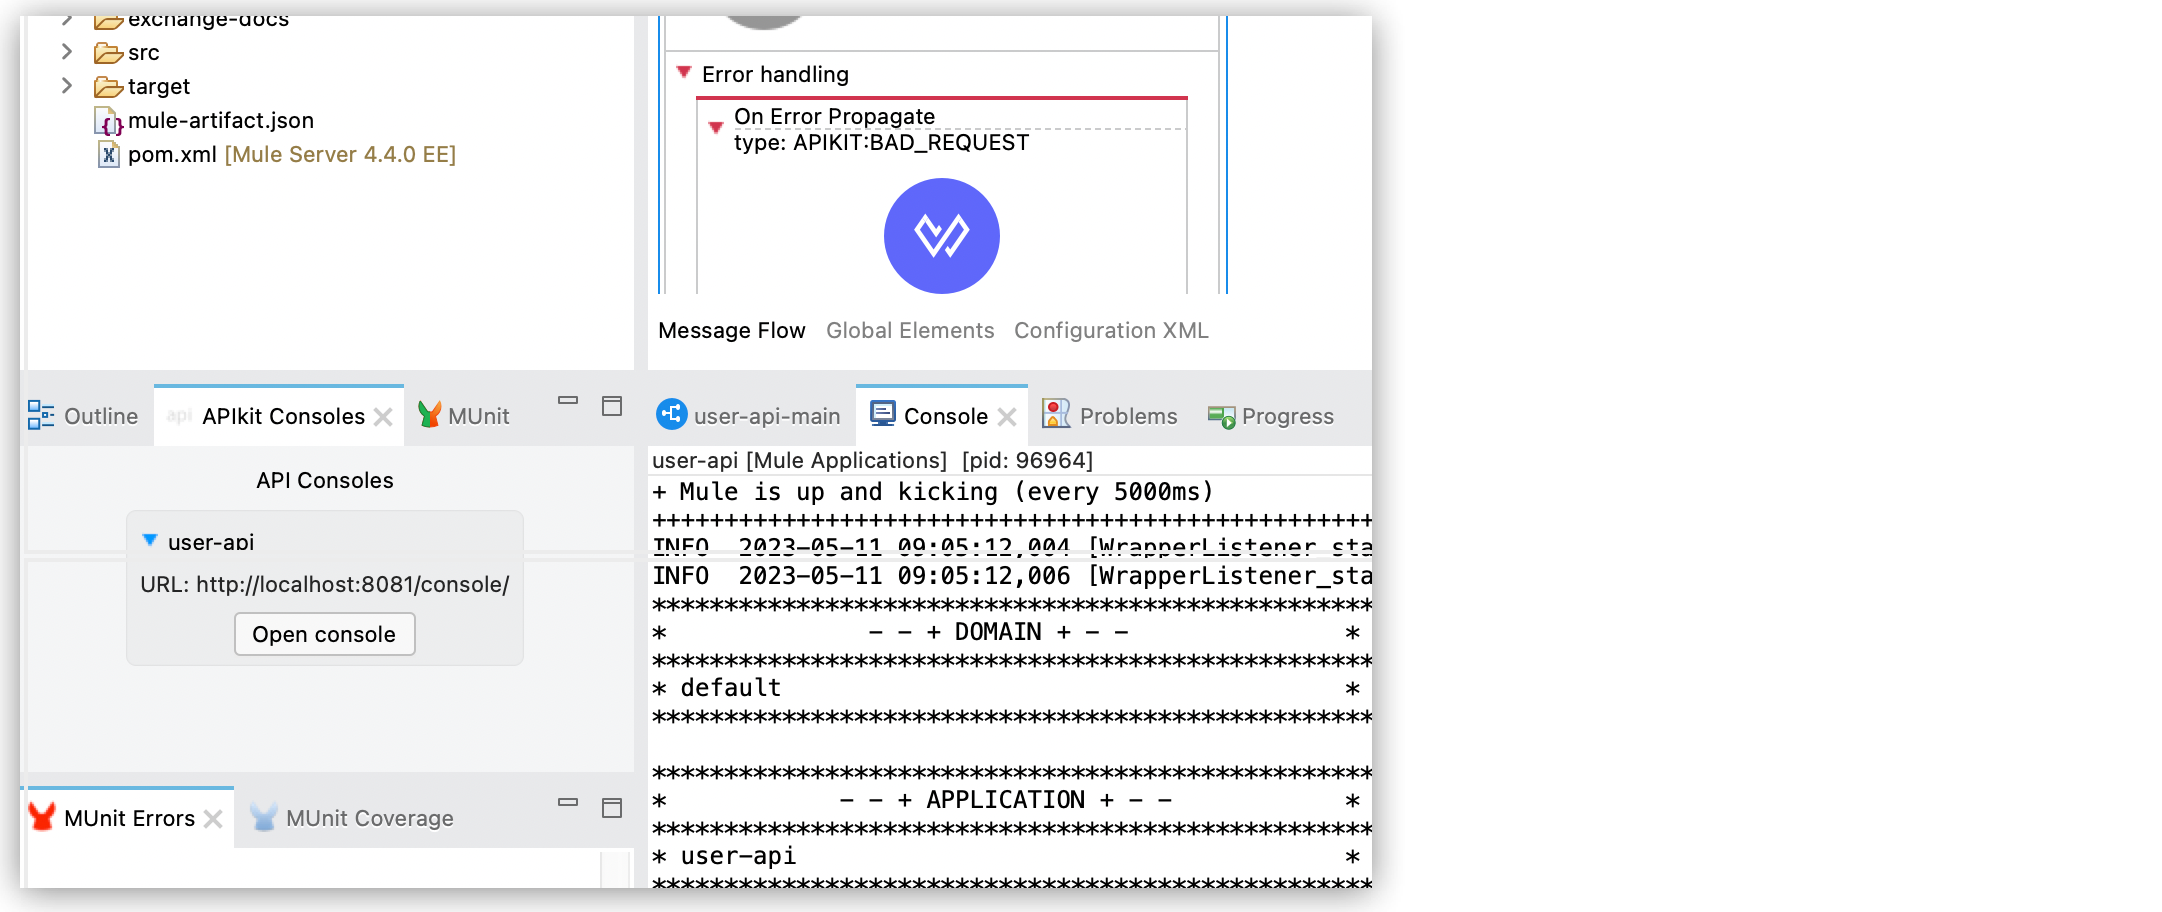
-
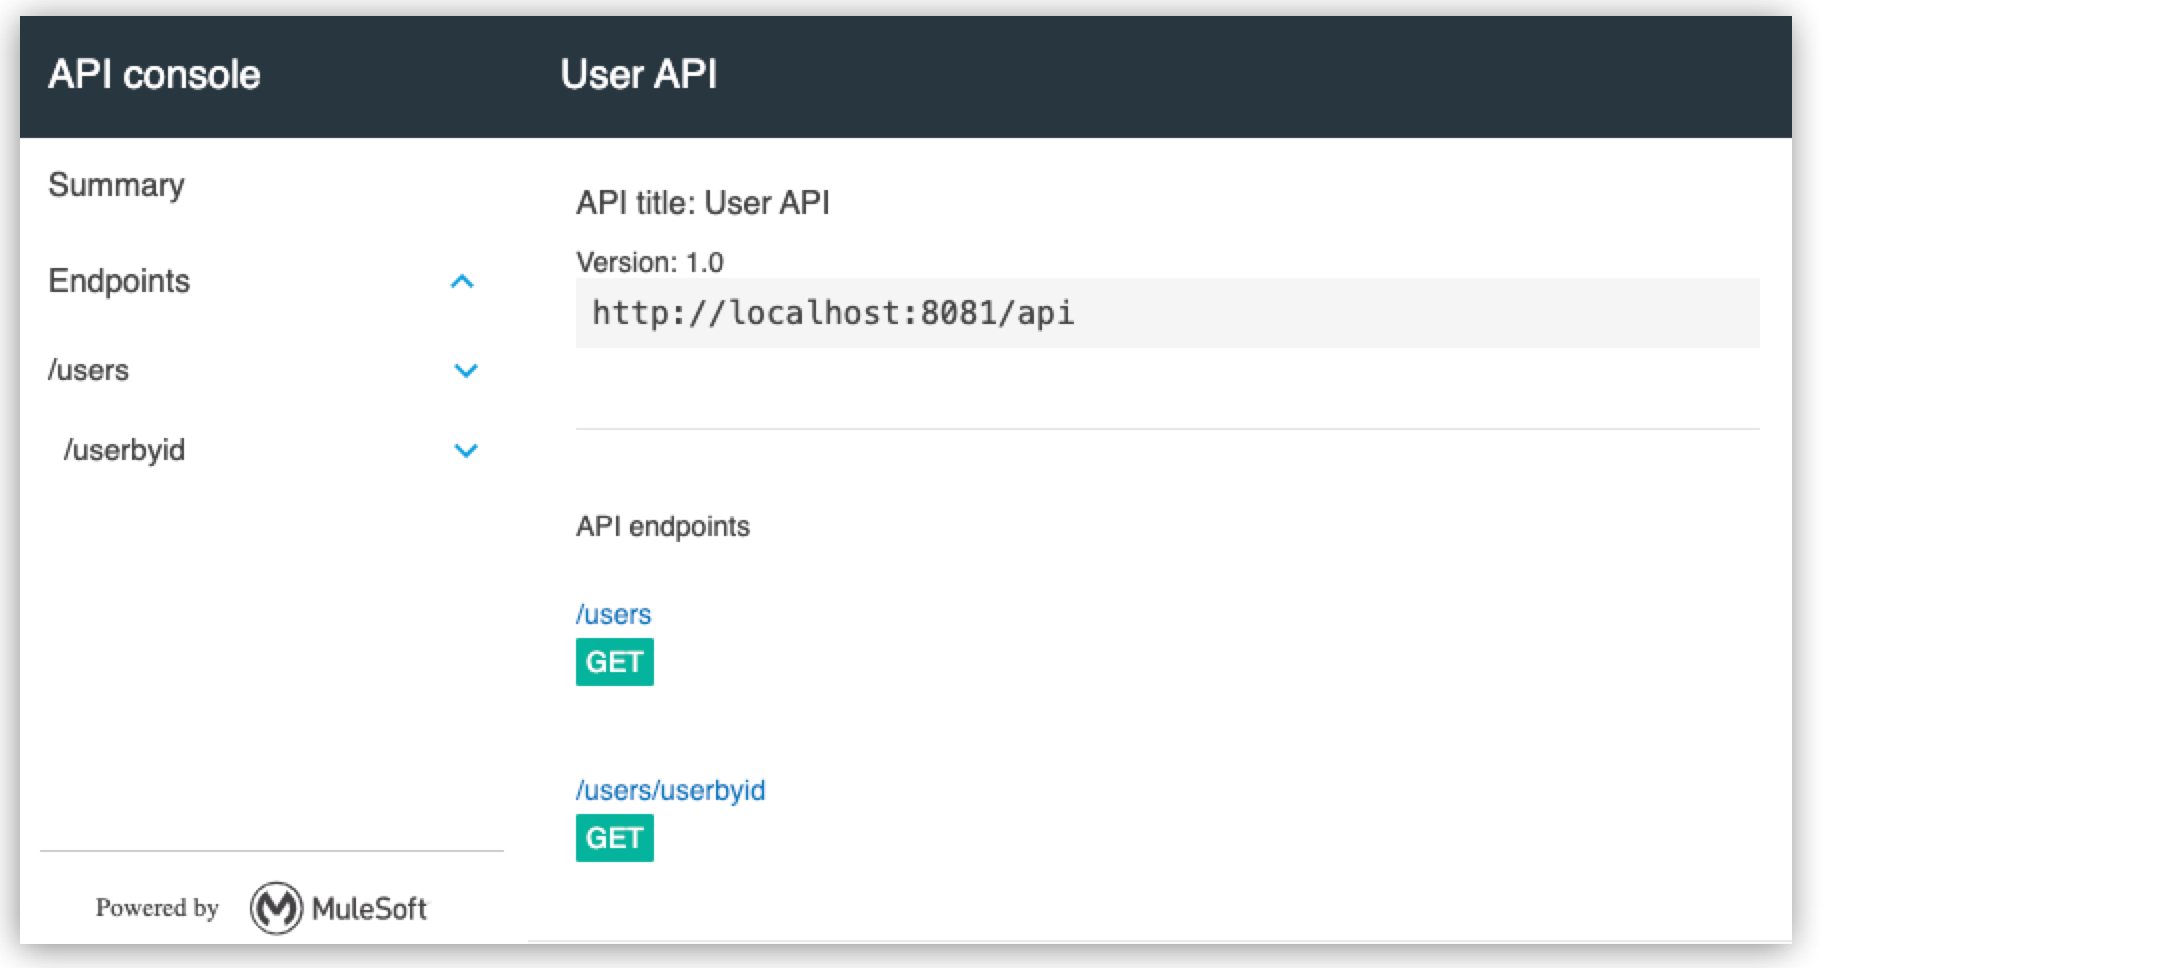
Your default browser opens. The API Console shows the API summary and information about the project, such as the title, version, and supported protocols.
-
In API Summary, select
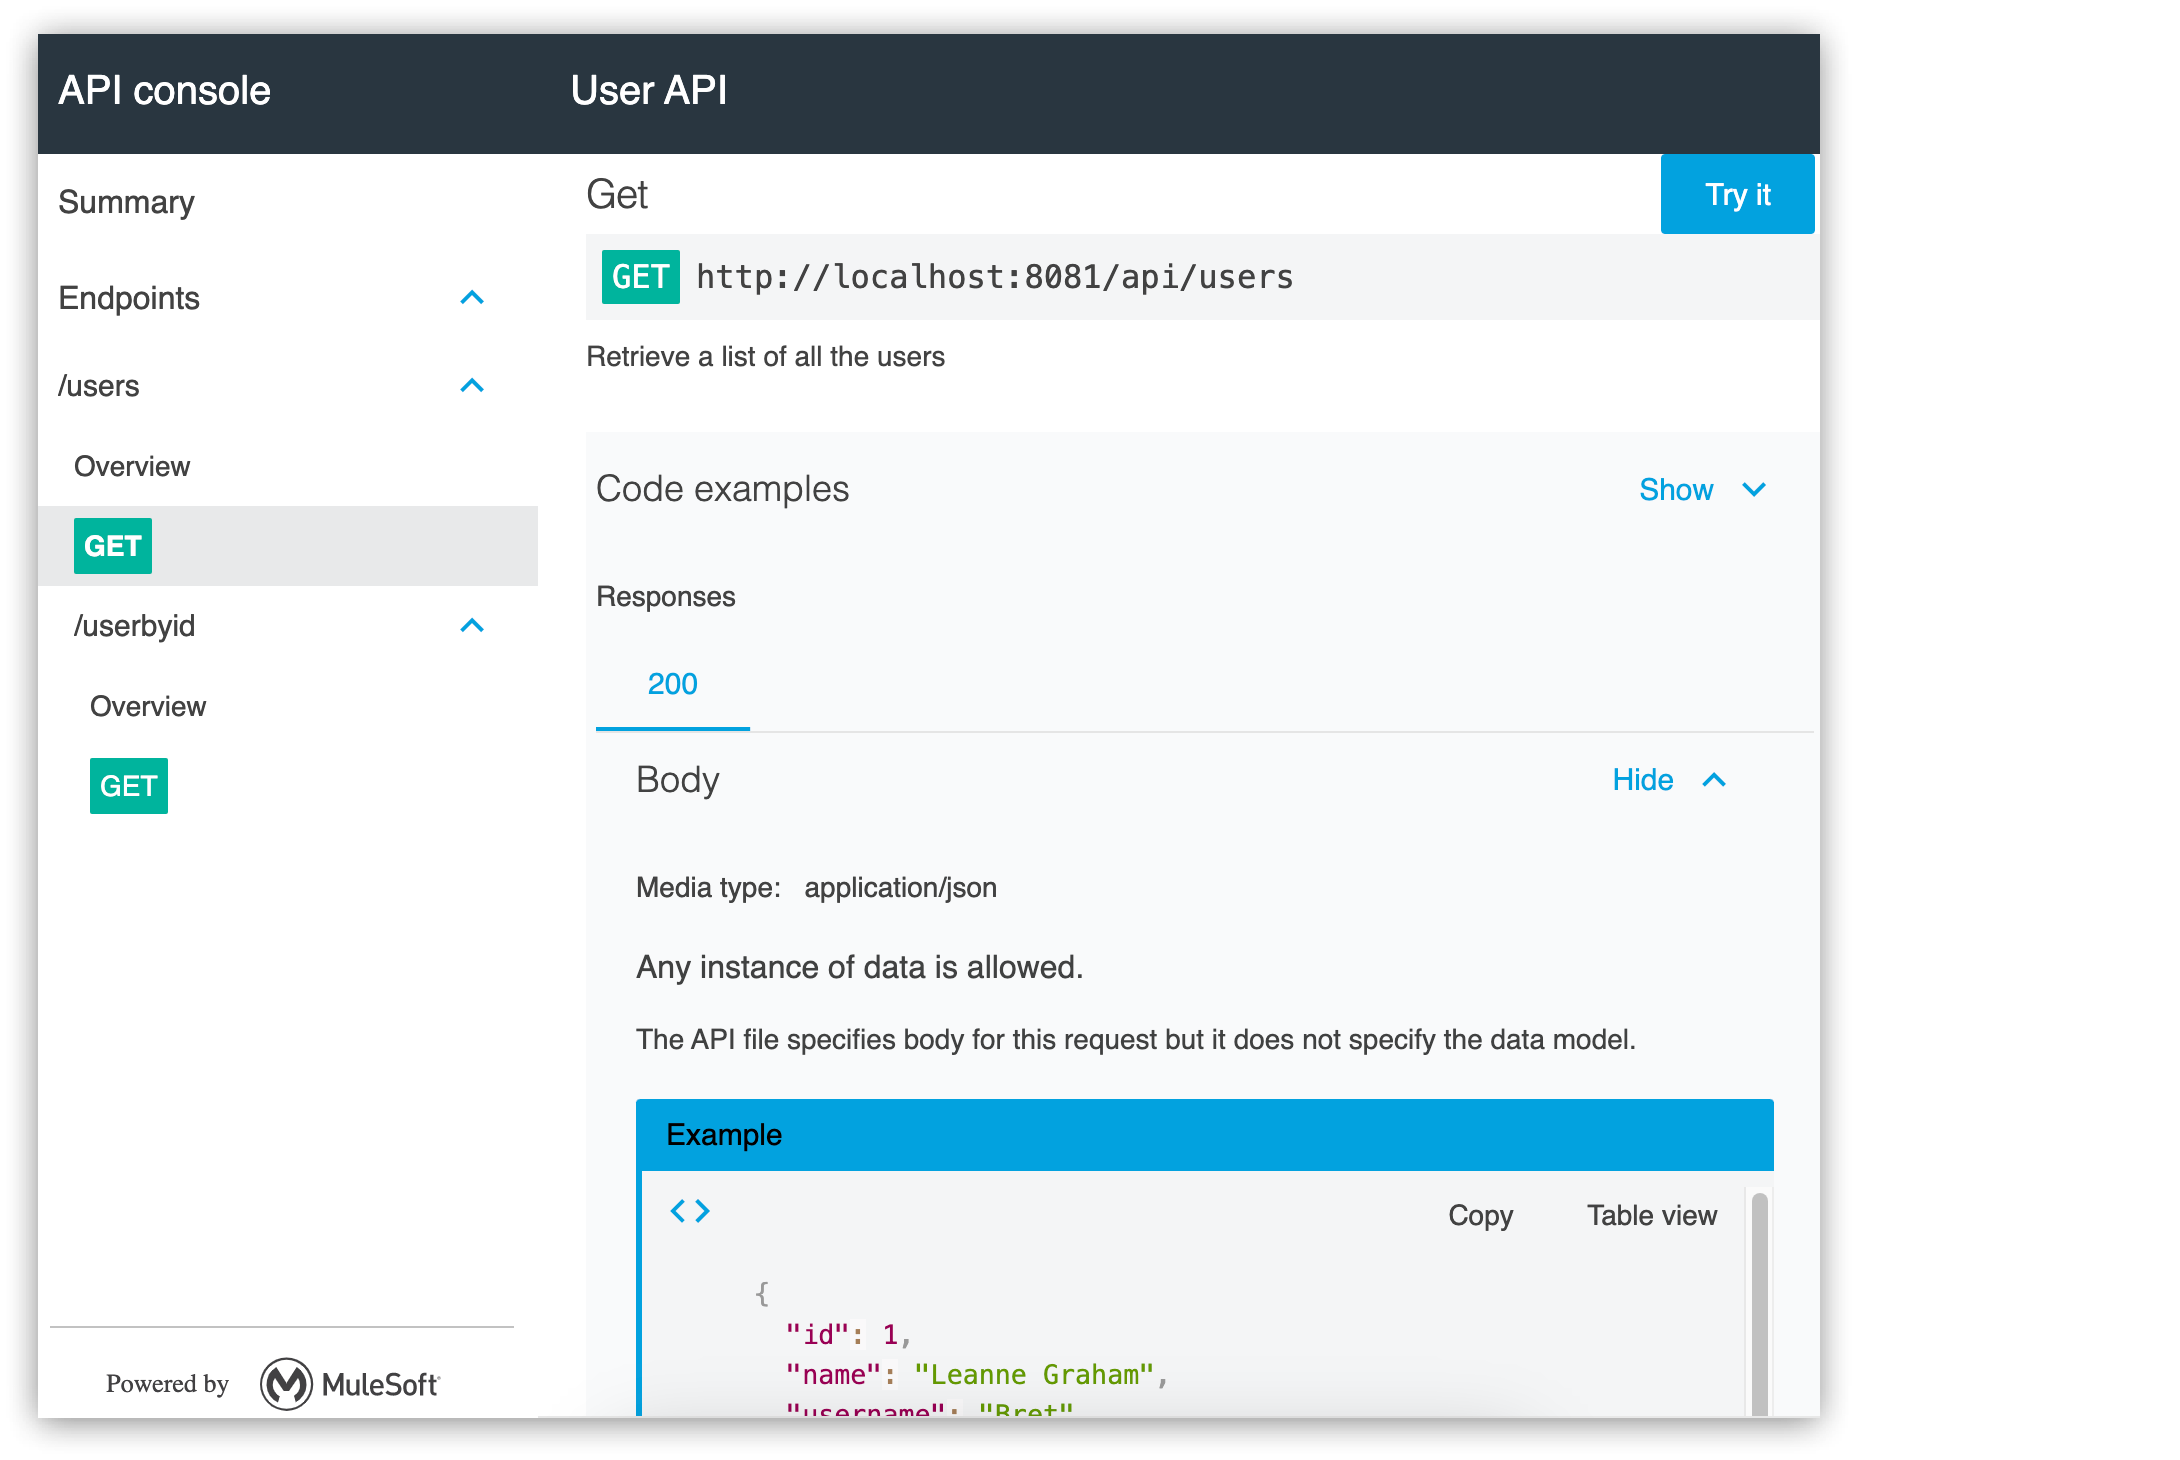
GETfor the/usersresource.It opens a detail page of the resource showing, among others, the expected JSON example for an HTTP 200 response.
-
In API Summary, expand
/userbyid. -
Select
GETfor the/usersbyidresource. -
Click
Try itto expand the view for sending a request.The API Console displays a section to add parameters and headers to try a request.
-
Select Show optional parameters if not selected.
-
Type
3as a query parameter value for the id parameter and clickSend.An HTTP 200 response confirms the successful request for the
/usersbyidresource, which contains user information for the user with ID 3. This response also includes the body with a JSON example.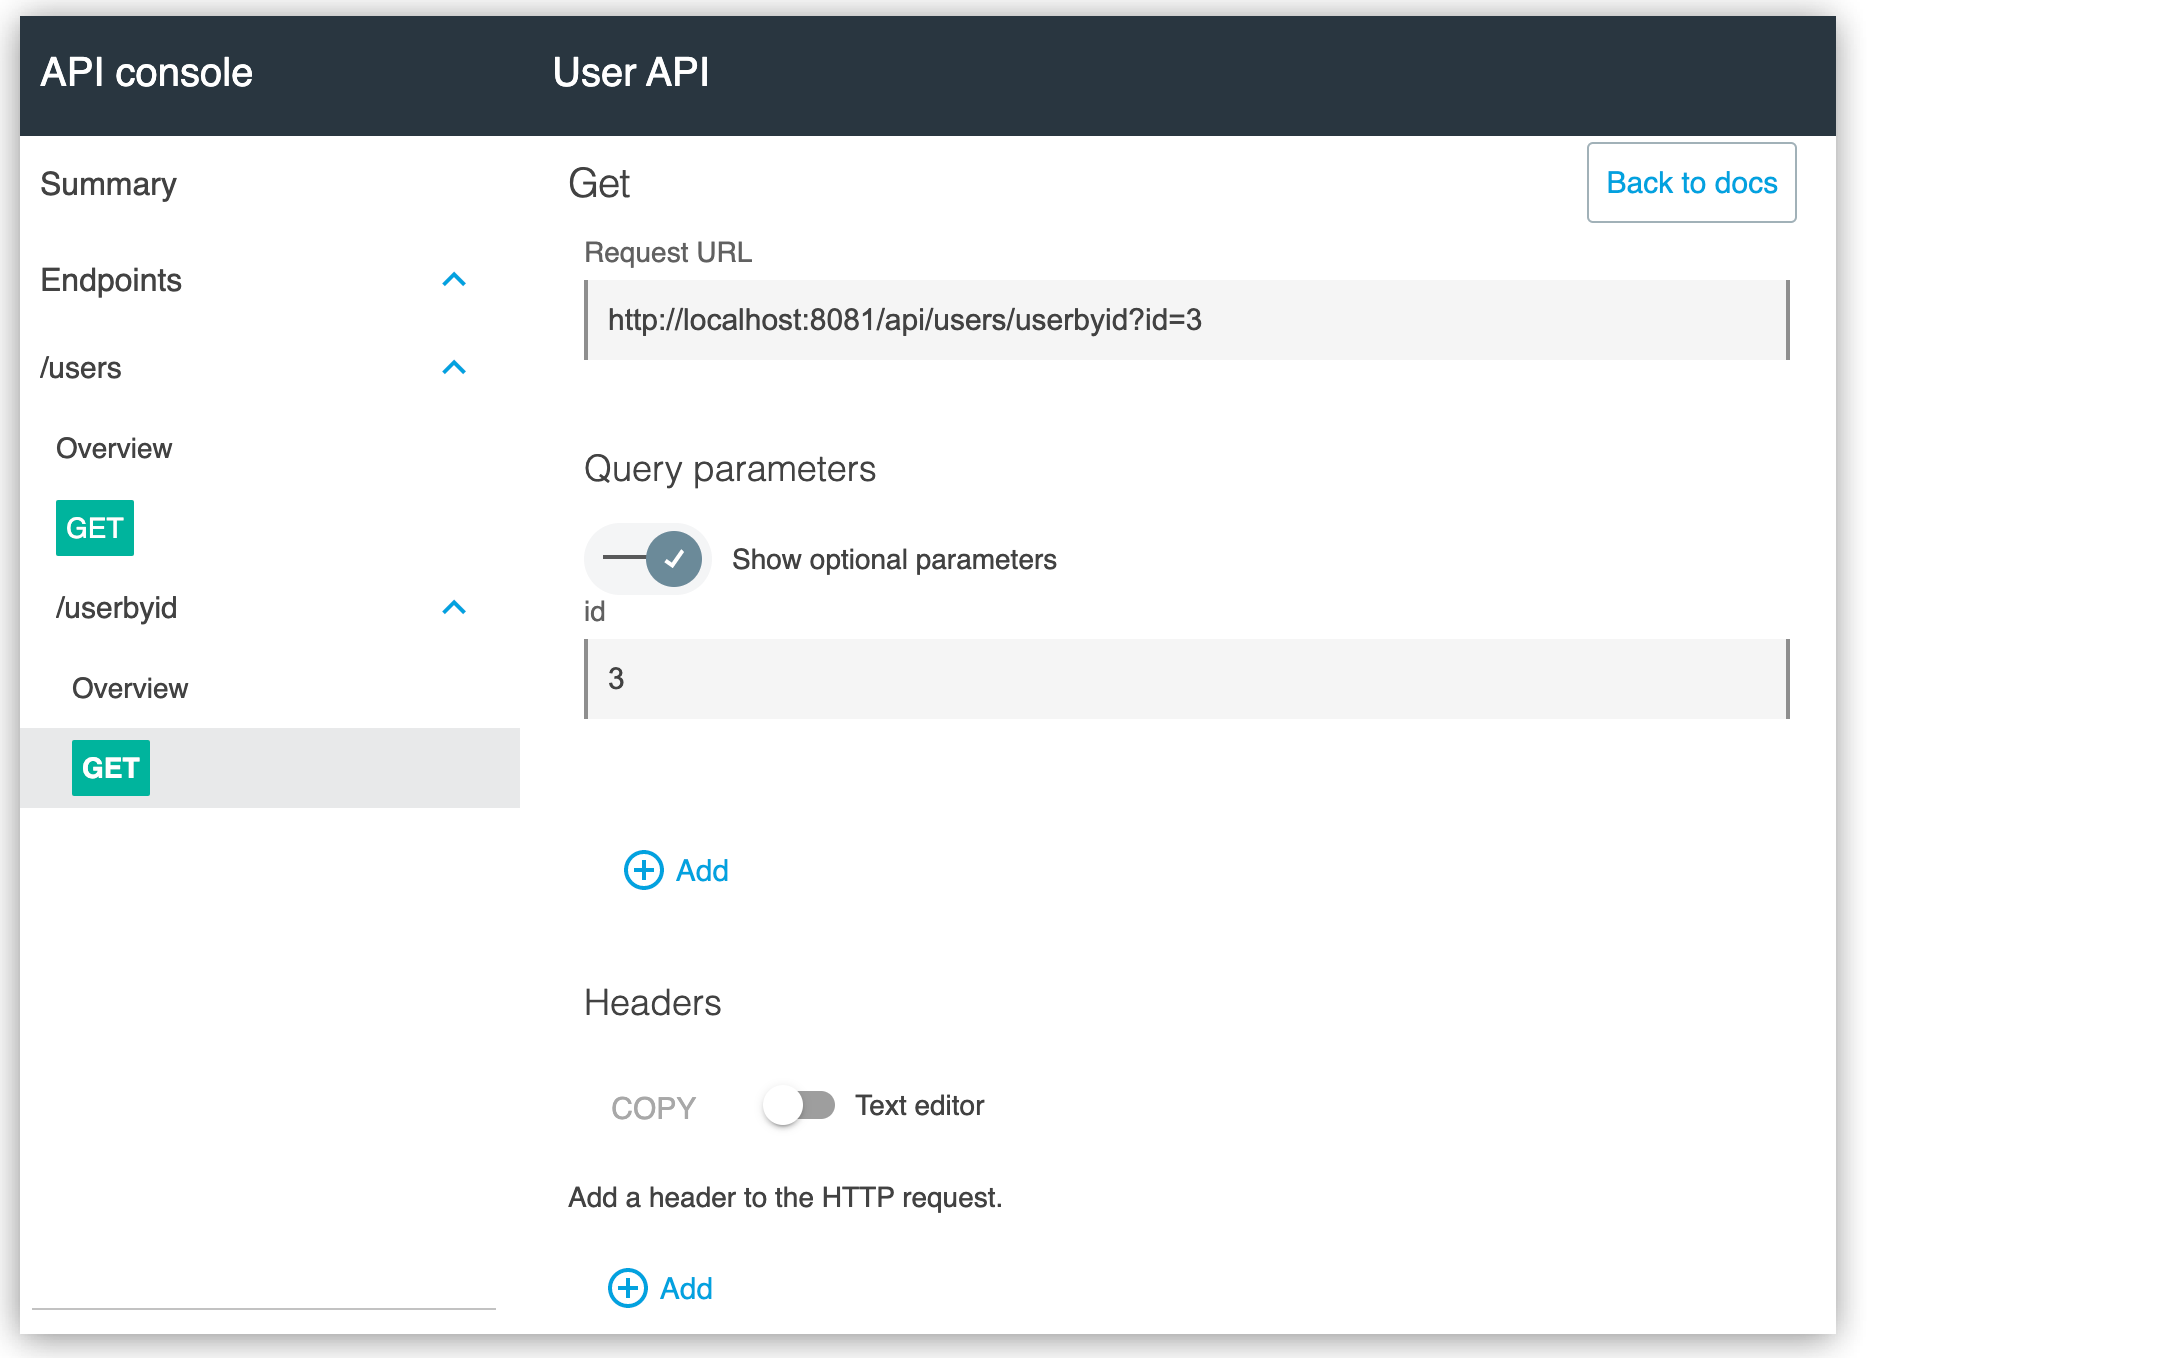
Add Business Logic to Your API Implementation
Modify the flows to return actual data from the JSON Placeholder service instead of the examples from the API.
-
Drag a new Flow component from the Mule Palette.
-
Rename the new flow as
user_request_flow. -
Drag an HTTP Request component to the flow process.
-
In the properties editor of Request, in General, set the following HTTP request options:
-
In Method, leave the default
GET. -
In Path, set to
/users. -
On Query Parameters, select Switch to expression mode and paste the following DataWeave script:
output application/java
---
if (not isEmpty(attributes.queryParams))
{
	id : attributes.queryParams.id
}
else
{}
-
-
Delete Transform Message component in
get:\users:api-configandget:\users\userbyid:api-configflows. -
Drag one Flow Reference for each flow in replacement of the removed Transform Message components.
-
In the properties editor of Flow Reference components, set flow name as
user_request_flow. -
Save changes.
Test Your API Implementation
-
In Package Explorer, right-click the project name and choose Run As > Mule Application.
-
Open a browser and go to
http://localhost:8081/api/users.The user information from the JSON Placeholder service is returned:
[ { "id": 1, "name": "Leanne Graham", "username": "Bret", "email": "Sincere@april.biz", "address": { "street": "Kulas Light", "suite": "Apt. 556", "city": "Gwenborough", "zipcode": "92998-3874", "geo": { "lat": "-37.3159", "lng": "81.1496" ... { "id": 10, "name": "Clementina DuBuque", "username": "Moriah.Stanton", "email": "Rey.Padberg@karina.biz", "address": { "street": "Kattie Turnpike", "suite": "Suite 198", "city": "Lebsackbury", "zipcode": "31428-2261", "geo": { "lat": "-38.2386", "lng": "57.2232" } ... ] -
Get information about the user having ID = 4 by going to
http://localhost:8081/api/users/userbyid?id=4.[ { "id": 4, "name": "Patricia Lebsack", "username": "Karianne", "email": "Julianne.OConner@kory.org", "address": { "street": "Hoeger Mall", "suite": "Apt. 692", "city": "South Elvis", "zipcode": "53919-4257", "geo": { "lat": "29.4572", "lng": "-164.2990" } }, "phone": "493-170-9623 x156", "website": "kale.biz", "company": { "name": "Robel-Corkery", "catchPhrase": "Multi-tiered zero tolerance productivity", "bs": "transition cutting-edge web services" } } ]
Your REST API creation, implementation, and testing are complete.


