Using Anypoint Studio to Configure Scripting Module
Anypoint Studio (Studio) editors help you design and update your Mule applications, properties, and configuration files.
To add and configure Scripting module in Studio:
When you run the connector, you can view the app log to check for problems, as described in View the App Log.
If you are new to configuring connectors in Studio, see Using Anypoint Studio to Configure a Connector. If, after reading this topic, you need additional information about the module fields, see the Scripting Module Reference.
Create a Mule Project
In Studio, create a new Mule project in which to add and configure the module:
-
In Studio, from the main menu, select File > New > Mule Project.
-
Enter a name for your Mule project and click Finish.
Add the Module to Your Mule Project
Add Scripting module to a Mule project to automatically populate the XML code with the module’s namespace and schema location, as well as add the required dependencies to the project’s pom.xml file:
-
In the Mule Palette view, click (X) Search in Exchange.
-
In Add Modules to Project, type
scripting modulein the search field. -
Click Scripting module in Available modules.
-
Click Add.
-
Click Finish.
Adding a module to a Mule project in Studio does not make that module available to other projects in your Studio workspace.
Configure an Input Source
A source initiates a flow when a specified condition is met. You can configure one of these input sources to use with the Scripting module:
-
HTTP Listener, which initiates a flow each time it receives a request on the configured host and port -
Scheduler, which initiates a flow when a time-based condition is met
For example, to configure HTTP Listener, follow these steps:
-
In the Mule Palette view, select HTTP > Listener.
-
Drag Listener to the Studio canvas.
-
On the Listener configuration screen, optionally change the value of the Display Name field.
-
Specify a value for the Path field.
-
Click the plus sign (+) next to the Connector configuration field to configure a global element that can be used by all instances of
HTTP Listenerin the app. -
On the General tab, specify connection information.
-
On the TLS tab, optionally specify TLS information.
-
On the Advanced tab, optionally specify reconnection information, including a reconnection strategy.
-
Click Test Connection to confirm that Mule can connect with the specific server.
-
Click OK.
Add the Execute Operation to the Flow
When you add a module operation to your flow, you immediately define a specific operation for that module to perform.
To add the Execute operation for Scripting module, follow these steps:
-
In the Mule Palette view, select Scripting module and then select Execute.
-
Drag the Execute operation onto the Studio canvas to the right of the source.
-
Click Execute to open the Execute configuration tab.
-
Use one of the following two options to install and configure a
jsr-223-compliant engine:-
In the Required Libraries section, click Configure… and select one of the following options to search and install the engine:
-
Add recommended libraries
Install the Groovy engine as recommended. This option appears only if you did not previously install Groovy. -
Use local file
Browse a local file for the required engine library and install it. -
Add Maven dependency
Browse the engine dependency and install it.
-
-
In the
pom.xmlfile, manually add the engine between:-
<sharedLibraries>tags under the<configuration>section -
<dependency>tags under the<dependencies>section
-
-
-
In the General section of the Execute tab, click the refresh button to update the engine values list for the operation.
-
In Engine, select the installed engine.
-
Provide your script code in the Code text box.
Additionally, you can load script code from an external file by using a file configuration property.
In Studio, configuring the Jython engine looks like this:

In the pom.xml file, manually adding the Jython engine looks like this:
<build>
	<plugins>
		<plugin>
			<groupId>org.apache.maven.plugins</groupId>
			<artifactId>maven-clean-plugin</artifactId>
			<version>3.0.0</version>
		</plugin>
	  <plugin>
			<groupId>org.mule.tools.maven</groupId>
			<artifactId>mule-maven-plugin</artifactId>
			<version>${mule.maven.plugin.version}</version>
			<extensions>true</extensions>
			<configuration>
				<sharedLibraries>
          <sharedLibrary>
            <groupId>org.python</groupId>
            <artifactId>jython-standalone</artifactId>
          </sharedLibrary>
        </sharedLibraries>
      </configuration>
			</plugin>
		</plugins>
	</build>

<dependencies>
  <dependency>
    <groupId>org.python</groupId>
    <artifactId>jython-standalone</artifactId>
   <version>2.7.2</version>
  </dependency>
</dependencies>
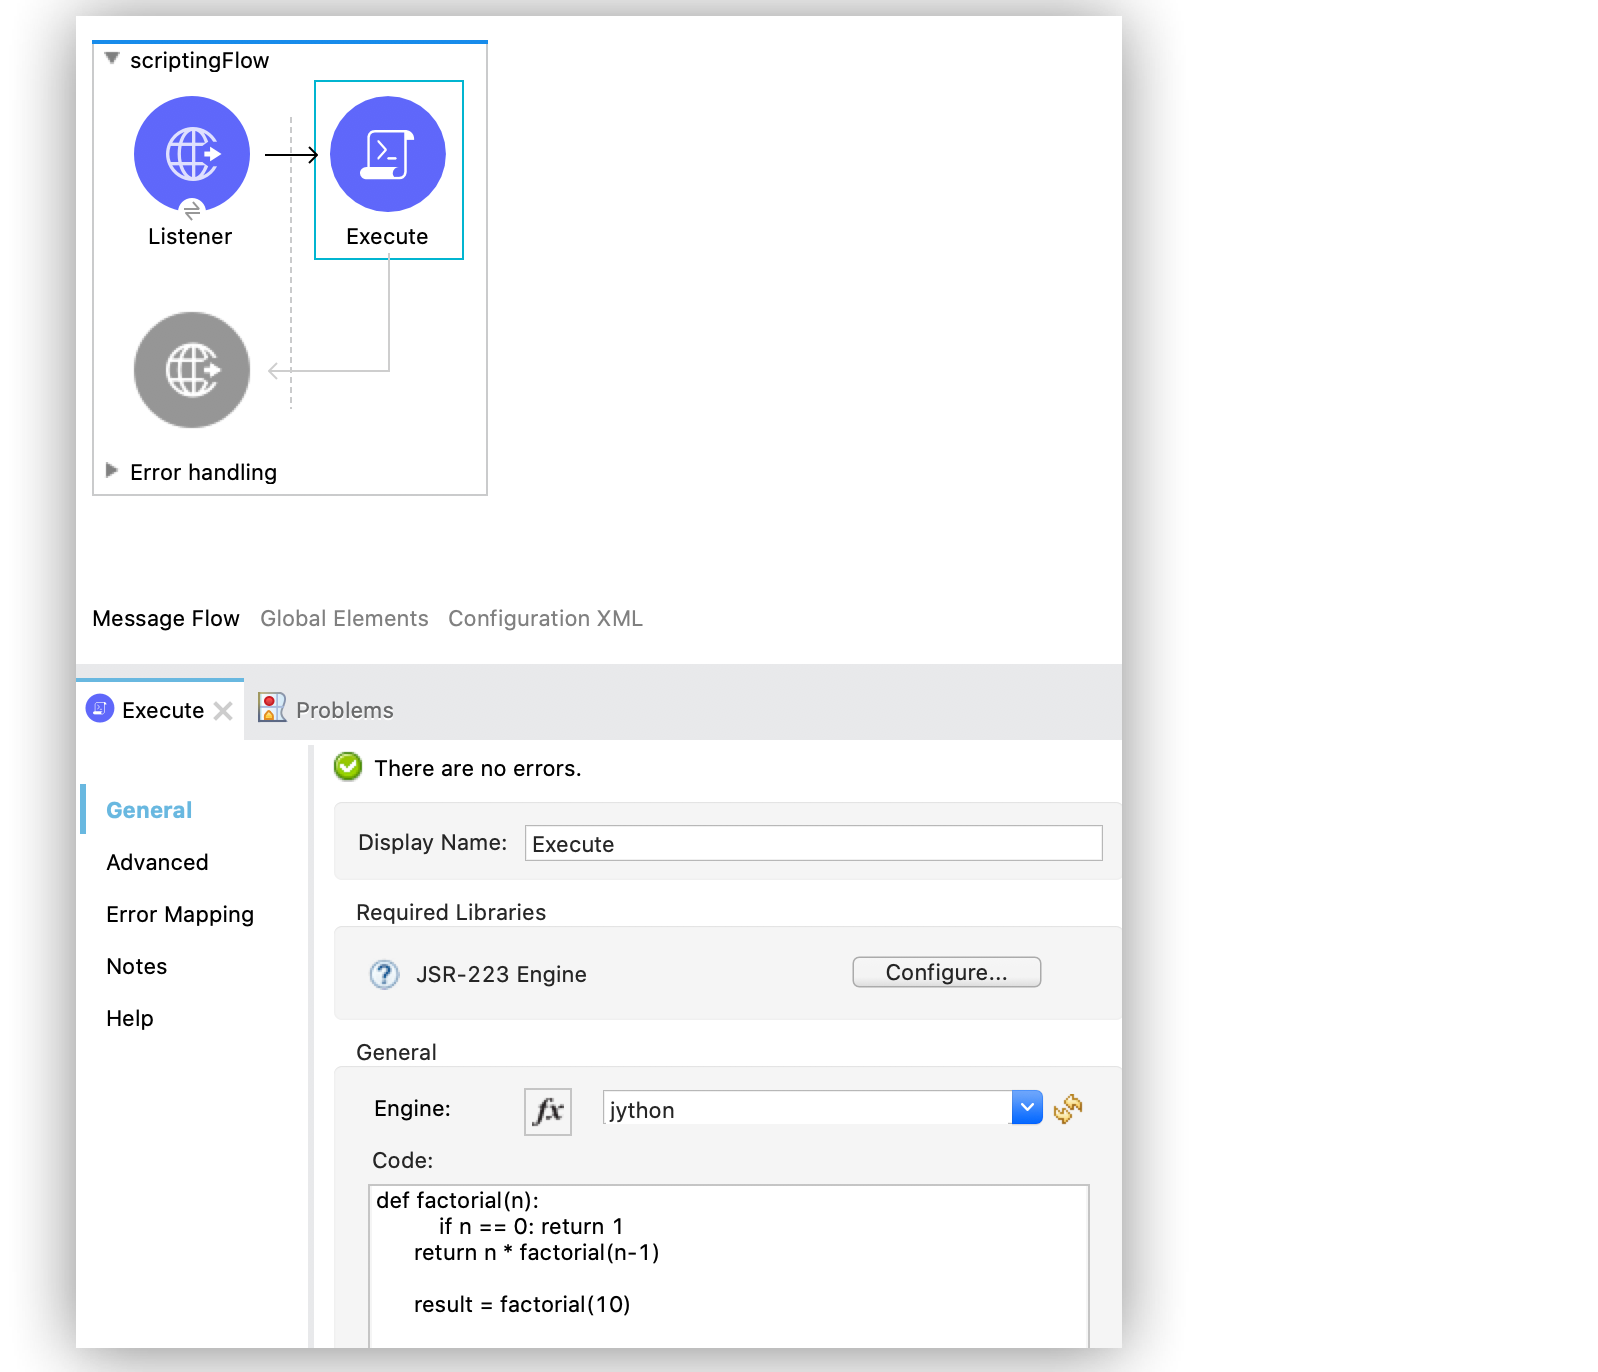
In Studio, the Scripting module configuration with script code looks like this:

In the Configuration XML editor, the XML looks like this:
<scripting:execute engine="python" doc:name="Script">
    <scripting:code>
      def factorial(n):
          if n == 0: return 1
	  return n * factorial(n-1)

      result = factorial(10)
    </scripting:code>
</scripting:execute>
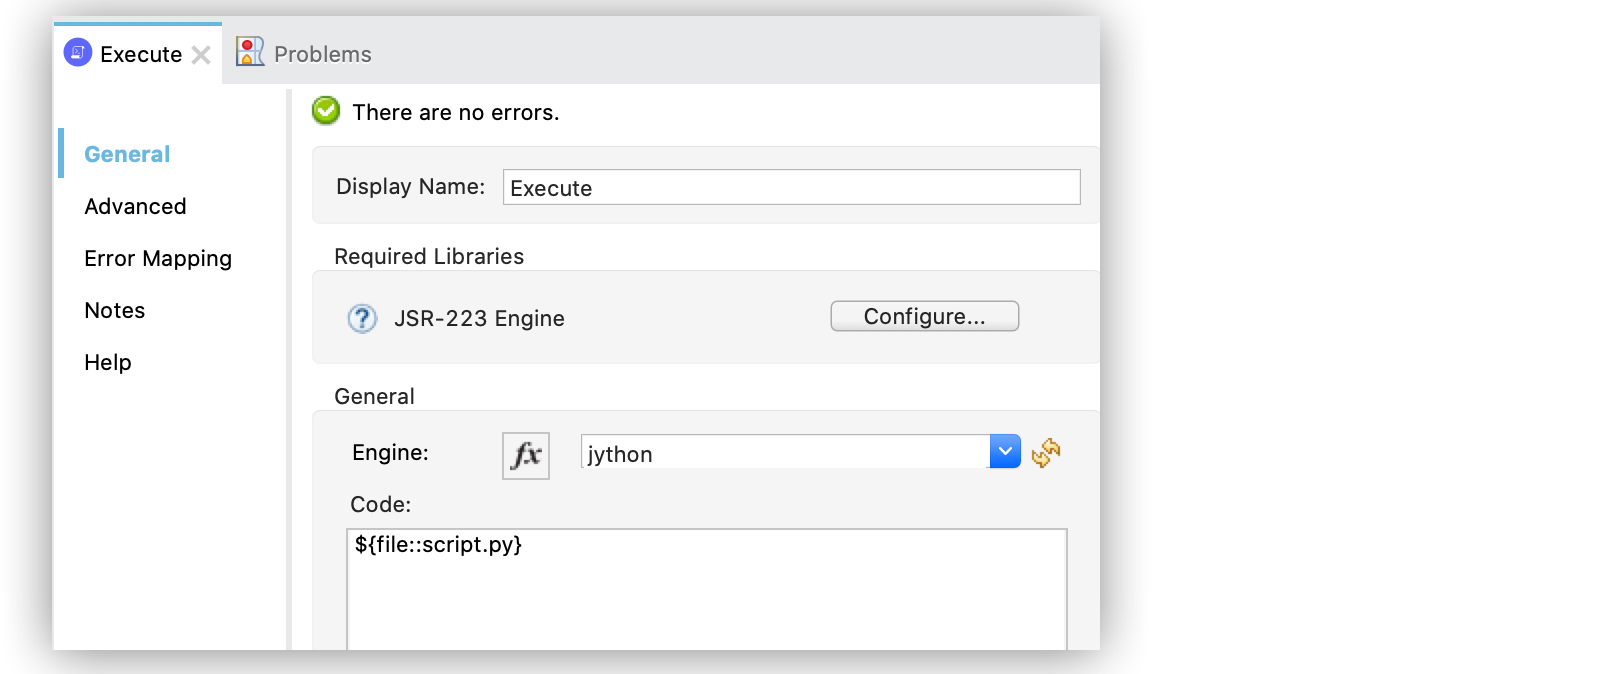
In Studio, the loaded script using an external file looks like this

In the Configuration XML editor, place the script in between <scripting:code> tags, as follows:
<scripting:execute engine="python">
    <scripting:code >${file::script.py}</scripting:code>
</scripting:execute>
Configure Other Module Fields
You can configure other additional fields for the Execute operation, such as Parameters, Target Variable, and Target Value.
Parameters Parameter
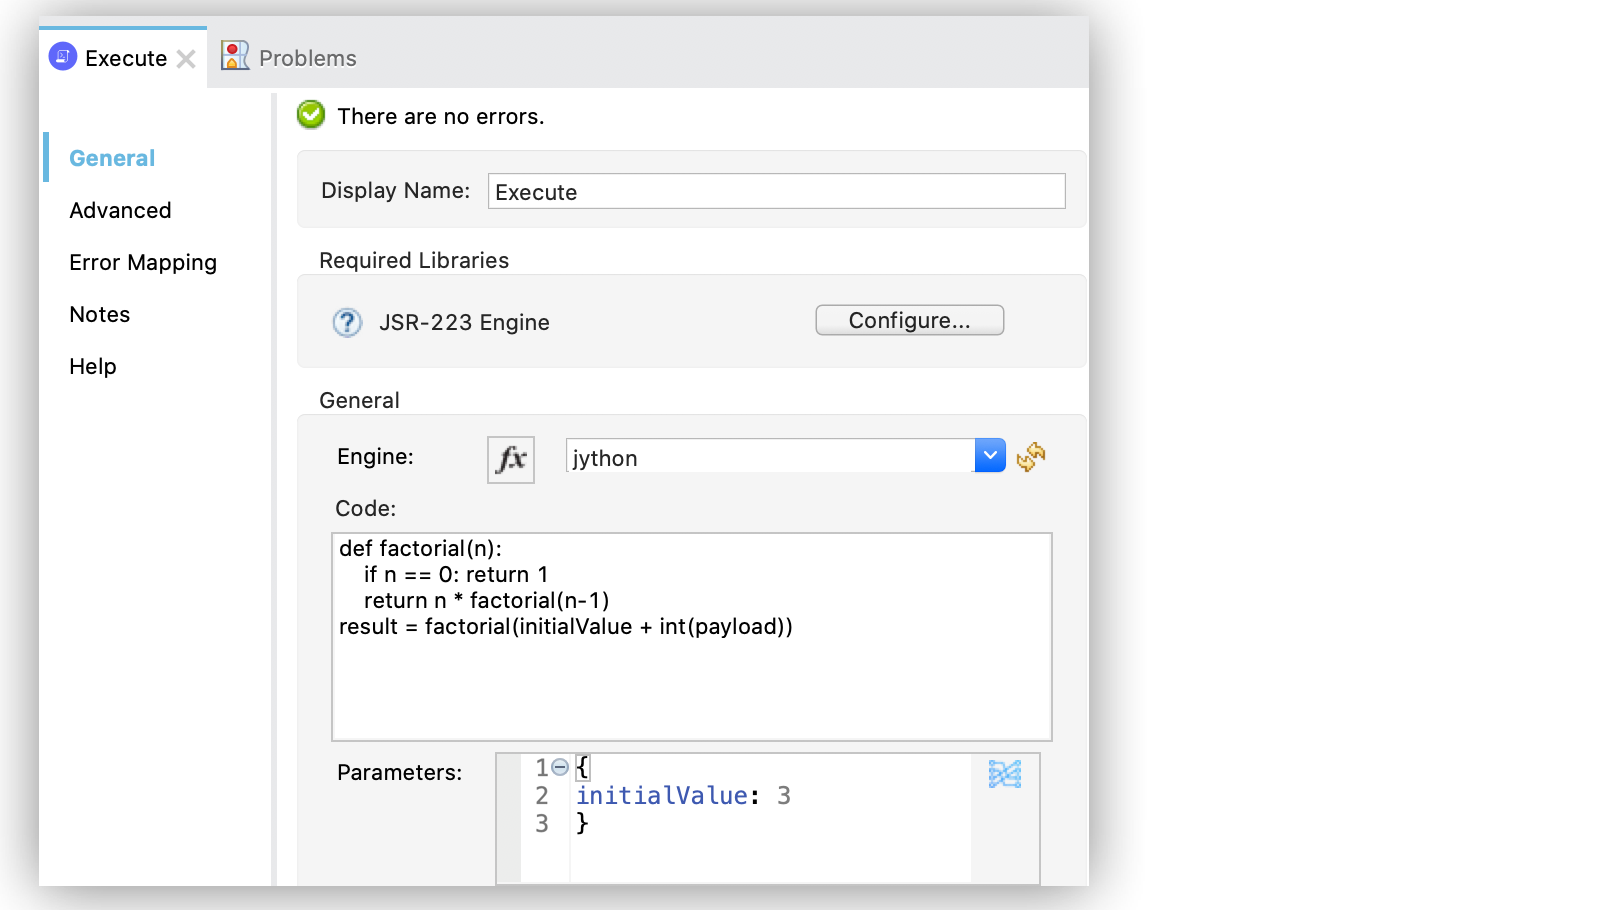
Use the Parameters parameter to define input values for the script to use through DataWeave. For the DataWeave expression to work correctly, you must combine the output types of the parameters, in which keys are strings and values are any object. Reference the parameters by name to use them as binding variables, for example:
factorial(initialValue + int(payload))
To configure this parameter for Scripting module:
-
Select the name of the connector in the Studio canvas.
-
In the General section, add parameter values in the Parameters field.
In Studio, the parameters configuration looks likes this:

In the Configuration XML editor, the XML looks like this:
<scripting:execute engine="python" >
	<scripting:code >def factorial(n):
	if n == 0: return 1
	return n * factorial(n-1)
result = factorial(initialValue + int(payload))</scripting:code>
	<scripting:parameters ><![CDATA[#[{
        initialValue: 3
    }]]]></scripting:parameters>
</scripting:execute>
Target Variable and Target Value
Use the Target Variable parameter to define the name of a variable in which to place the operation’s output, and the Target Value parameter to define an expression to evaluate against the operation’s output. The outcome of that expression is stored in the target variable.
To configure these parameters for Scripting module:
-
Select the name of the connector in the Studio canvas.
-
On the Advanced tab, define Target Variable and Target Value as the target of the scripting execution.
In Studio, the target variable and target value configuration looks like this:

In the Configuration XML editor, the XML looks similar to the following:
<scripting:execute engine="python" target="variableName">
    <scripting:code >${file::script.py}</scripting:code>
</scripting:execute>
View the App Log
To check for problems, you can view the app log as follows:
-
If you’re running the app from Anypoint Studio, the output is visible in the Anypoint Studio console window.
-
If you’re running the app using Mule from the command line, the app log is visible in your OS console.
Unless the log file path is customized in the app’s log file (log4j2.xml), you can also view the app log in the default location MULE_HOME/logs/<app-name>.log.


