
Workday Connector 16.7 Examples
The following examples show how to configure Workday Connector using Anypoint Studio:
Add a Fund to the Workday Financial Management Service
This example uses the Invoke operation to insert a fund in the Workday financial management service.
Configure HTTP Listener
Configure HTTP Listener to initiate a Mule flow when a call is made to the / account path on localhost, port 8081.
This example uses variables for some field values. You can either:
-
Replace the variables with their values in the code.
-
Provide the values for each variable in a properties file and then refer to that file from the connector configuration.
If you don’t know how to use a properties file, see Configuring Property Placeholders.
To configure HTTP Listener:
-
Create a new Mule project in Studio.
-
In the Mule Palette view, search for
httpand select the Listener operation:Select the Listener operation in the Mule Palette view.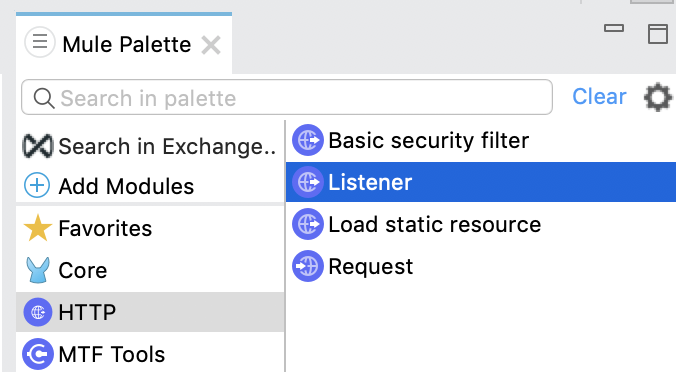
-
Drag the Listener operation onto the canvas.
-
In the Listener configuration, click + next to the Connector configuration field to add a global element.
-
Click OK to accept the defaults.
-
Set the Path field to
/: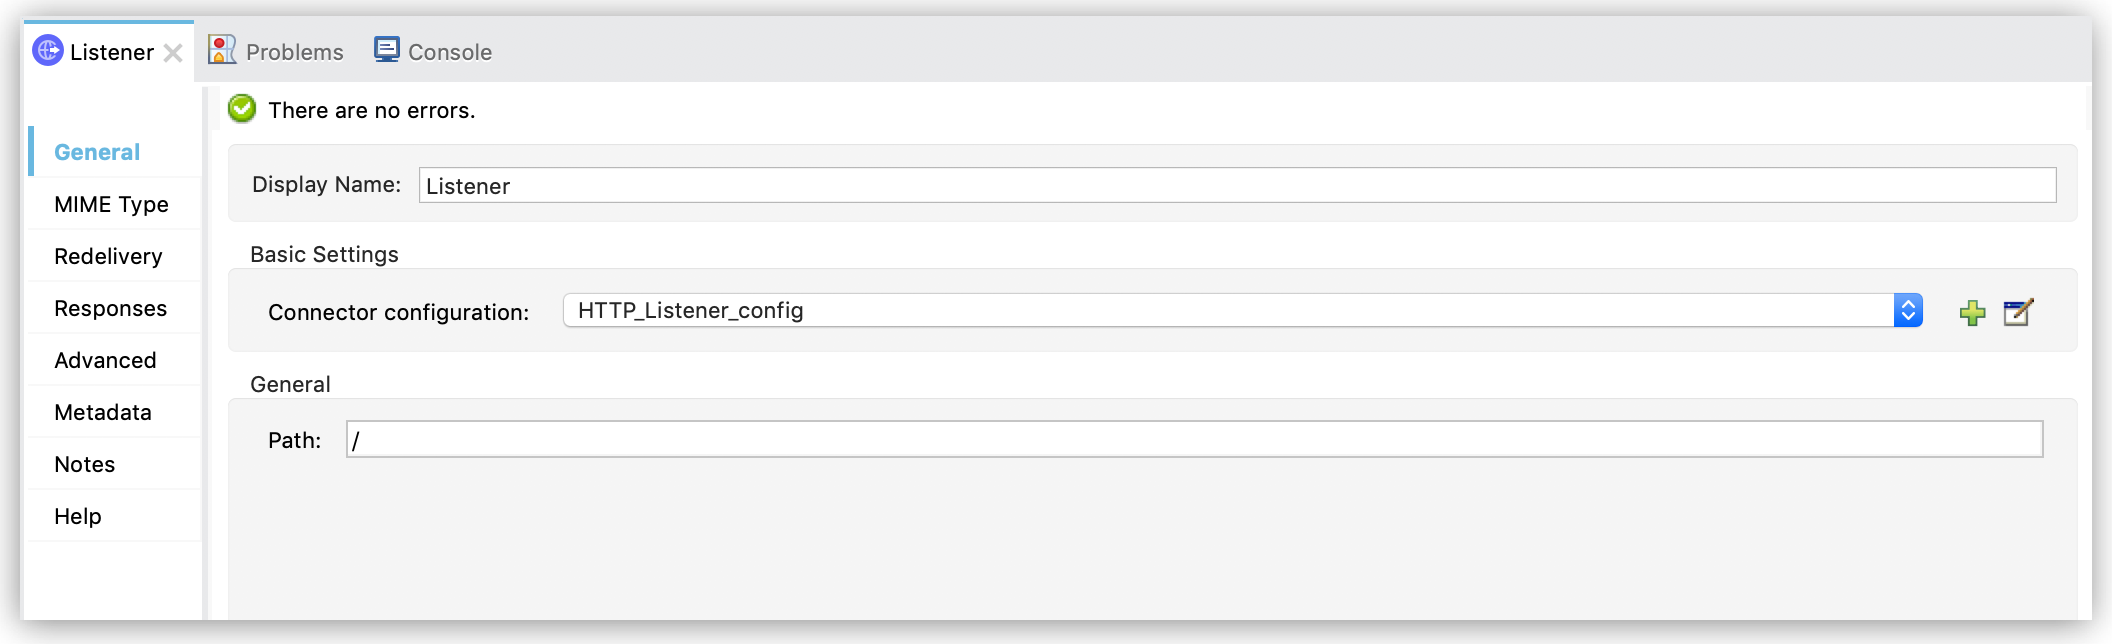 Figure 1. Set the Path field in the Listener configuration.
Add a Transform Message Component to Attach the Metadata
To add and configure a Transform Message component:
-
In the Mule Palette view, search for
transformand select Transform Message: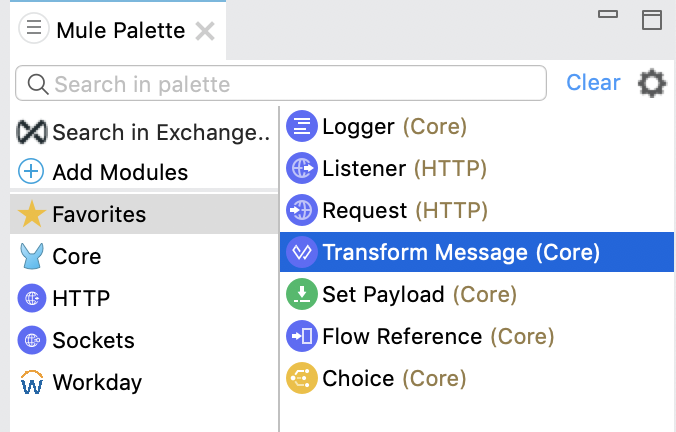 Figure 2. Select Transform Message in the Mule Palette view.
 -
Drag the Transform Message component onto the canvas, to the right of the Listener component.
-
In the Transform Message configuration, overlay the brackets in the Output section with this XML:
%dw 2.0
output application/xml
ns ns0 urn:com.workday/bsvc
---
{
  ns0#Put_Fund_Request @(ns0#Add_Only: true, ns0#version: "v36.0"): {
    ns0#Fund_Data: {
      ns0#Fund_Name: "I.M.F",
      ns0#Fund_Type_Reference: {
        ns0#ID @(ns0#'type': 'Fund_Type_ID'): "FUND_TYPE-6-3"
      }
    }
  }
}
The following XML shows sample input to the Transform Message component
<ns0:Put_Fund_Request xmlns:ns0="urn:com.workday/bsvc" Add_Only="true" version="v36.0">
  <ns0:Fund_Data>
    <ns0:Fund_Name>I.M.F</ns0:Fund_Name>
    <ns0:Fund_Type_Reference>
      <ns0:ID type="Fund_Type_ID">FUND_TYPE-6-3</ns0:ID>
    </ns0:Fund_Type_Reference>
  </ns0:Fund_Data>
</ns0:Put_Fund_Request>
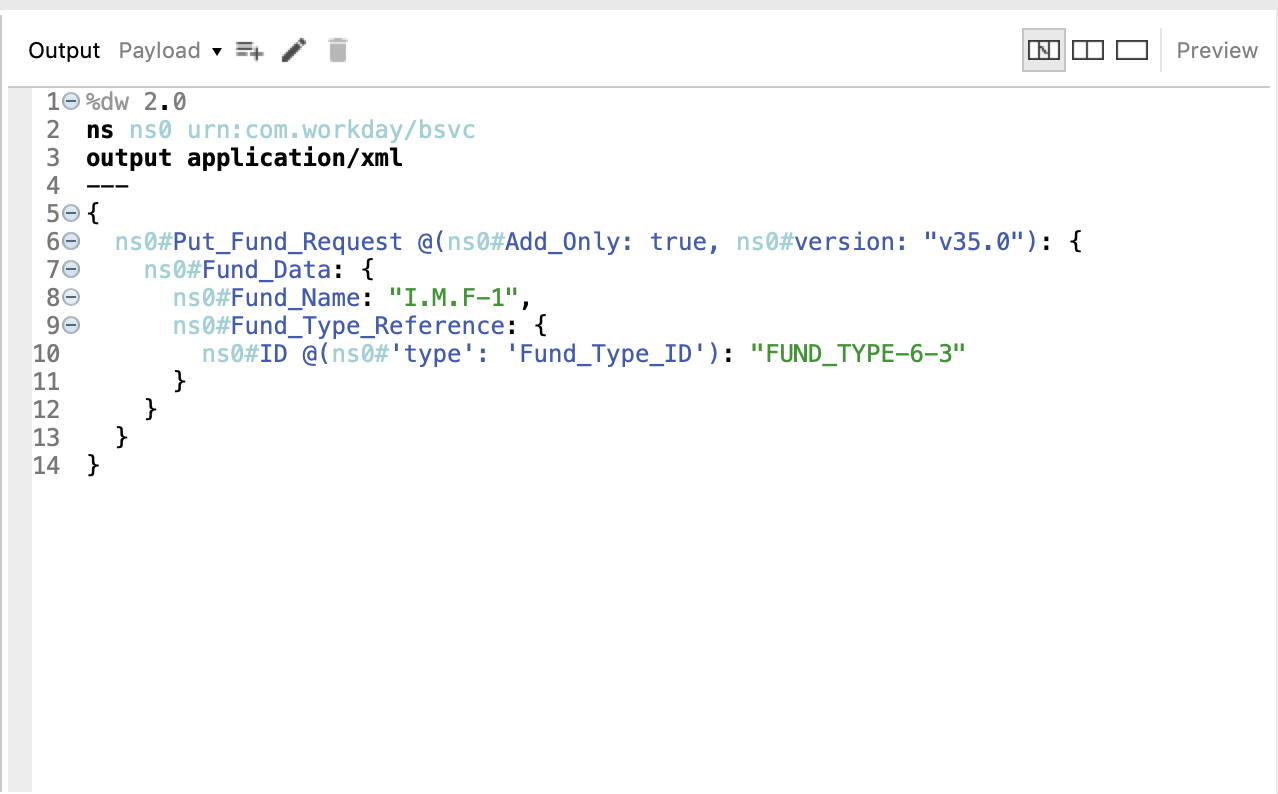
The following screenshot shows the corresponding output, as it appears in the Output section of the Transform Message configuration:
Add and Configure the Financial Management Operation
-
In the Mule Palette view, search for
workdayand select the Financial management operation. -
Drag the Financial management operation onto the canvas, to the right of the Transform Message component.
-
In the Financial management configuration, click + next to the Connector configuration field to add a global element.
-
Configure the global element as follows:
-
Configuration Name:
My_Workday_Connection -
Connection:
Basic authentication api -
Password:
${workday.password} -
Host Name: Leave the default,
impl-cc.workday.com -
Tenant Name:
${workday.tenantName} -
Username:
${workday.userName}
-
-
Click Test Connection to ensure your username, password, and tenant name are correct.
-
Click OK.
-
In the properties window, select
Put_Fundin the Operation field.
Add a Logger Component to Display the Response in the Mule Console
-
In the Mule Palette view, search for
loggerand select Logger (Core). -
Drag the Logger component onto the canvas, to the right of the Financial management component.
-
Configure the following fields:
Field Value Display Name
Enter
Log Response.Message
Enter
`#[payload]`.Level
Leave the default,
INFO. -
Save the project.
-
Test the app by sending a request to
/on port 8081. -
You will receive an XML response similar to this one:
<wd:Put_Fund_Response xmlns:wd="urn:com.workday/bsvc" wd:version="v36.0">
    <wd:Fund_Reference wd:Descriptor="I.M.F">
        <wd:ID wd:type="WID">THE_WID_ID_NUMBER</wd:ID>
        <wd:ID wd:type="Fund_ID">FUND-6-399</wd:ID>
    </wd:Fund_Reference>
</wd:Put_Fund_Response>
XML for the Financial Management Example
Paste this code into the Studio XML editor to quickly load the flow for this example into your Mule app:
<?xml version="1.0" encoding="UTF-8"?>

<mule xmlns:ee="http://www.mulesoft.org/schema/mule/ee/core" xmlns:http="http://www.mulesoft.org/schema/mule/http"
	xmlns:workday="http://www.mulesoft.org/schema/mule/workday"
  xmlns="http://www.mulesoft.org/schema/mule/core"
  xmlns:doc="http://www.mulesoft.org/schema/mule/documentation"
  xmlns:xsi="http://www.w3.org/2001/XMLSchema-instance"
  xsi:schemaLocation="http://www.mulesoft.org/
  schema/mule/core http://www.mulesoft.org/schema/mule/core/current/mule.xsd
http://www.mulesoft.org/schema/mule/workday
http://www.mulesoft.org/schema/mule/workday/current/mule-workday.xsd
http://www.mulesoft.org/schema/mule/http http://www.mulesoft.org/schema/mule/http/current/mule-http.xsd
http://www.mulesoft.org/schema/mule/ee/core http://www.mulesoft.org/schema/mule/ee/core/current/mule-ee.xsd">
	<http:listener-config name="HTTP_Listener_config" doc:name="HTTP Listener config" >
		<http:listener-connection host="0.0.0.0" port="8081" />
	</http:listener-config>
	<workday:config name="My_Workday_Connection" doc:name="Workday Config" >
		<workday:basic-authentication-api-connection password="${workday.password}" tenantName="${workday.tenantName}" userName="${workday.userName}" />
	</workday:config>
	<configuration-properties doc:name="Configuration properties" doc:id="72d0bd1d-5f2f-4a1b-8beb-d9a6eb596273" file="mule-artifact.properties" />
	<flow name="workday-13-test-exampleFlow" >
		<http:listener doc:name="Listener" config-ref="HTTP_Listener_config" path="/"/>
		<ee:transform doc:name="Transform Message" >
			<ee:message >
				<ee:set-payload ><![CDATA[%dw 2.0
output application/xml
ns ns0 urn:com.workday/bsvc
---
{
  ns0#Put_Fund_Request @(ns0#Add_Only: true, ns0#version: "v36.0"): {
    ns0#Fund_Data: {
      ns0#Fund_Name: "I.M.F",
      ns0#Fund_Type_Reference: {
        ns0#ID @(ns0#'type': 'Fund_Type_ID'): "FUND_TYPE-6-3"
      }
    }
  }
}]]></ee:set-payload>
			</ee:message>
		</ee:transform>
		<workday:financial-management doc:name="Financial management" doc:id="8b0142df-896d-4074-9b4c-c0934648cd78" config-ref="My_Workday_Connection" operation="Put_Fund"/>
		<logger level="INFO" doc:name="Log Response"  message="#[payload]"/>
	</flow>
</mule>
Create a Workday Position Request
To create a Workday position request:
-
Create a Mule app in Studio.
-
Add and configure HTTP Listener as a source for your flow.
-
Set the Path field to
/create_positionand use the default configuration for the HTTP Listener connection. -
Add the Transform component to your flow.
-
Provide this transformation script to DataWeave:
%dw 2.0 ns ns0 urn:com.workday/bsvc output application/xml --- { ns0#Create_Position_Request: { ns0#Business_Process_Parameters: { ns0#Auto_Complete: true, ns0#Run_Now: true }, ns0#Create_Position_Data: { ns0#Supervisory_Organization_Reference: { ns0#ID @("ns0:type": "Organization_Reference_ID"): "SUPERVISORY_ORGANIZATION-6-226" }, ns0#Position_Data: { ns0#Job_Posting_Title: "General Manager" }, ns0#Position_Group_Restrictions_Data: { ns0#Availability_Date: "2019-07-06", ns0#Earliest_Hire_Date: "2019-07-08" }, ns0#Edit_Assign_Organization_Sub_Process: { ns0#Business_Sub_Process_Parameters: { ns0#Skip: true } }, ns0#Request_Default_Compensation_Sub_Process: { ns0#Business_Sub_Process_Parameters: { ns0#Skip: true } }, ns0#Assign_Pay_Group_Sub_Process: { ns0#Business_Sub_Process_Parameters: { ns0#Skip: true } }, ns0#Assign_Costing_Allocation_Sub_Process: { ns0#Business_Sub_Process_Parameters: { ns0#Skip: true } } } } } -
From the Mule palette view, select the connector and drag the Recruiting operation next to Transform.
-
On the properties window:
-
In the Operation, field select
Create_Position.Ensure that the value for the Operation field is available as a menu item. The values become available once the connector loads the metadata. Do not type the value manually.
-
In the Content field, leave the default,
payload.
-
-
Set up, test, and save a Workday configuration for the connection to the Workday server, for example:
-
Name:
My Workday Config -
Connection:
Basic Authentication Api -
Username:
my_user_name -
Password:
my_password -
Tenant Name:
my_tenant_name -
Host Name:
impl-cc.workday.com
If the connection test is unsuccessful, correct any invalid connection parameters and retest the connection.
-
-
Add the Logger component to your flow and set
payloadas the message. -
Deploy and run the app.
-
To test the app, execute a PUT request to
http://<Deployment_url>:8081/create_positionfrom a browser or an app such as cURL.Use the following input in the request body:
<?xml version="1.0" encoding="UTF-8"?>

<ns0:Create_Position_Request xmlns:ns0="urn:com.workday/bsvc">
  <ns0:Business_Process_Parameters>
    <ns0:Auto_Complete>true</ns0:Auto_Complete>
    <ns0:Run_Now>true</ns0:Run_Now>
  </ns0:Business_Process_Parameters>
  <ns0:Create_Position_Data>
    <ns0:Supervisory_Organization_Reference>
      <ns0:ID ns0:type="Organization_Reference_ID">SUPERVISORY_ORGANIZATION-6-226</ns0:ID>
    </ns0:Supervisory_Organization_Reference>
    <ns0:Position_Data>
      <ns0:Job_Posting_Title>General Manager</ns0:Job_Posting_Title>
    </ns0:Position_Data>
    <ns0:Position_Group_Restrictions_Data>
      <ns0:Availability_Date>2019-07-06</ns0:Availability_Date>
      <ns0:Earliest_Hire_Date>2019-07-08</ns0:Earliest_Hire_Date>
    </ns0:Position_Group_Restrictions_Data>
    <ns0:Edit_Assign_Organization_Sub_Process>
      <ns0:Business_Sub_Process_Parameters>
        <ns0:Skip>true</ns0:Skip>
      </ns0:Business_Sub_Process_Parameters>
    </ns0:Edit_Assign_Organization_Sub_Process>
    <ns0:Request_Default_Compensation_Sub_Process>
      <ns0:Business_Sub_Process_Parameters>
        <ns0:Skip>true</ns0:Skip>
      </ns0:Business_Sub_Process_Parameters>
    </ns0:Request_Default_Compensation_Sub_Process>
    <ns0:Assign_Pay_Group_Sub_Process>
      <ns0:Business_Sub_Process_Parameters>
        <ns0:Skip>true</ns0:Skip>
      </ns0:Business_Sub_Process_Parameters>
    </ns0:Assign_Pay_Group_Sub_Process>
    <ns0:Assign_Costing_Allocation_Sub_Process>
      <ns0:Business_Sub_Process_Parameters>
        <ns0:Skip>true</ns0:Skip>
      </ns0:Business_Sub_Process_Parameters>
    </ns0:Assign_Costing_Allocation_Sub_Process>
  </ns0:Create_Position_Data>
</ns0:Create_Position_Request>
</mule>
Workday responds as follows:
<wd:Create_Position_Response xmlns:wd="urn:com.workday/bsvc" wd:version="v36.0">
  <wd:Event_Reference>
  <wd:ID wd:type="WID">WID_VALUE</wd:ID>
  </wd:Event_Reference>
  <wd:Position_Reference>
    <wd:ID wd:type="WID">WID_VALUE</wd:ID>
    <wd:ID wd:type="Position_ID">P-11158</wd:ID>
  </wd:Position_Reference>
</wd:Create_Position_Response>
The logger displays this message:
{Create_Position_Response={Event_Reference={ID=WID_VALUE}, Position_Reference={ID=P-11158}}}