
Listen for New Messages Using the JMS Connector
Anypoint Connector for JMS (JMS Connector) On New Message source enables you to listen for and consume new messages as they arrive at the specified destination.
Listen for New Messages from a Queue
In the following example, you configure the On New Message source to listen for new messages in the queue specified in the Destination field. The operation returns a Mule message each time a JMS message is available in the queue. The Mule message consists of:
-
The message content as payload
-
The message metadata in the message attributes
By default, the message consumed is acknowledged ("ACKed") only when the execution of the flow receiving the message completes successfully. If instead, an error occurs during the execution of the flow, the session recovers, and the message is redelivered.
To configure the source in Studio, follow these steps:
-
In the Mule Palette view, select JMS > On New Message.
-
Drag On New Message to the Studio canvas.
-
In the On New Message configuration screen, optionally change the value of the Display Name field.
-
In the On New Message configuration screen, in Destination, specify the name of the destination from which to consume the message, for example,
#[vars.destination].

In the XML editor, the <jms:listener> configuration looks like this:
<jms:listener config-ref="config" destination="#[vars.destination]"/>Listen for New Messages from a Topic Subscription
In the following example, you configure the On New Message source to listen for new messages from a topic subscription by setting the Consumer type field to Topic consumer.
To configure the source in Studio, follow these steps:
-
In the Mule Palette view, select JMS > On New Message.
-
Drag On New Message to the Studio canvas.
-
In the On New Message configuration screen, optionally change the value of the Display Name field.
-
In the On New Message configuration screen, in Destination, specify the name of the destination from which to consume the message for example
#[vars.destination]. -
Set the Consumer type field to Topic consumer:
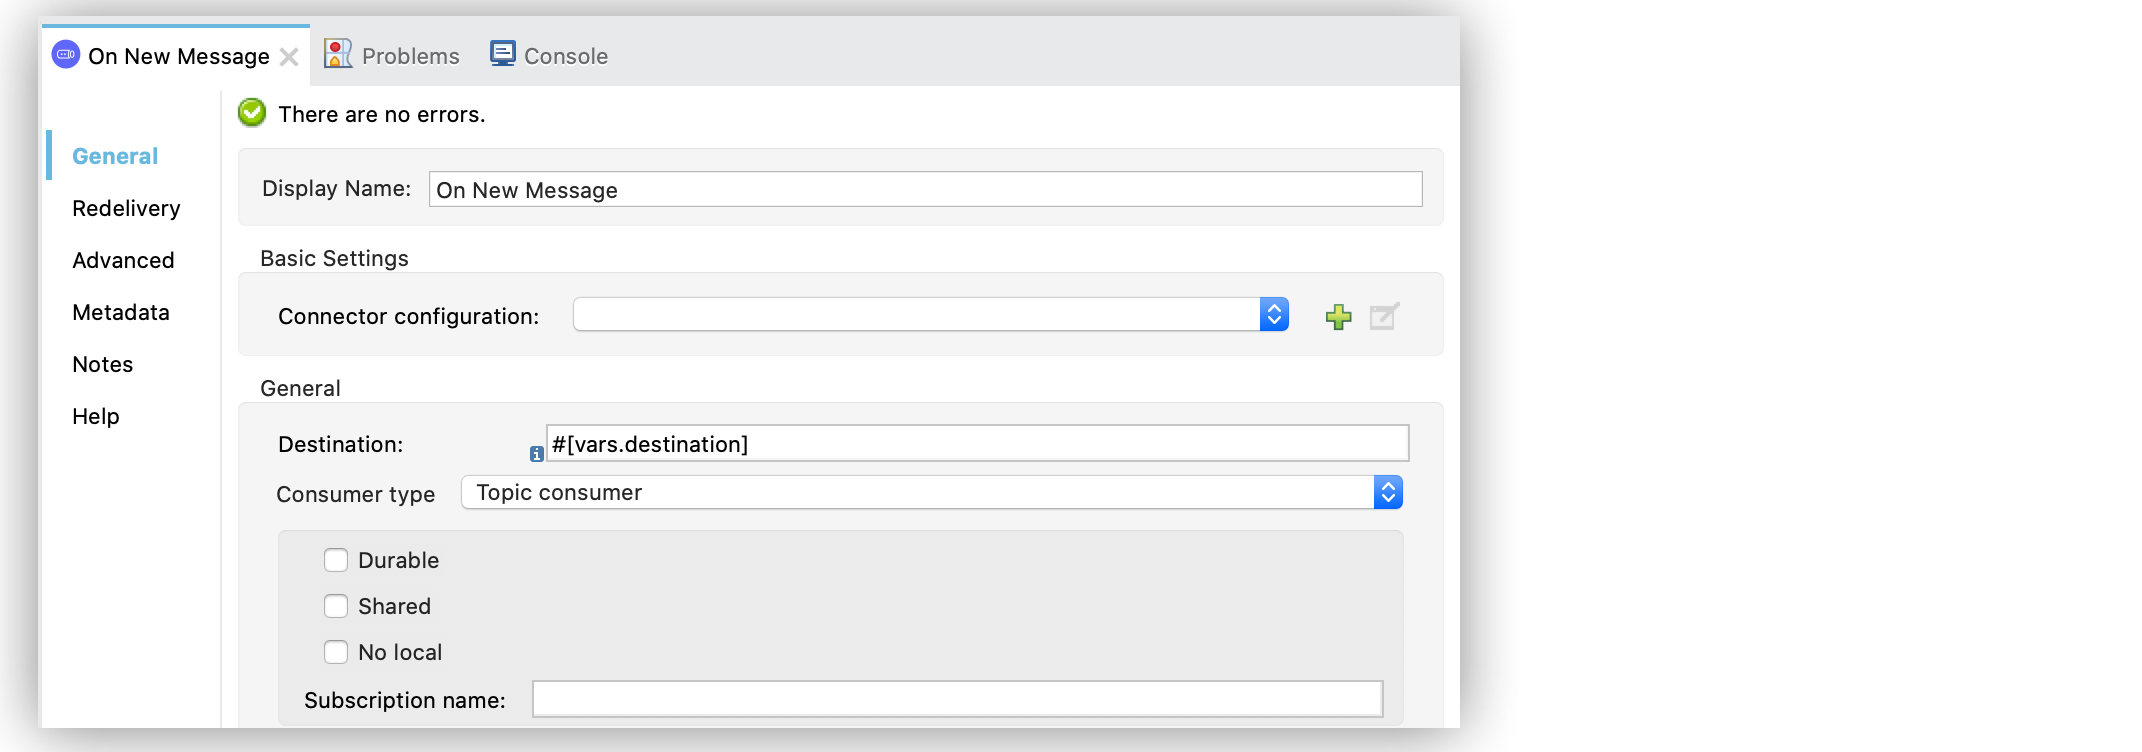
In the XML editor, the <jms:listener> and <jms:topic-consumer/> configuration looks like this:
<jms:listener config-ref="JMS_config" destination="#[vars.destination]">
    <jms:consumer-type>
        <jms:topic-consumer/>
    </jms:consumer-type>
</jms:listener>
Filter Incoming Messages
JMS Connector supports filtering messages to consume based on the standard JMS selector language you specify in the Selector field of the On New Message source. By doing so, you receive only the messages matching the selector language, ignoring any other messages in the destination.
In the following example, you configure the Selector field to filter messages that matches to a specific header priority queue:
-
In Studio, select the On New Message source from your flow.
-
Set the Destination field to
openTickets. -
Set the Selector field to
JMSPriority=8.
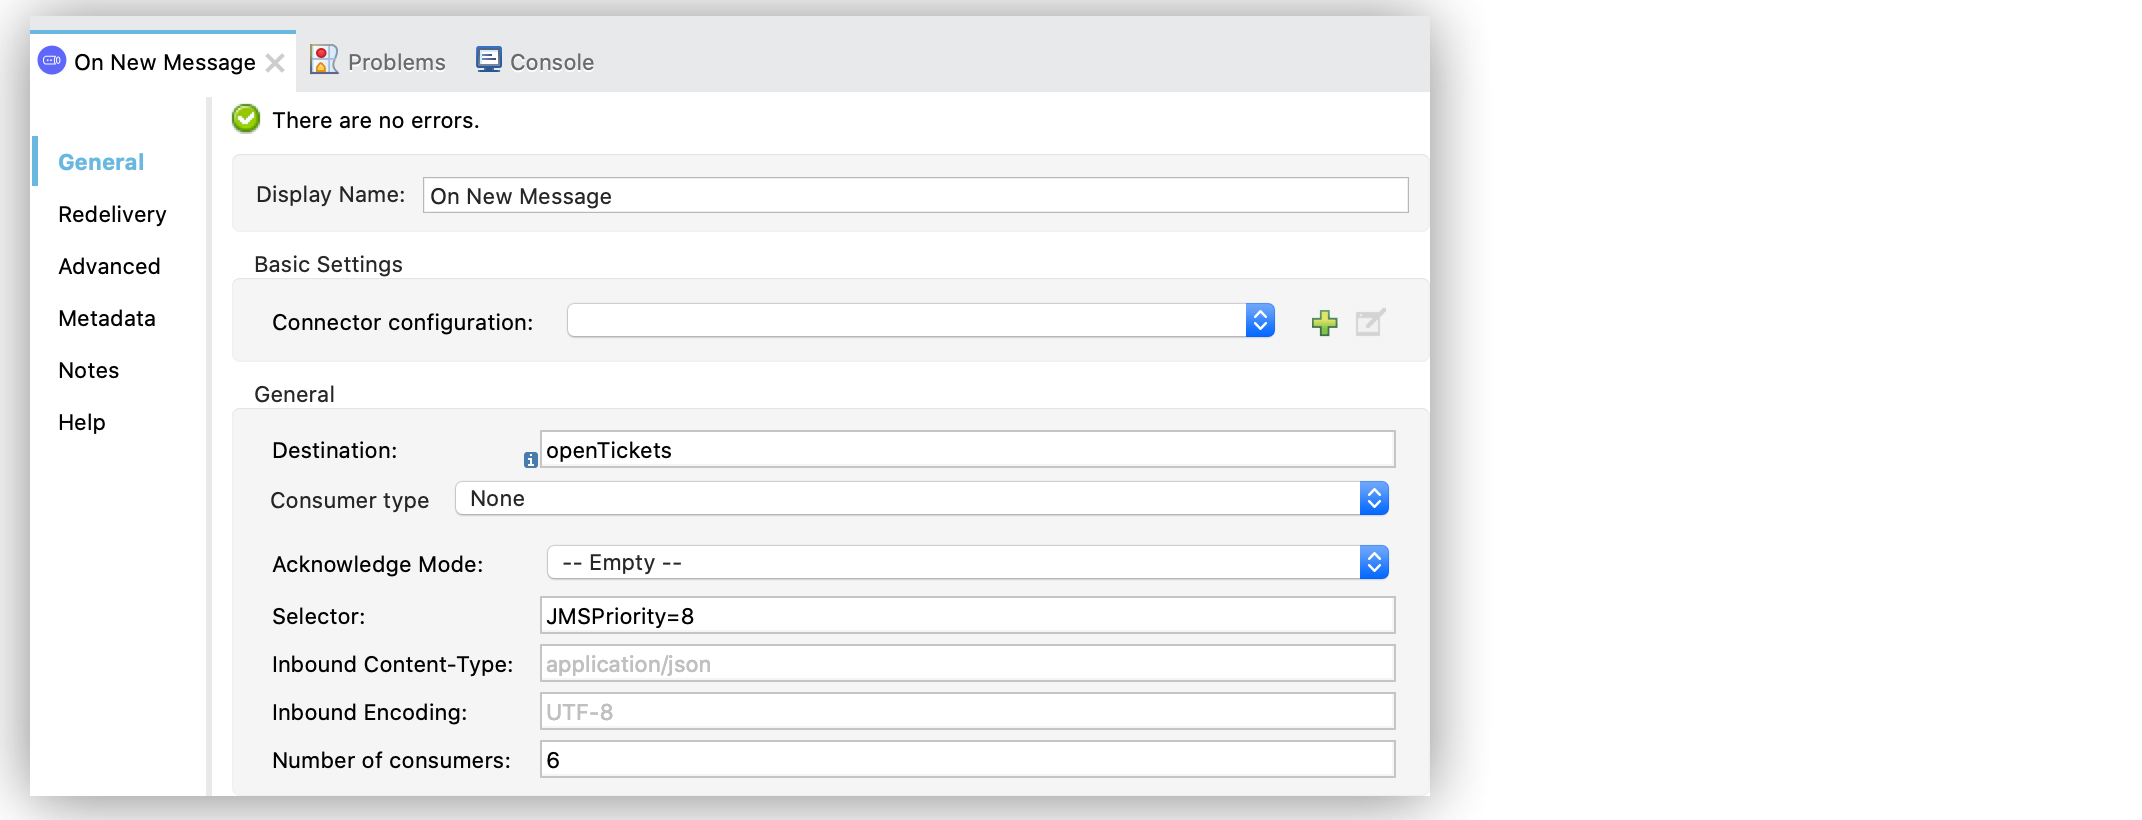
In the XML editor, the selector configuration looks like this:
<flow name="consumer">
    <jms:listener config-ref="JMS_config" destination="openTickets" selector="JMSPriority=8"/>
</flow>
Reply to Incoming Messages
When an incoming JMS message declares a ReplyTo header destination and the message is processed successfully without errors, the On New Message source automatically produces a response, and the connector publishes the response to the destination specified in the Destination field.
In the following example, you configure the response message section of the operation:
-
In Studio, select the On New Message source from your flow.
-
In the Response section, set the Ignore Jms replyTo Header to True, which disables the automatic reply.
-
Set the Body field to
'Message received was: ' ++ payload. -
Set the User Properties field to
{'processedAt': now}. -
Set the Persistent delivery to True.
-
Set the Priority field to
8.
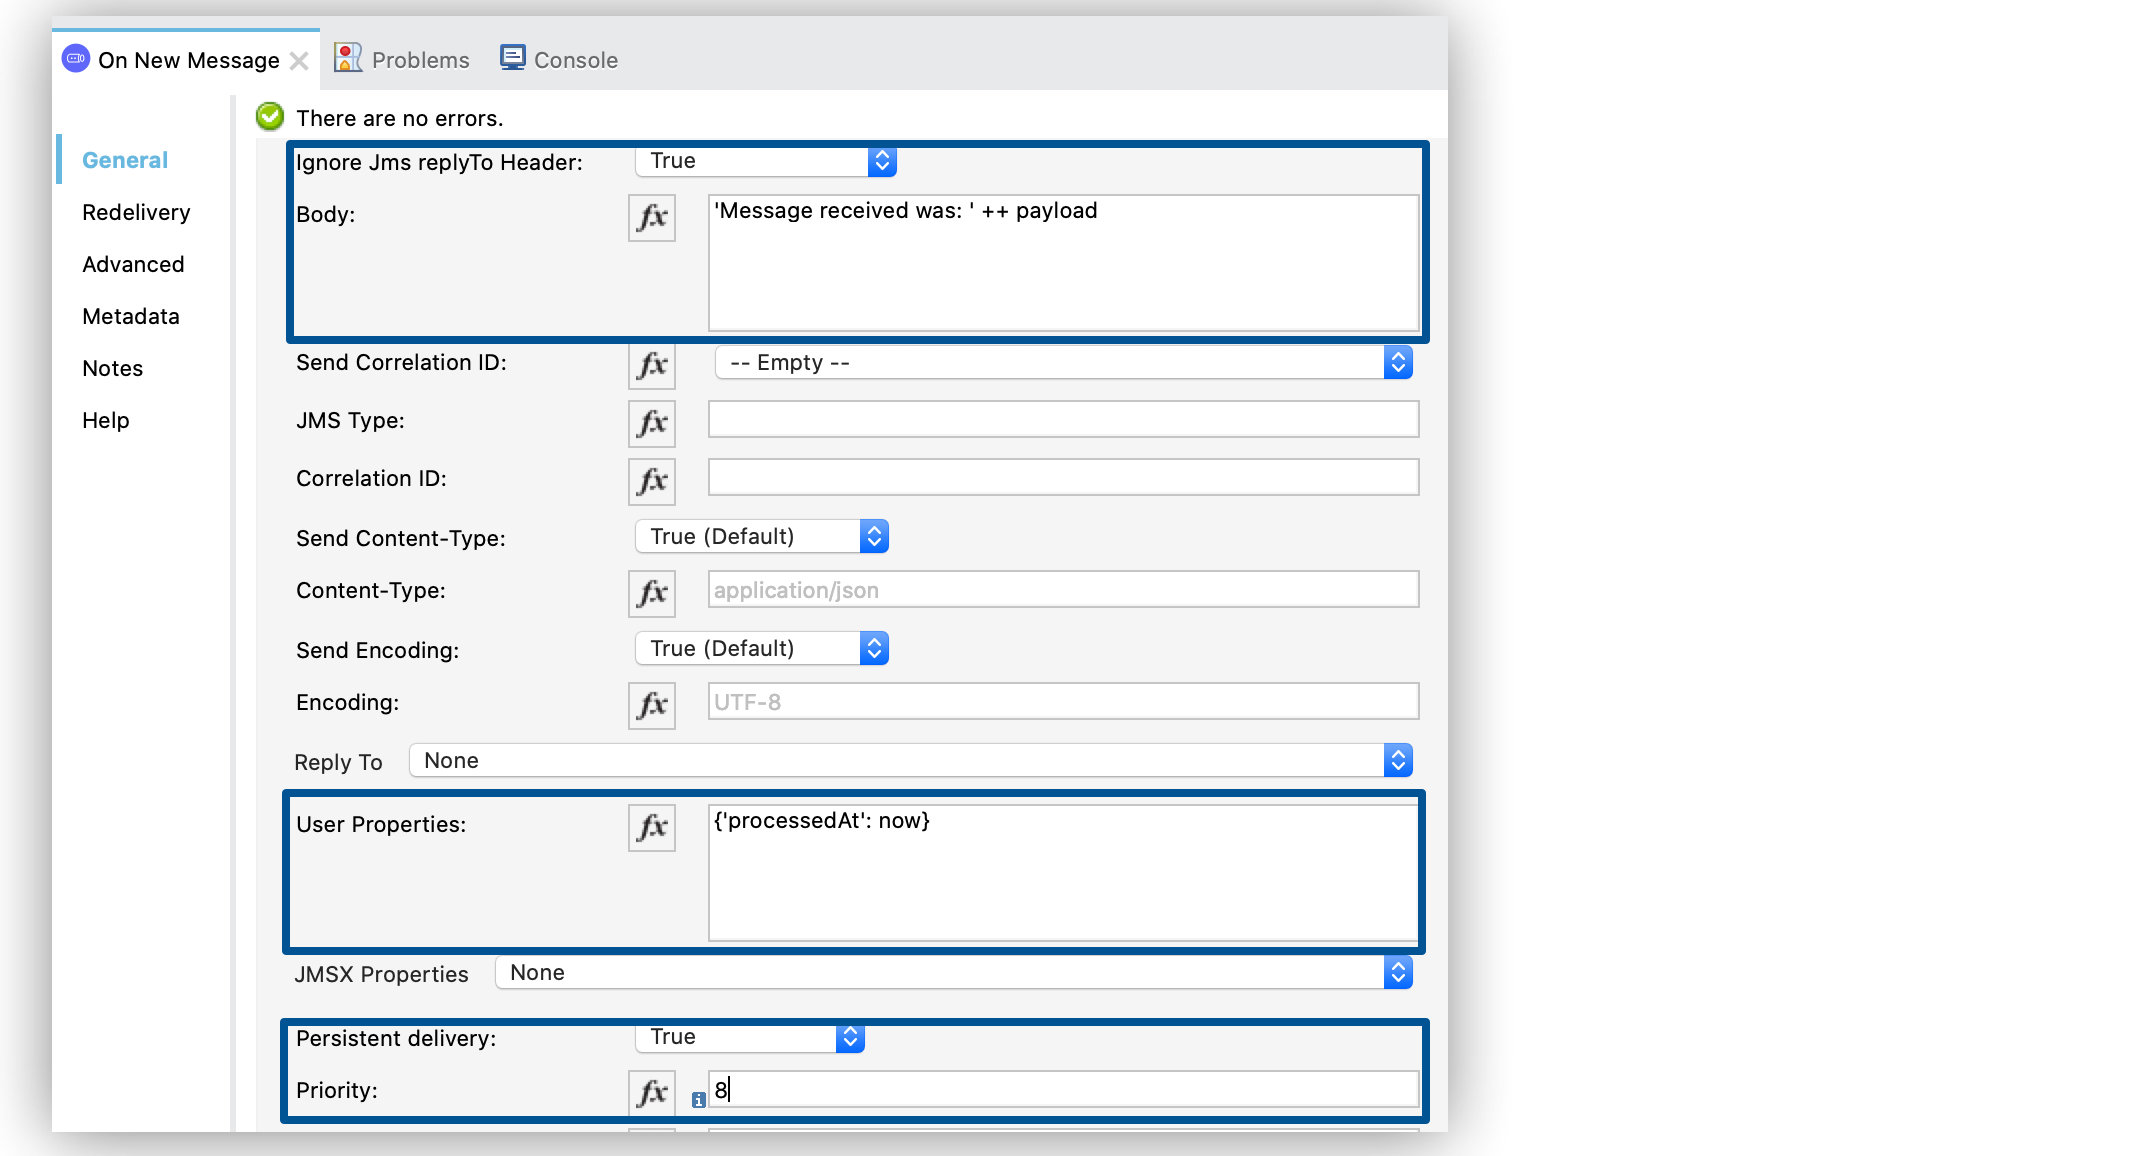
In the XML editor, the ignoreReplyTo, body, properties, persistentDelivery, and priority configurations looks like this:
<jms:listener config-ref="config" destination="#[vars.destination]">
  <jms:response priority="8" persistentDelivery="true" ignoreReplyTo="true">
      <jms:body>#['Message received was: ' ++ payload]</jms:body>
      <jms:properties>#[{'processedAt': now}]</jms:properties>
  </jms:response>
</jms:listener>
Configure the Number of Consumers
When you need extra processing power, configure the Number of consumers field to the number of consumers that the On New Message source uses to consume messages concurrently.
By default, each source uses 4 consumers that produce messages concurrently. Each consumer waits for the message to be processed, which means that you have a maximum of 4 messages in-flight at the same time.
In the following example, you increase the number of consumers in the source:
-
In Studio, select the On New Message source from your flow.
-
Increase the Number of consumers field from
4to the number of concurrent consumers that receives the JMS messages, for example,6:
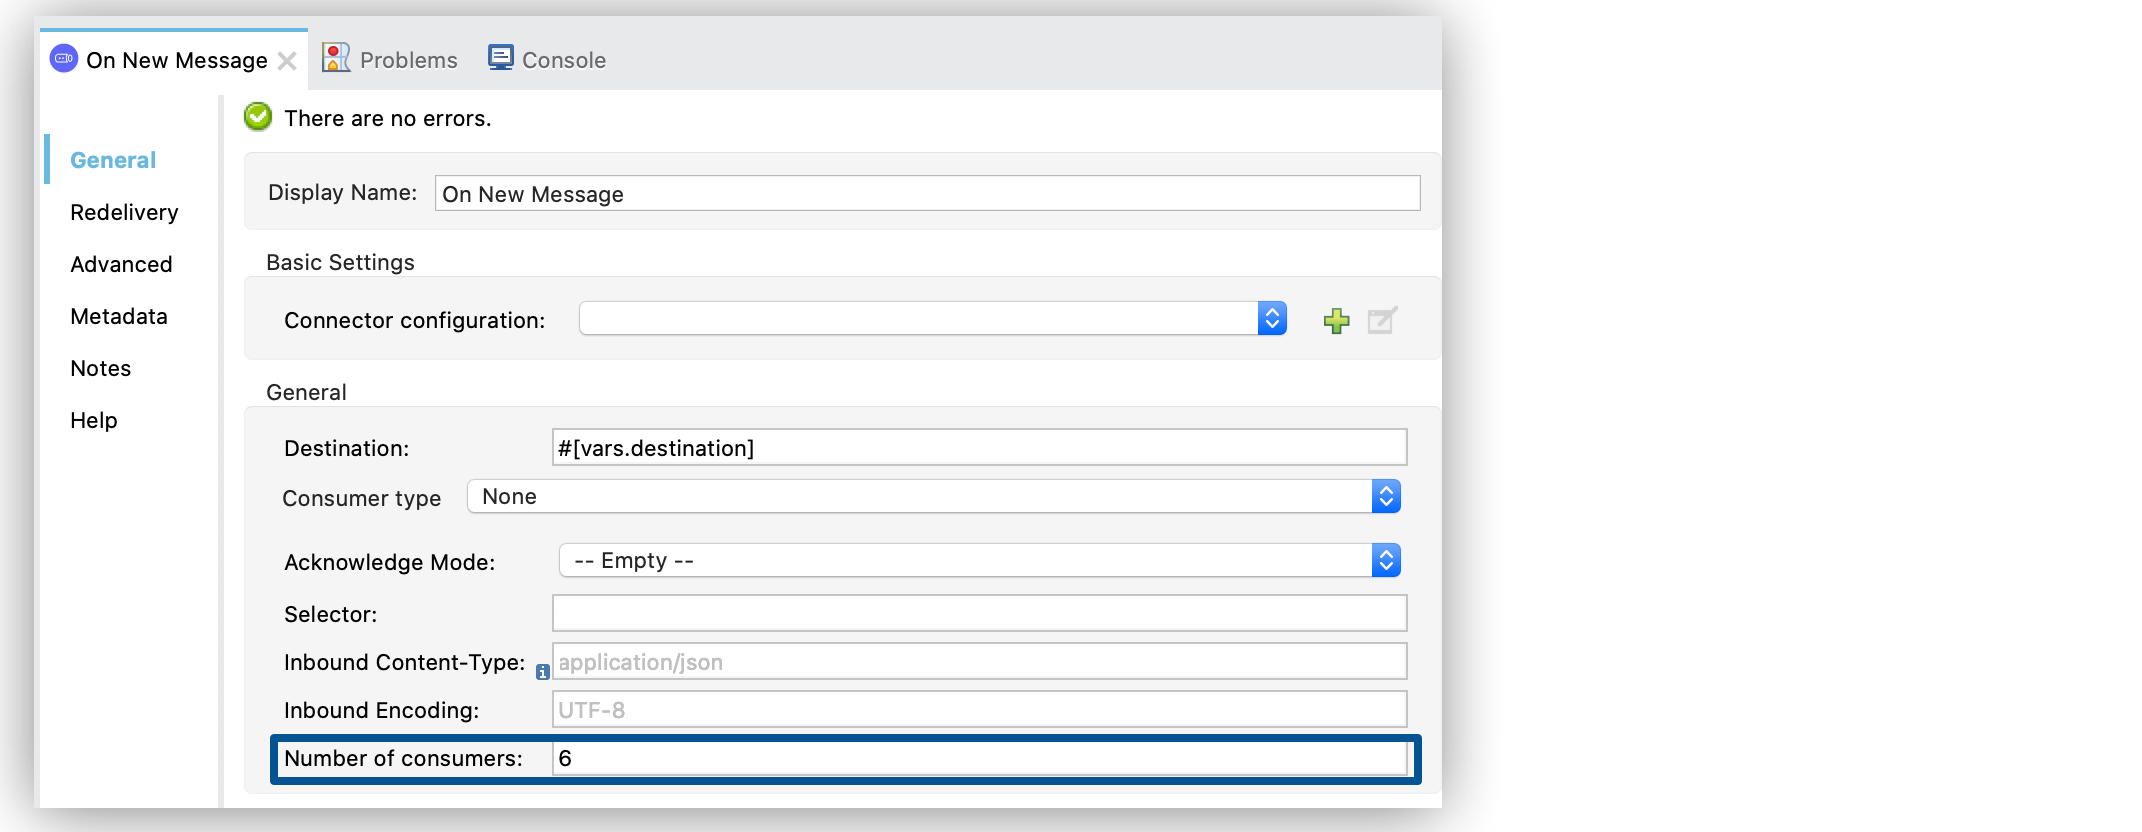
In the XML editor, the numberOfConsumers configuration looks like this:
<jms:listener doc:name="On New Message" destination="#[vars.destination]" numberOfConsumers="6"/>Configure Mime Types and Encoding
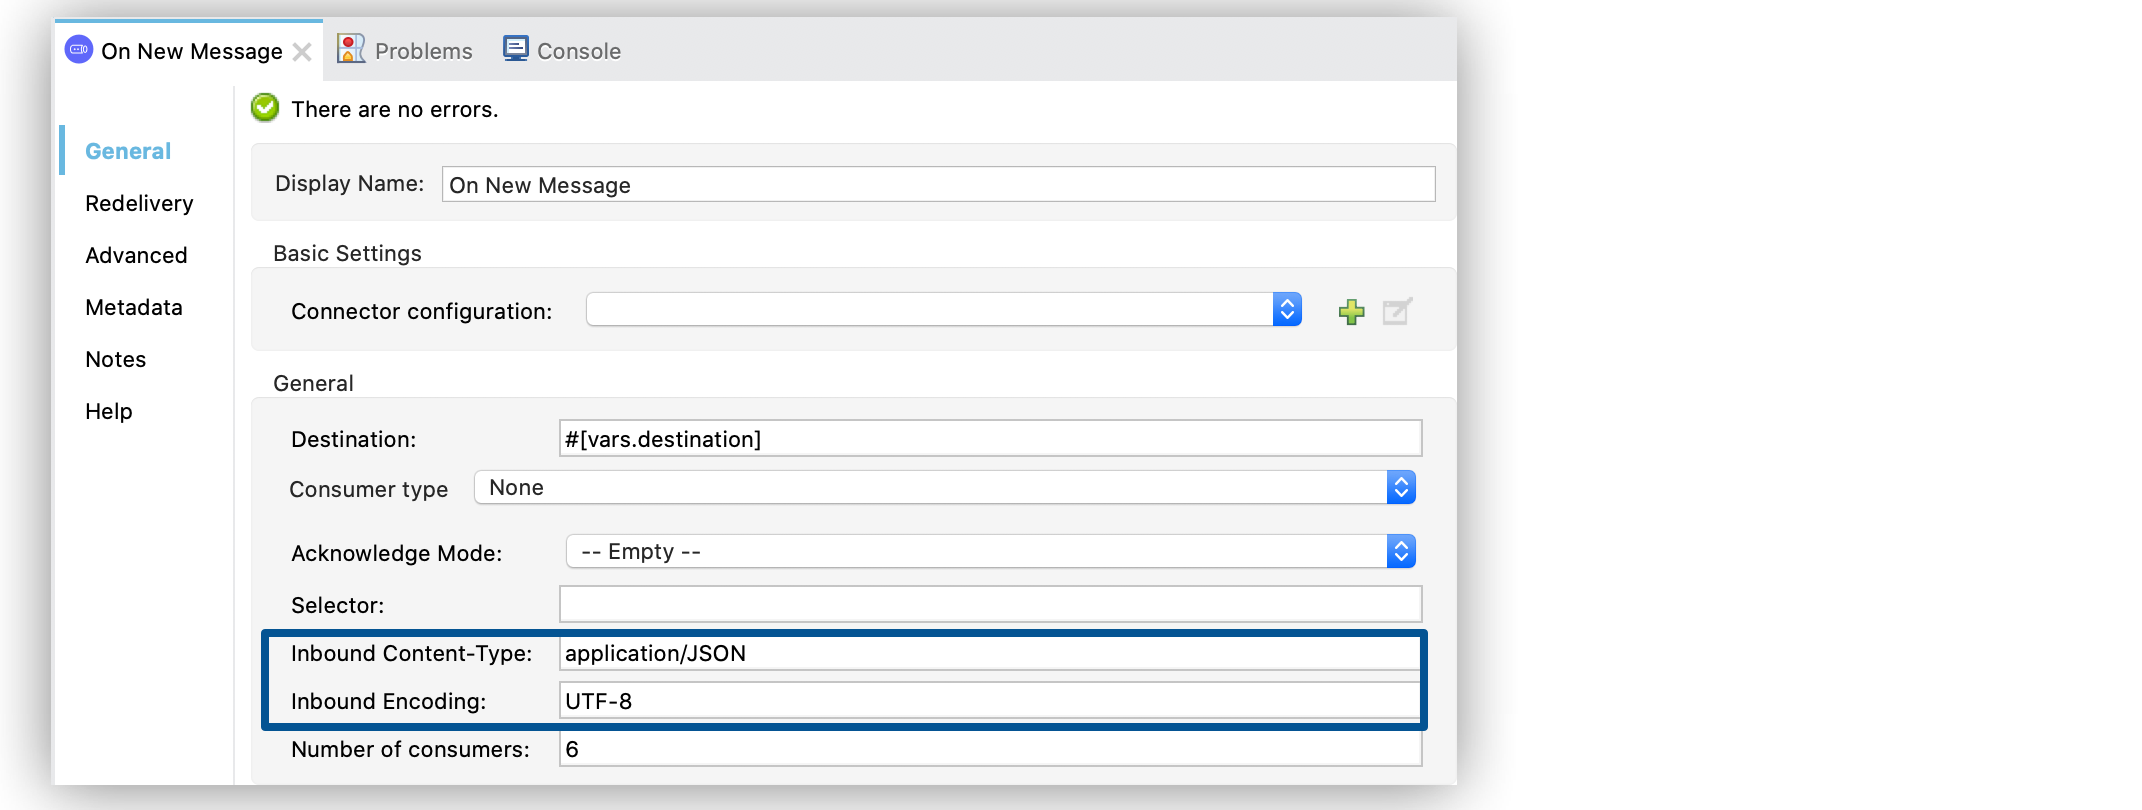
JMS Connector determines a message’s mime type (contentType) based on the MM_MESSAGE_CONTENT_TYPE property. However, when you must manage the message’s content, configure the Inbound Content-Type field to the particular content type value you need.
By default, JMS Connector assumes that Mule runtime engine default encoding matches the encoding in the message if no other information is provided. Use the Inbound Encoding field to configure a different type of encoding.
In the following example, you configure the inbound content-type and encoding:
-
In Studio, select the On New Message source from your flow.
-
Set the Inbound Content-Type field to
application/JSON. -
Set the Inbound Encoding field to
UTF-8.
In the XML editor, the inboundContentType and inboundEncoding configuration looks like this:
<jms:listener doc:name="On New Message" destination="#[vars.destination]" numberOfConsumers="6" inboundContentType="application/JSON" inboundEncoding="UTF-8"/>


