Publish Messages Using the JMS Connector
The Anypoint Connector for JMS (JMS Connector) Publish operation enables you to create a new JMS message and send it to the specified destination, whether it is a queue or a topic. Using the operation, you can configure not only the content of the message, but also any necessary headers.
Publish a Message to a Queue
The Publish operation publishes whatever is in the message payload to the specified queue. In the following example, you configure the operation to publish a message to a queue specified in the Destination field:
-
In your Studio flow, select the Publish operation.
-
Set the Destination field to the queue name, for example,
invoiceQueue.

In the XML editor, the <jms:publish> and destination configurations look like this:
<jms:publish destination="invoiceQueue" config-ref="JMS_config"/>If you must transform the payload because it is not in the correct format, you could place a DataWeave transformation before the Publish operation, but that would cause the message payload to change and impact the operation placed after the transformation.
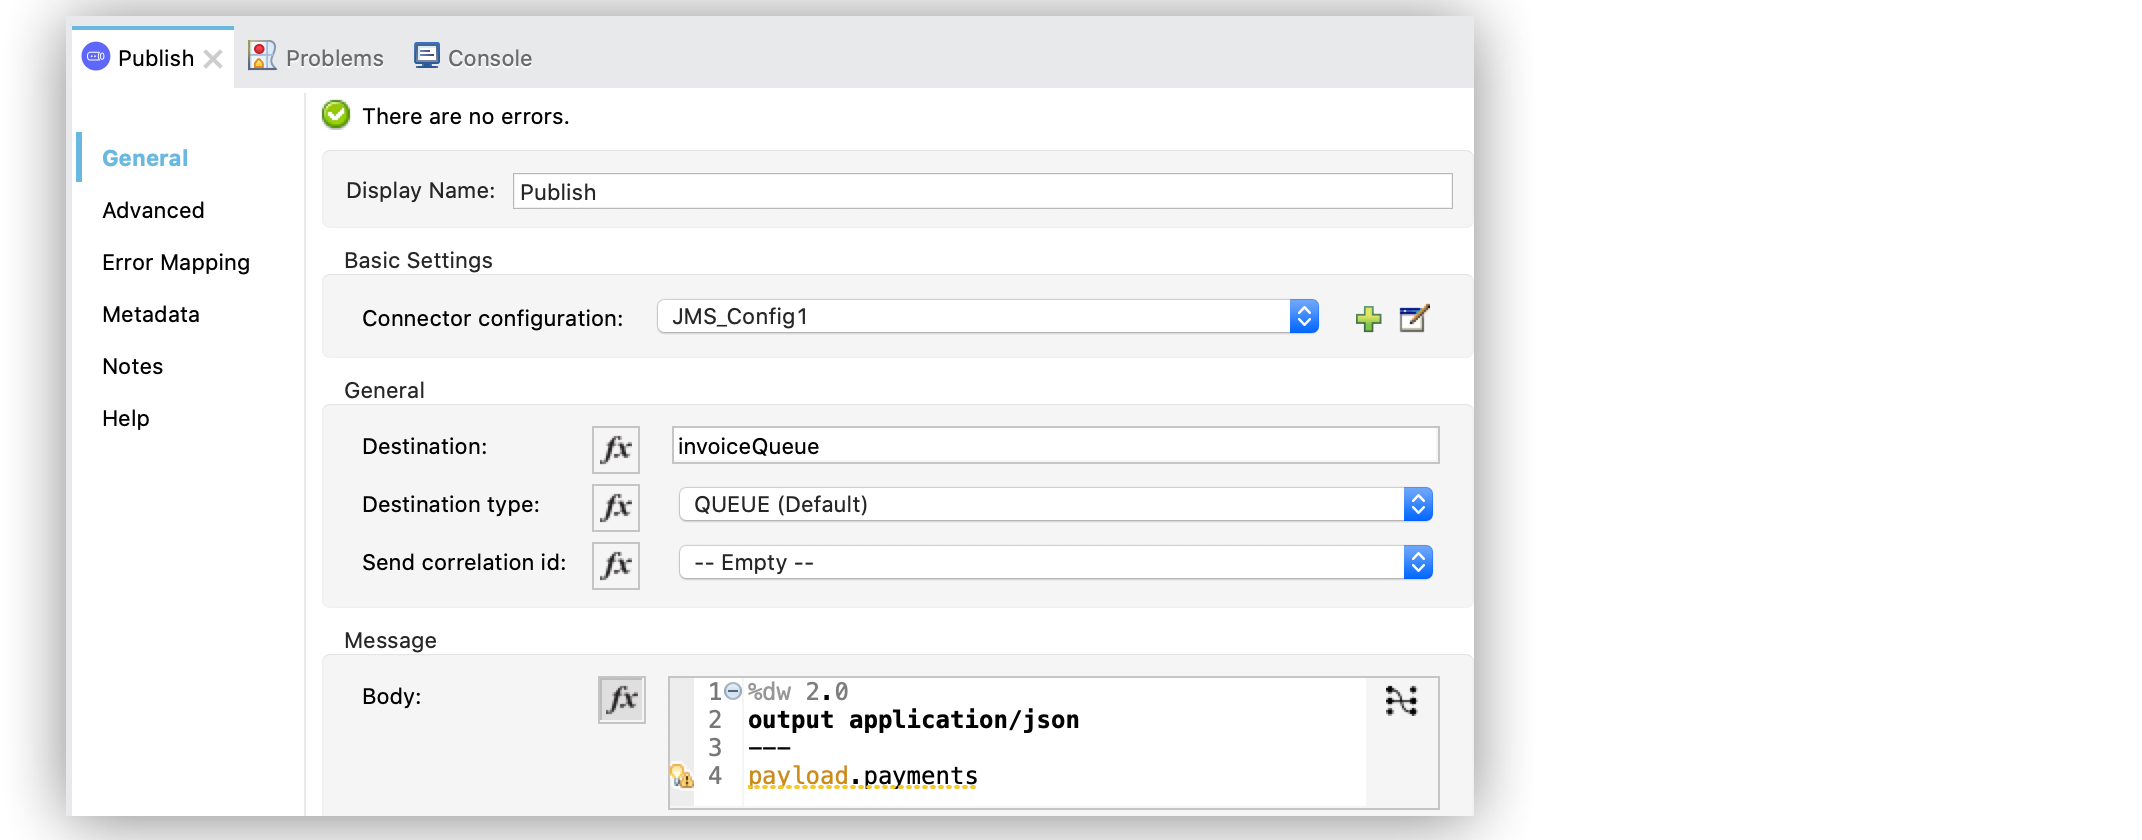
To avoid this impact, place the DataWeave transformation inside the Publish operation. The transformation generates the content to publish without affecting the message in transit. In the following example, you configure the transformation inside the operation:
-
In your Studio flow, select the Publish operation.
-
Set the Destination field to the queue name, for example,
invoiceQueue. -
In the Body field, set the following DataWeave transformation:
%dw 2.0
output application/json
---
payload.payments
In the XML editor, the <jms:body> configuration looks like this:
<jms:publish destination="invoiceQueue" config-ref="JMS_config">
  <jms:message>
    <jms:body>#[%dw 2.0
   output application/json
   ---
   payload.payments
   ]</jms:body>
  </jms:message>
</jms:publish>
Publish a Message to a Topic
The Publish operation can also publish a message to a specified topic destination. Because all the configurations of the operation and the message are identical, you just need only to configure the Destination type field to TOPIC.
In the following example, you configure the operation to publish a message to a topic destination:
-
In your Studio flow, select the Publish operation.
-
Set the Destination field to the queue name, for example, .Publish operation configuration to a topic destination image::jms-publish-config-3.png[In the Publish configuration screen, set the Destination type field to TOPIC]
In the XML editor, the <jms:publish> and destinationType configurations look like this:
<jms:publish destination="invoiceEvents" destinationType="TOPIC" config-ref="JMS_config">
  <jms:message>
    <jms:body>#[%dw 2.0
   output application/json
   ---
   payload.payments
   ]</jms:body>
  </jms:message>
</jms:publish>
Customize Message Delivery
Each JMS message has a set of headers that enables you to communicate metadata such as the time to live or message priority.
Configure a Priority Queue
To configure a priority queue, set the Priority field to a value different from the default:
-
In your Studio flow, select the Publish operation.
-
Set the Destination field to the queue name, for example,
priorityQueue. -
In the Publish Configuration section, set the Priority field to
attributes.queryParams.priority.

In the XML editor, the <jms:publish> and priority configurations look like this:
<jms:publish priority="#[attributes.queryParams.priority]" destination="priorityQueue" config-ref="JMS_config"/>Configure a Time To Live
Every JMS message published is sent with a time-to-live header that declares how long the message is available for consumption it before it expires. In the operation, configure the Time to live and Time to live unit fields:
-
In your Studio flow, select the Publish operation.
-
Set the Destination field to the queue name, for example
vars.destination. -
In the Publish Configuration section, set the Time to live field to
vars.timeToLive. -
Set the Time to live unit field to SECONDS.

In the XML editor, the timeToLive and timeToLiveUnit configurations looks like this:
<jms:publish  timeToLive="#[vars.timeToLive]" timeToLiveUnit="SECONDS"
              destination="#[vars.destination]" config-ref="JMS_config"/>
If you are using the JMS 2.0 specification, you can also control the message delivery delay, which is how long to wait before making the message available to consumers. In the operation, configure the Delivery delay and Delivery delay unit fields:
-
In your Studio flow, select the Publish operation.
-
Set the Destination field to the queue name, for example,
vars.destination. -
Set the Delivery delay field to
${msgInitialDelay}. -
Set the Delivery delay unit field to MILLISECONDS.

In the XML editor, the deliveryDelay and deliveryDelayUnit configurations look like this:
<jms:publish  deliveryDelay="${msgInitialDelay}" deliveryDelayUnit="MILLISECONDS"
              destination="#[vars.destination]" config-ref="JMS_config"/>
Configure a Reply Destination
When you require an asynchronous reply to the sent message, the Publish operation enables you to declare any reply-to destination in the Reply to field. The reply destination is communicated as a JMS header to the consumer of the message.
In the following example, you configure the reply-to destination:
-
In your Studio flow, select the Publish operation.
-
Set the Destination field to the queue name, for example,
vars.destination. -
Set the Reply to field to Edit inline.
-
Set the Destination name field to
${completionEventsDestination}. -
Set the Destination type field to TOPIC.

In the XML editor, the <jms:reply-to>, destination and destinationType configurations look like this:
<jms:publish config-ref="JMS_config" destination="#[vars.invoiceProcessorDestination]">
    <jms:message>
        <jms:reply-to destination="${completionEventsDestination}" destinationType="TOPIC"/>
    </jms:message>
</jms:publish>
Configure the Correlation ID
The Publish operation enables you to configure a correlation ID for the outgoing message in the Correlation ID field.
First you must configure whether you want to send the correlation ID when publishing the message. If so, configure the Send correlation id field to any of the following options:
-
ALWAYS
Always sends the header -
NEVER
Never sends the header -
AUTO
The default value, which uses the application configuration
Then you can either use the correlation ID of the event that is sending the message, or you can configure your own custom correlation ID in the message builder:
-
In your Studio flow, select the Publish operation.
-
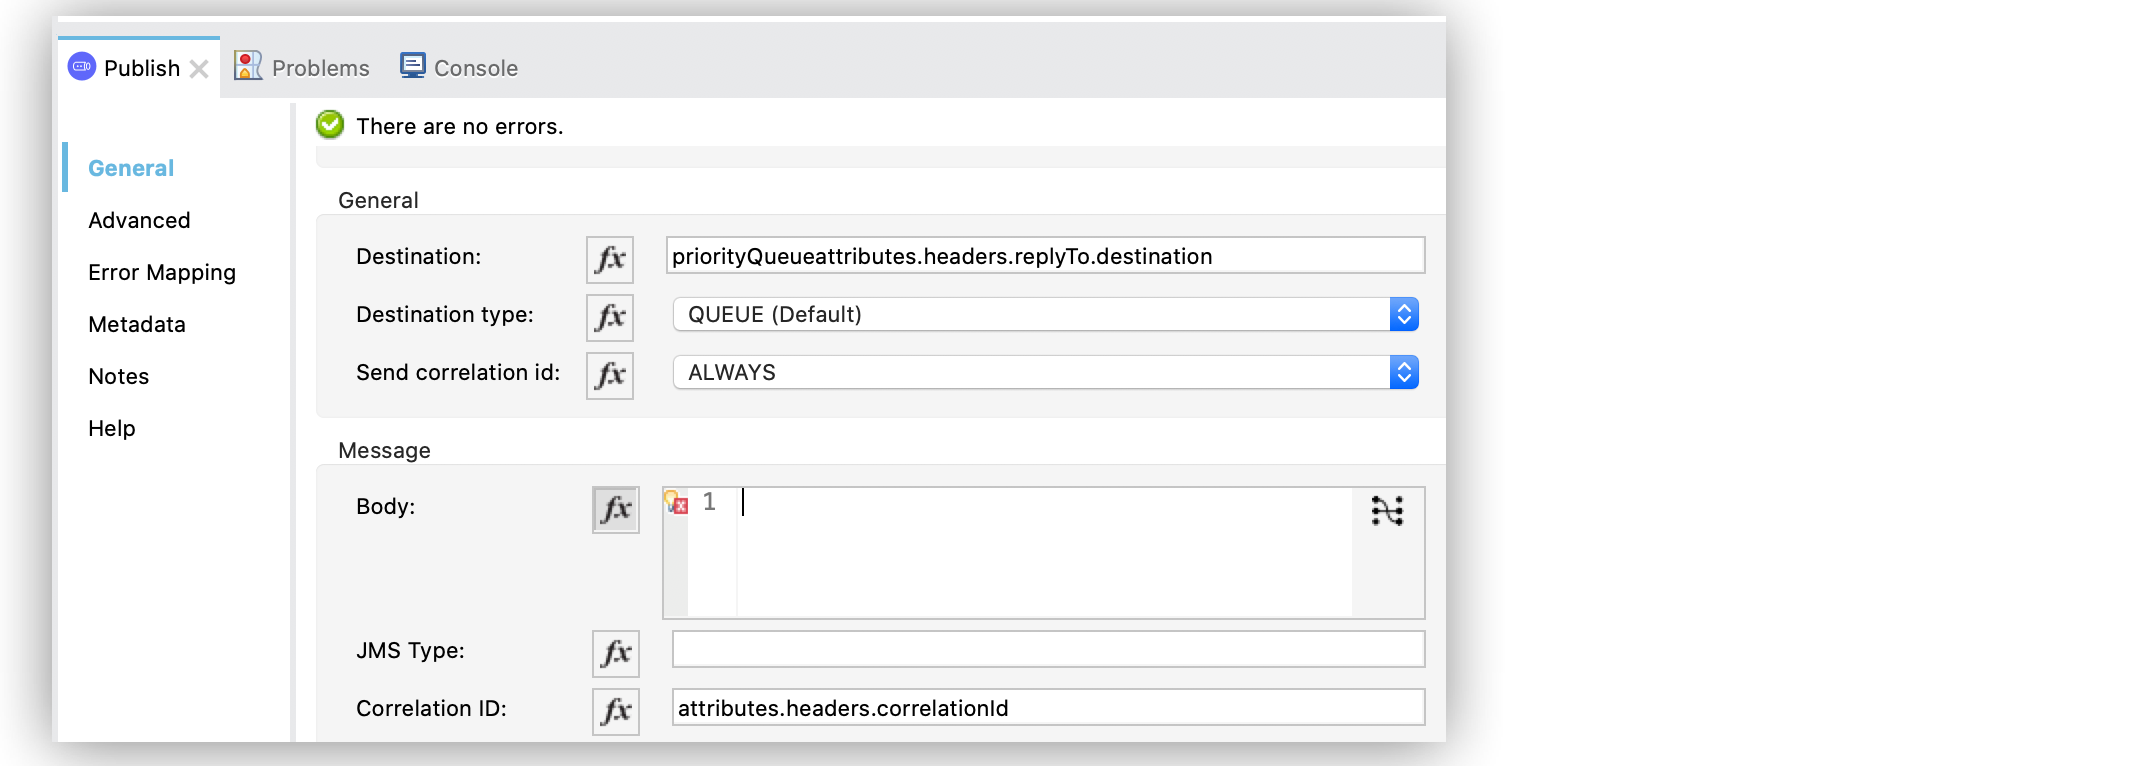
Set the Destination field to the queue name, for example,
attributes.headers.replyTo.destination. -
Set the Send correlation id field to ALWAYS.
-
Set the Correlation ID field to
attributes.headers.correlationId.

In the XML editor, the endCorrelationId and correlationId configurations look like this:
<jms:publish config-ref="JMS_config" sendCorrelationId="ALWAYS" destination="#[attributes.headers.replyTo.destination]">
    <jms:message correlationId="#[attributes.headers.correlationId]"/>
</jms:publish>
Configure Message Properties
Use properties in your JMS message to do things like establishing compatibility with other messaging systems or creating custom message selectors Some of these properties are well-known JMS standards, but others depend on the implementation or custom user configurations. The Publish operation enables you to configure all these properties directly in the message.
Configure User Properties
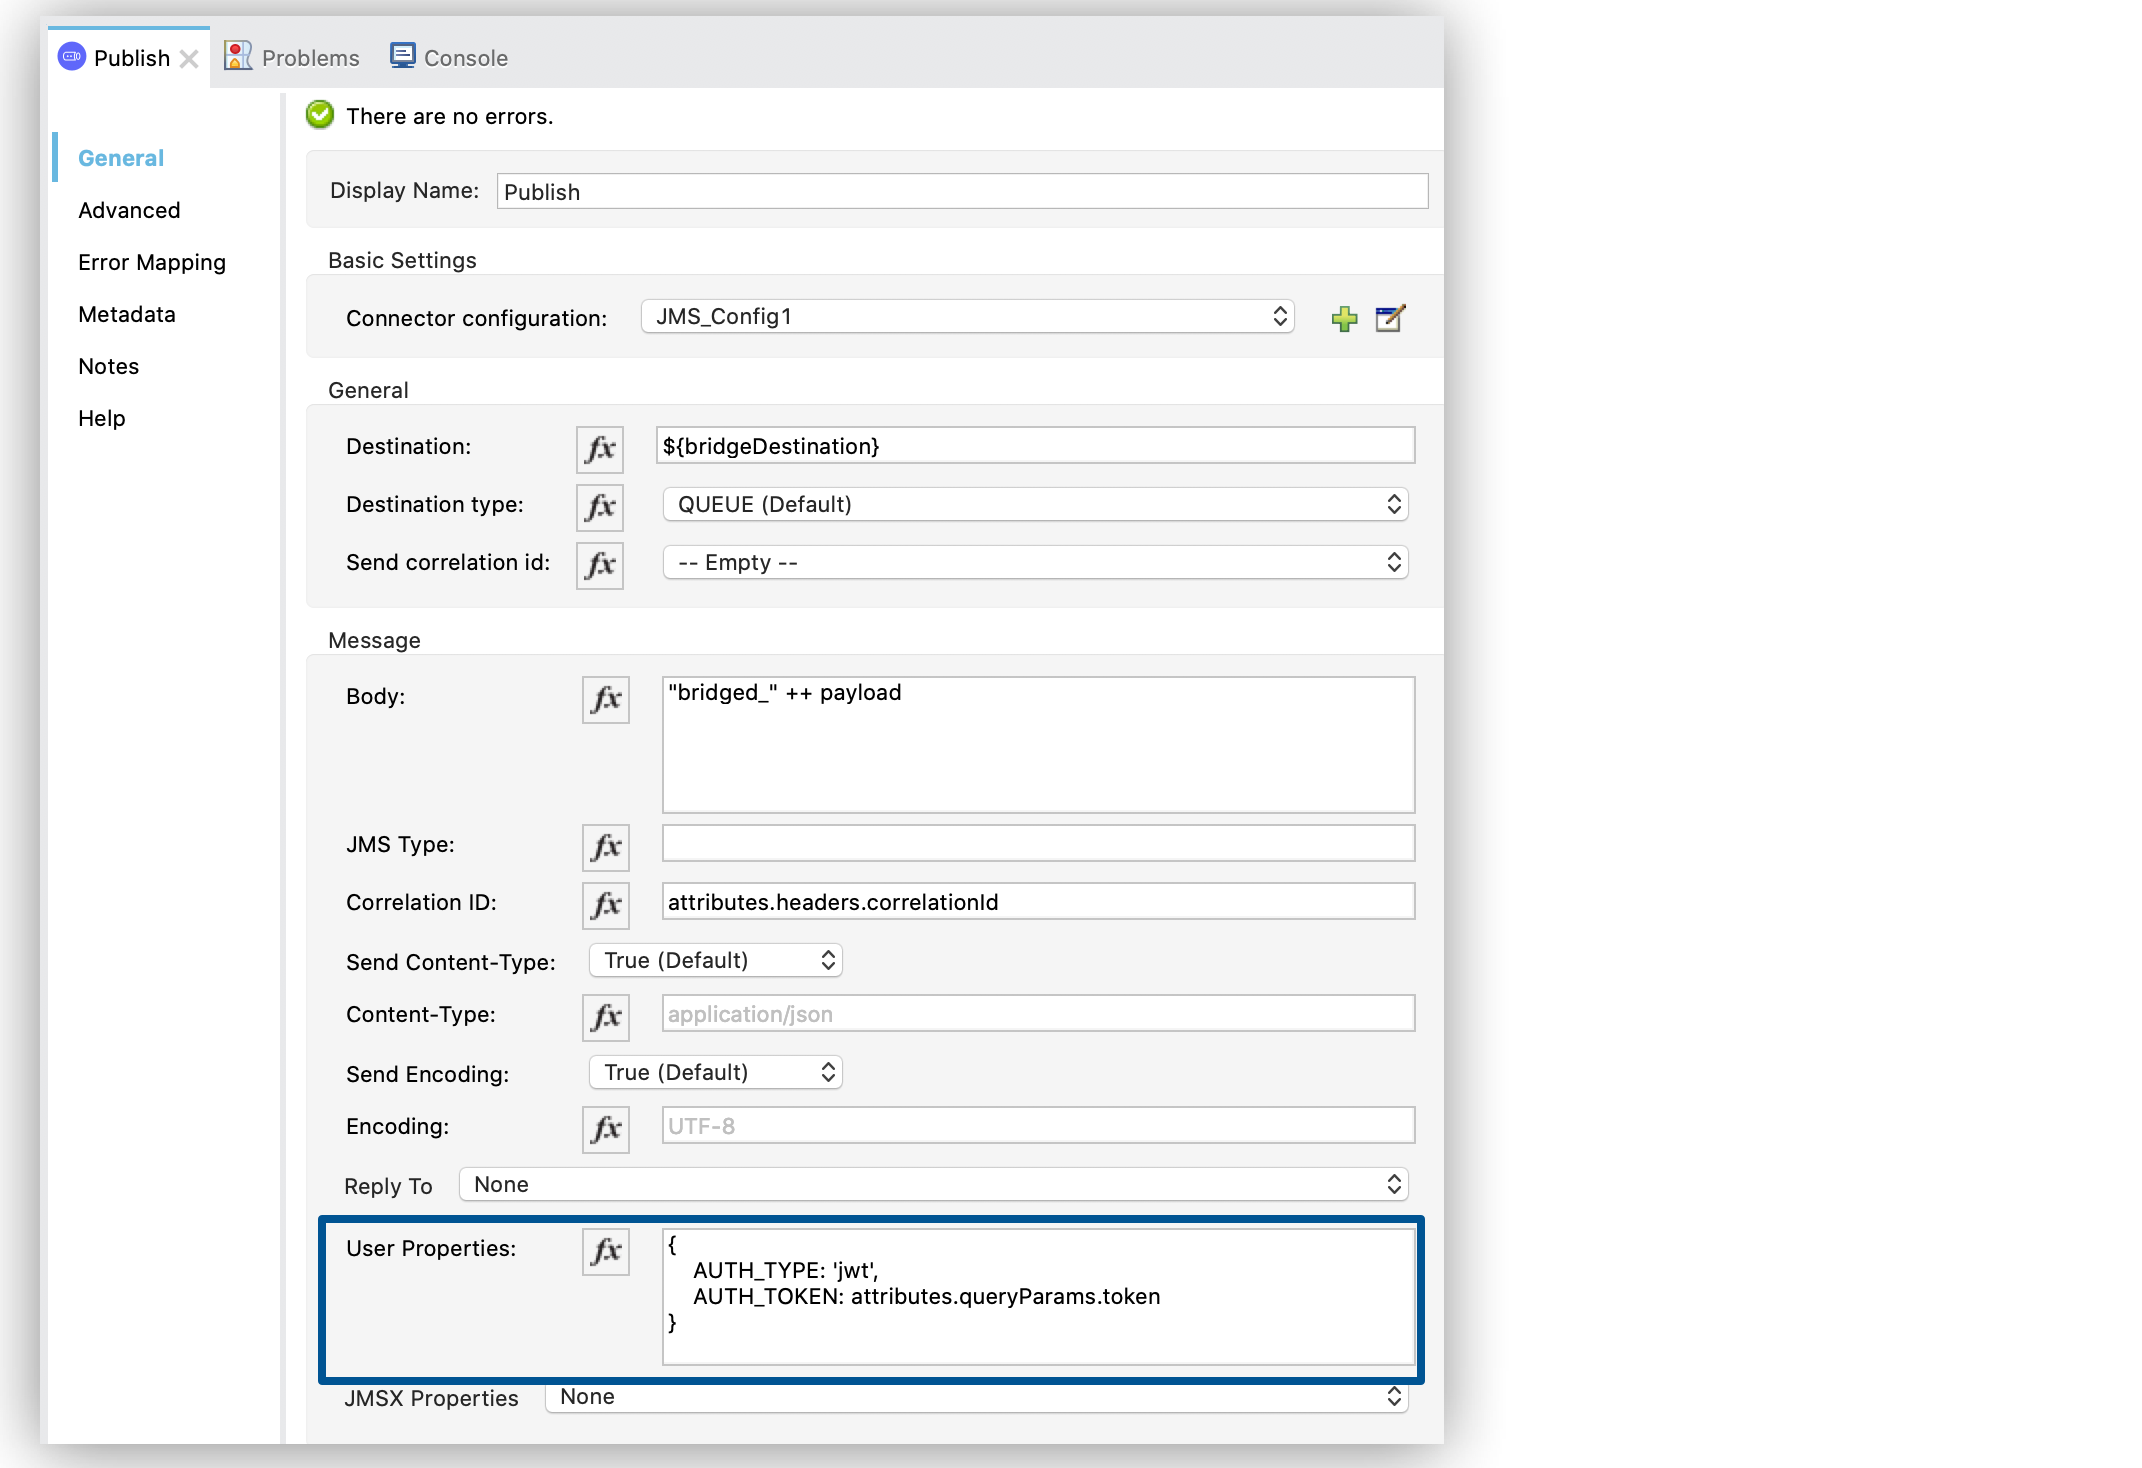
Whenever you must set a property for an outgoing message, configure the Properties field in the message and perform an inline declaration of a map using DataWeave:
-
In your Studio flow, select the Publish operation.
-
Set the Destination field to the queue name, for example,
${bridgeDestination}. -
Set the Destination type field to TOPIC.
-
Set the Body field to
"bridged_" ++ payload. -
Set the Properties field to the following DataWeave code:
{
    AUTH_TYPE: 'jwt',
    AUTH_TOKEN: attributes.queryParams.token
}
In the XML editor, the <jms:body> and <jms:properties> configurations look like this:
<jms:publish config-ref="JMS_config" destination="${bridgeDestination}" destinationType="TOPIC">
    <jms:message>
        <jms:body>#["bridged_" ++ payload]</jms:body>
        <jms:properties>#[{
            AUTH_TYPE: 'jwt',
            AUTH_TOKEN: attributes.queryParams.token
        }]</jms:properties>
    </jms:message>
</jms:publish>
Configure JMSX Properties
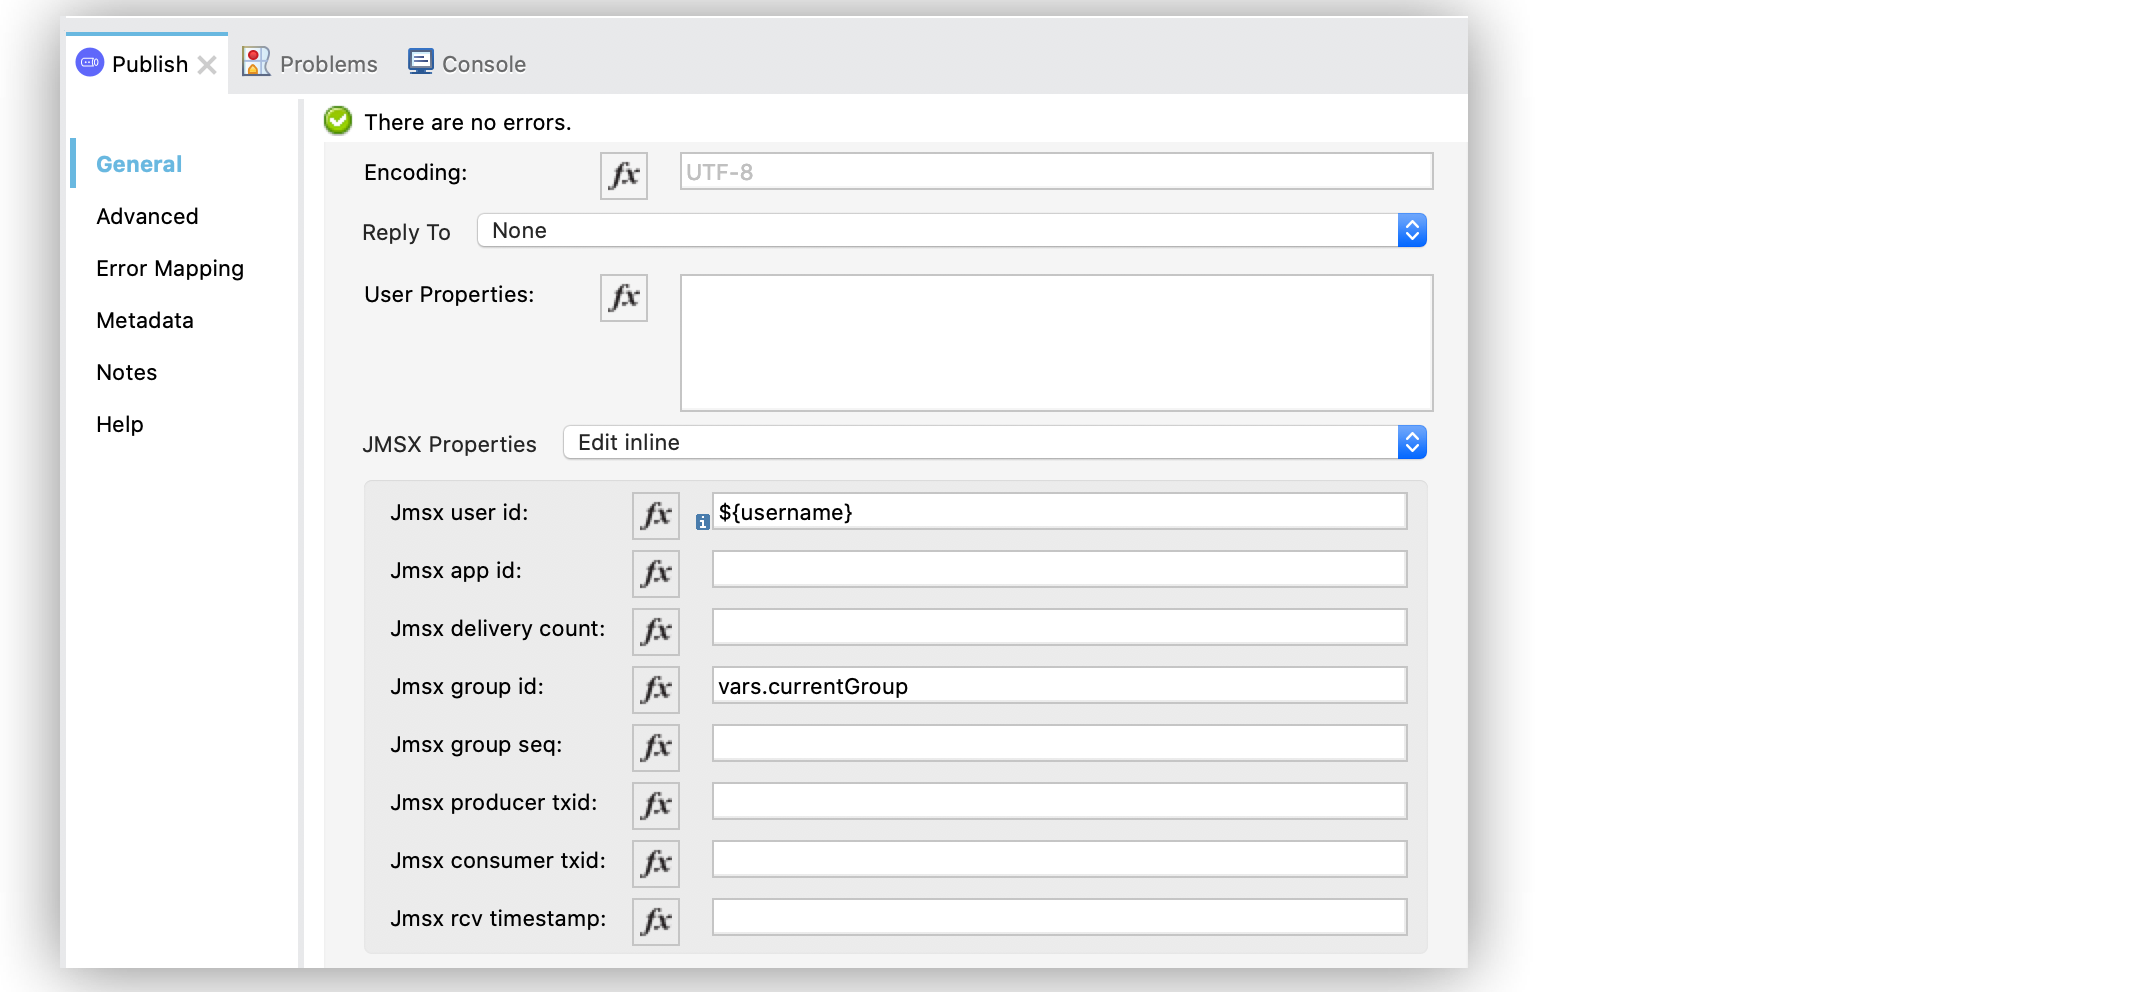
The JMS spec includes JMSX properties, a set well-known properties that contain metadata about the message. In the following example, you configure these properties in the JMSX Properties field of the message:
-
In your Studio flow, select the Publish operation.
-
Set the Destination field to the queue name, for example,
${bridgeDestination}. -
Set the Destination type field to TOPIC.
-
Set the Body field to
"bridged_" ++ payload. -
Set the JMSX Properties field to Edit inline.
-
Set the Jmsx group id field to
vars.currentGroup. -
Set the Jmsx user id field to
${username}.

In the XML editor, the <jms:jmsx-properties>, jmsxGroupID and jmsxUserID configurations look like this:
<jms:publish config-ref="JMS_config" destination="${bridgeDestination}" destinationType="TOPIC">
    <jms:message>
        <jms:body>#["bridged_" ++ payload]</jms:body>
        <jms:jmsx-properties jmsxGroupID="#[vars.currentGroup]" jmsxUserID="${username}"/>
    </jms:message>
</jms:publish>


