To Host an Additional API Console
-
In the Package Explorer, select the API name in
src/main/app. -
On the Global Elements tab, click Create and select Connector Configuration > HTTP Listener Config.
-
Change the Port setting from 8081 to another port, for example 8083.
-
Set the Base Path to
remote-vending/api/*, which is the same base path used for the first HTTP listener configuration.
-
-
Click OK.
-
On the Message Flow tab, drag an HTTP Connector onto the canvas to create a new flow in the project.
-
Give the new flow an arbitrary name. For example,
api-console2. -
In the Properties editor, in Connector Configuration, select the new global HTTP listener configuration you created from the drop-down.
-
In the Properties editor, set Path to a different path than the one you used for the first HTTP listener configuration. For example, set the path to
/console2/*. -
Save the changes.
-
Drag an APIkit Console standalone endpoint from the Mule Palette to the right of the HTTP listener.
The following code snippet shows the configurations added to enable a second console.
<http:listener-config name="HTTP_Listener_Configuration" host="localhost" port="8083" basePath="remote-vending/api/*" doc:name="HTTP Listener Configuration"/> ... <flow name="api-console2"> <http:listener config-ref="HTTP_Listener_Configuration" path="/console2/*" doc:name="HTTP"/> <apikit:console config-ref="api-config" doc:name="APIkit Console"/> </flow>xml -
Save the changes.
-
Right-click the API in Project Explorer, and choose Run As > Mule Application.
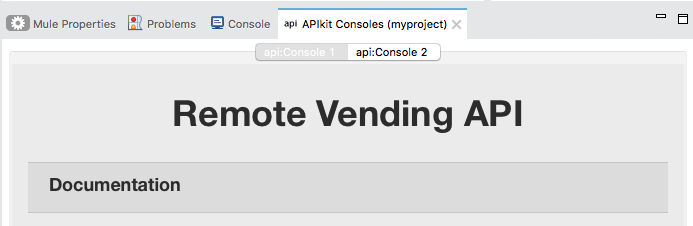
When the additional console tab appears, click the new tab to access the additional API console.