mvn org.mule.extensions:mule-extensions-archetype-maven-plugin:1.11.0:generate
Getting Started with the Mule SDK for Java
Create your first Mule SDK project in just a few steps:
-
Install the required software.
-
Generate a project using Maven and explore it.
-
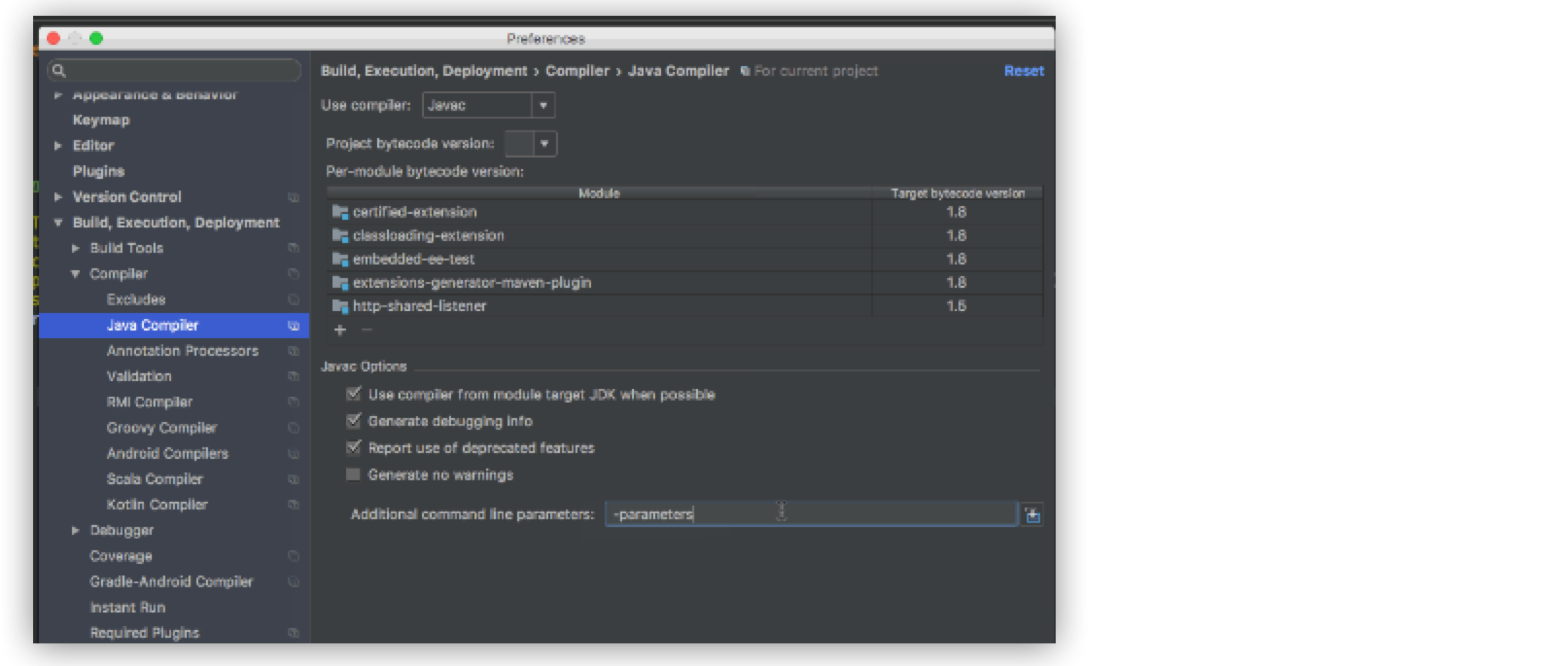
Set up your IDE.
-
Build the project you generated.
-
Develop a connector or module.
-
Run the connector or module in Anypoint Studio.
The SDK provides a Maven plugin and a Maven archetype to create new projects. The archetype is a project template; use it to ensure your new project has a consistent structure, employs recommended practices, and contains a few elements for you to experiment with.
Install the Required Software
Install and verify that the following tools are working in your local environment:
-
Java Development Kit 17 (JDK 17) or earlier to compile and build your custom Java code.
-
For preexisting connectors, JDK 8 might be needed.
-
-
Apache Maven 3.9.8 or later to manage your project’s build.
Generate a Project Using the Maven Plugin
Run the generate command to create an extension project based on the Maven archetype:
You are prompted to provide required field values, then a new project is generated.
Explore the Generated Project
The generated project contains the basic Mule module structure with some basic classes, a dummy implementation, and two running tests that use the generated module.
Because this project is a Maven project, it contains a pom.xml file that contains all the information and configuration details used by Maven to perform the build. This generated POM file inherits from the module’s parent POM, which contains all the common configurations and defaults for all Mule module projects. The parent pom.xml file does not include any release information, so you must add the release repository to the parent pom.xml file manually.
<parent>
  <groupId>org.mule.extensions</groupId>
  <artifactId>mule-java-extension-parent</artifactId>
  <version>1.11.0</version>
</parent>| The generated POM defines a Minimum Mule Version by default, that version must be compatible with the target Mule version. See Forward Compatibility for more information on how to configure and work with Minimum Mule Versions. |
Build the Project
After your project is generated, build it:
mvn clean install
This command compiles your project, runs the tests, and installs the project in your local Maven repository.
Develop Custom Module Code
Find the @Extension annotated class and
examine module structure and the different
elements that you can add to a module. Use these elements to modify a connector.
Add a Custom Icon to Your Connector
Connector icons are files in the .svg format. To customize the icon of a connector, add an icon.svg file that contains the custom icon under the icon folder in the root of the connector tree.
The following image shows an example of the folder structure for the icon:
After you add the custom icon to your connector, the icon appears in Anypoint Exchange and in Anypoint Studio.
Add Your Connector to Studio
Once your connector is working, you can try it in Anypoint Studio.
Go to your Mule app pom.xml file and add the connector as a <dependency> with
its groupId, artifactId, and version.
...
<dependencies>
  ...
  <dependency>
    <groupId>org.mule.connector</groupId>
    <artifactId>mule-connector</artifactId>
    <version>1.0.0</version>
    <classifier>mule-plugin</classifier>
  </dependency>
  ...
</dependencies>
...| Different features are available in different versions of the SDK for Java. See Choosing the SDK version to pick the right version for your connector. |
Publish Your Connector or Module to Anypoint Exchange
After you run your connector or module in Studio, publish your connector or module to Anypoint Exchange. For more information, refer to Publishing Assets Using Maven.


