Integrate with Your Logging System Using Log4j
You can disable CloudHub logs and integrate your CloudHub application with your logging system by using the Log4j configuration. After you configure logs to flow to both your log system and CloudHub, disable the default CloudHub application logs.
Requirements and Restrictions
-
This feature is available only on request.
If you do not see the Disable CloudHub logs option in Runtime Manager, you can request it on Salesforce Help.
-
MuleSoft Support doesn’t provide assistance for implementing custom logging configurations or resolving issues caused by custom logging configurations.
-
MuleSoft is not responsible for issues arising from misconfiguration of your Log4j appender, including these or other issues:
-
Lost logging data
-
Performance degradation
-
Running out of disk space
-
-
Do not use synchronous log appenders.
You can use only asynchronous log appenders.
-
When you disable CloudHub logs:
-
Only the system logs are available in Runtime Manager.
System logs provide the status of your worker deployment and whether your application started correctly, but do not provide application logs. For application worker logs, check the logging system for your application.
-
You cannot download application worker logs from the Applications > Logs page.
-
CloudHub warns you that logs are not available.
-
-
You cannot forward system logs (
mule_ee.log) to external logging solutions the same way as application logs.
Create Your Log4j Configuration
For logs to both flow to your logging system and be viewable in CloudHub, configure the CloudHub Log4j appender.
You can use any Log4j appender. For information about configuring log4j2.xml, see the
Log4j Configuration Syntax.
To enable the Log4j appender, update the log4j2.xml configuration file with your logger settings and include the Log4j appenders Log4J2CloudhubLogAppender and RollingFile.
In Anypoint Studio, the log4j2.xml file is located in the src/main/resources directory.
The two example Log4j appenders in the log4j2.xml file are:
- Log4J2CloudhubLogAppender
-
Sends log data to CloudHub.
- RollingFile
-
Sends log data to the filesystem of the VM.
You must include the appenders in your custom configurations in the log4j2.xml file to enable MuleSoft Support team visibility into the logs.
|
<?xml version="1.0" encoding="UTF-8"?>
<Configuration status="INFO" name="cloudhub" packages="com.mulesoft.ch.logging.appender">
    <Appenders>
        <RollingFile name="FILE"
                     fileName="/opt/mule/mule-CURRENT/logs/mule-${sys:domain}.log"
                     filePattern="/opt/mule/mule-CURRENT/logs/mule-${sys:domain}-%i.log">

            <PatternLayout pattern="[%d{MM-dd HH:mm:ss.SSS}] %-5p %c{1} [%t]: %m%n"/>
            <DefaultRolloverStrategy max="10"/>
            <Policies>
                <SizeBasedTriggeringPolicy size="10 MB" />
            </Policies>
        </RollingFile>
        <Log4J2CloudhubLogAppender name="CLOUDHUB"
                addressProvider="com.mulesoft.ch.logging.DefaultAggregatorAddressProvider"
                applicationContext="com.mulesoft.ch.logging.DefaultApplicationContext"
                appendRetryIntervalMs="${sys:logging.appendRetryInterval}"
                appendMaxAttempts="${sys:logging.appendMaxAttempts}"
                batchSendIntervalMs="${sys:logging.batchSendInterval}"
                batchMaxRecords="${sys:logging.batchMaxRecords}"
                memBufferMaxSize="${sys:logging.memBufferMaxSize}"
                journalMaxWriteBatchSize="${sys:logging.journalMaxBatchSize}"
                journalMaxFileSize="${sys:logging.journalMaxFileSize}"
                clientMaxPacketSize="${sys:logging.clientMaxPacketSize}"
                clientConnectTimeoutMs="${sys:logging.clientConnectTimeout}"
                clientSocketTimeoutMs="${sys:logging.clientSocketTimeout}"
                serverAddressPollIntervalMs="${sys:logging.serverAddressPollInterval}"
                serverHeartbeatSendIntervalMs="${sys:logging.serverHeartbeatSendIntervalMs}"
                statisticsPrintIntervalMs="${sys:logging.statisticsPrintIntervalMs}">

            <PatternLayout pattern="[%d{MM-dd HH:mm:ss}] %-5p %c{1} [%t]: %m%n"/>
        </Log4J2CloudhubLogAppender>
    </Appenders>
    <Loggers>
        <AsyncRoot level="INFO">
            <AppenderRef ref="FILE"/>
            <AppenderRef ref="CLOUDHUB"/>
        </AsyncRoot>
        <AsyncLogger name="com.gigaspaces" level="ERROR"/>
        <AsyncLogger name="com.j_spaces" level="ERROR"/>
        <AsyncLogger name="com.sun.jini" level="ERROR"/>
        <AsyncLogger name="net.jini" level="ERROR"/>
        <AsyncLogger name="org.apache" level="WARN"/>
        <AsyncLogger name="org.apache.cxf" level="WARN"/>
        <AsyncLogger name="org.springframework.beans.factory" level="WARN"/>
        <AsyncLogger name="org.mule" level="INFO"/>
        <AsyncLogger name="com.mulesoft" level="INFO"/>
        <AsyncLogger name="org.jetel" level="WARN"/>
        <AsyncLogger name="Tracking" level="WARN"/>
    </Loggers>
</Configuration>
If you need to use scripts in your log4j2.xml custom configuration, make sure to enable the languages you use by setting the log4j2.Script.enableLanguages system property accordingly. You can enable multiple languages by providing a comma-separated list of values. For example, log4j2.Script.enableLanguages=js,groovy.
|
Enable Custom Log4j Configurations in CloudHub
After you configure the Log4j appender, deploy the application to CloudHub and follow these steps to disable CloudHub logs:
-
From Anypoint Platform, select Runtime Manager.
-
Click Applications in the left menu.
-
Click the Type column to display the details pane for the application.
-
Click Manage Application.
-
In the Settings page, click Disable CloudHub logs:
 Figure 1. The arrow shows the Disable CloudHub logs option in the Settings page.
 -
In the Disabling CloudHub logs confirmation window, select the checkboxes to verify that you want to disable CloudHub logs:
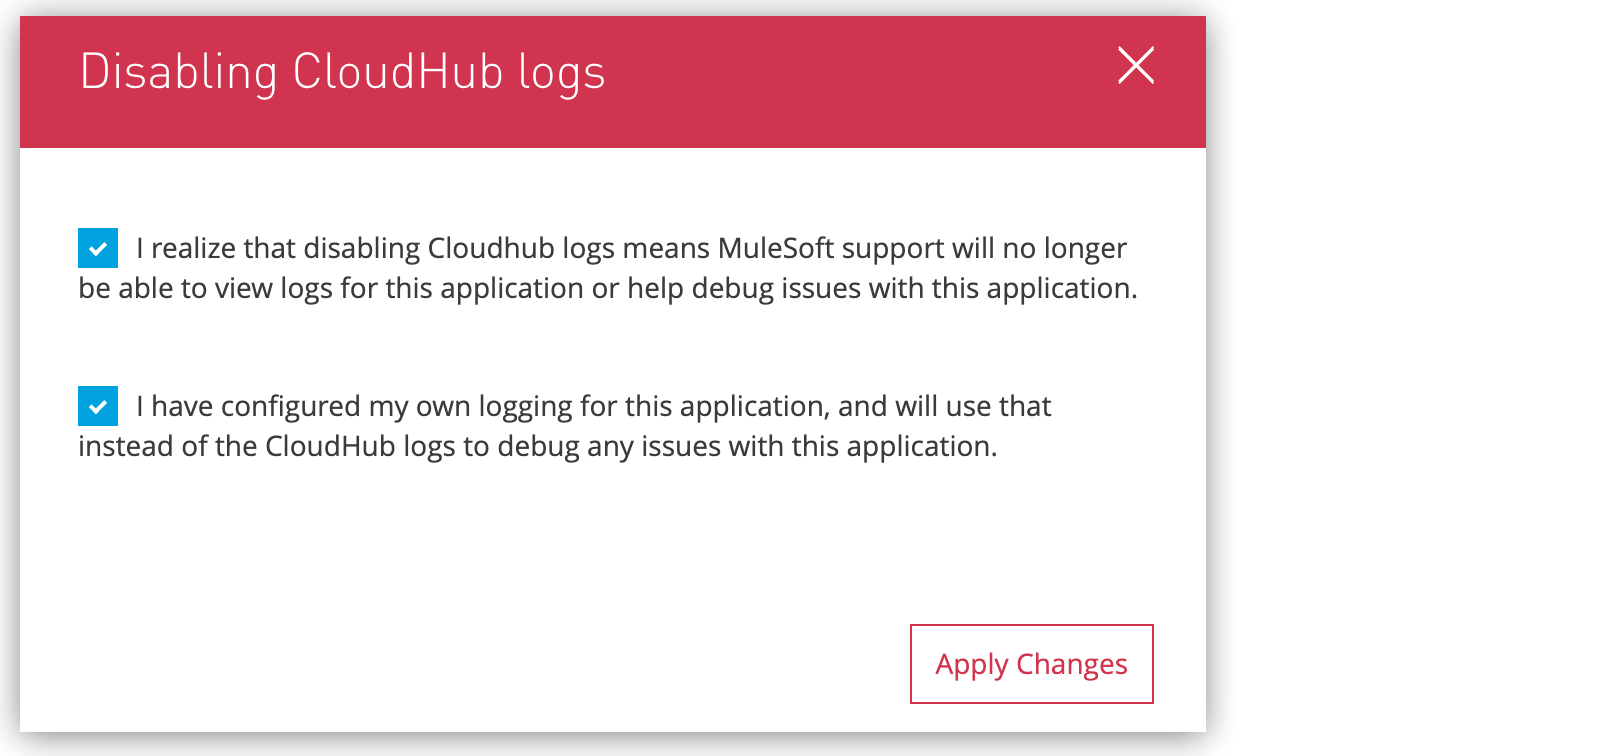 Figure 2. The screen shows the Disabling CloudHub logs confirmation window.
 -
Click Apply Changes.
-
Review your application settings to ensure they are correct.
-
Click Apply Changes to restart your application.
After your application starts, logs start flowing to your custom Log4j appender and are viewable on your target logging system.