Configuring RPA Bot
Use the RPA Bot Configurator application to change the default settings of a bot. To find the application navigate to MuleSoft > RPA Bot Configurator.
The RPA Bot Configuration tool has the following configuration panels:
| After saving your changes, restart the RPA Bot Service for the changes to take effect. |
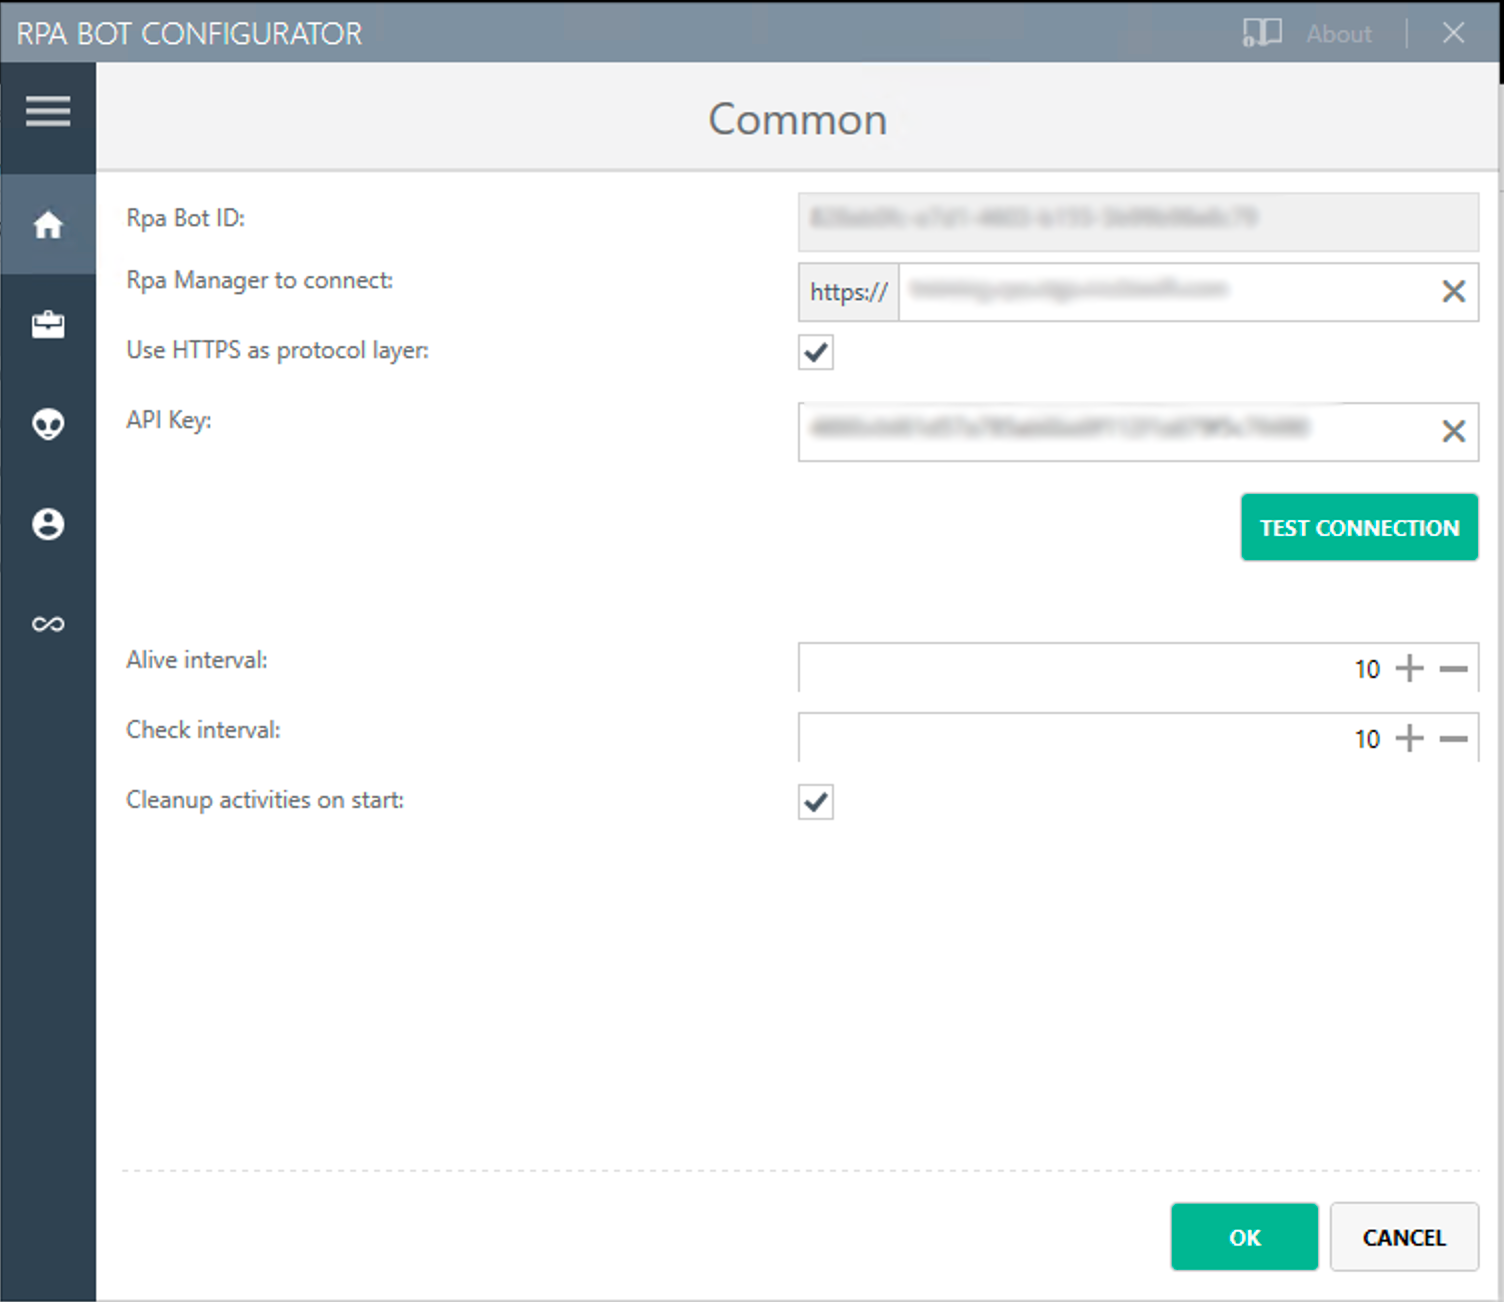
Common Settings
-
RPA Bot ID
ID generated during the installation process of RPA Bot, which identifies the bot in RPA Manager (even if the IP or MAC-Address changes). If you need a new ID, uninstall and then reinstall RPA Bot.
-
RPA Manager to connect
The URL address of the RPA Manager instance the bot connects to. There is no default setting.
-
Use HTTPS as protocol layer
Specifies whether the bot connects with RPA Manager via HTTP or HTTPS.
-
API Key
The API key entered during the installation of the robot. You can change this setting.
-
Alive interval
Time interval in milliseconds after which the bot connects to the RPA Manager to show that it is still alive.
-
Check interval
Time interval in milliseconds after which the bot connects to RPA Manager and checks for provided packages to collect (such as scheduling tasks or activities).
-
Cleanup workflows on start
Select this option to delete the workflows that are no longer assigned to a configuration but are still stored locally in the bot.
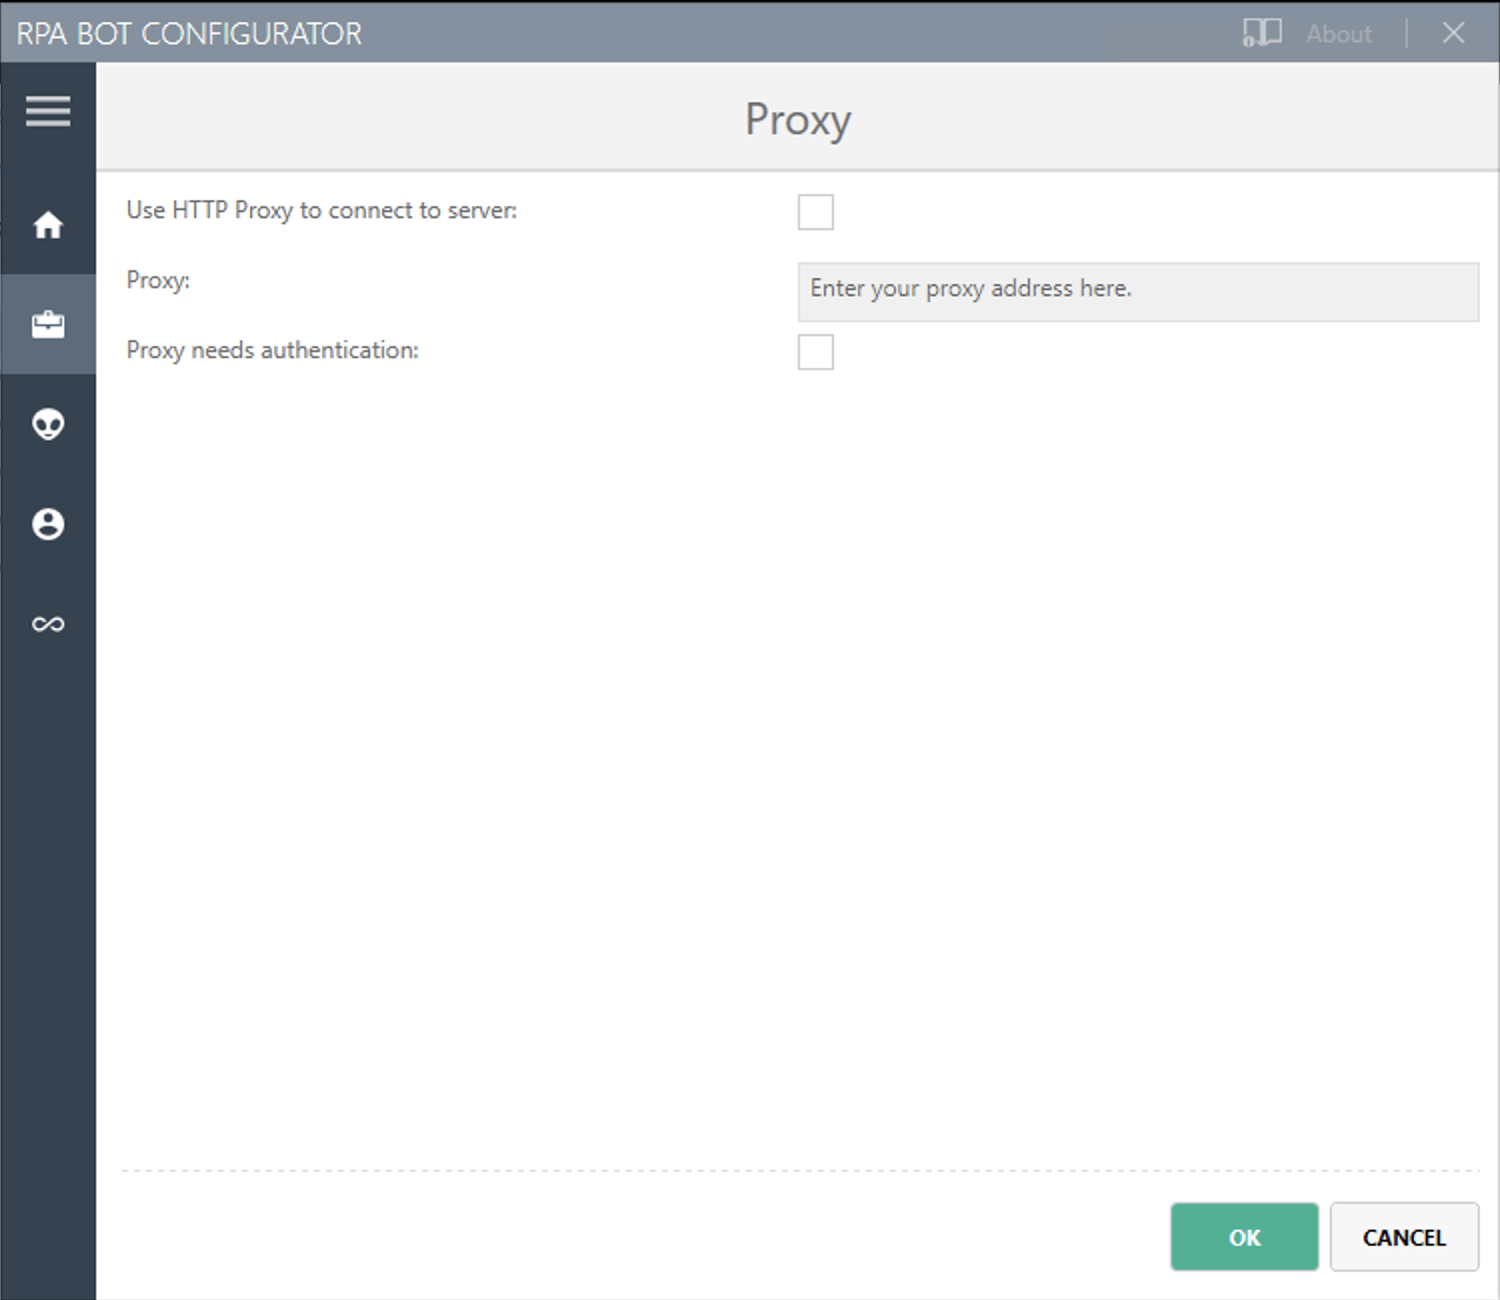
Proxy Settings
-
Proxy
The bot and RPA Manager communicate through the HTTP protocol at Port 80. If you connect to the internet through a proxy server, enter the proxy address in this field
Format:
http://<Serveraddress>:<Port>, for example:http://myproxy.de:881.
Secure Session
Enable the bot to use a Secure Session by entering credentials the bot uses to login to the computer and to open a hidden session. If you don’t configure credentials, the bot can only use a running desktop session.
Before You Begin
To prevent issues while executing the Secure Session:
-
Create a local user for the Secure Session
Creating a local user for the bot to use prevents receiving errors such as Insufficient Privilege, Conflicting Username, or Wrong Credentials. Using a local user speeds up the authentication process and terminal session setup.
If your security policies do not allow local users or the applications to use during the automation require SSO authentication via a domain user, use a domain user.
Create a Local User for the Secure Session
To create a local user for the bot to use during a Secure Session:
-
In the Windows environment where the bot executes, navigate to Control Panel > System and Security > Administrative Tools > Computer Management.
You can also launch Computer Management from Windows Search.
-
In Computer Management, navigate to System Tools > Local Users and Groups > Users.
-
Create a local user for the bot to use.
Ensure that the local Username does not conflict with the Username of the remote user used to log in to the machine. -
After creating the local user, navigate to User Properties > Member Of > Add.
-
Add the user to the following groups:
-
Administrators (required only when the applications to use require Administrator rights)
-
Remote Desktop Users
-
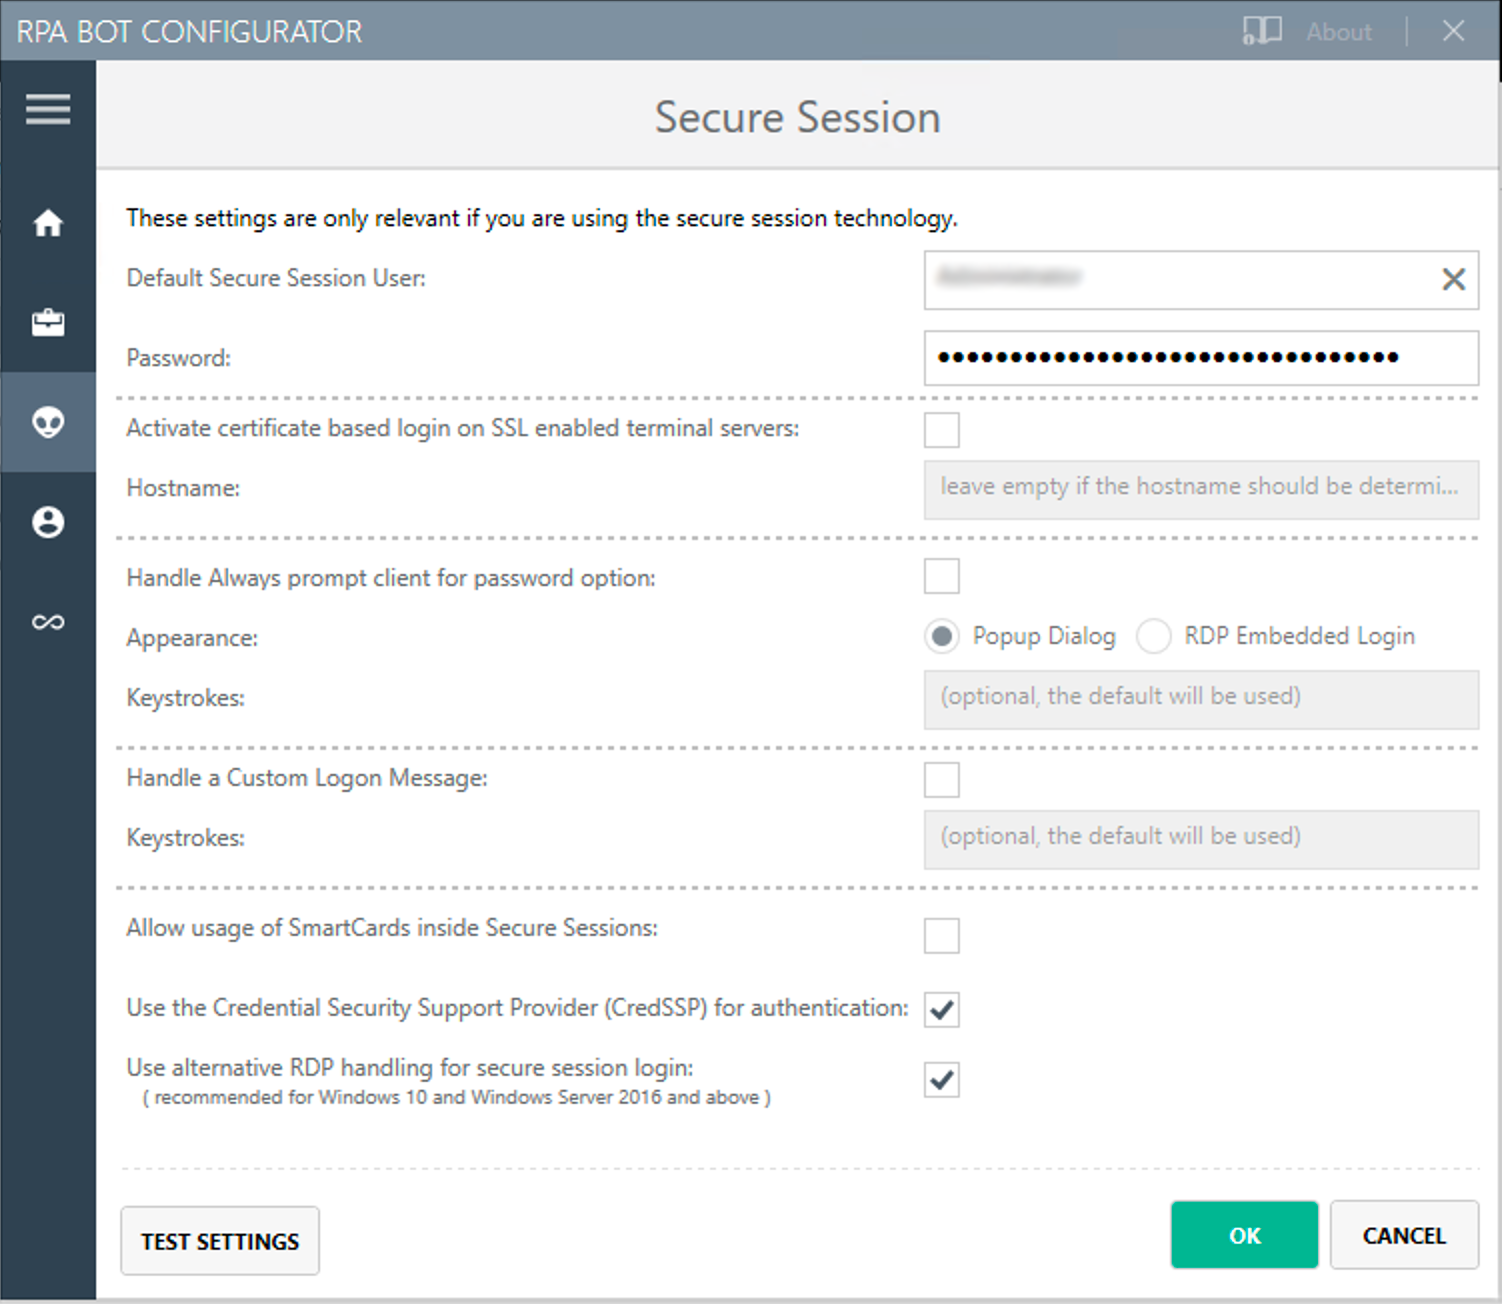
Secure Session Settings
Use this panel to configure user credentials and other settings for the bot when running a Secure Session.
-
Default Secure Session User
If you want the bot to use Secure Sessions, enter the name of the user the bot uses to log in to the computer and to run a hidden session. If the environment of the computer the bot is installed on is embedded in a domain and you want to use a local user, write the user name as follows:
.\username. For domain users, use the following form:mydomain\username. -
Activate certificate based login on SSL enabled terminal servers
Enable this option if you are installing the bot on a terminal server that only allows SSL protected RDP connections.
-
Handle “Always prompt client for password” option
Enable this option if the
fPromptForPasswordGroup Policy is enabled.The
fPromptForPasswordpolicy requests the password to be entered a second time when the RDP session is established. Some machines request the second password entry via a popup dialog. Other machines embed the prompt into the same screen, like the regular Windows login. -
Handle a “Custom LogonMessage”
Enable this option if you are prompted with a custom logon message when connecting to your system via RDP.
Some systems show a custom logon message screen after logging into an RDP session, and this message has to be acknowledged by pressing a button.
-
Allow usage of SmartCards inside Secure Sessions
Enables authentication via SmartCard within the Secure Session.
-
Use the Credential Security Support Provider (CredSSP) for authentication
Select this option to use the CredSSP for authentication.
-
Use alternative RDP handling for Secure Session login (recommended for Windows 10 and Windows Server 2016)
If the group policy Always prompt for password upon connection is enabled, the password must be entered twice when logging into the RDP session. This might prevent the Secure Session from running smoothly, especially on Windows 2010 and Windows Server 2016. If this is the case, activate this option so that the credentials can be entered correctly in the second query.
In this context, ensure that you have selected the option Allow connections only from computers running Remote Desktop with Network Level Authentication (recommended) in the Windows system properties.
Test Secure Session Settings
To test your connection settings for the Secure Session, click TEST SETTINGS and enter test parameters for the Secure Session.
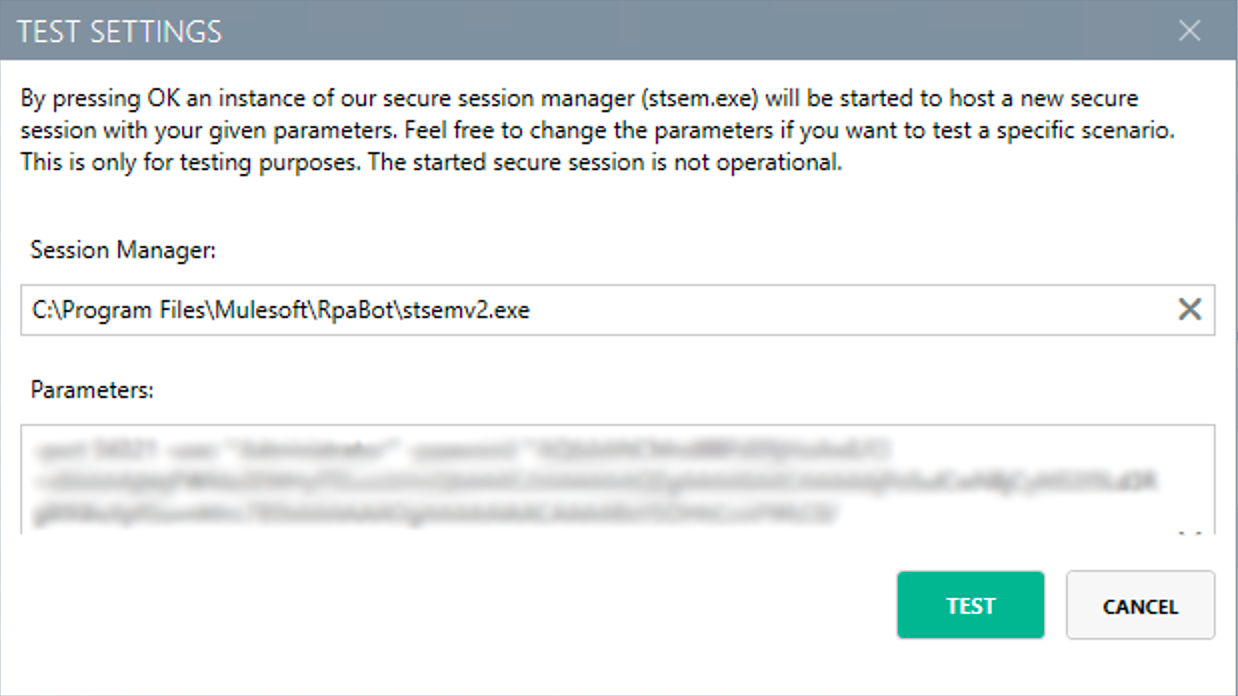
If you click TEST, the application starts a non-operational Secure Session in which you can see a list of parameters for the Secure Session. Click Logout to end this non-operational Secure Session.
Connection Settings
-
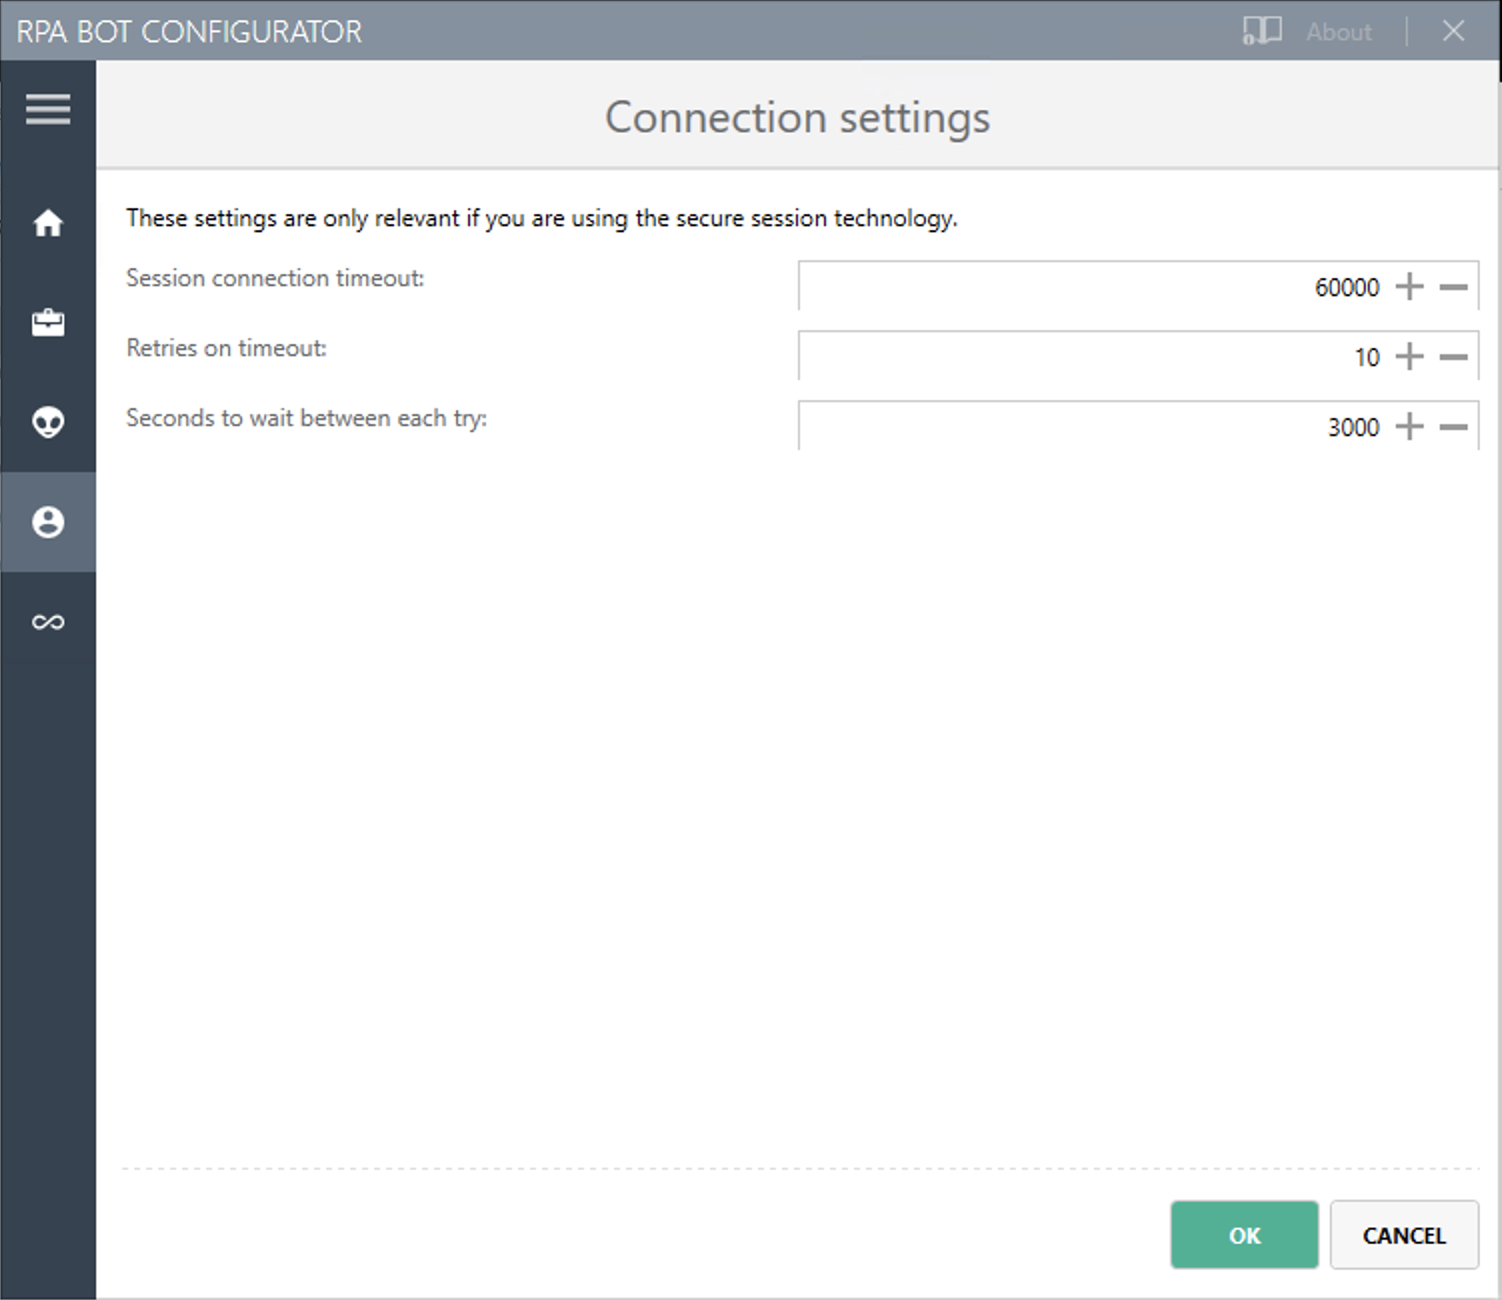
Connection settings
Here you can define how RPA Bot components (Robot, StSec and StSem) communicate among themselves. These settings are relevant only for Secure Sessions. You can choose the Named Pipes protocol or TCP. Named Pipes is selected by default because it is a simple communication method. In some cases, when using TCP, the firewall can block the connection even though it is an exclusive internal computer process.
-
Session connection timeout
With an established connection, the session connection timeout defines the time that a call can remain unanswered before the bot cancels the call.
-
Retries in timeout
Defines how often the bot tries to reach a started StSec via session connection.
-
Seconds to wait between each try
The wait time specifies how long the bot waits between every individual attempt.
Session Monitoring
-
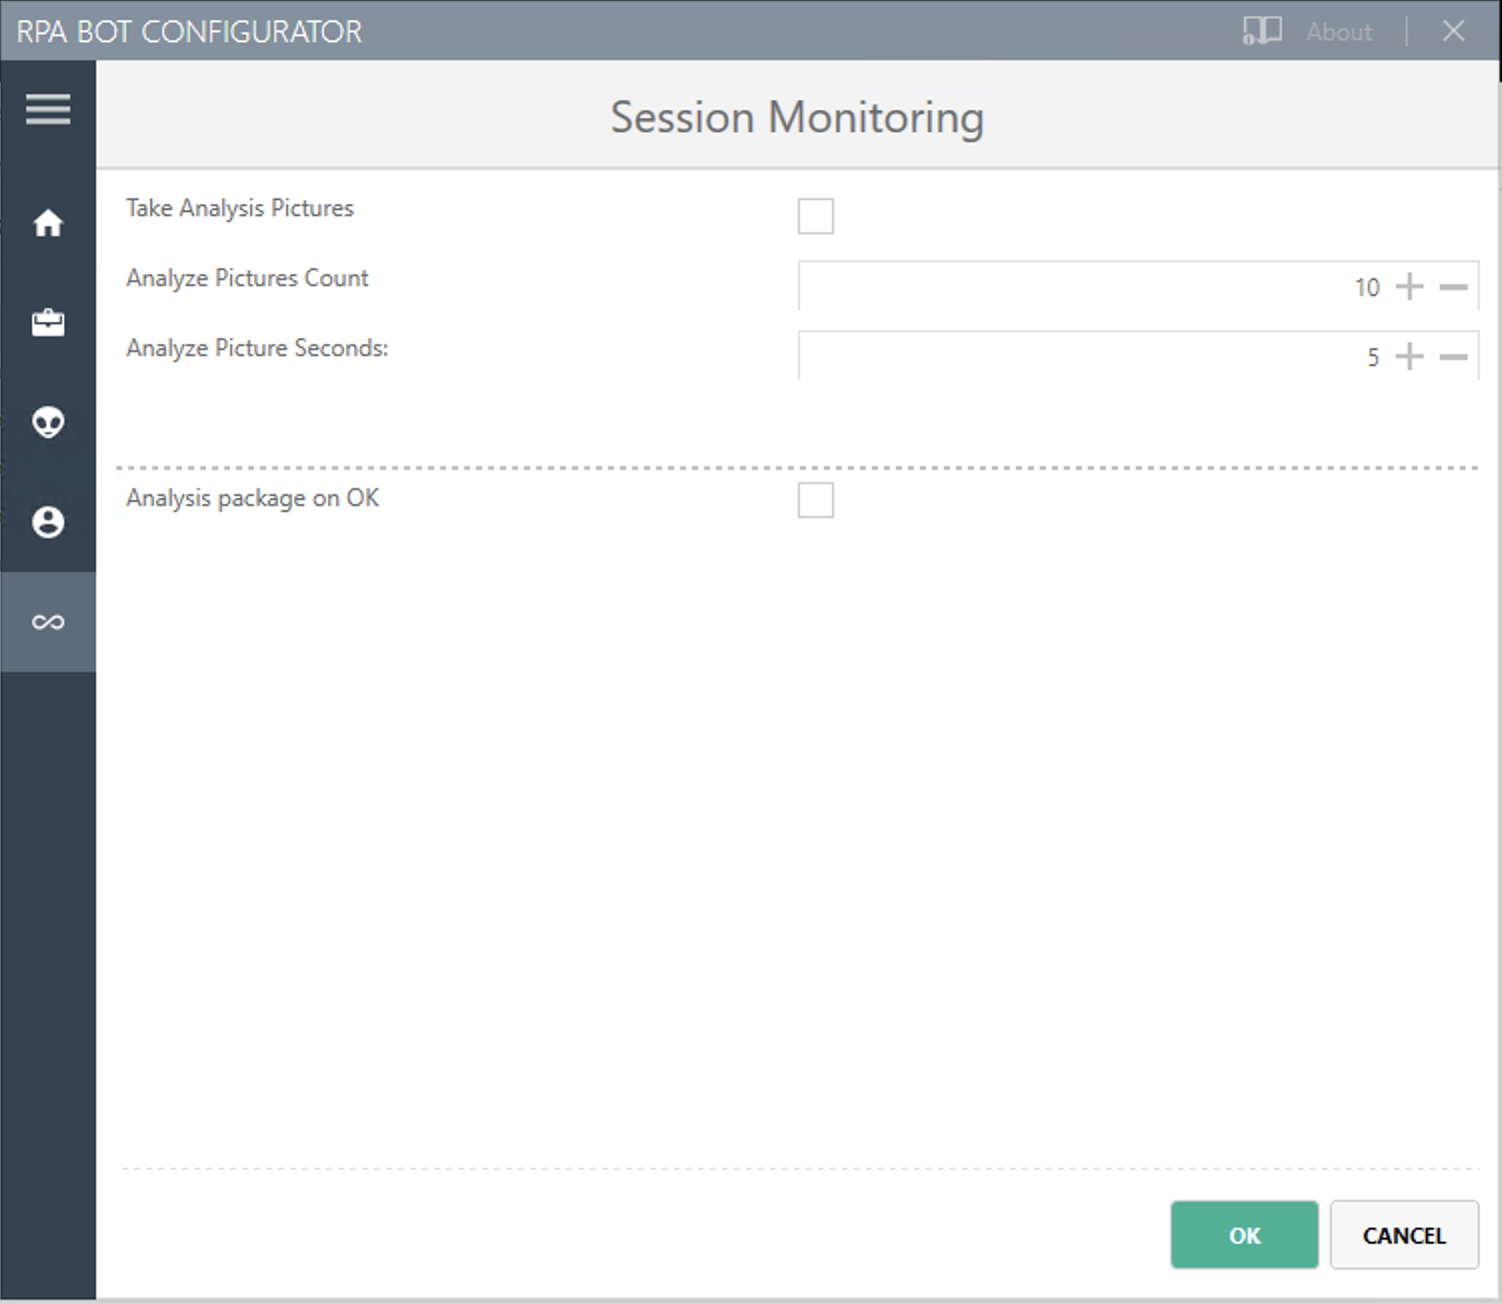
Take Analysis Pictures
Specifies whether the bot takes screenshots while executing a process.
-
Analyze Pictures Count
Specifies the number of screenshots to take.
-
Analyze Picture Seconds
Defines the interval at which the bot takes screenshots.
-
Analysis package on OK
Sends analysis packages if the Activity Workflow terminates with OK.