Downloading Mule Runtime
Select one of the installation configurations below for instructions on how to download, configure and run Mule runtime community (CE) or enterprise (EE) editions:
-
Mule EE with Anypoint Studio - Anypoint Studio bundled with an embedded Enterprise runtime with a 30-day Enterprise trial license.
-
Mule EE or CE Runtime - For either Community (CE) or Enterprise (EE) versions of Mule runtime.
Mule EE with Anypoint Studio
-
Install either Java SE Development Kit 7
 or JDK 8.
 -
Set your
JAVA_HOMEenvironment variable to the path where you installed the JDK. -
Download Anypoint Studio, which includes the Mule Runtime.
-
Choose the version of Studio compatible with your operating system: Windows, Mac, or Linux.
-
Unzip the downloaded file to a directory on a hard drive located on your host machine. The Anypoint Studio folder or directory appears when the unzip operation completes.
-
If using a Mac, double-click the AnypointStudio.app file, located in the AnypointStudio folder. If using Windows, the anypointStudio.exe file, located in the AnypointStudio directory.
If using Linux, double-click the Anypoint Studio file icon, located in the AnypointStudio directory.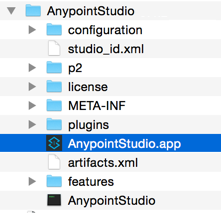
-
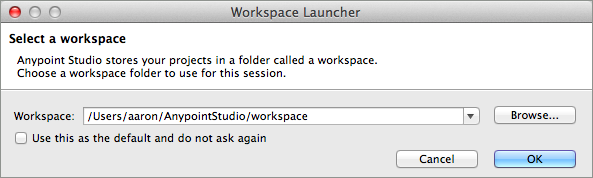
Click OK to accept the default workspace.
-
Studio launches, then displays a Welcome page. Click Create a Project to begin development immediately.
-
Optional: Add Mule CE to your Studio instance.
-
Optional: Acquire an Enterprise license (recommended for running applications in production).
Mule EE or CE Runtime
The steps below describe what you need to do to install and run Mule Community or Enterprise Edition; the same steps apply for both the Community runtime and the Enterprise runtime.
-
Install Java SE Development Kit 7
or JDK 8. -
Download and unzip Mule Enterprise Edition
or Mule Community Edition. -
Start Mule from a command line by changing directory to where you unzipped the Mule software distribution and then changing to the
bindirectory. Type the./mulecommand for Mac or Linux, or typemule.batfor Windows.Wait for Mule to start running, which may take a minute or two.
-
To stop Mule, type CTRL-C.
See Also
-
Learn more about Installing an Enterprise License.
-
Learn about Configuring Mule as a Windows Service.
-
Read One Studio
that explains the Single Studio distribution. -
Get started learning Key Concepts.
-
Extend Mule with plugins, modules, runtimes, and connectors.
-
Access a list of all the update sites available for your version of Studio.