Managing User Templates
RPA Builder enables you to save action steps and their settings as templates that you can reuse in the project. You can Import and Export these templates as needed.
Create a set of templates before creating a Workflow to increase the creation speed significantly. Save the templates before configuring the Workflow objects, so the templates stay flexible in use. RPA Builder automatically loads templates during start-up and makes them available in the toolbox. You can drag and drop templates to your Workflow to use them.
Before you Begin
Consider the following when creating a template:
-
Search Pattern and Pattern Select action steps and all combinations of action steps that include them cannot be saved as a template.
-
RPA Builder removes all passwords from templates before creating them.
Create a Template
You can create a template using the Context menu or the Workflow Tools.
-
Use any of the following methods to start creating a template:
- From the Context Menu
-
-
Right-click an action step to open its context menu.
-
Click Save As Template.
-
- Using the Workflow Tools
-
-
Select the action step you want to save as a template.
-
In the Workbench Toolbar, click the Tools (
 ) button.
 -
Click Save Selected Items as Template.
-
After selecting any of these options, a Save as dialog opens in which you continue configuring the template.
-
Select the path to the folder in which to store the template.
By default, the RPA Builder template folder is
\MuleSoft\RPA\UserTemplates. -
Enter a name for the template and click Save.
The Template details window that subsequently opens enables you to add additional information to this template.

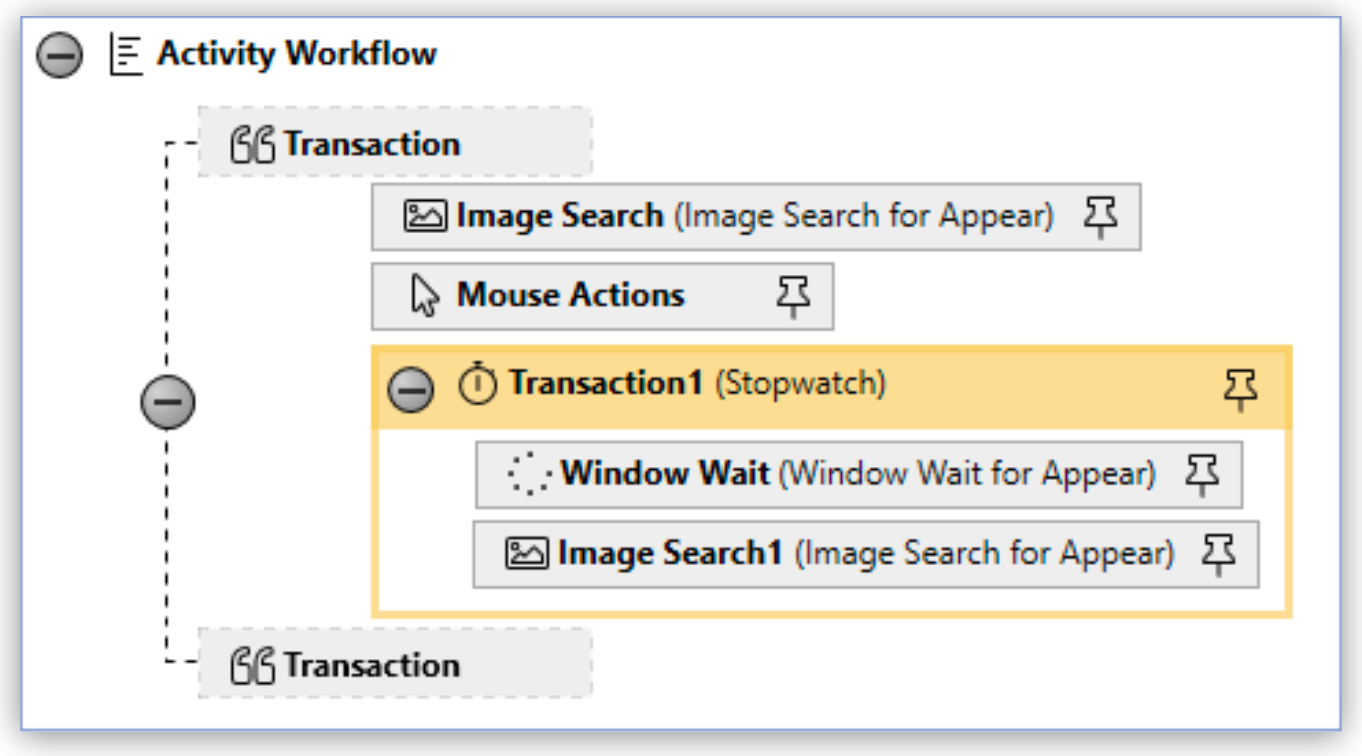
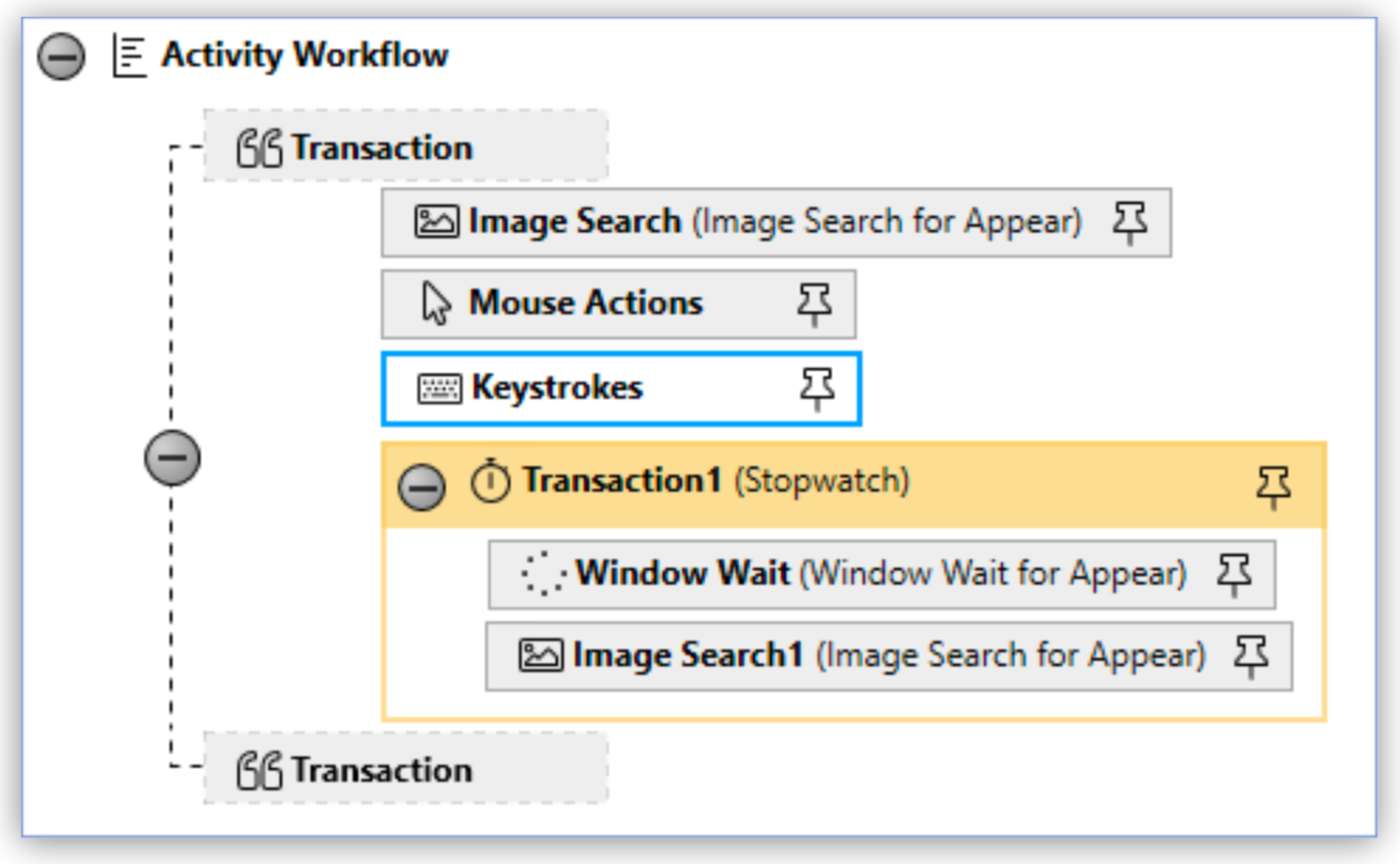
When you unselect Clear user data, the template keeps the settings configured, so specific measurement Workflow elements, like starting MS Edge with a blank page, can be saved as a template as a whole and reused directly from the User Templates category in the Toolbox.
Delete, Import, and Export Templates
The Templates Manager enables you to delete, import, and export templates.
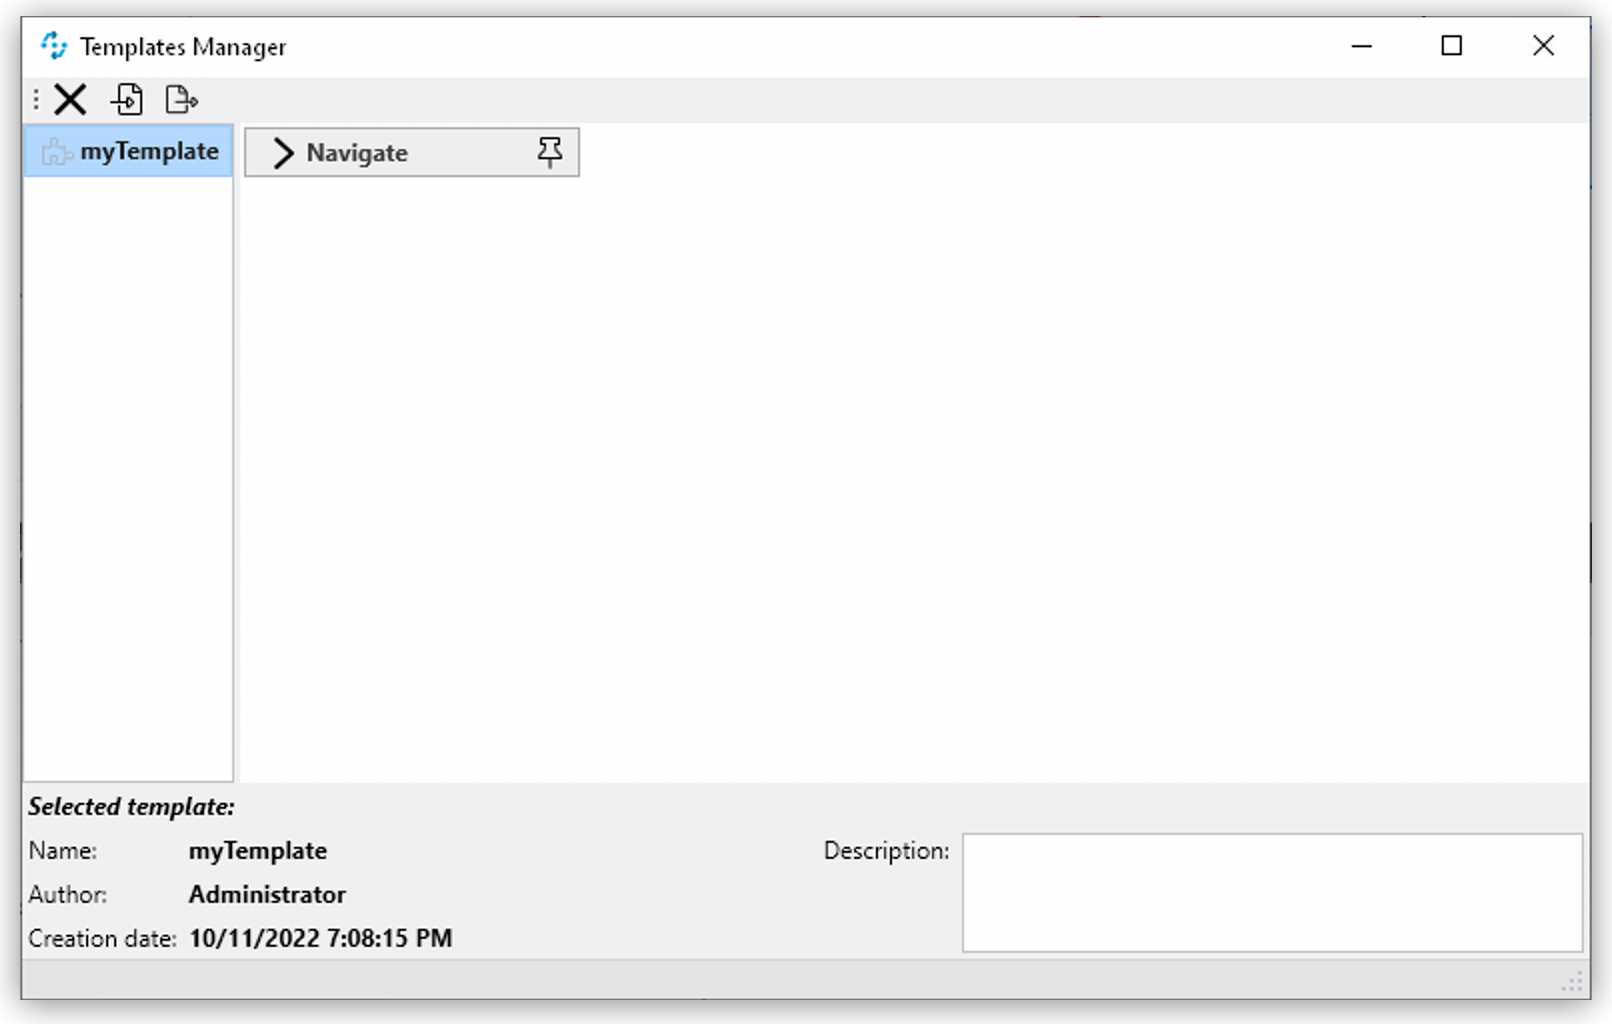
To open the Templates Manager, in the top menu bar, go to Tools > Templates Manager.
Use the corresponding buttons in the menu bar of the Templates Manager to Delete, Import, or Export templates:
-
(
 ) Delete
Deletes the selected Template.
-
(
 ) Import
After you click Import, Windows Explorer opens and you can enter the path to the template. Select a template and the following window opens:
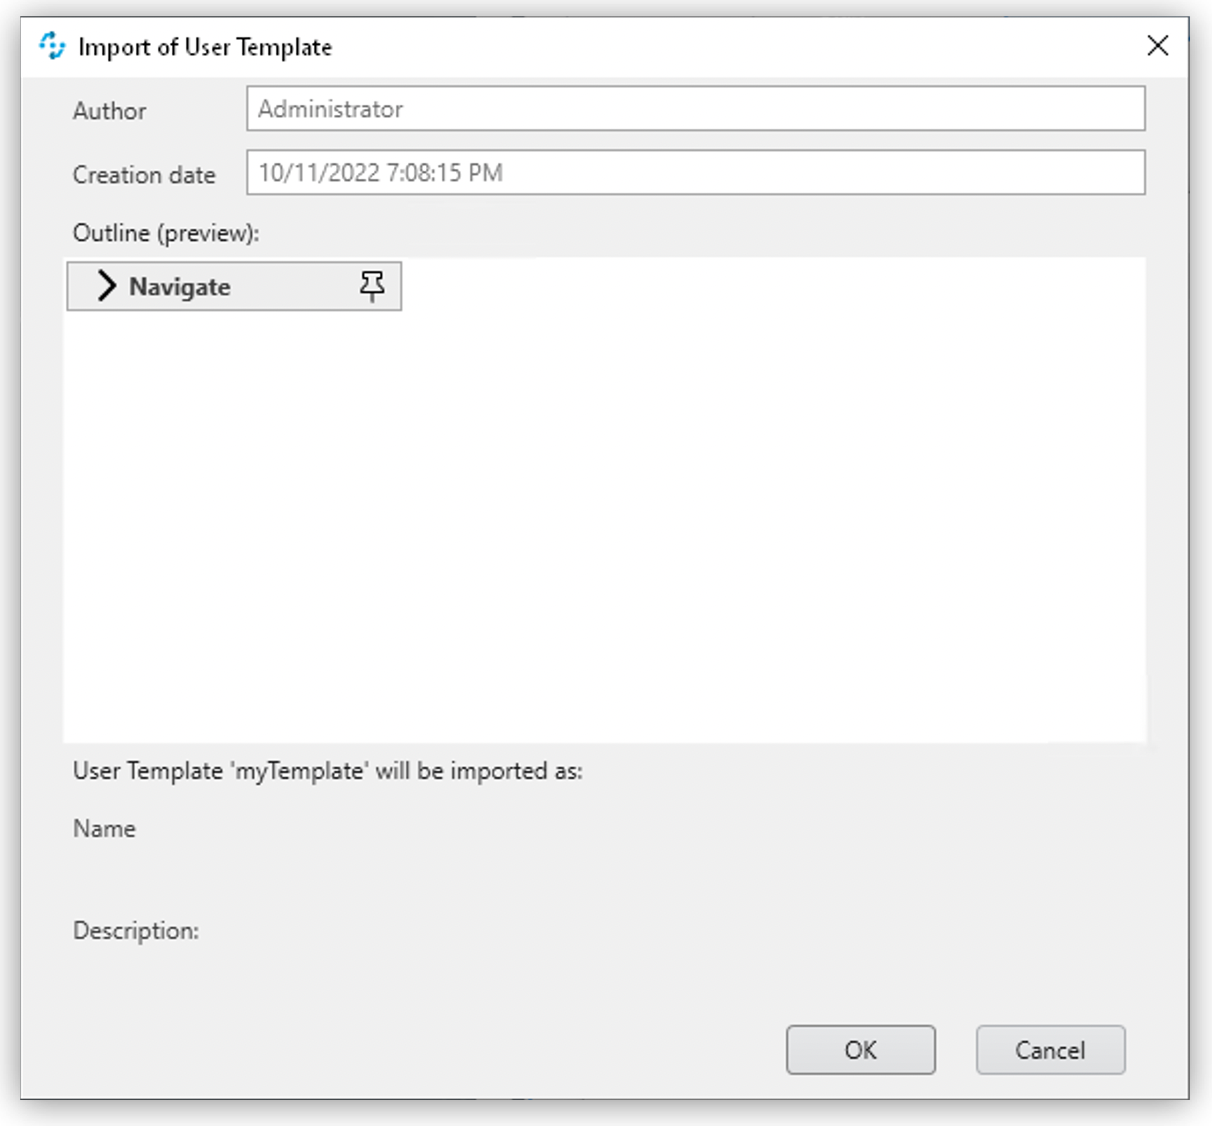
You can verify the template again and change the name if necessary. Click OK to import the template into the Template Manager, where it becomes available for further use.
-
(
 ) Export
When you click Export after selecting a template, the following window opens:

In this window, you can change the name and navigate to the target folder where to save the exported template.