Tutorial: Create a Mule app that uses the Database Connector and DataWeave
Most integrations require a change to the structure of data as it moves from source to destination. Within a Mule app, you can use the drag-n-drop interface of the Transform Message component to map data from one field or format to another, or you can write mappings by hand within DataWeave scripts. You typically build Mule apps in Studio, but you can even write Mule app configurations by hand in XML. This tutorial uses Studio.
Using a small data set and a training API available on Exchange, you’ll create a project and define the transformation mapping from the API into a different structure and protocol. You’ll use the drag-n-drop and also see the DataWeave code that defines the transformation. After completing this tutorial, you’ll be ready to create your own data mappings.
Prerequisites
To enable you to focus on a data mapping workflow, MuleSoft recommends completing a few setup tasks.
-
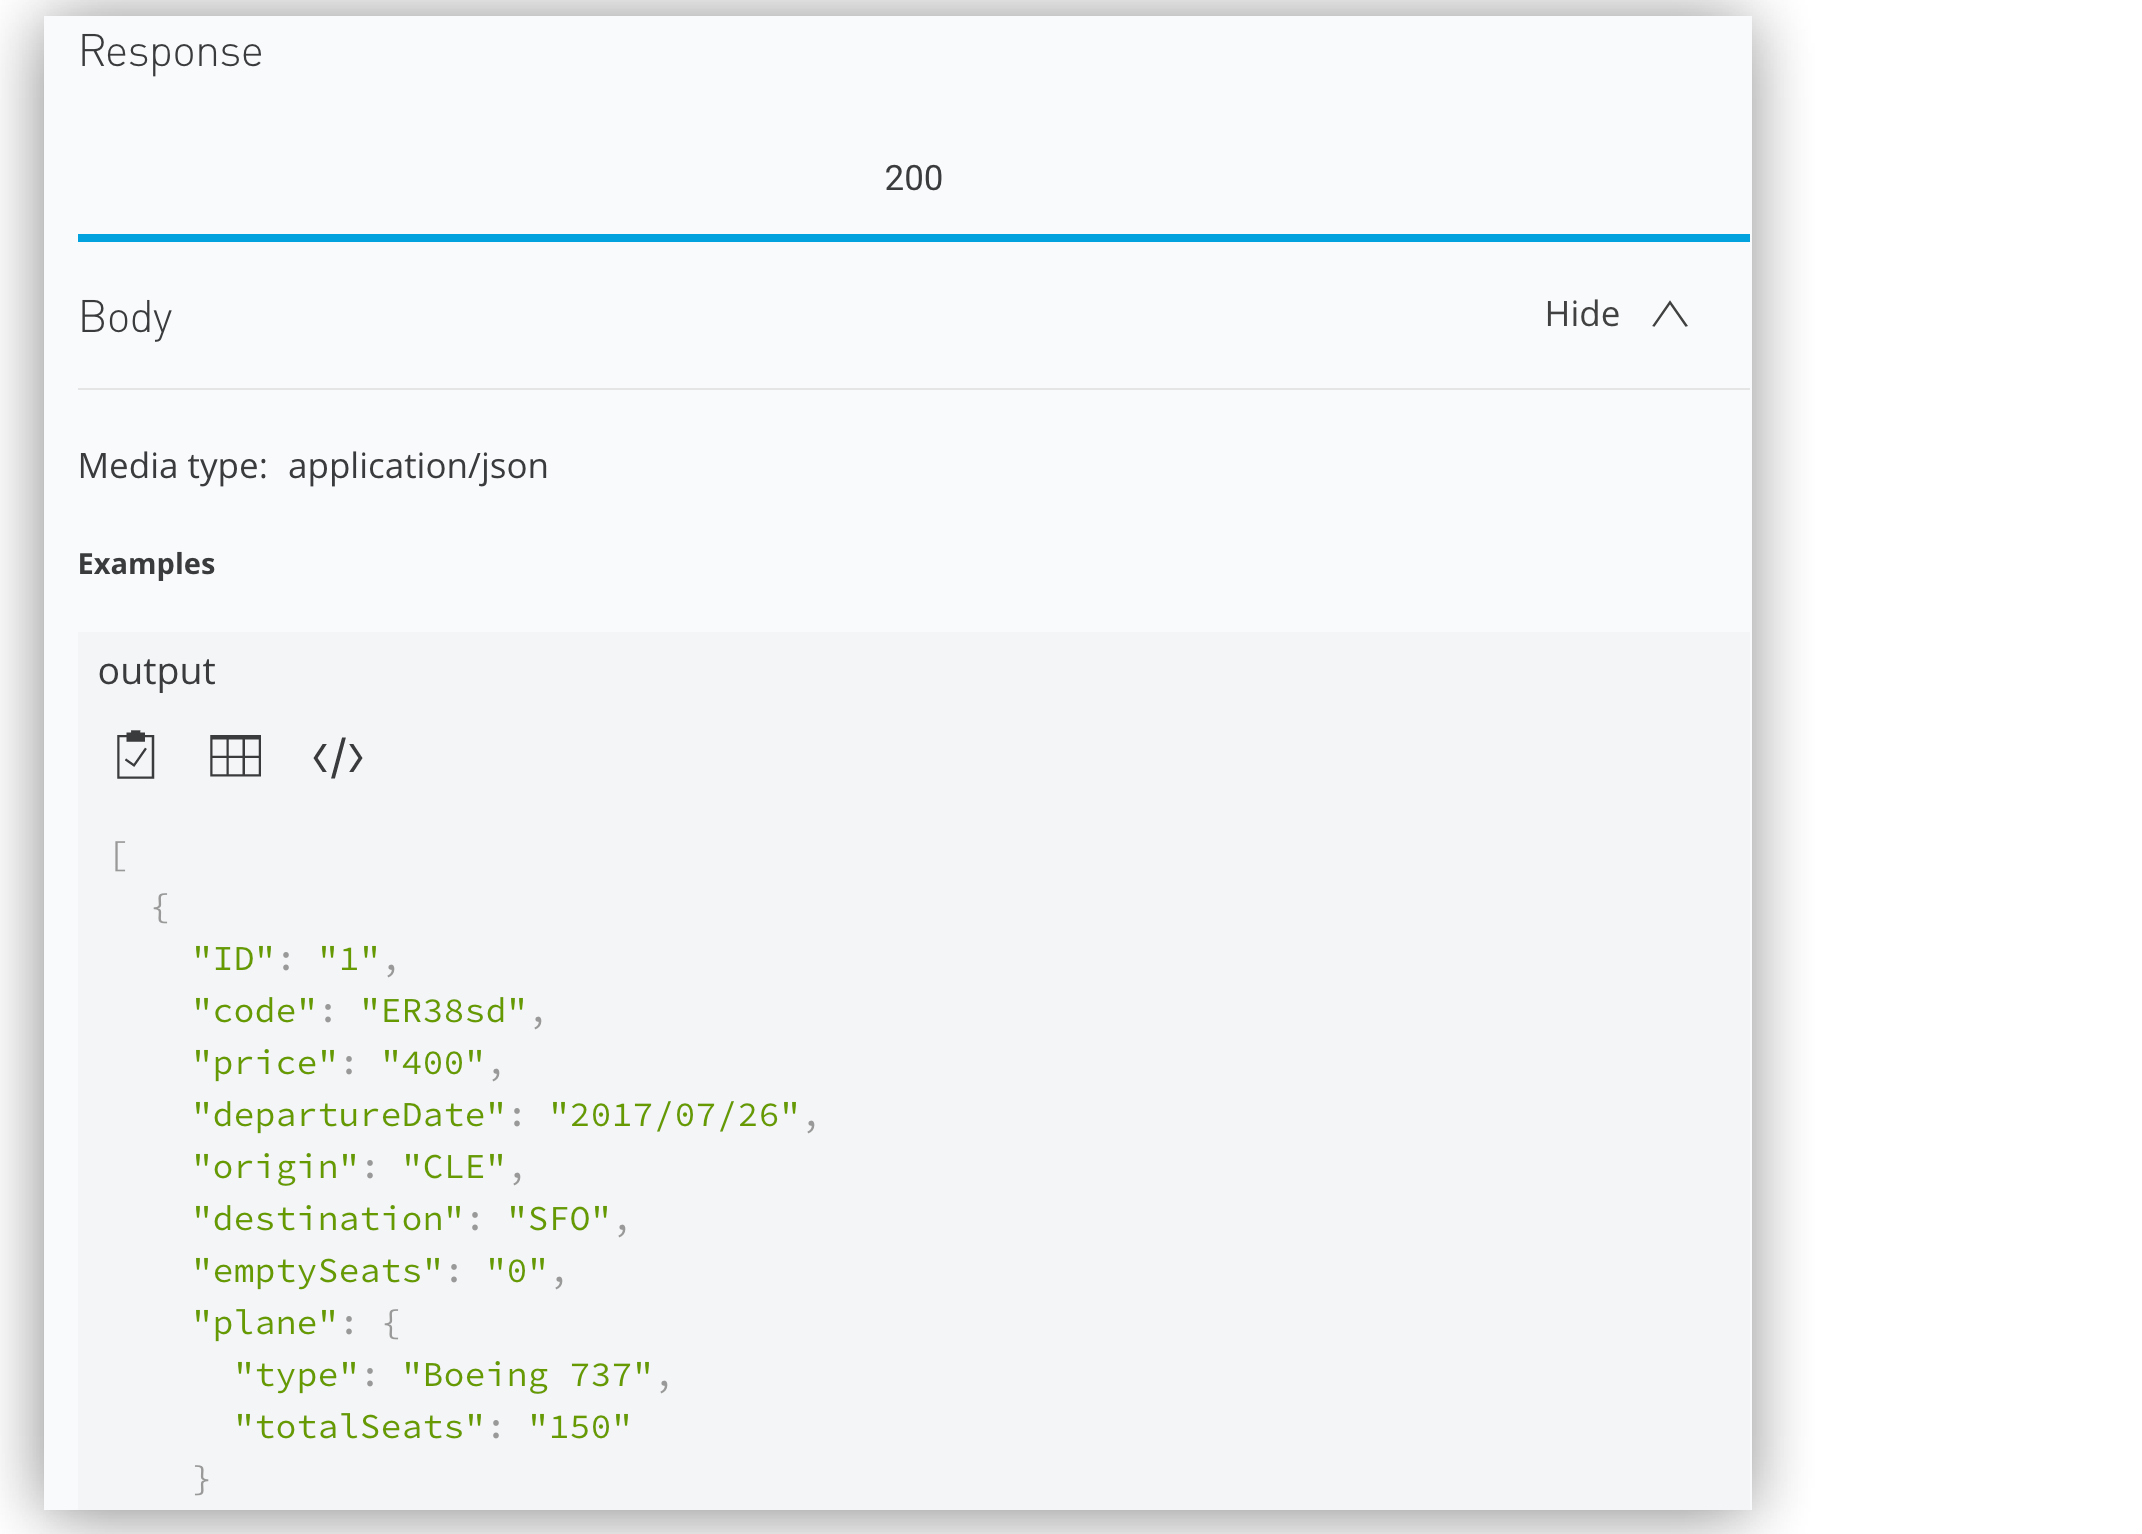
Navigate to Training: American Flights API in Exchange, and click the GET button to see a sample response in JSON:

This is the structure we’ll transform.
-
Download and install Anypoint Studio.
-
Create an Anypoint Platform trial account if you don’t have one.
-
Choose a REST API client such as Postman or the Advanced REST client. This tutorial uses the Advanced REST client.
Step One: Create a Mule 4 Project
Create the project that will contain your Mule app.
-
Open Anypoint Studio, and select File > New > Mule Project.
-
Set the Project Name to
dw-tutorial4-flights-ws. -
Leave all other defaults, and select Finish to create the project.
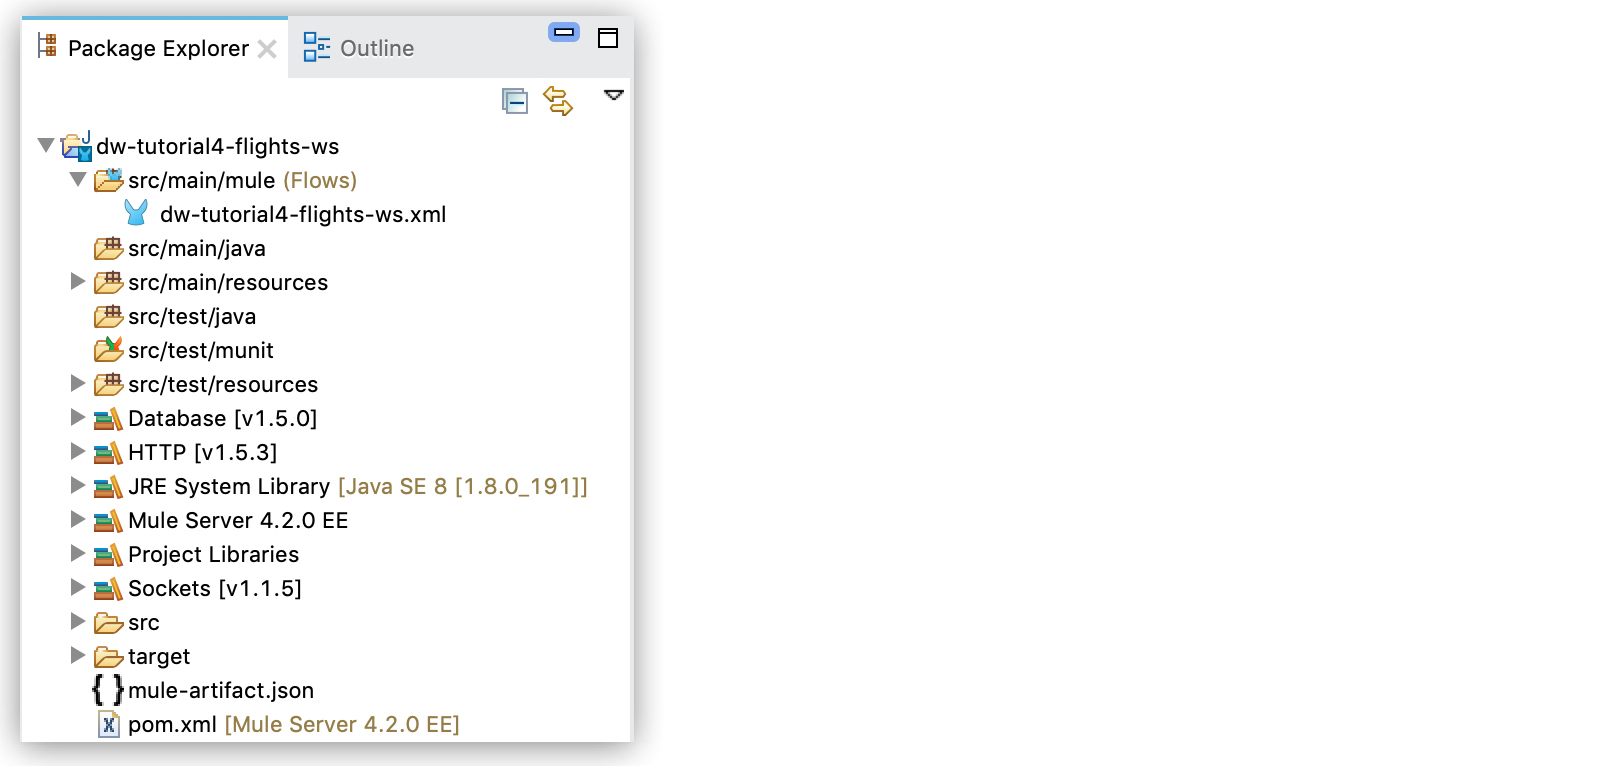
When you’re done, look in the Package Explorer window to see the contents of your new project.
Step Two: Create and Configure a Mule 4 App
Now we’ll add the elements required to fetch data from an API and transform it into a different structure using DataWeave.
-
Add an HTTP Listener operation to listen to the American Flights API. In the Mule Palette, select HTTP to display the HTTP operations, and drag the Listener operation onto the canvas.
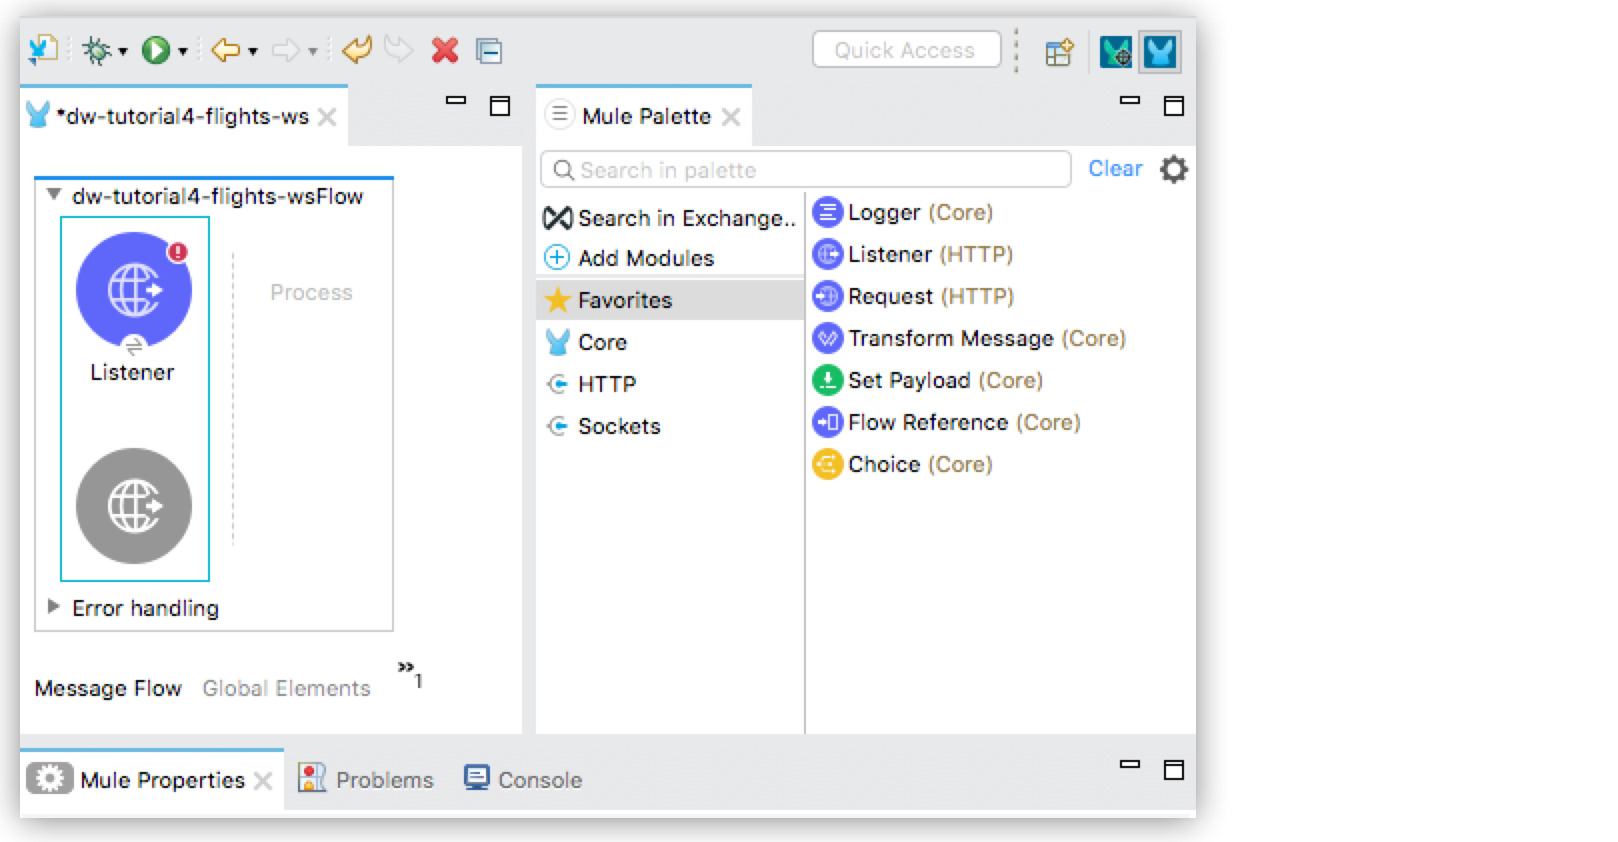
If you can’t see anything in the Mule Palette, open the project file
dw-tutorial4-flights-ws.xmlin thesrc/main/mulefolder in Package Explorer. -
Double-click the Listener operation to display its properties tab, and click the green plus sign to add a new configuration.

-
In the HTTP Listener config dialog, add these values:
-
Host:
0.0.0.0 -
Port:
8081
-
-
Click OK to save these changes and close the dialog.
-
In the General tab for the Listener, change the Path: field to
/flights. Your change is automatically saved.
-
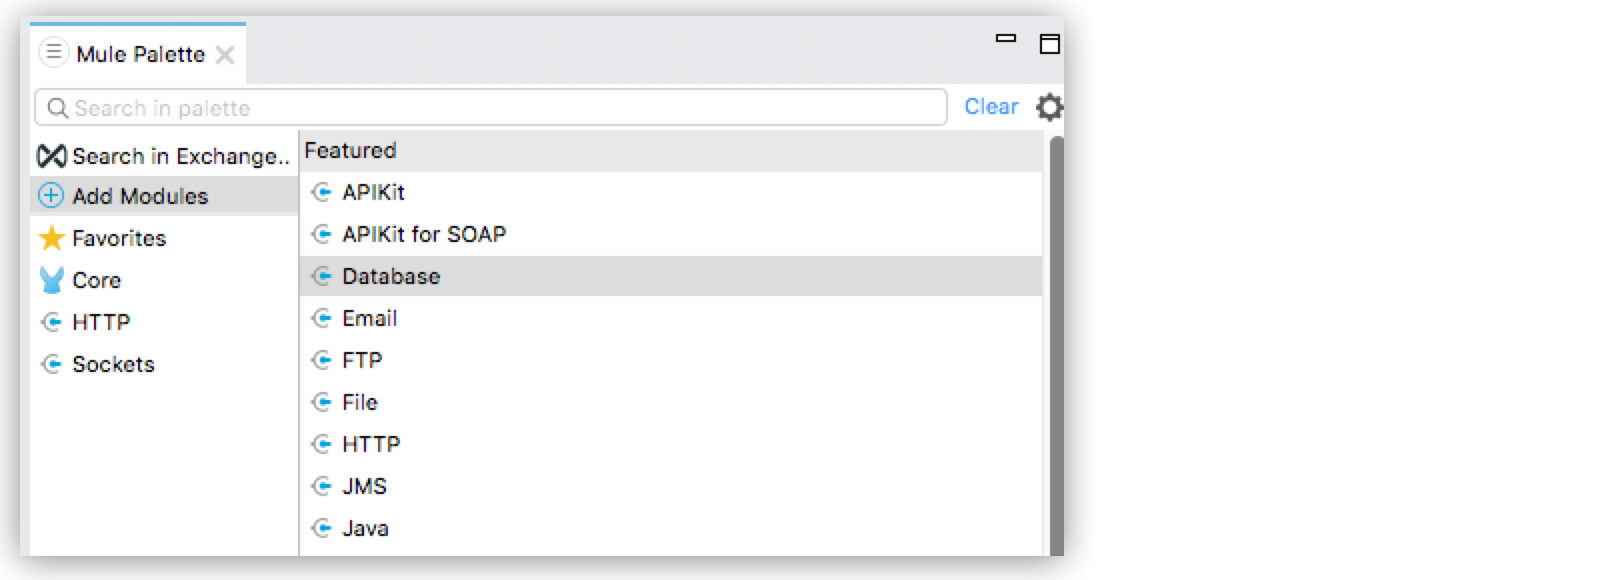
In the Mule Palette, select Add Modules to display a list of modules and connectors, and drag the Database connector into the left side of the Mule Palette. You may be asked to select a version. Select the latest version.
-
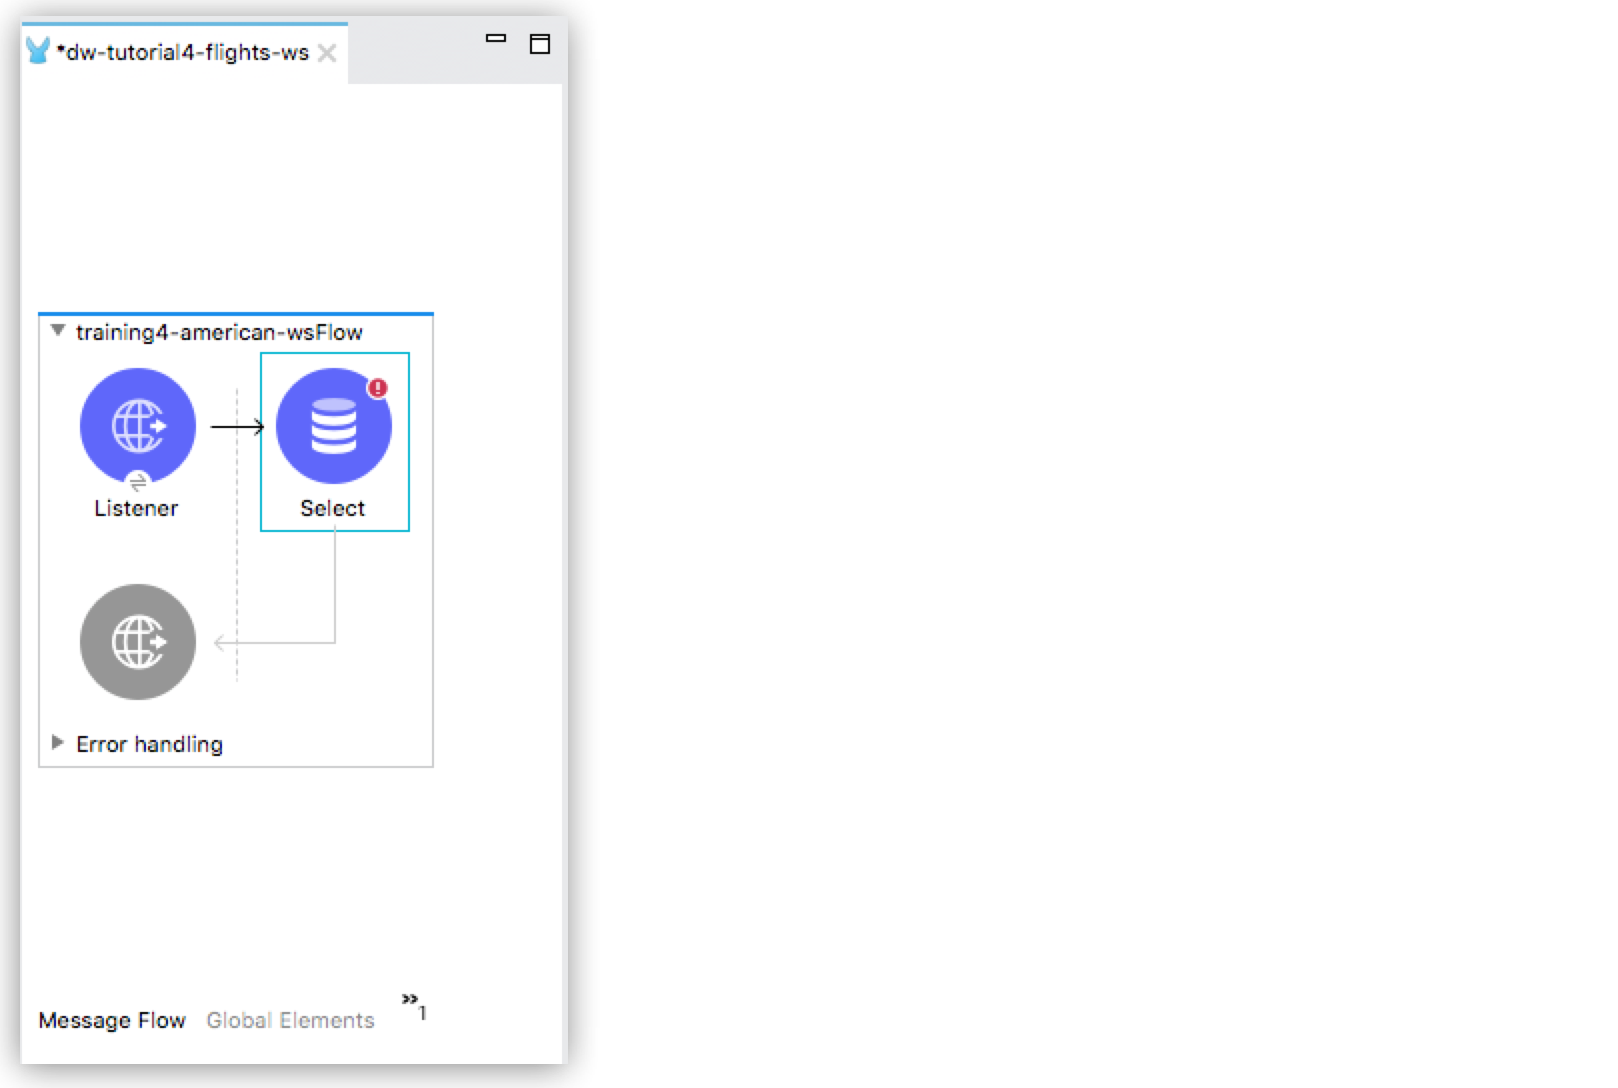
Now that the Database connector is in the Mule Palette, you can see its operations. Drag the Select operation into the flow.
-
Let’s configure the Database operation to listen for responses from the MuleSoft sample MySQL database. Click the Select operator to display its properties tab, and click the add button (green cross) to open the Database Config dialog.
-
Select or type Mule’s sample database values in the dialog:
-
Connection:
MySQL Connection -
Host:
mudb.learn.mulesoft.com -
Port:
3306 -
User:
mule -
Password:
mule -
Database:
training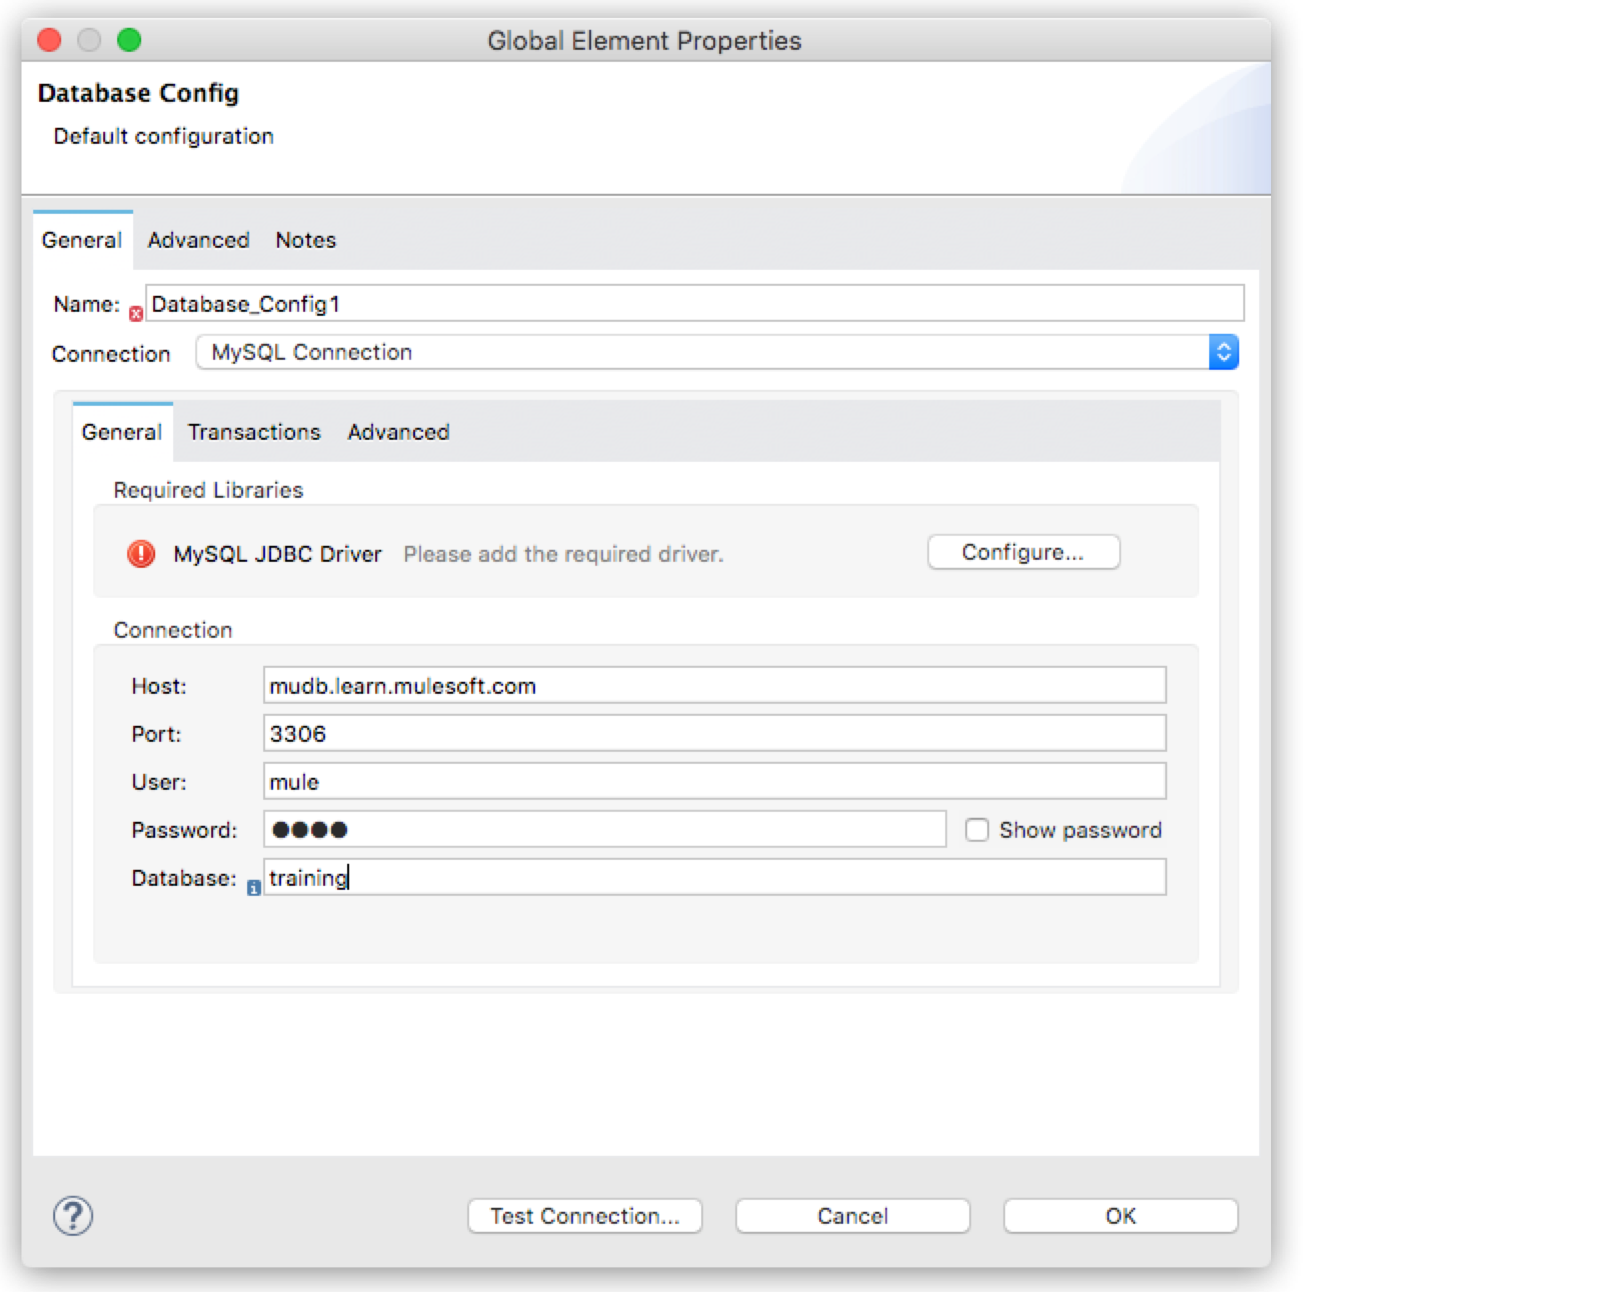
-
-
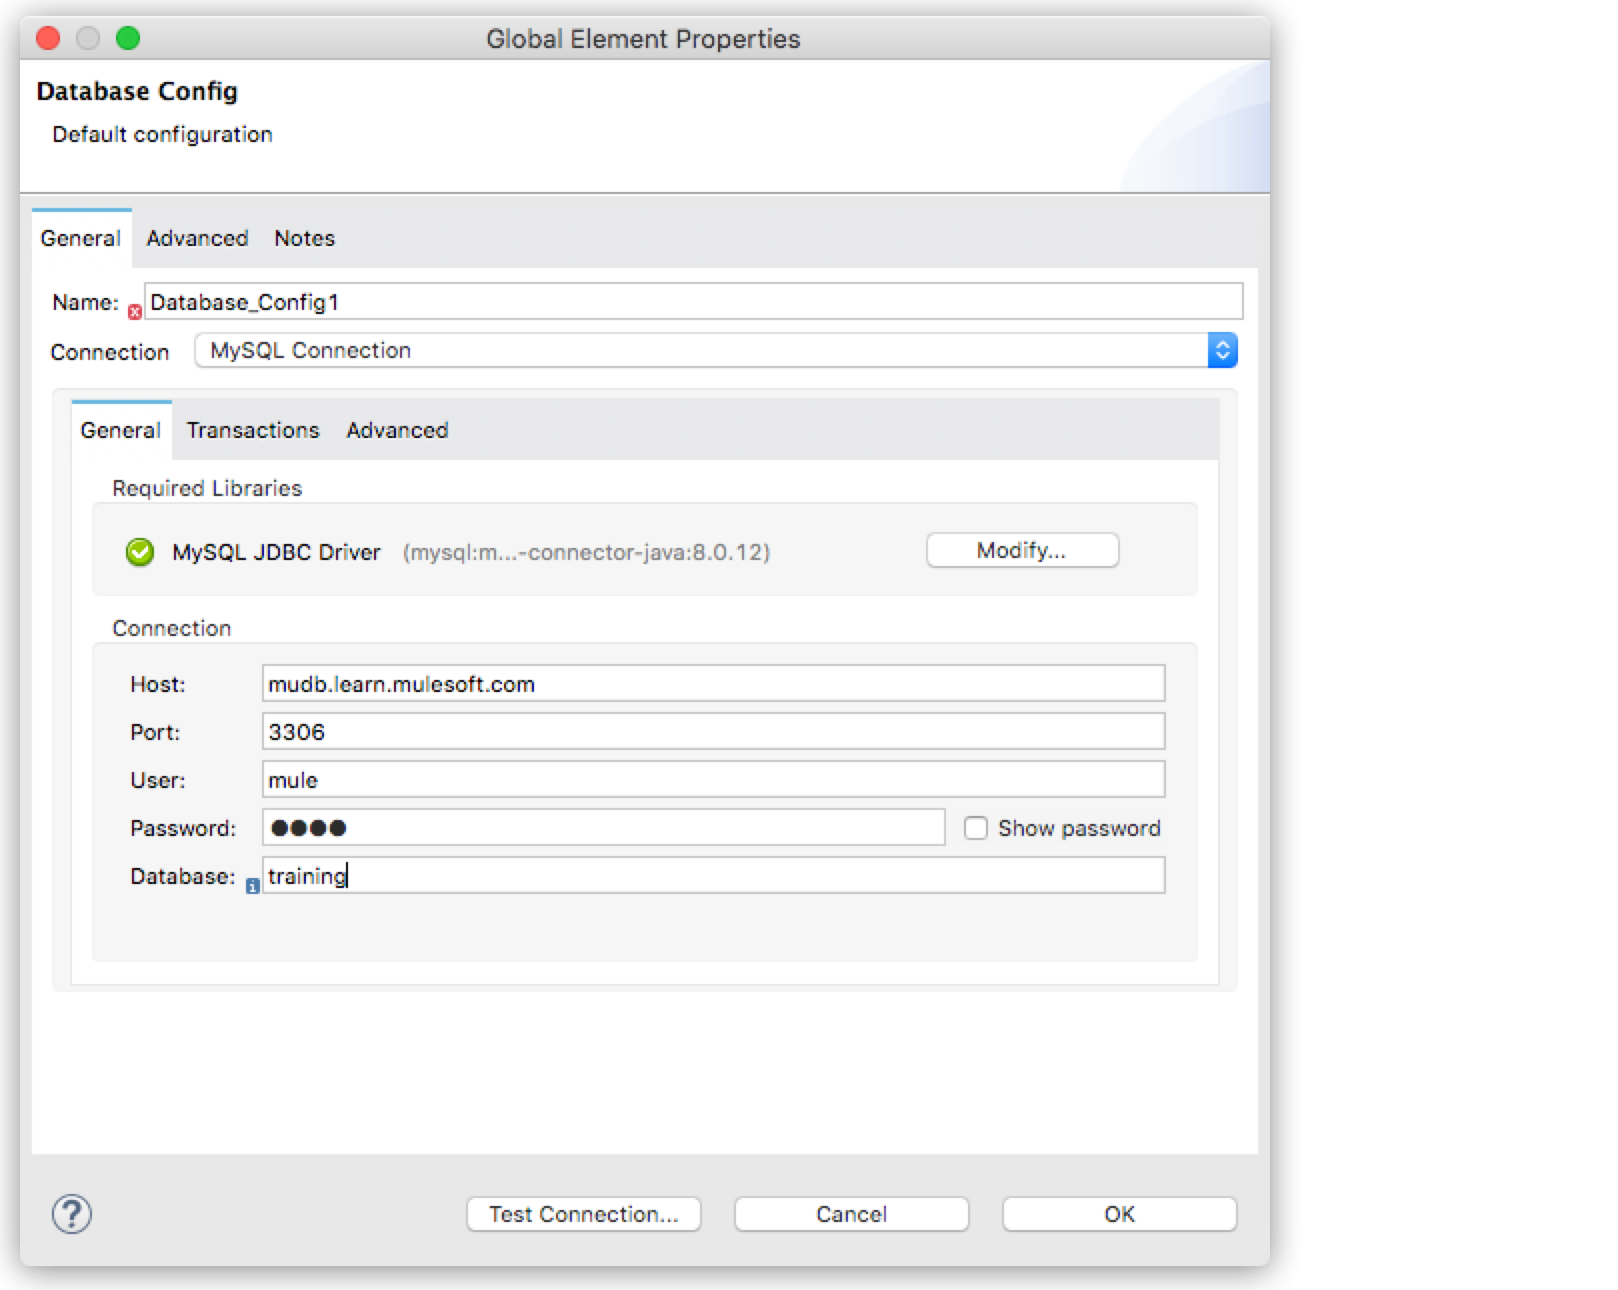
While still in the Database Config dialog, select Configure > Add Maven dependency.
-
In the Pick a Maven dependency dialog, enter
mysql-in the Search Maven Central search field. -
Select
mysql:mysql-connector-javafrom the displayed items. -
Select Finish to return to the Database Config dialog.
-
Select Test Connection. You should receive a
Test connection successfulmessage. If you don’t, go back through the steps and look for errors. -
Select OK to return to the Database Config dialog.
-
Create a query that returns all flights from the Training: American Flights API.
-
If it’s not already open, click the Select operation to display its property tab.
-
Add a select statement in the query field:
SELECT * FROM american. Your changes are automatically saved.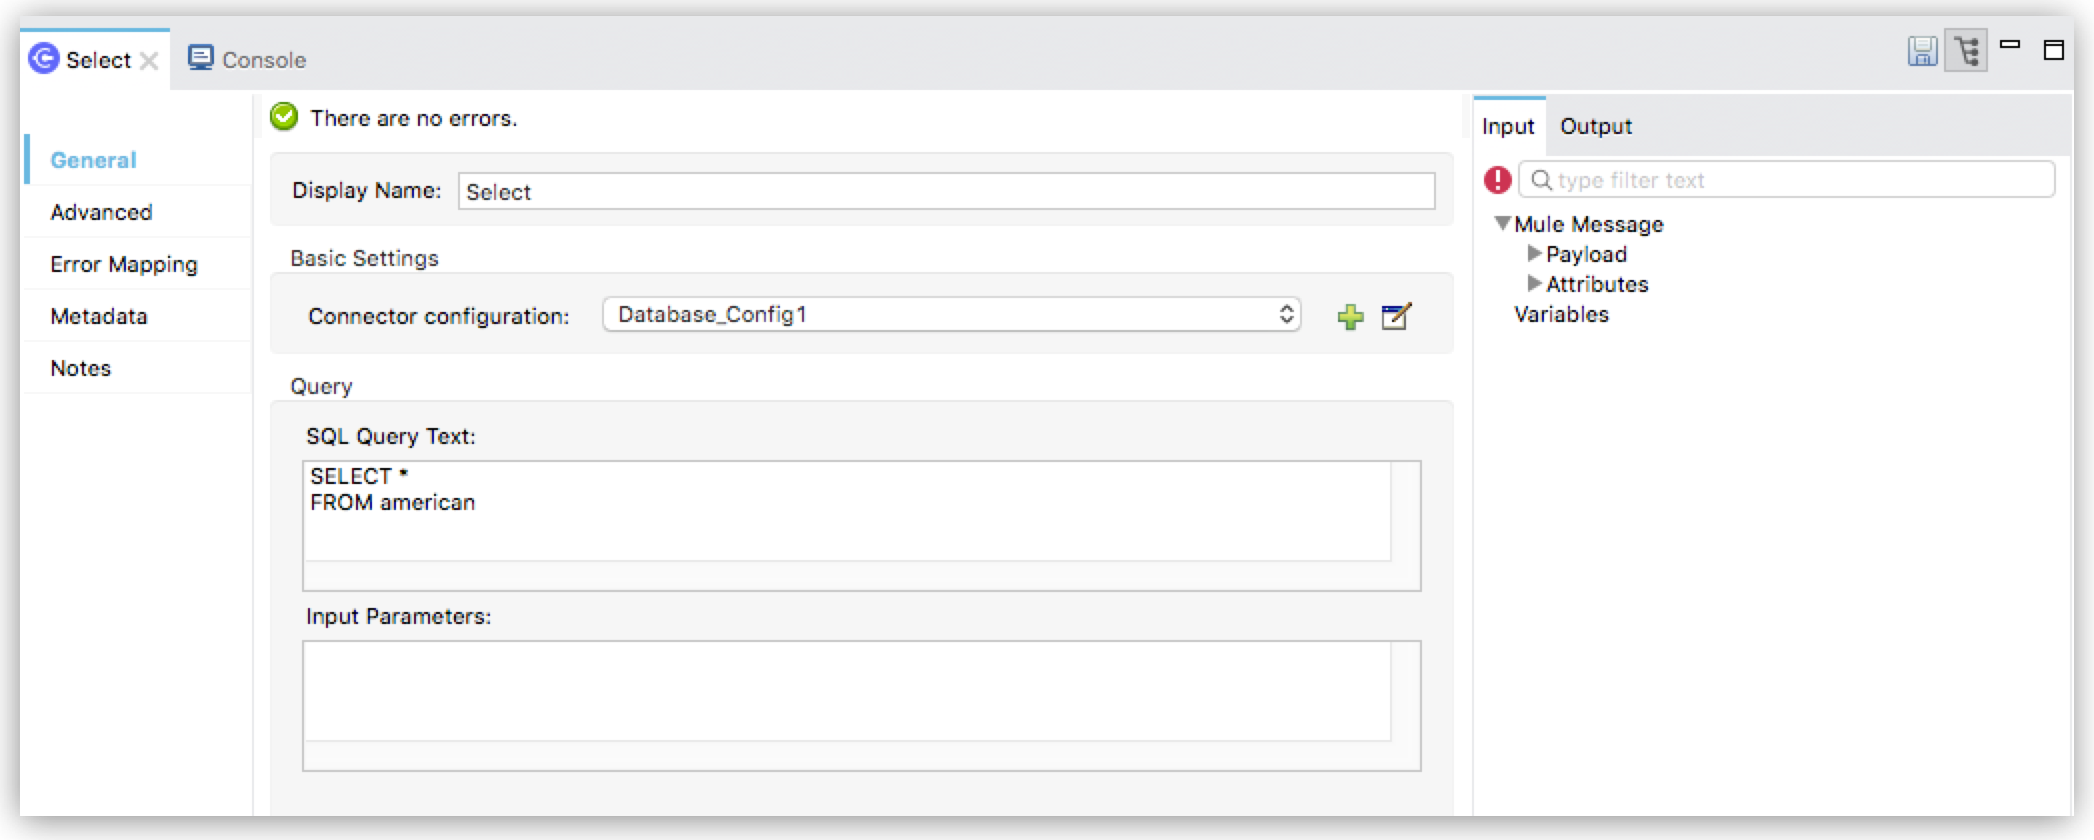
-
-
To test your configuration so far, run the project. You can right-click in the canvas where the flow is defined, and select Run Project dw-tutorial4-flights-ws.
-
Watch the Console tab and when the app is running, open your REST API client.
-
In the client, send a request to
http://localhost:8081/flights/. At this point, the application returns a500 Server Errormessage because it cannot process the data received from the query to the American Flights API. This error is addressed when you add a Transform component to the flow during the next section of the training.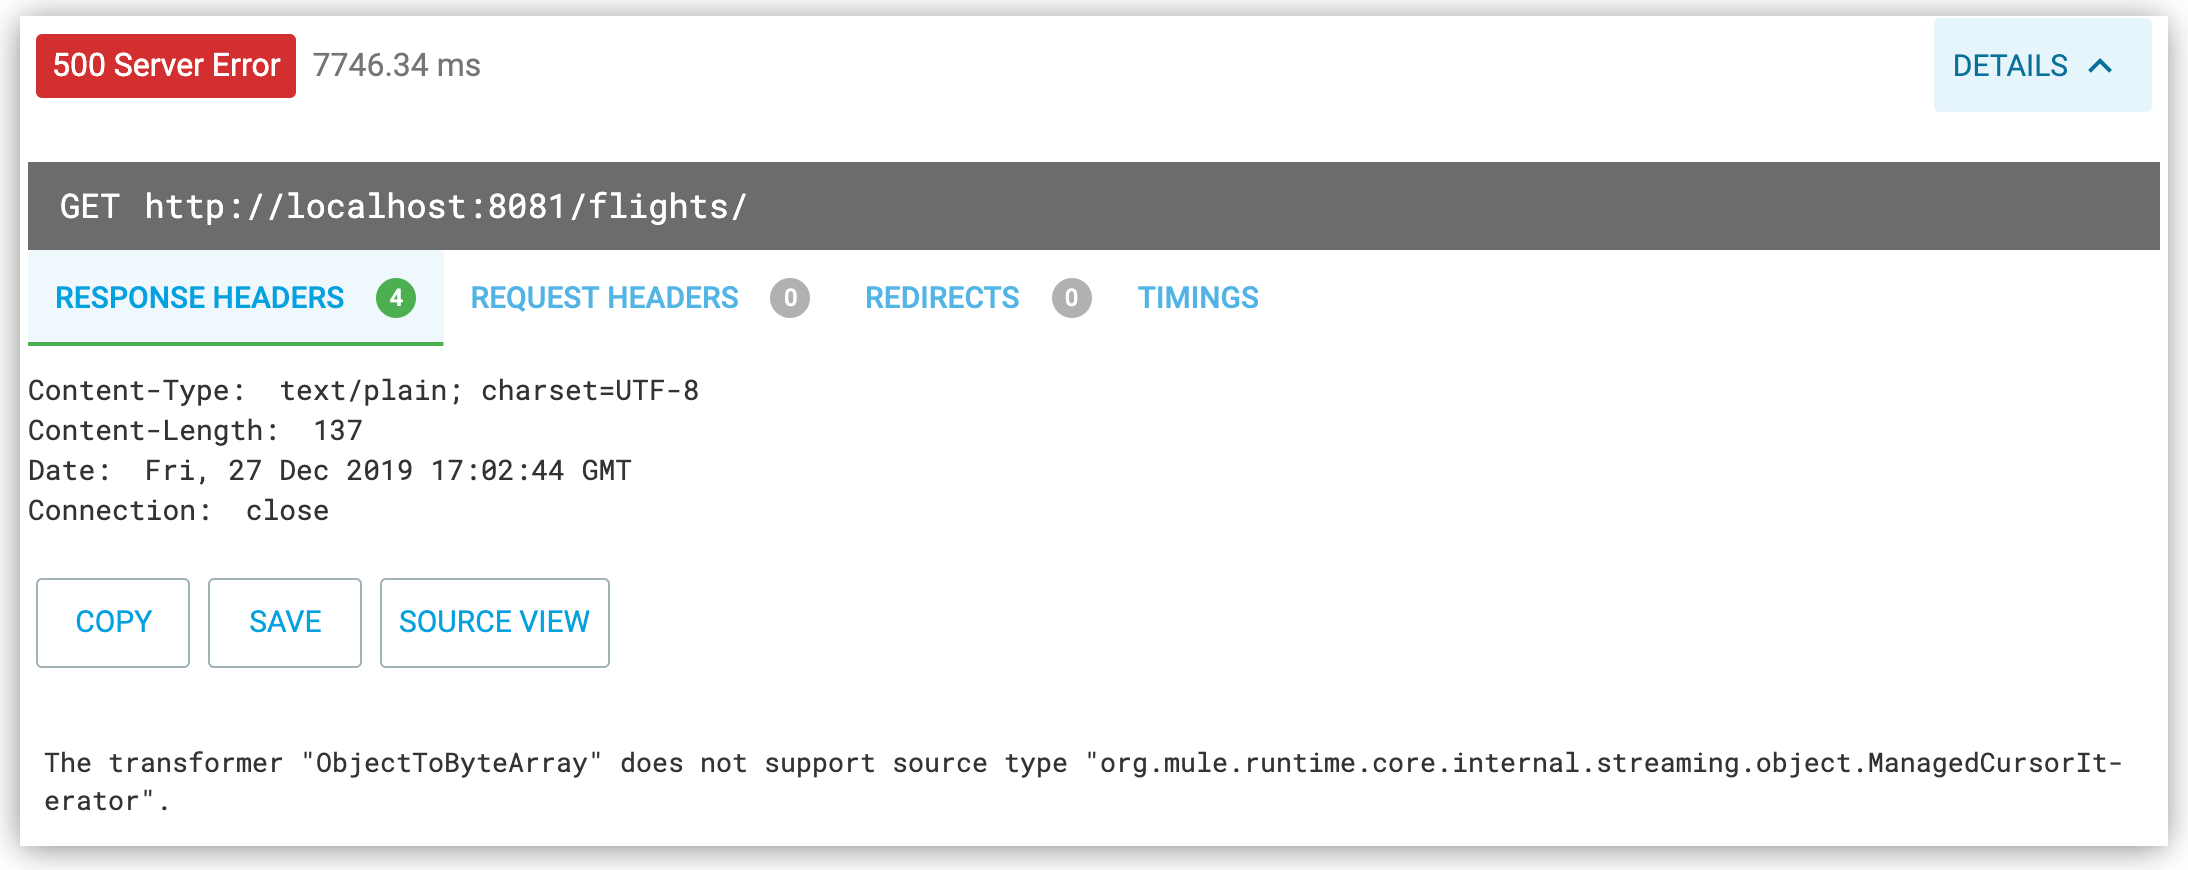
Now that the app is set up, it’s time to transform some data into JSON so it can be consumed by a service that requires JSON.
| Leave the Mule app running to avoid accidentally creating an orphan process that might clog the port specified in your app. |
Step Three: Create and Test a DataWeave Data Transformation
Now that we have a Mule app that works and is listening to the Training: American Flights API, we’ll add a Transform Message component and use the DataWeave drag-n-drop interface to define a transformation from Mule object into JSON.
-
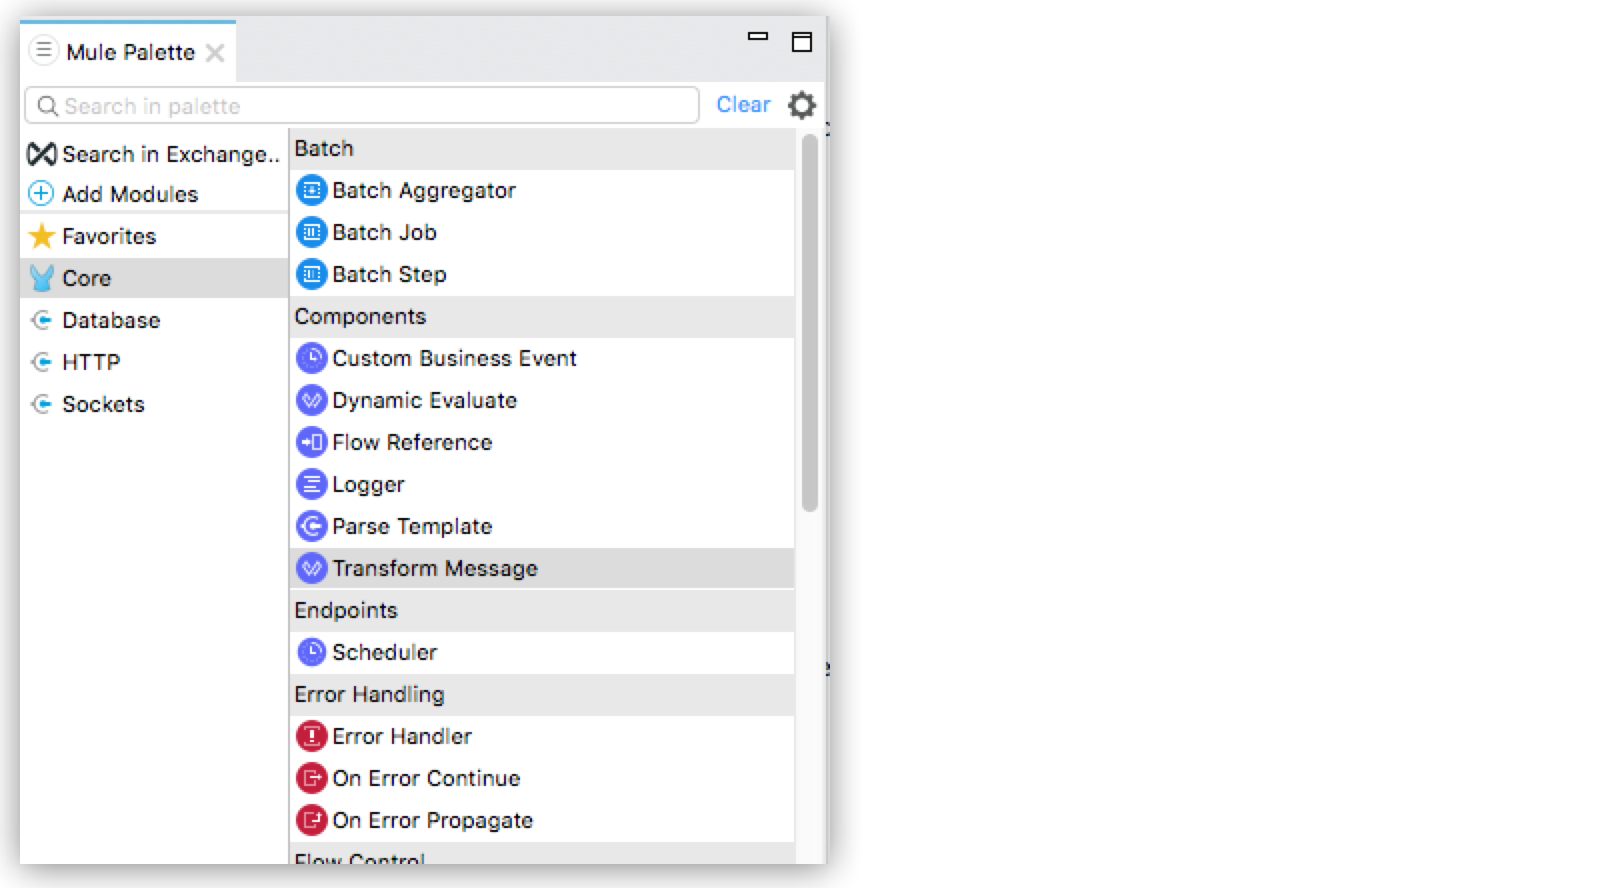
In the Mule Palette, select Core and find the Transform Message component.
-
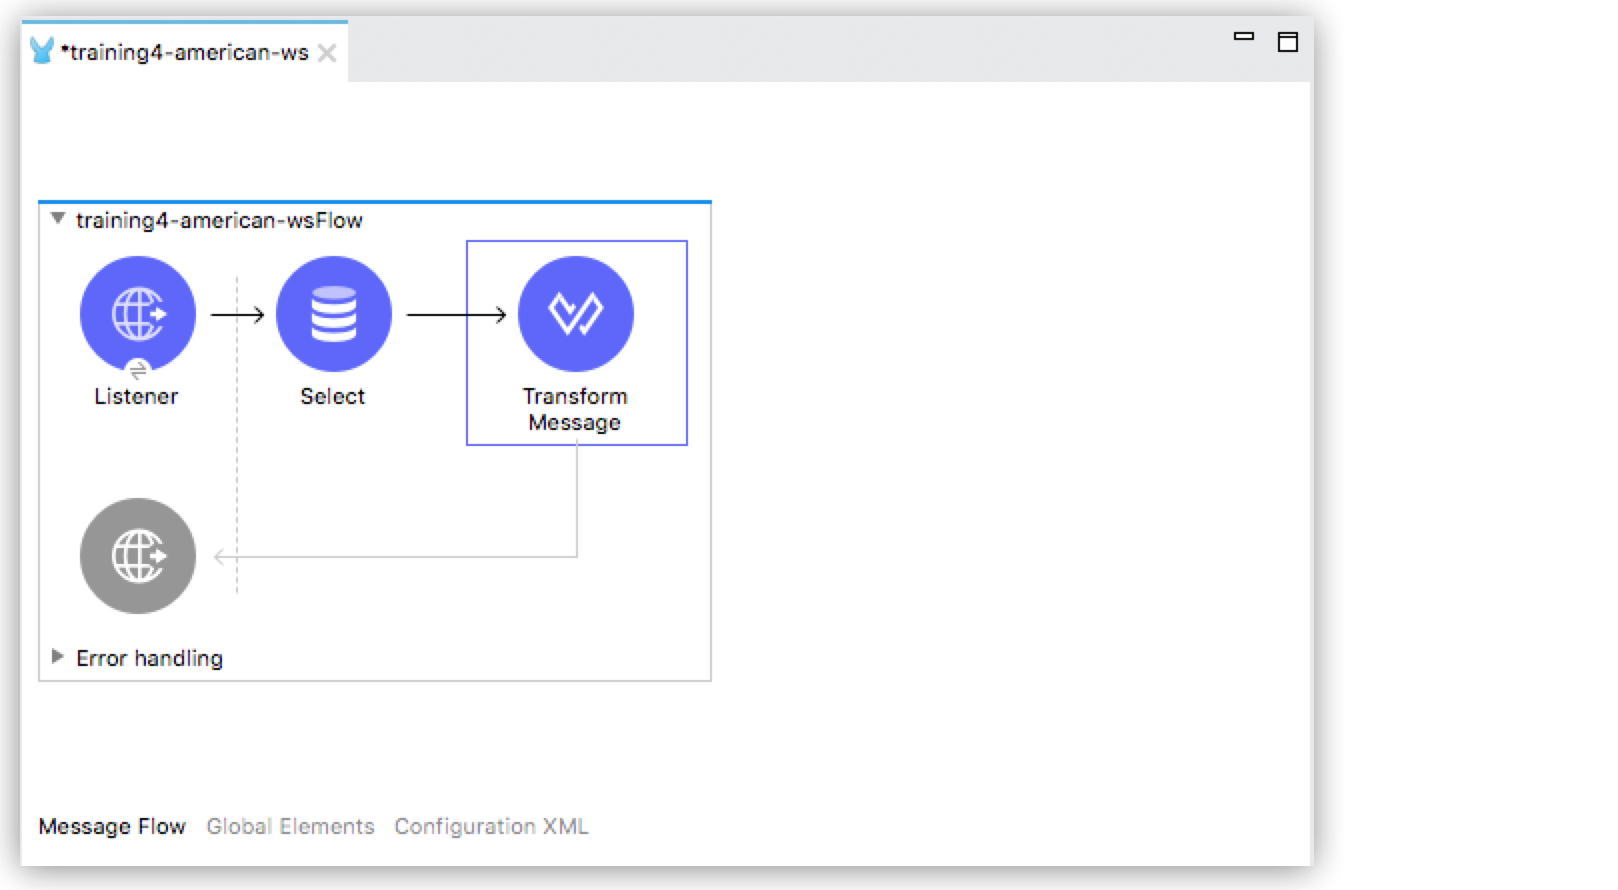
Drag and drop the Transform Message to the right of the Select operation in the canvas.
-
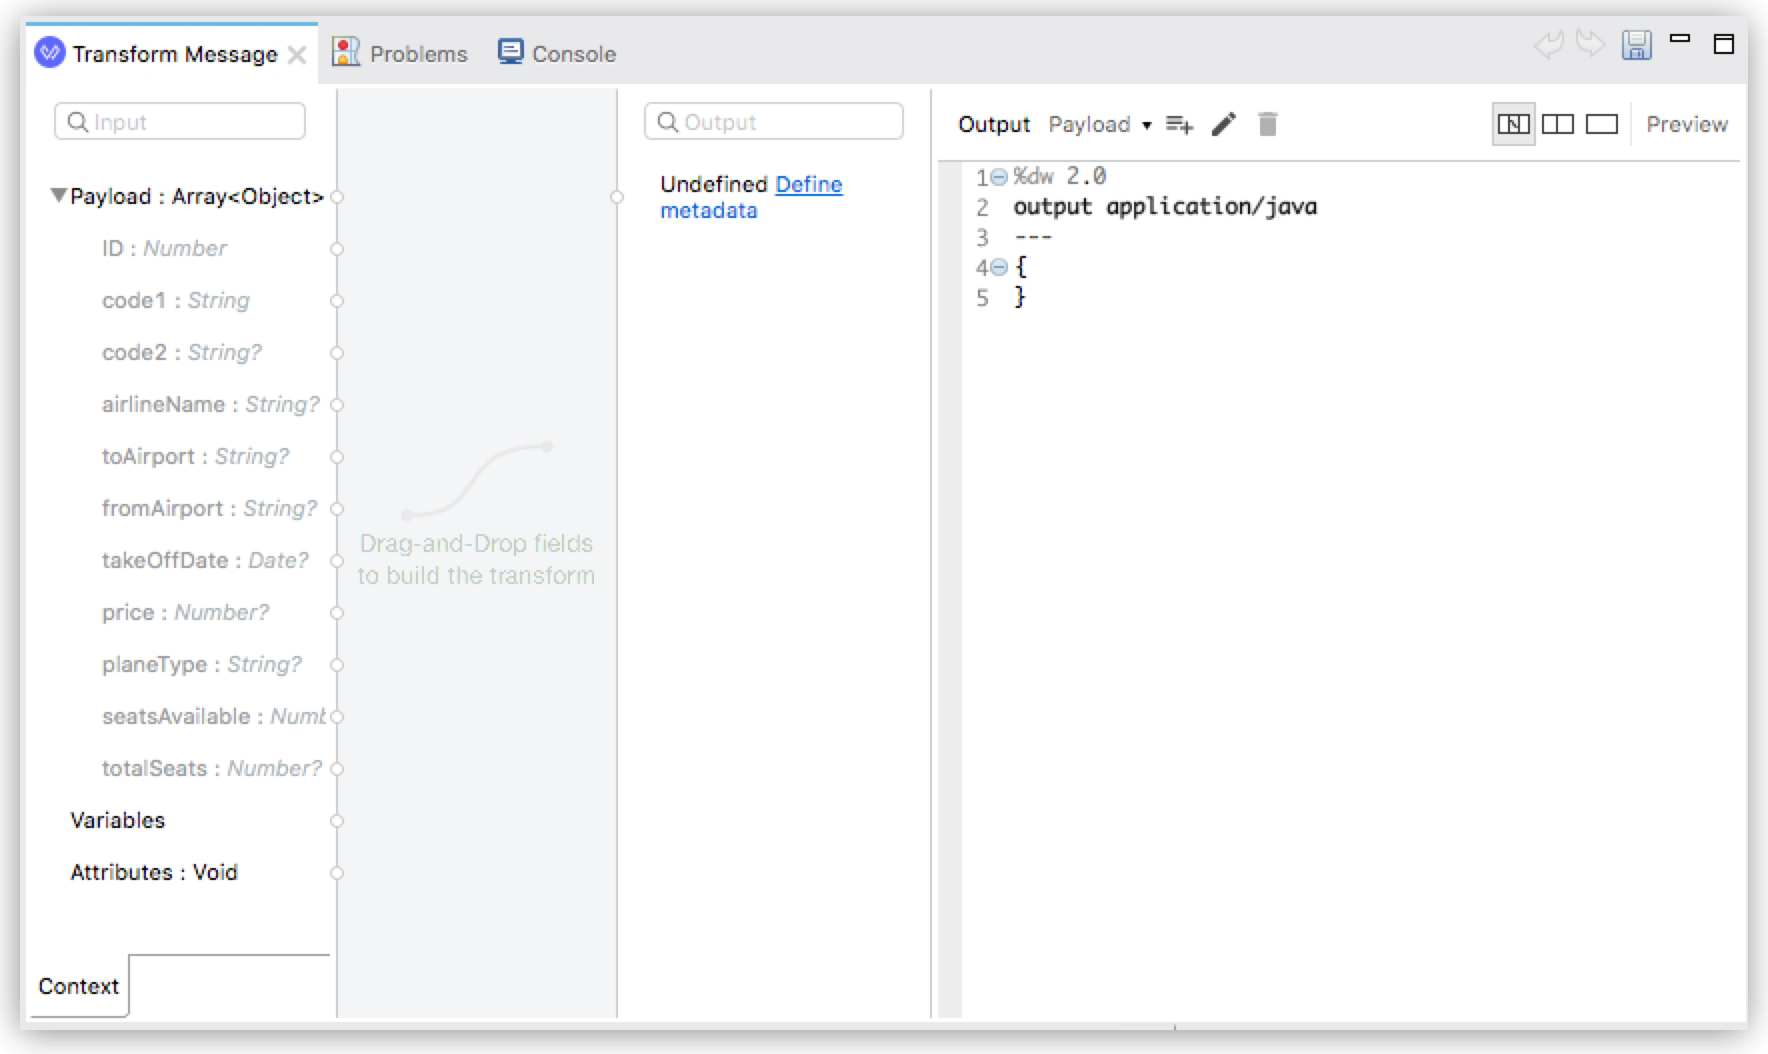
Click the Transform Message component to display the graphical view and source code view.
-
The left side is a graphical view of the input and output metadata structures. The mapping between them is represented by lines and node points in the center.
-
The right side is a code view of the same structures and mapping. The code view and graphical views remain synced.
-
-
In the code view, change the output type in line 2 from
application/javatoapplication/json, and replace the brackets on lines 4 and 5 withpayload.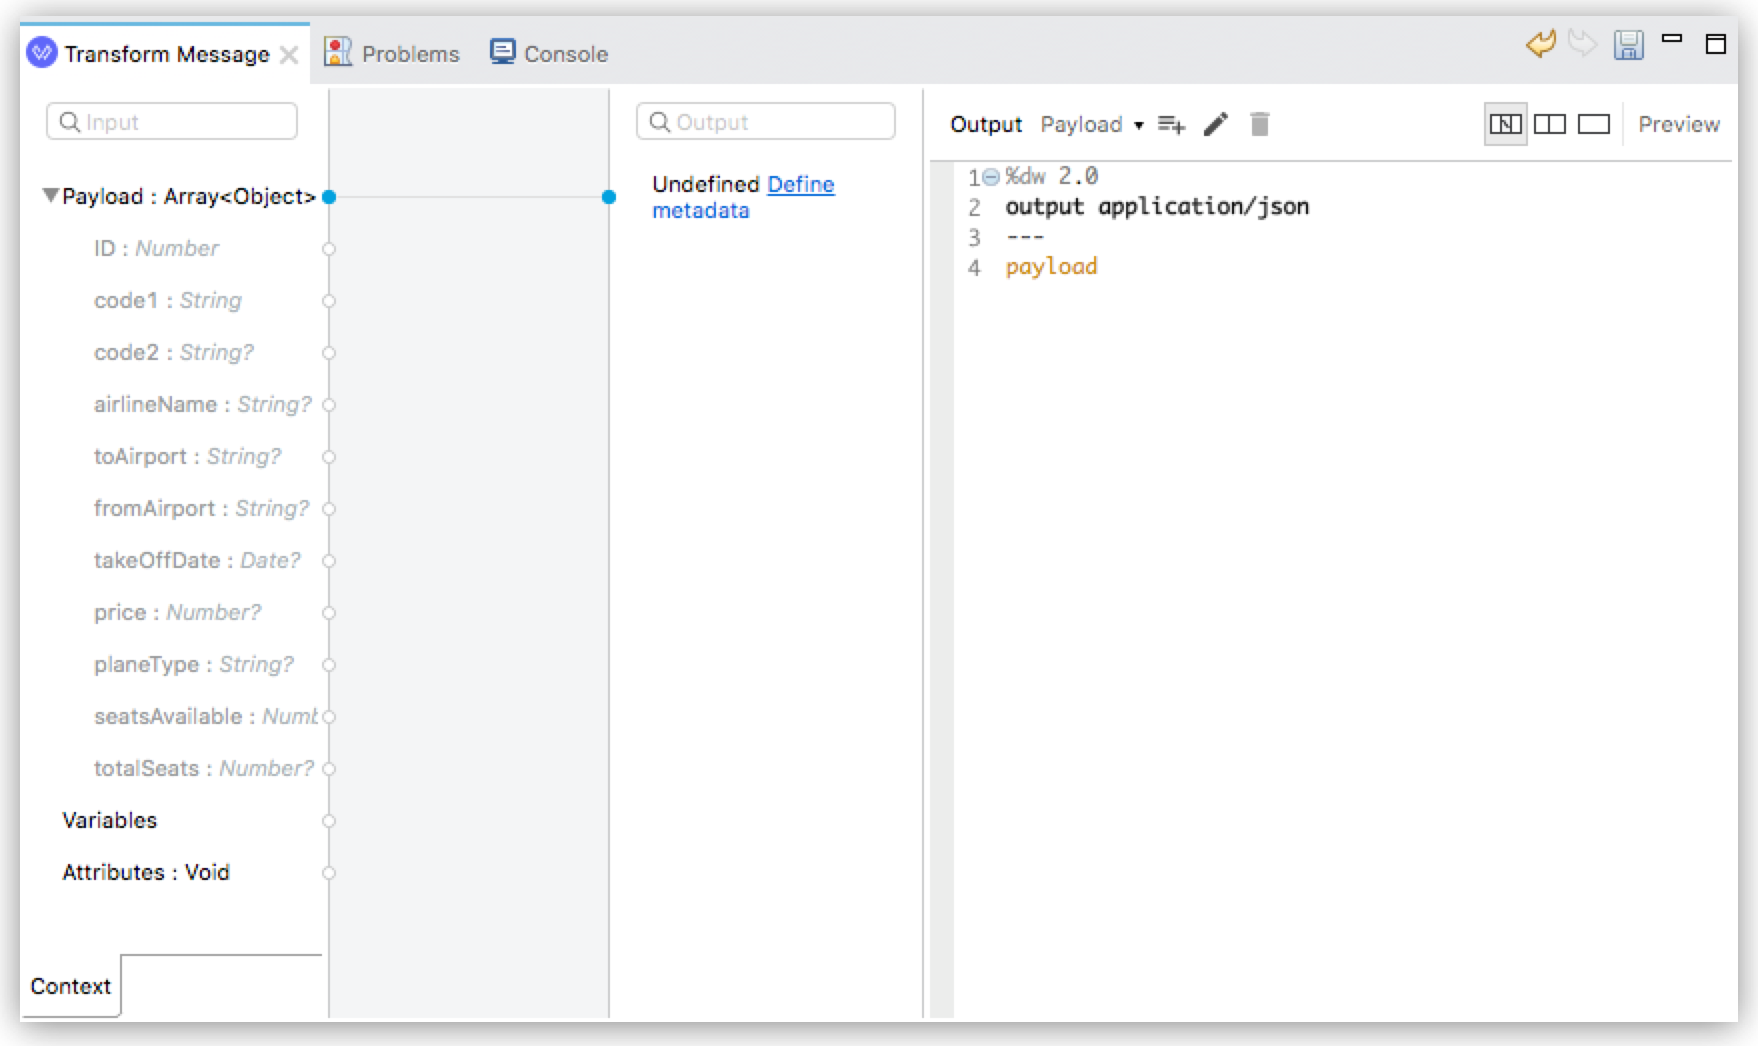
-
Save the change to redeploy the project.
-
Test this change by sending a GET request in your REST client:
GET http://localhost:8081/flights.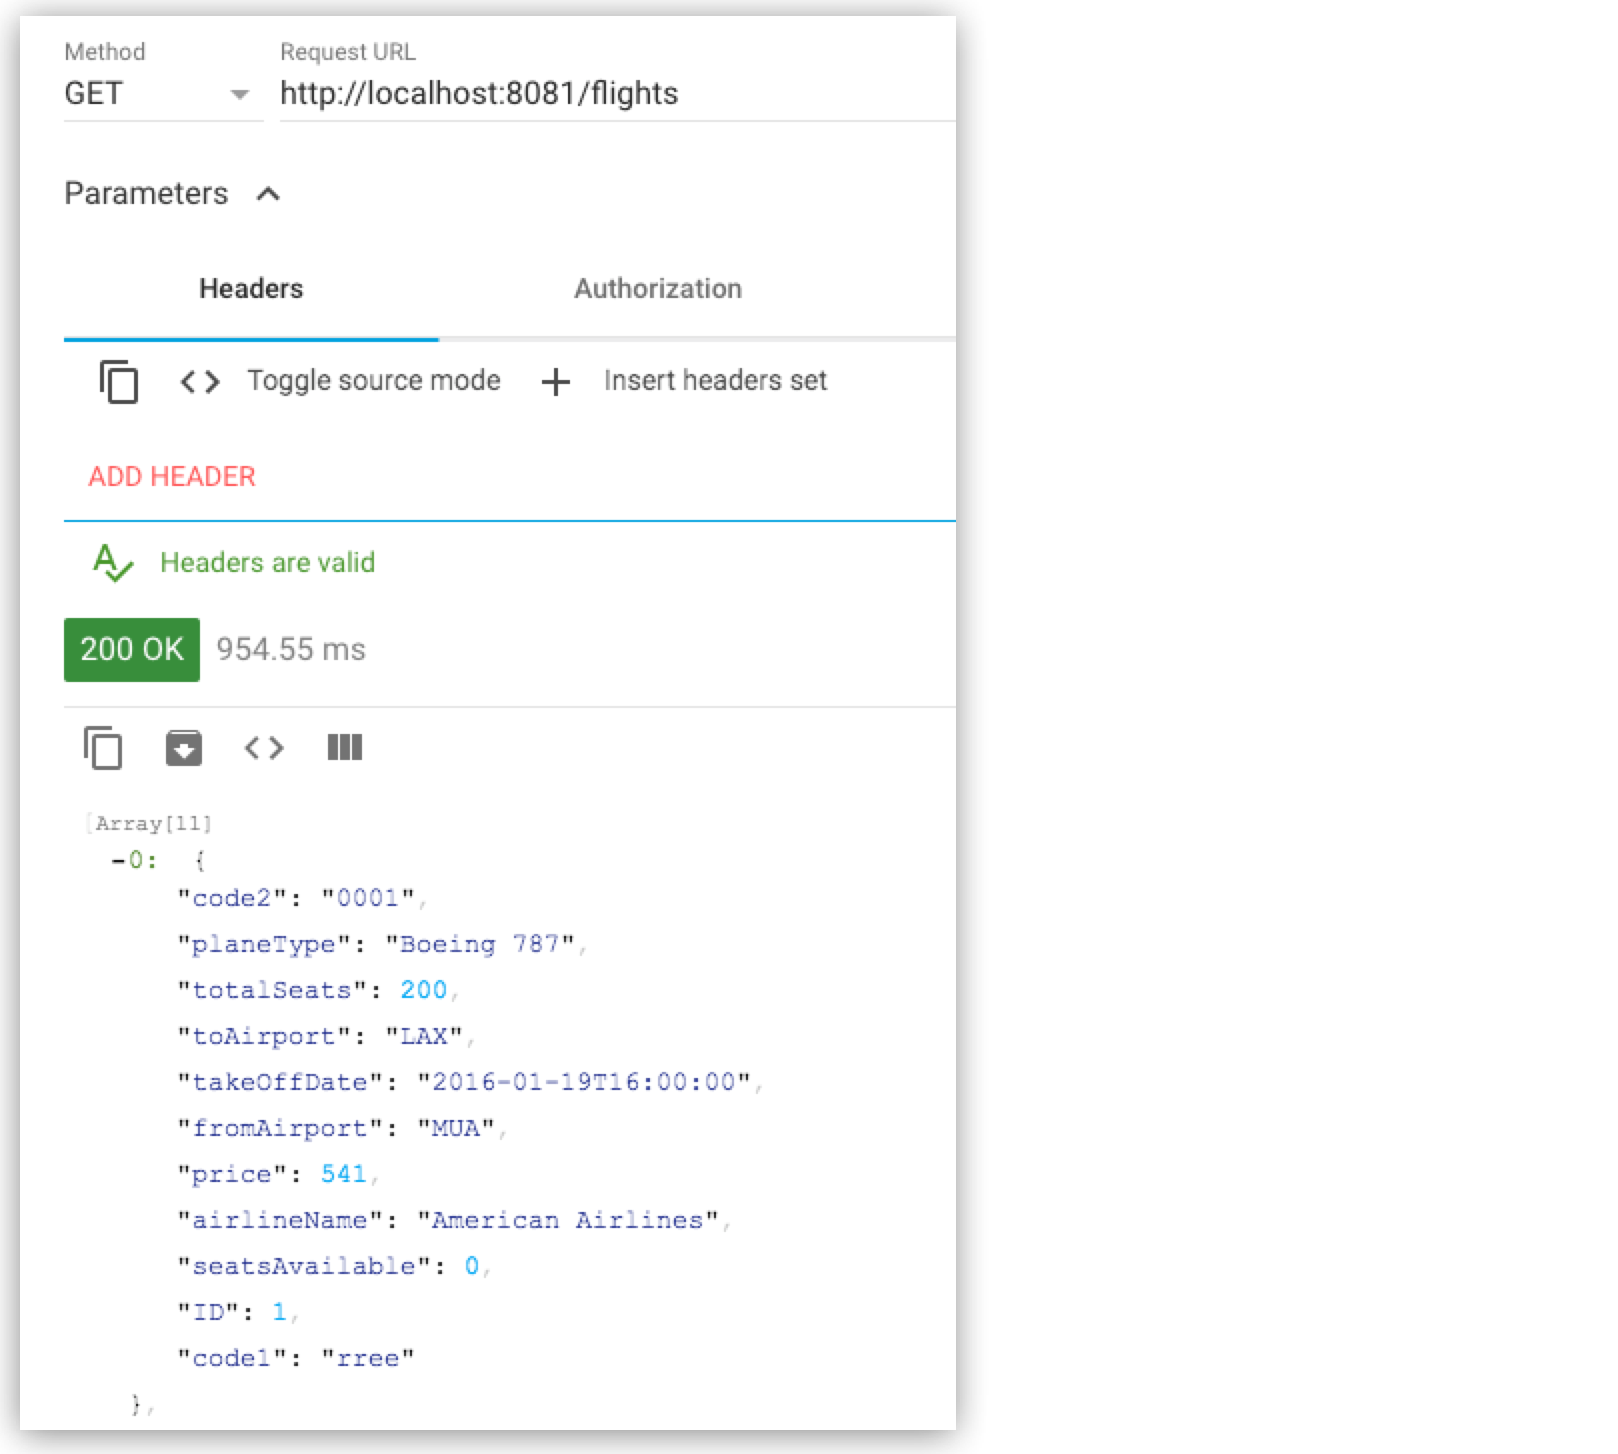
With just two words in a DataWeave script, you’ve transformed a Mule object into JSON. Now we’ll map the existing data from the API to a data structure based on an example we provide. This example represents how a second service needs to consume the data from Training: American Flights API.
-
In the Transform Message’s Output panel, select Define metadata to open the Select metadata type dialog.
-
Select Add to open the Create new type dialog.
-
Enter
american_flights_jsonand select Create type.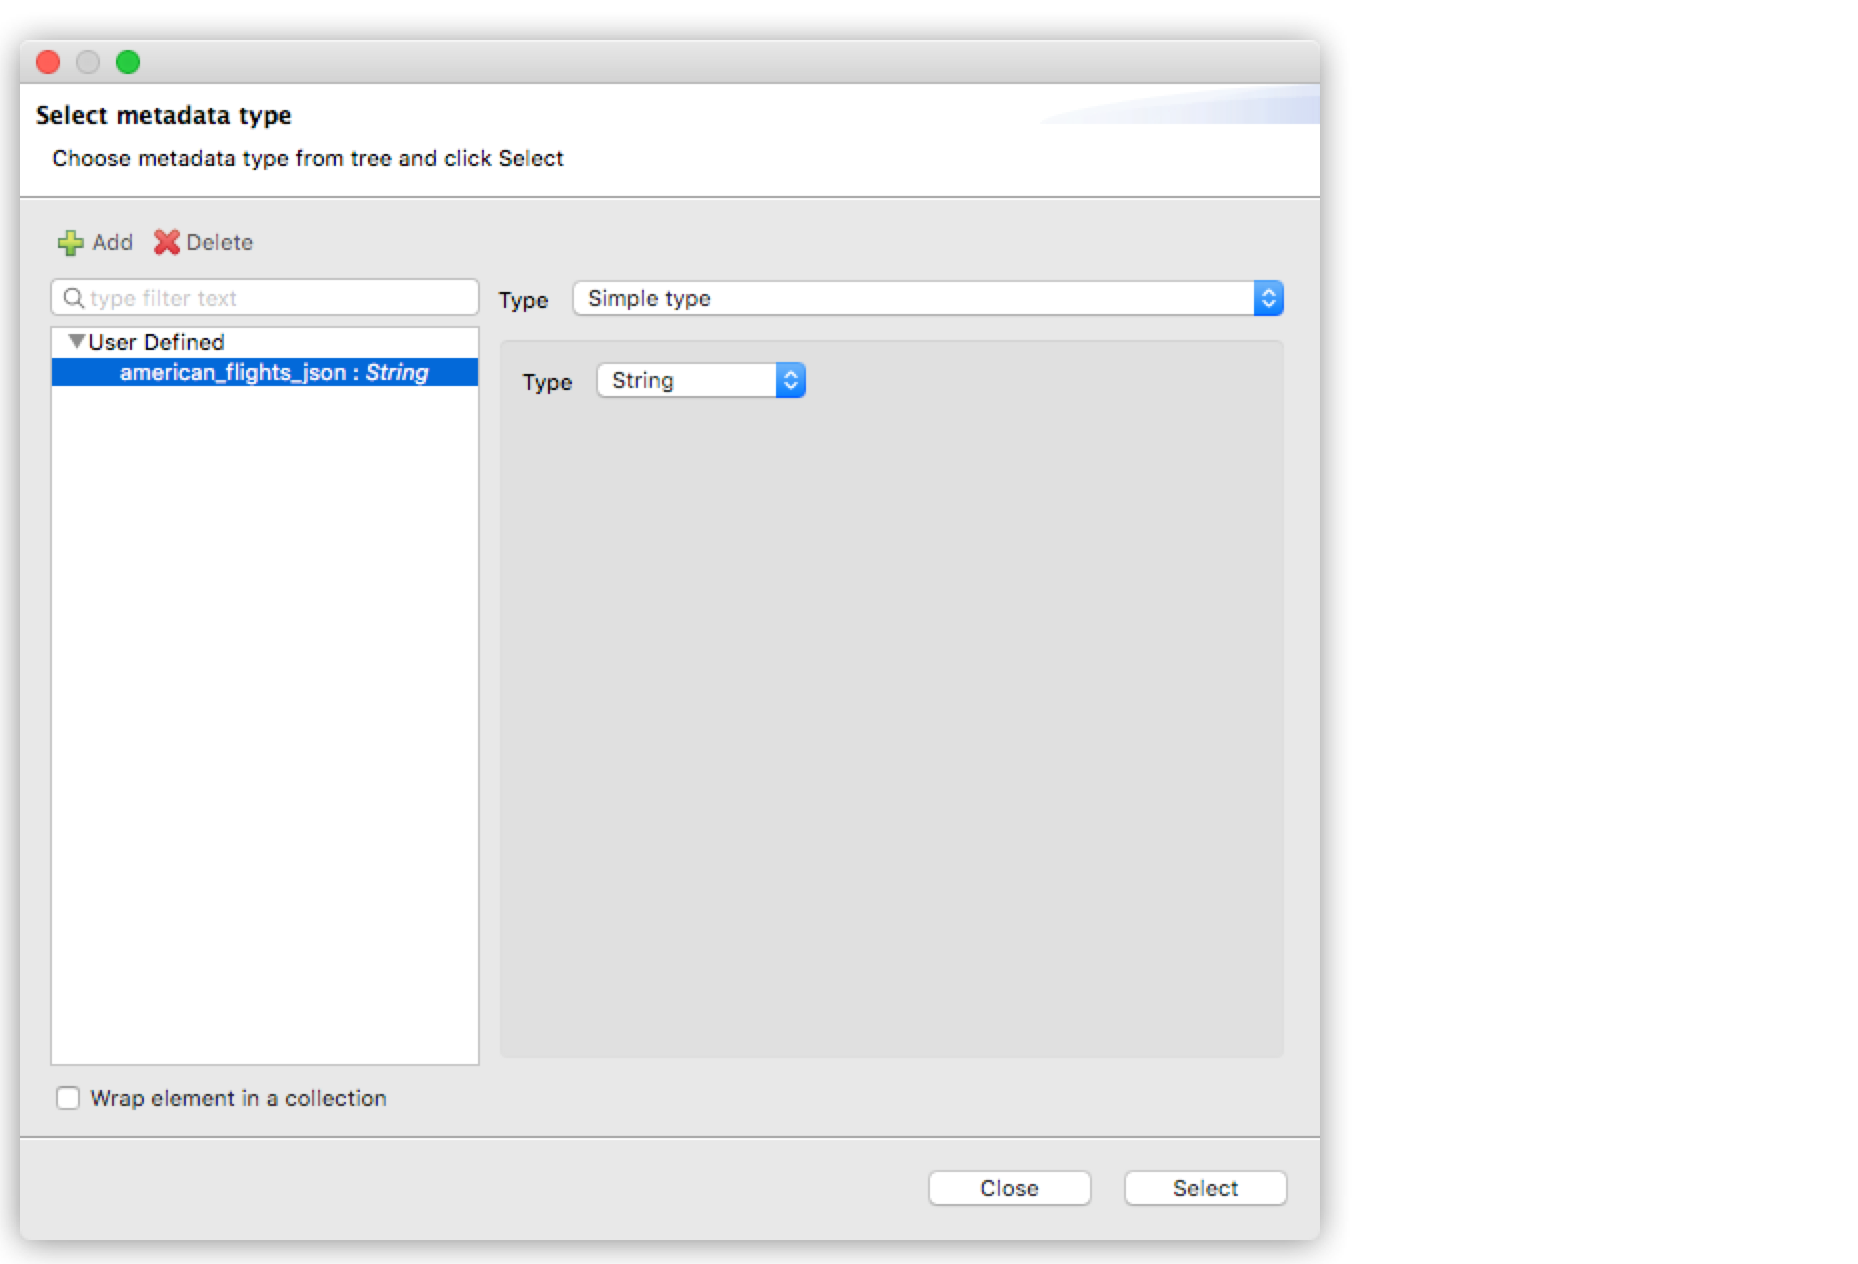
-
In the Select metadata type dialog, set the type to JSON.
-
In the drop-down below Type, change Schema to Example.
-
Copy and paste the following into a file and save it on your local machine or environment. Name the file
american-flights-example.json.[{ "ID": 1, "code": "ER38sd", "price": 400.00, "departureDate": "2016/03/20", "origin": "MUA", "destination": "SFO", "emptySeats": 0, "plane": { "type": "Boeing 737", "totalSeats": 150 } }, { "ID": 2, "code": "ER45if", "price": 345.99, "departureDate": "2016/02/11", "origin": "MUA", "destination": "LAX", "emptySeats": 52, "plane": { "type": "Boeing 777", "totalSeats": 300 } }] -
In the Select metadata type dialog, click the button with three dots to navigate to the file you just created and select it.
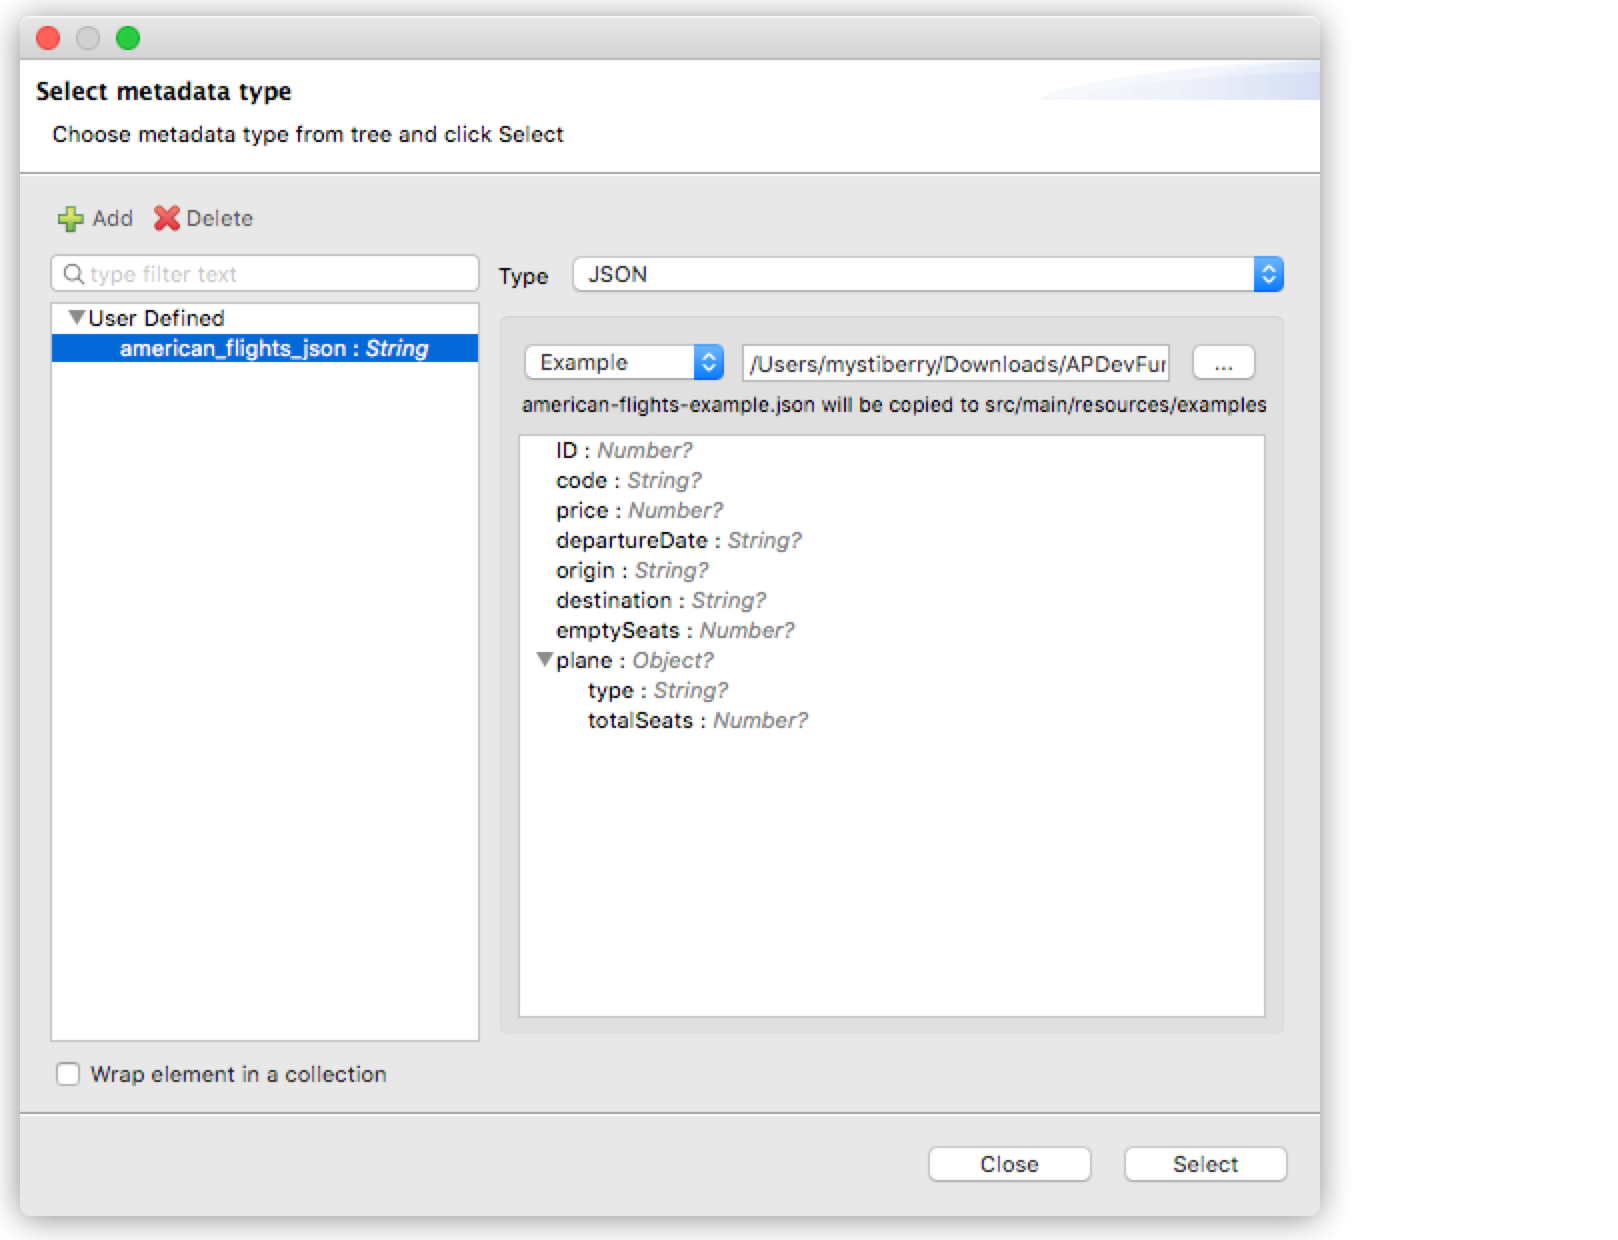
-
Choose Select to save your change. Now you see the input and output data structures in the DataWeave interface.
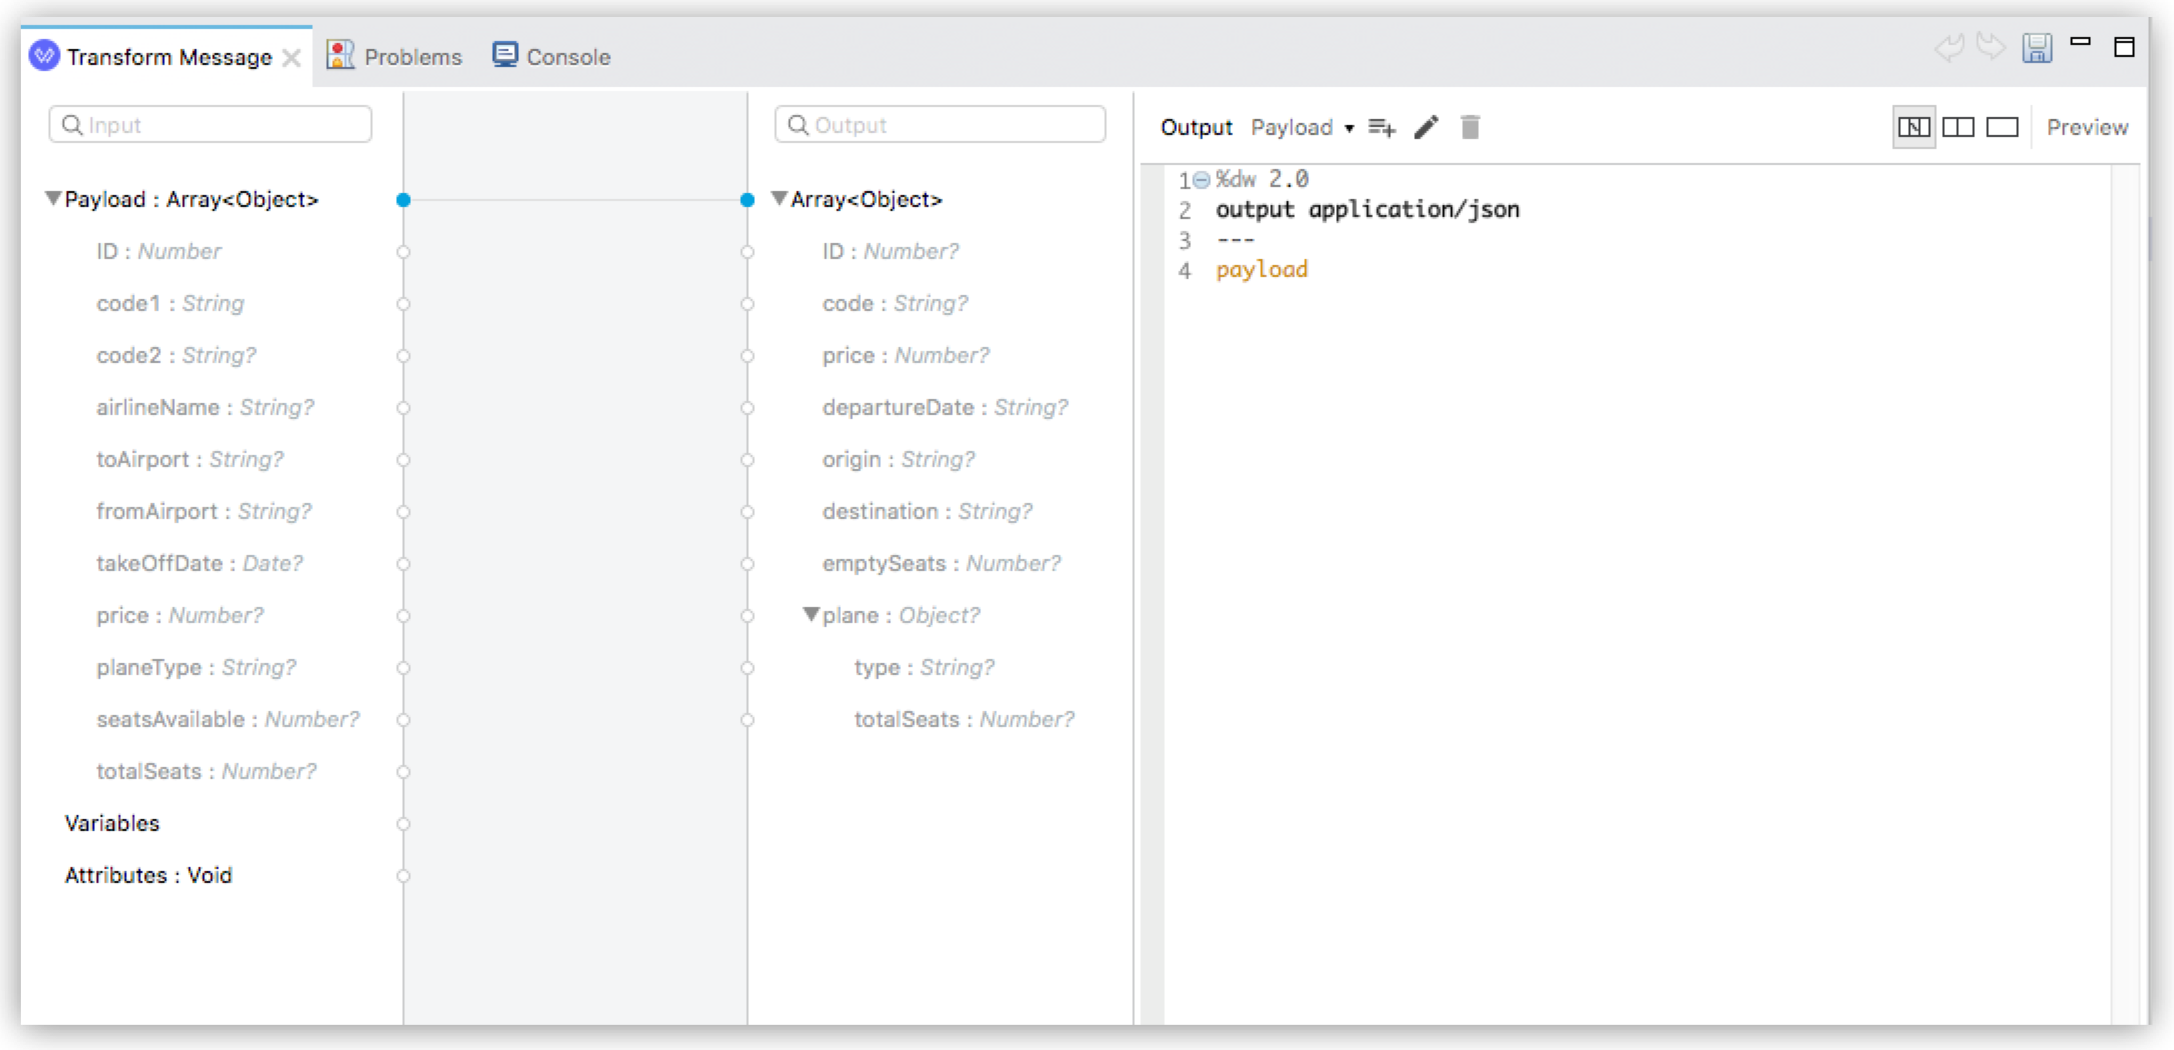
-
Let’s start mapping fields to create the transformation.
-
Map fields with the same name by dragging them from the input section to the output section:
-
ID -
price -
totalSeatsNotice the DataWeave code being written in the right-most pane as you drag and drop.
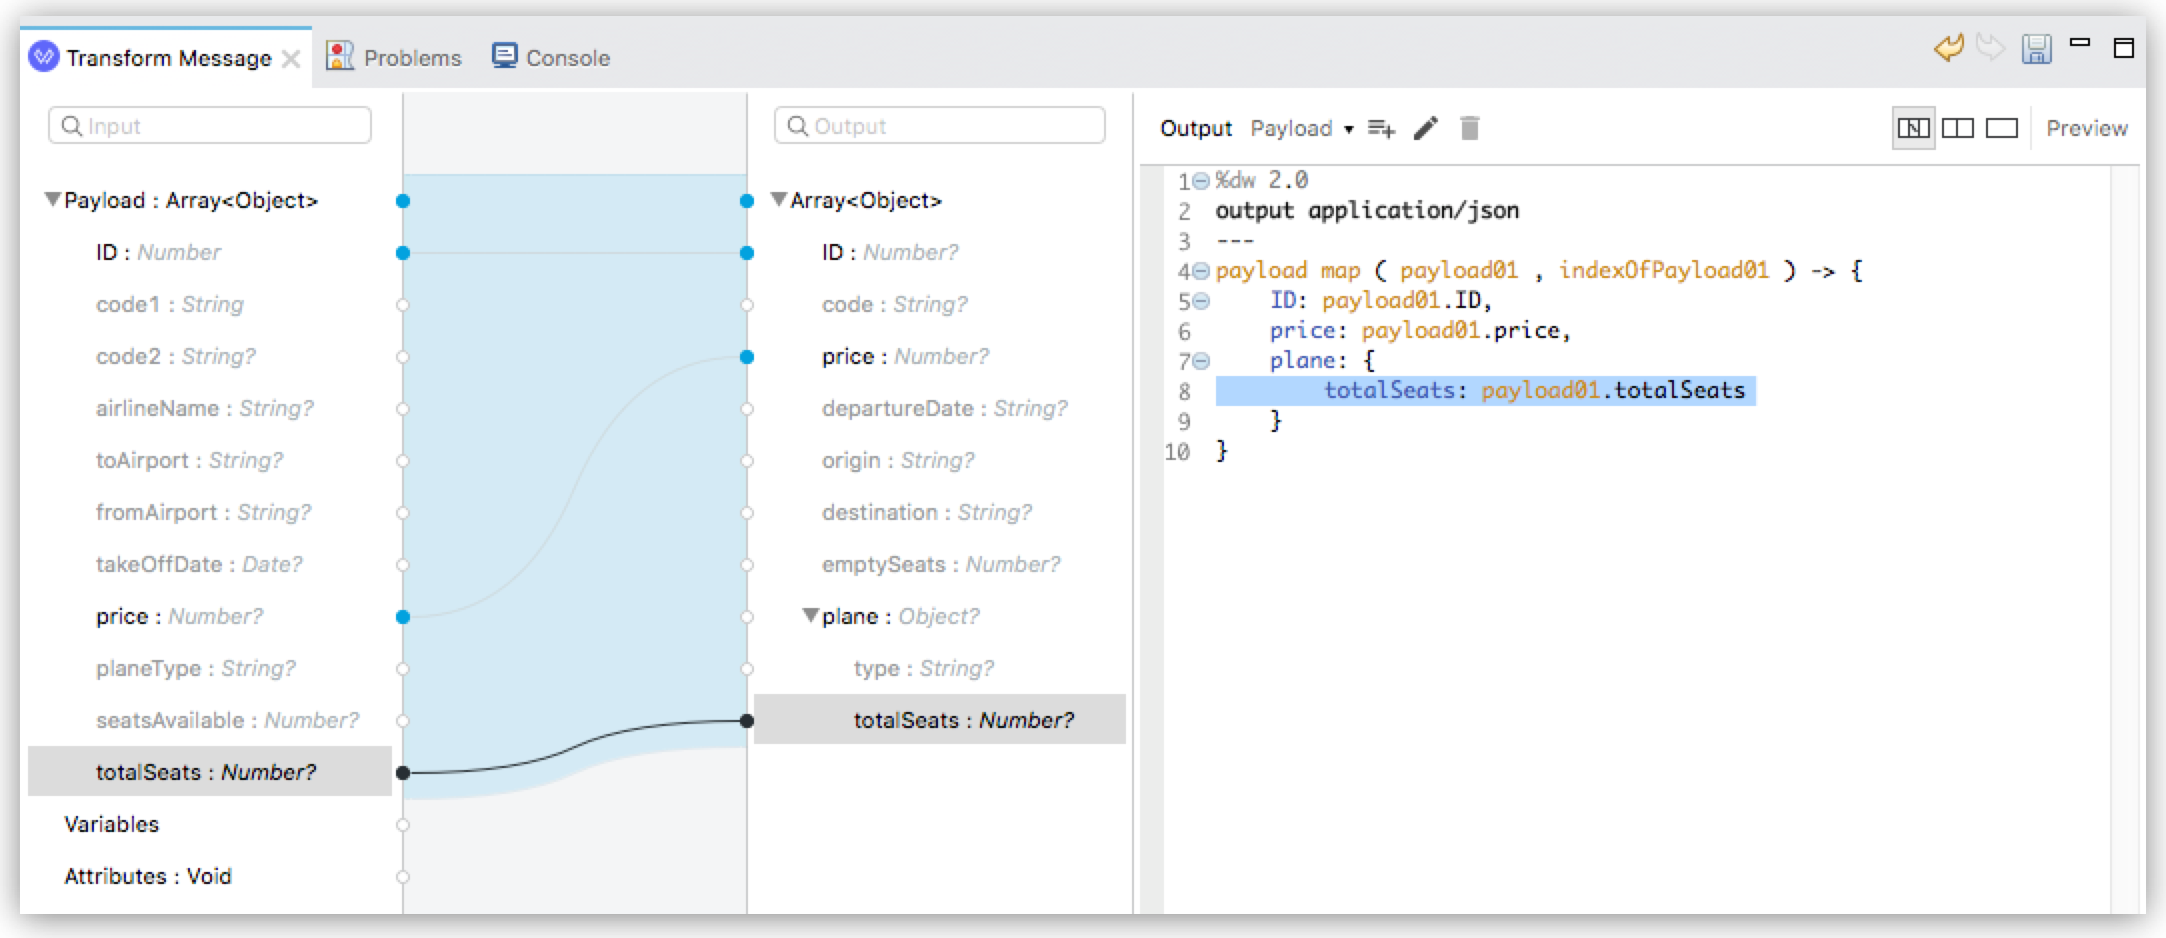
-
-
Map the rest of the data:
-
toAirporttodestination -
takeOffDatetodepartureDate -
fromAirporttoorigin -
seatsAvailabletoemptySeats -
planeTypetotype -
Drag both
code1andcode2tocodeNotice the DataWeave code generated as you drag and drop fields to create the transformation. If you make a mistake such as dropping an input field onto the wrong output field, the code view marks the errors. Simply right-click on the output field and choose Remove field mapping to remove the error.
-
-
-
Let’s add some sample data, which helps us preview the mapping results. (You can skip this step if you wish). Select Preview over the code view, then click the link Create required sample data to execute preview.
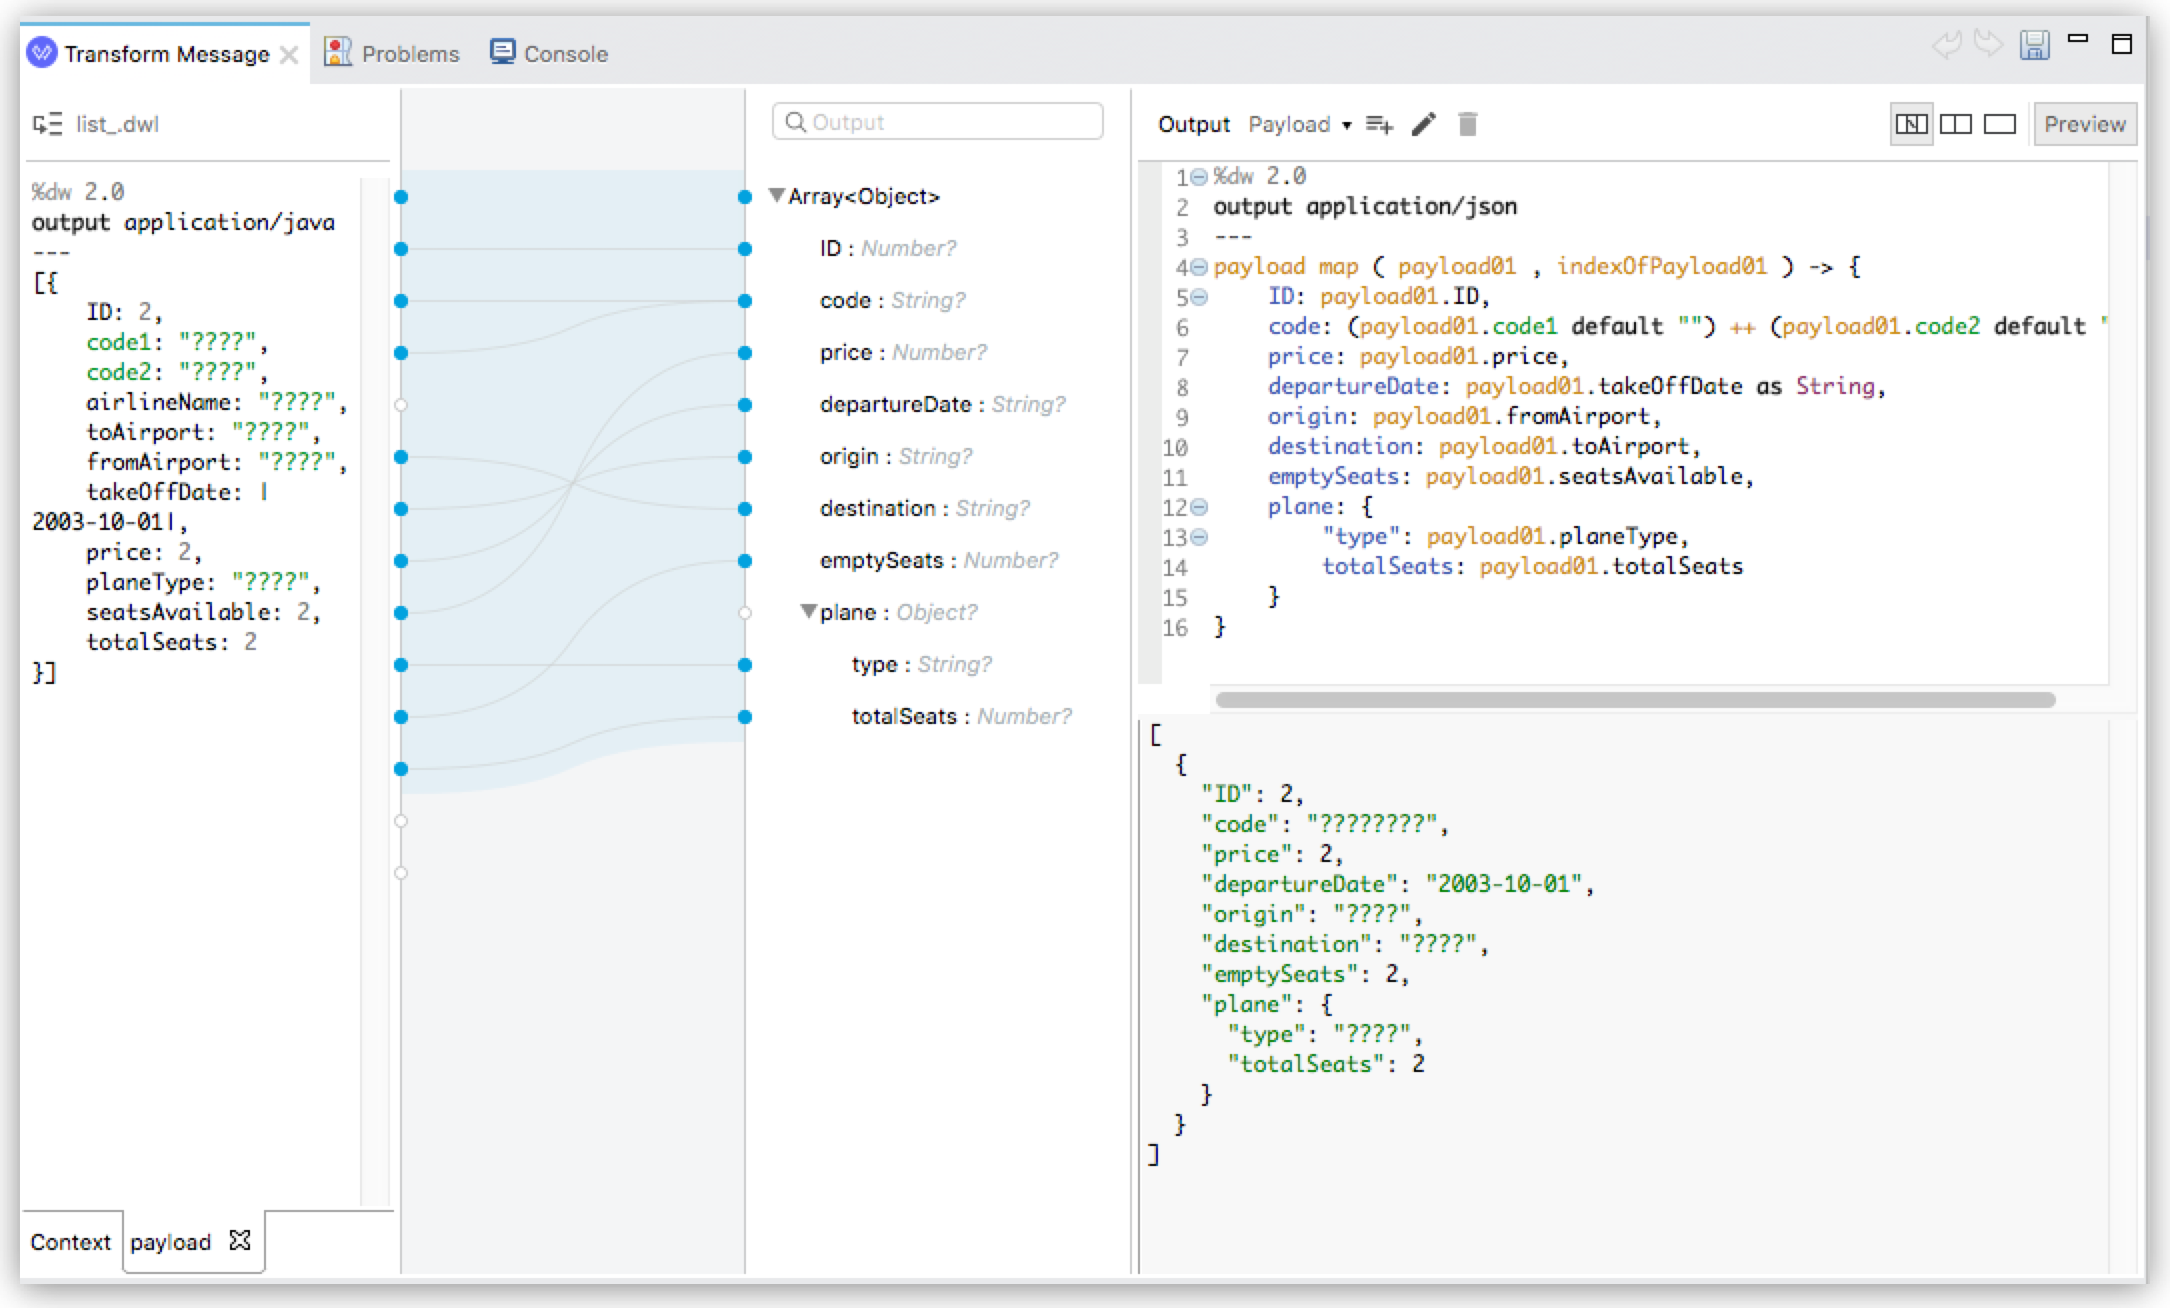
-
In the Input panel payload tab, replace all the question marks with data. Those values should also show up in the Output panel. Choose File > Save All from the Studio main menu.
-
We’ve finished defining the transformation, now let’s test it. Assuming that you’ve left the Mule app running as suggested earlier, open your REST client and send another request to the API:
GET http://localhost:8081/flights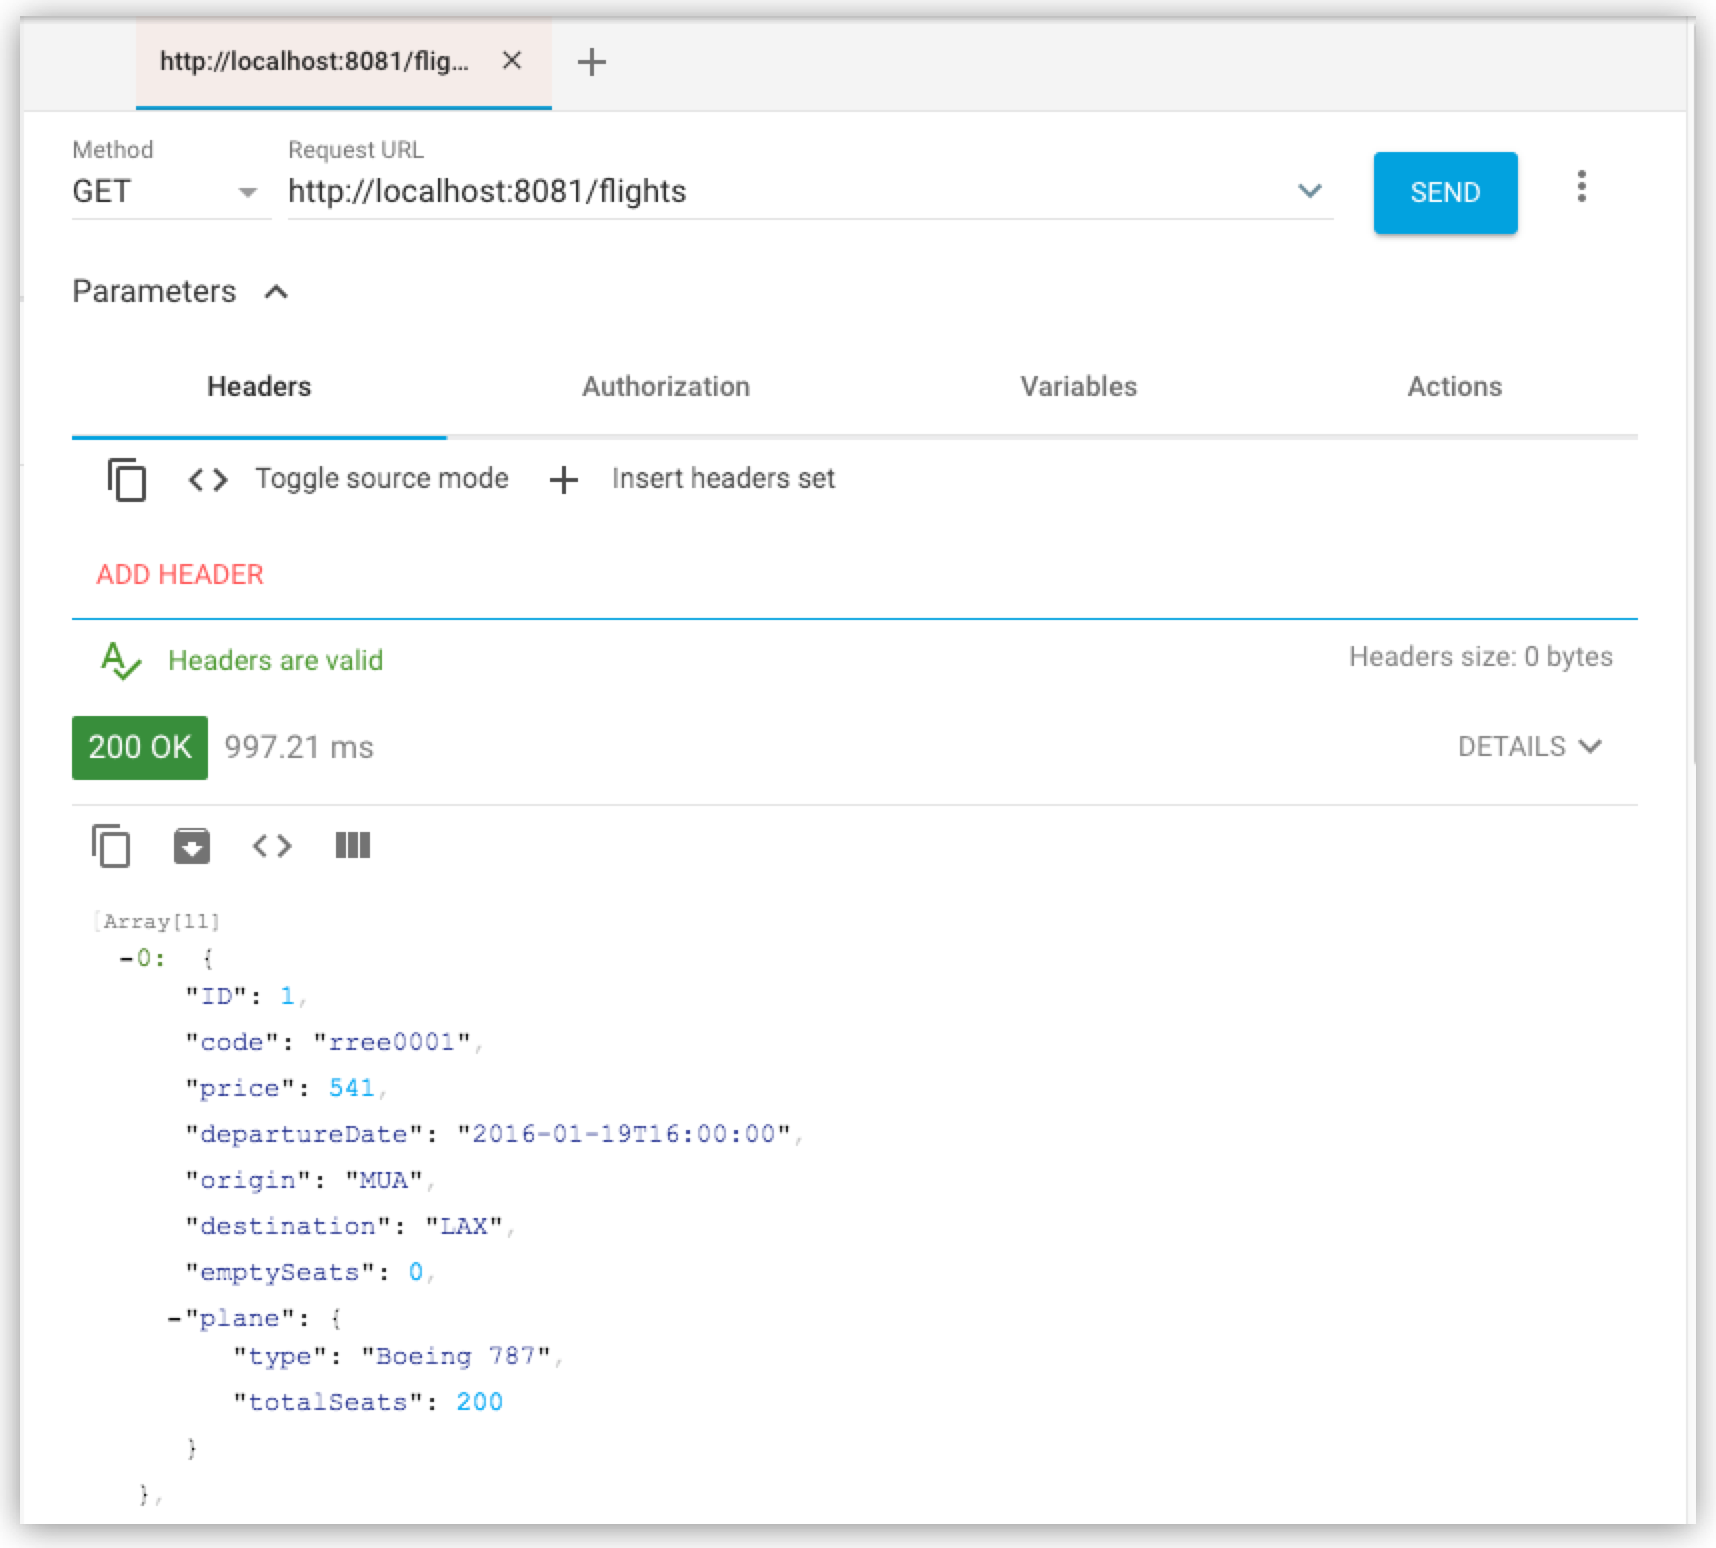
Notice that the data is structured as described in the Output panel, instead of following the Input pane structure as we saw in an earlier query.
Now that you’ve succeeded in transforming data from Mule object to JSON, and from one data structure to another, you’re ready to get started with scripting in the DataWeave language (see DataWeave Language Quickstart) and to explore more Core components and more connectors and modules.


