Creating Integrations with MuleSoft Dev Agent
 Cloud IDE
 Desktop IDE
MuleSoft Dev Agent is a purpose-built assistant for the development lifecycle, available right in Anypoint Code Builder. MuleSoft Dev Agent supports many capabilities through the MuleSoft MCP Server, such as deploying applications, managing instances, and more. One such capability is transforming your business logic into a Mule application.
The generated application includes the integration, connector configurations, a sample properties file, and the dependencies required for connectors. These artifacts ensure that the generated integration is runnable and can be deployed directly from Anypoint Code Builder.
Before You Begin
To create integrations with MuleSoft Dev Agent, ensure you:
-
Configure the following permissions to use MuleSoft Dev Agent:
-
Mule Developer Generative AI User
-
-
Enable Einstein in Access Management. See Enabling or Disabling Agentforce for Anypoint Platform.
-
Connect a Trusted Salesforce Organization to Anypoint Platform.
Access Dev Agent
There are two ways to open MuleSoft Dev Agent:
-
When you create a new integration project, click a card in the canvas. For example, the Build an Ecosystem with AI card.
-
Click the Dev Agent icon in the toolbar.

Create a New Integration Project
To create a new integration development project:
-
In the activity bar of the IDE, click the
 (Anypoint Code Builder) icon.
 -
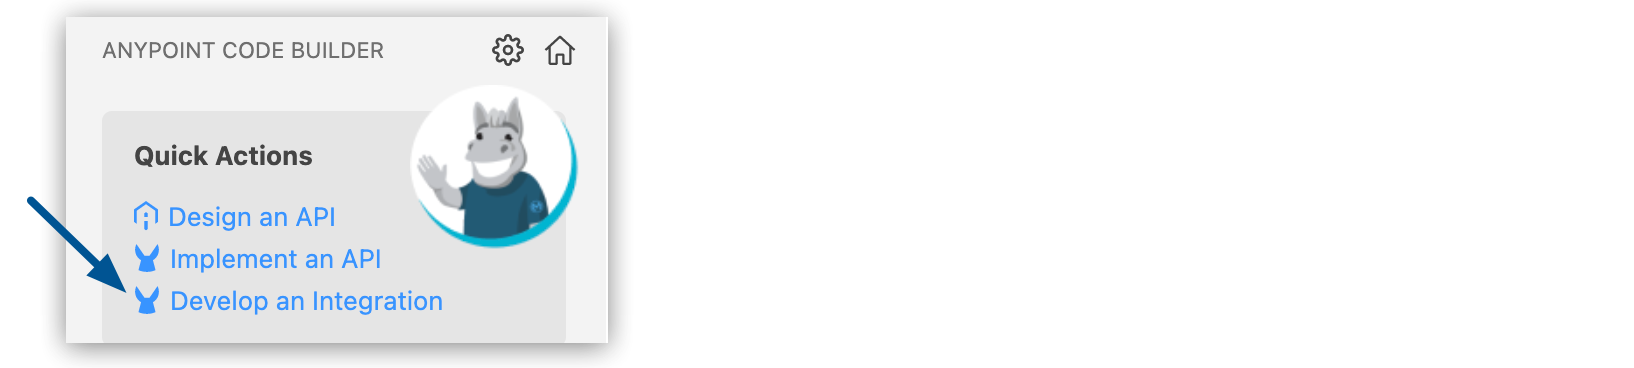
From Quick Actions, click Develop an Integration:
-
Complete the Develop an Integration form:
Field Name Field Value Project Name
Unique name for your project.
This name is used as the title and name of the integration specification file. For example, if the project name is "My Integration", the name of the folder for the integration project is
my-integration, and the configuration XML file name ismy-integration.xml.Project Location
Your home directory or another directory you create. Click Browse to select a directory for the integration if you don’t want to use the prepopulated location.
-
Click Create Project.
The integration builder canvas appears with starting cards.
To generate an integration with AI, click Use Dev Agent in the Build an Ecosystem with AI card.
Write Your Prompt
Before you create an integration, define what you want to achieve with the integration, for example, optimizing a business process. In the Dev Agent panel, enter your prompt using natural language. The clearer and more specific your prompt, the more accurate the generated integration.
Best practices for prompts:
-
Be clear and precise.
-
Include triggering events (for example, sending an email when a new case is created).
-
Emphasize key MuleSoft components and connector operations (for example, HTTP Connector Listener and Email Connector Send).
-
Specify the data objects (for example, Salesforce Account object).
-
Review your prompt before submitting it.
After Dev Agent generates the initial integration, the code is written directly into your project. You can further customize it to fit your requirements.
Configure Dev Agent Settings
You can control how MuleSoft Dev Agent interacts with your project through the Settings panel.
You can configure:
-
Enable auto-approve: Apply changes automatically without prompting for confirmation.
If Auto-approve is disabled, MuleSoft Dev Agent will request your approval before making any file changes. -
Read project files: Allow MuleSoft Dev Agent to read project files for context.
-
Edit project files: Allow MuleSoft Dev Agent to write changes directly to your project.
-
Read all files: Allow MuleSoft Dev Agent to read all files on your computer.
-
Edit all files: Allow MuleSoft Dev Agent to edit any file on your computer.
-
Use MCP Servers: Allow MuleSoft Dev Agent to use connected MCP servers.
-
Execute safe commands: Allow MuleSoft Dev Agent to execute safe terminal commands.
-
Execute all commands: Allow MuleSoft Dev Agent to execute any terminal command.
-
Use the browser: Allow MuleSoft Dev Agent to launch and interact with websites in a browser.
Adding Rules and Workflows
-
The MuleSoft MCP server comes embedded in Dev Agent, providing built-in tools for tasks such as listing or deploying applications.
-
You can add custom MCP servers from Marketplace or by configuring a remote server.
-
Define rules to guide how Dev Agent generates integrations according to your organization’s standards.
-
Create workflows to automate multi-step actions, which can be triggered through slash commands in the panel.
Complete Your Integration
After Dev Agent builds the integration, complete the configuration as needed.
Components that require further configuration display the error icon. Select the component in the canvas to determine where the error is. Anypoint Code Builder highlights the location of the error within the configuration XML.