Mock Data Using a DataWeave Library
The following tutorial shows you how to develop an integration, import the Mock Data Generators Library from Exchange, and use the custom library to return a random value from the library.
Before You Begin
Before getting started, ensure you:
-
Set up your MuleSoft environment.
See Getting Started with Anypoint Code Builder for more information.
Create a Mule Application
-
In Anypoint Code Builder, open the Command Palette by pressing Ctrl+shift+p (Mac) or Cmd+shift+p (Windows), and type
MuleSoft: Develop an Integration. -
Select the command.
-
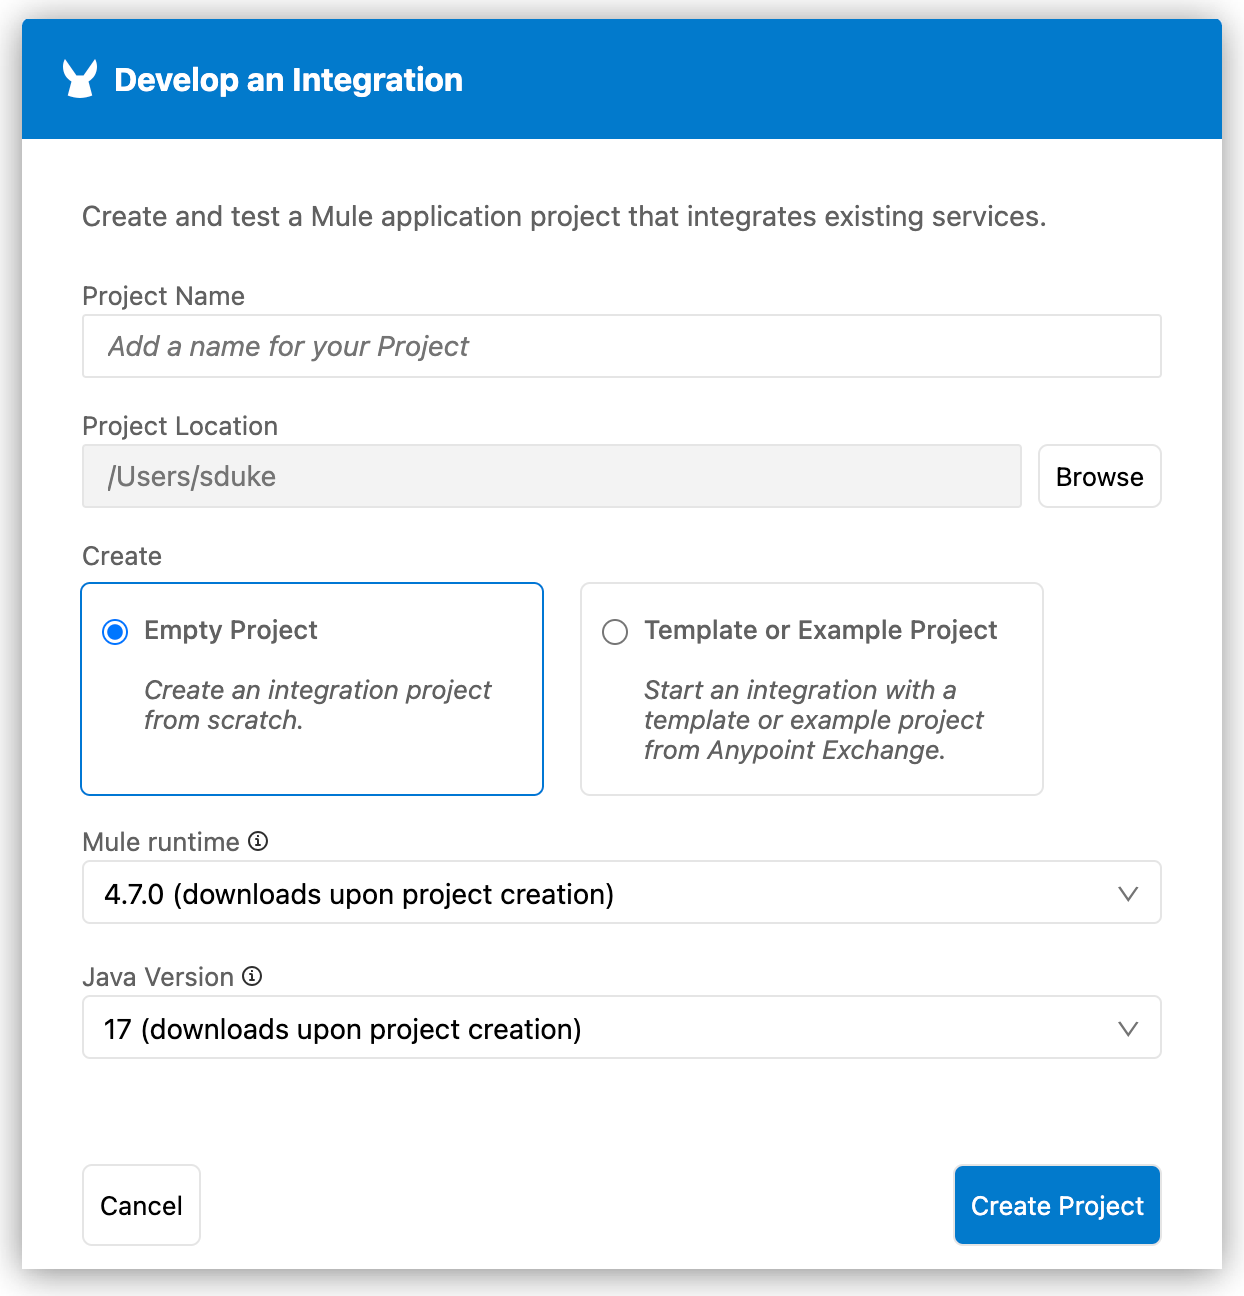
Configure your integration using the following values:

-
Under Project Name, provide the name *mock-dw-library.
-
Under Project Location, click Browse, and then select your home directory.
-
Under Create, select Empty Project.
-
Select a Mule runtime and Java version.
You can select any of the supported Mule runtime and Java versions. The IDE saves your version settings to the project’s
mule-artifact.jsonfile. For information about version support and automated Mule patch updates, see Mule and Java version support. To set default Mule runtime and Java versions for the projects you create, see Version Settings for Mule, Java, and Connectors.
-
-
Click Create Project.
Create a Flow
Start by configuring a flow with an HTTP listener that exposes a root path (/):
-
Between the
<mule>and</mule>elements, create an HTTP Listener global configuration:<http:listener-config name="HTTP_Listener_config" > <http:listener-connection host="0.0.0.0" port="8081" /> </http:listener-config> -
After the
</http:listener-config>element, add a flow and an HTTP Listener element:<flow name="receive-request" doc:name="Flow" > <http:listener path="/" config-ref="HTTP_Listener_config" doc:name="Listener" doc:id="bbzemf" /> </flow>
Import the DataWeave Library
-
Open the Command Palette by pressing Ctrl+Shift+p (Windows) or Cmd+Shift+p (Mac), and provide the following command:
MuleSoft: Import Asset from Exchange -
Select DataWeave Library.
-
Start typing DataWeave, and press Return to list assets that match your search.
-
Select DataWeave Mock Data Generators Library.
-
Select version 1.0.0.
Anypoint Code Builder displays a message indicating that the dependency was successfully added.
Use the DataWeave Library
-
After the
<http:listener>element, add a new line and create a Set Payload processor:<flow name="receive-request" doc:name="Flow" > <http:listener path="/" config-ref="HTTP_Listener_config" doc:name="Listener" doc:id="bbzemf" /> <set-payload value="#[]" doc:name="Set Payload" doc:id="ee6848" /> </flow> -
Add the following DataWeave script inside the
valueelement of theset-payloadelement:%dw 2.0 output application/json import * from mocks::DataGenerators --- mocks::DataGenerators::randomCity()
Review your XML code:
<flow name="receive-request" doc:name="Flow" >
  <http:listener path="/" config-ref="HTTP_Listener_config" doc:name="Listener" doc:id="bbzemf" />
  <set-payload
    doc:name="Set Payload"
    value="#[%dw 2.0 output application/json import * from mocks::DataGenerators --- mocks::DataGenerators::randomCity()]"
    />
</flow>
Import the HTTP Connector Library
-
Open the Command Palette by pressing Ctrl+Shift+p (Windows) or Cmd+Shift+p (Mac), and provide the following command:
MuleSoft: Import Asset from Exchange -
Select Connector.
-
Start typing HTTP, and press Return to list assets that match your search.
-
Select HTTP Connector - Mule 4.
-
Select the latest version.
Anypoint Code Builder displays a message indicating that the dependency was successfully added.
Deploy the Application
-
Open the Command Palette by pressing Ctrl+Shift+p (Windows) or Cmd+Shift+p (Mac), and provide the following command:
MuleSoft: Deploy to CloudHub -
Anypoint Code Builder prompts that a deployment configuration file has been created and opens it for you to review:
{
  "runtime": "4.4.0", (1)
  "workerSize": 0.1,
  "applicationName": "mock-dw-library", (2)
  "workers": 1,
  "autoStart": true
}
1 The runtimeversion is the Mule runtime version you select when creating the integration.For information about version support and automated Mule patch updates, see Mule and Java version support.
2 The applicationNameproperty defines the part of the URL that you use to access your application on CloudHub.The name must be unique across all applications deployed to CloudHub.
-
After reviewing the deployment configuration, select Deploy to deploy the application to CloudHub.
-
Select your preferred environment.
Anypoint Code Builder packages the application and deploys it to CloudHub.
-
After deployment completes, select Open in Runtime Manager.
-
Select your application from the application list.
The domain name of the application varies, but it follows a similar structure such as:mock-dw-library.eu-s1.cloudhub.io. -
Open your preferred REST client and make a GET request to the domain name as displayed in Runtime Manager.
-
Your application now returns a random city every time you reach the endpoint.


 Cloud IDE
 Desktop IDE